


Do Moka Pots Scorch Coffee, and How Is That Prevented?
Moka pots and French presses are both low-barrier home brewers, but they extract differently. The French press uses immersion, keeping oils and aroma for a round, sweet cup. Moka pots rely on steam pressure for a richer, fuller result. The trade-off is that a moka pot can scorch at the bottom, which is controlled through water temperature and heat level.
Both devices call for attention to bean choice, grind size and coffee-to-water ratio. Single-origin beans work well in either: a light-to-medium roast shows fruity acidity, while a medium-to-dark roast suits bolder flavor. Milk-based recipes can also be built on top of a moka pot brew for readers who want variety at home.
The French press and the moka pot are both home brewing tools with a relatively low barrier to entry, but the two differ in extraction principles, flavor tendencies, and suitable beans. The French press excels at immersion extraction, retaining coffee oils and aromas more completely, with a round, sweet mouthfeel; the moka pot, by contrast, uses steam pressure to produce a richer, fuller cup, suited to coffee lovers who prefer bold flavors. Drawing on Front Street's practical experience, this article goes through bean selection advice, grind size, coffee-to-water ratio, and operating steps for each device, with a focus on why the moka pot tends to scorch at the bottom, how to avoid it by controlling water temperature and heat, and also offers extended milk coffee recipes to help readers reliably reproduce a good cup at home.
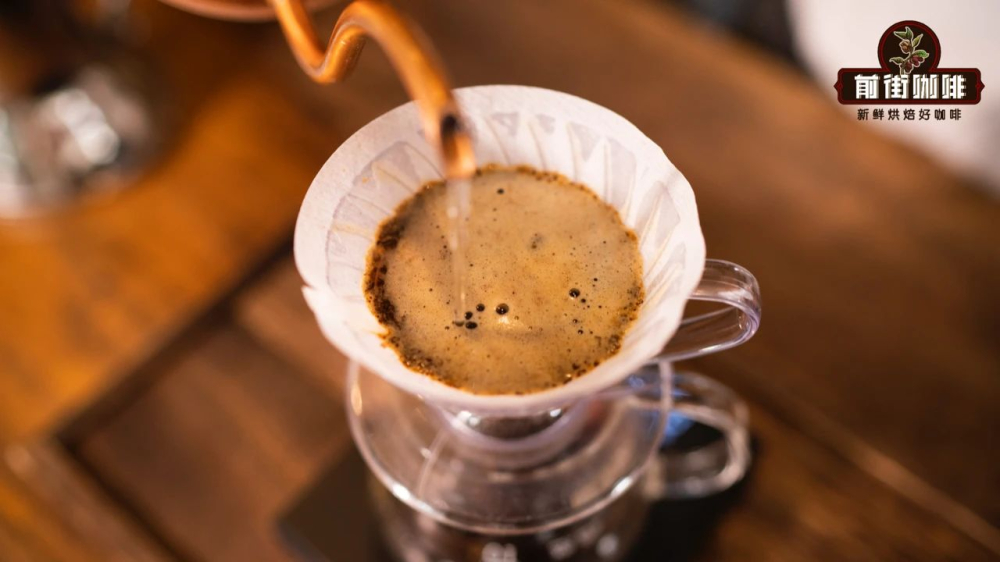
The tools that can be used to brew coffee go far beyond the pour-over and espresso machines commonly seen in cafés—there are also many options on the market such as the moka pot and the French press. This time, Front Street will introduce you to these two devices.
French Press
The French press is written as French Press in English, and some also call it a French filter press pot. It was born in France around the 1850s, and its structure is not complicated—it mainly consists of a heat-resistant glass body and a plunger rod attached to a metal filter mesh.
The French press and the moka pot are often classified as "lazy person's tools," because they have a low barrier to operation, are quick to learn, and at the same time can retain the coffee's complete flavor relatively well. In fact, the French press's extraction logic is closest to cupping—it can fully release oils, aromas, and various flavor compounds, and the finished cup is smooth, sweet, and has considerable strength, making it a brewing method well worth trying.
The specific method for brewing coffee with a French press
Step one: choose the beans first.
It is recommended to use single-origin coffee beans; a light-to-medium roast can showcase fruity acidity, and a medium-to-dark roast is also suitable. If you prefer floral and fruity notes, you can choose Front Street. Strawberry Candy, which has prominent sweetness; if you value a rich, full-bodied texture more, a wild style like Front Street. Golden Mandheling would be a good direction.

Step two: set the grind size and coffee-to-water ratio.
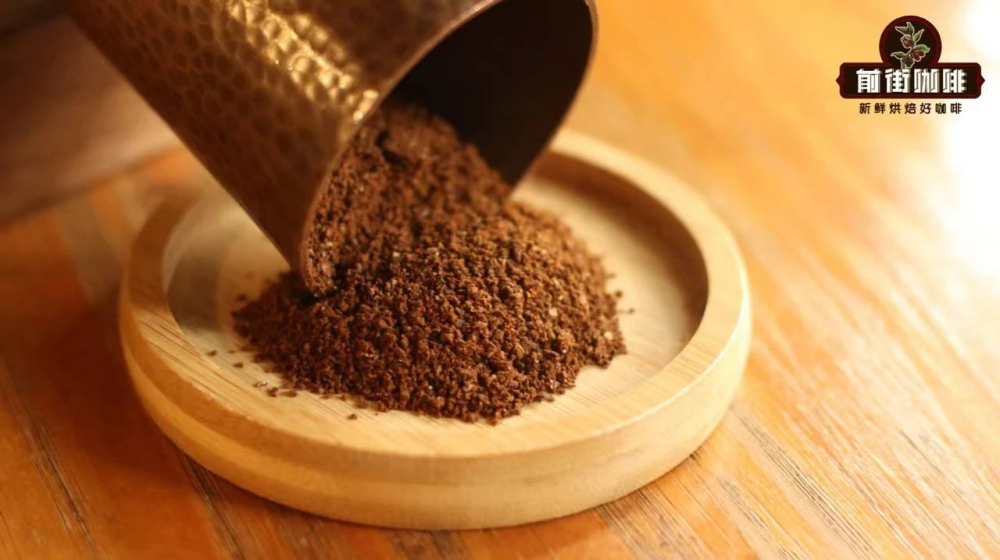
The amount of ground coffee is generally no less than 20g, and the grind should be on the coarser side—hot water will directly contact the coffee grounds for a long time, so grinding too fine easily leads to over-extraction; a medium grind is fine, roughly 5 to 6 degrees. If the grounds are too fine, they will also leak out through the filter mesh holes and make the coffee cloudy. You can also refer to Front Street Coffee's grind standard:
Front Street Coffee grind size coarseness standard sieve pass rate: cold drip > pour-over siphon 80% > moka American drip 75-80% > cupping 70-75% > French press 65-70%.
The coffee-to-water ratio can start from 1:10; calculated for two servings, that is 20g of beans with about 200g of water, and the final ratio can be adjusted according to personal taste. The steeping time should be controlled at 3 to 4 minutes; the longer it steeps, the stronger the taste and the more pronounced the acidity. Every bean and every person's preference is different, so you need to try them one by one. During the steeping period, there is no need to press down the filter mesh—let the coffee and water have enough time and space for full contact.
Step three: officially brew with the French press.
1. First grind the beans and pour them into the pot. Opinions vary widely on grind size; there is no need to pay too much attention to them here—just keep a medium grind and do not grind too coarse.

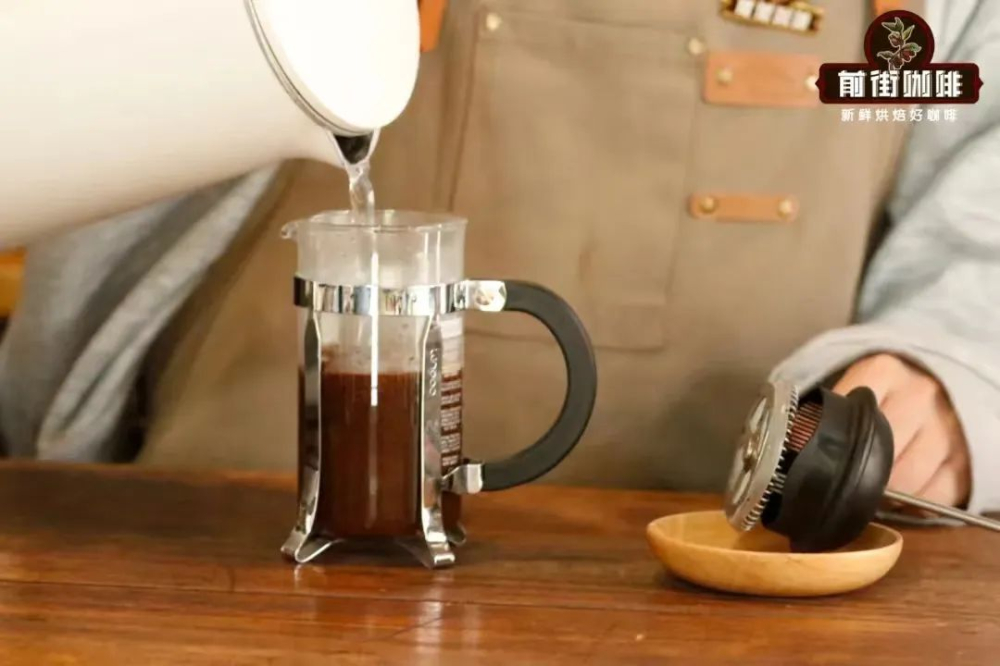
2. Heat water to about 93°C and pour in the appropriate amount of water. We operate with 20g of grounds and 200g of hot water, stir with a spoon, and let the grounds and water mix fully.
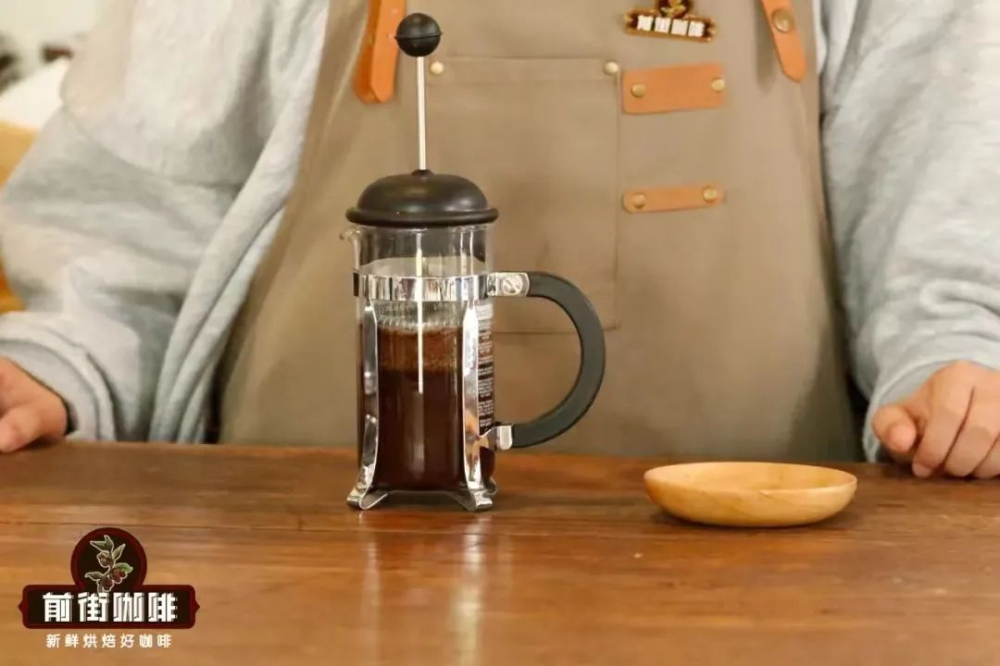
3. Put on the lid, leave the filter mesh at the highest position, and let it steep for 4 minutes.
4. Before pressing down, you can first open the lid and use a spoon to skim off the foam and fine grounds floating on the surface, then press the filter mesh all the way down.
5. After brewing, immediately pour it into another insulated container; do not delay, because the coffee grounds are still steeping in it. After that, pour it into a cup and drink it slowly.
A few points to note when using a French press
It is best to have a digital scale. Even if the pot itself has markings and a measuring spoon, it is still recommended to use a scale—coffee beans change density due to factors such as altitude and roasting method, and every bean's weight differs. In addition, if you brew a cup you are very satisfied with and want to reproduce it, you must record the ratio; conversely, if it brews poorly, you can also use the data to find the direction for adjustment.
Use fresh, clean soft water; do not use hard water, and do not use unfiltered water—it is hard to make good coffee with poor water quality. The French press emphasizes elegance and gentleness, so be sure to slow down when pressing. If you stir roughly at this stage, it is equivalent to accelerating extraction in the final phase, and at this point the good compounds have already been released for the most part; what is pulled out further will only be bitterness.
If you want to upgrade to milk coffee, the French press can handle that too. Take a clean French press, pour in one-third warm milk, slowly insert the filter, and push and pull repeatedly until the milk expands to twice its original volume. At this point the milk foam is fully frothed, with a delicate texture, and once added to the coffee it is done.
Moka Pot
According to Front Street's understanding, the moka pot is written as Moka pot in English. The most widely circulated explanation is that when the first batch of coffee entered Venice in the seventeenth century, "moka" was almost synonymous with coffee in northern Italy, so the moka pot can actually also be called a coffee pot, meaning a brewing tool that can produce a cup of rich coffee at home.
The moka pot consists of three parts: the upper chamber, the filter basket, and the base. The lower chamber holds water, the filter basket holds more finely ground coffee, and the upper chamber receives the extracted coffee liquid. Its extraction principle is not complicated: the lower chamber is heated and generates steam pressure, and when the pressure is enough to penetrate the coffee grounds layer, the hot water is pushed up into the upper chamber, thereby brewing rich, aromatic coffee.
The brewing process for the moka pot
Coffee made with a moka pot is on the stronger side, so Front Street suggests choosing beans with a darker roast level to better highlight that rich, full-bodied feel.
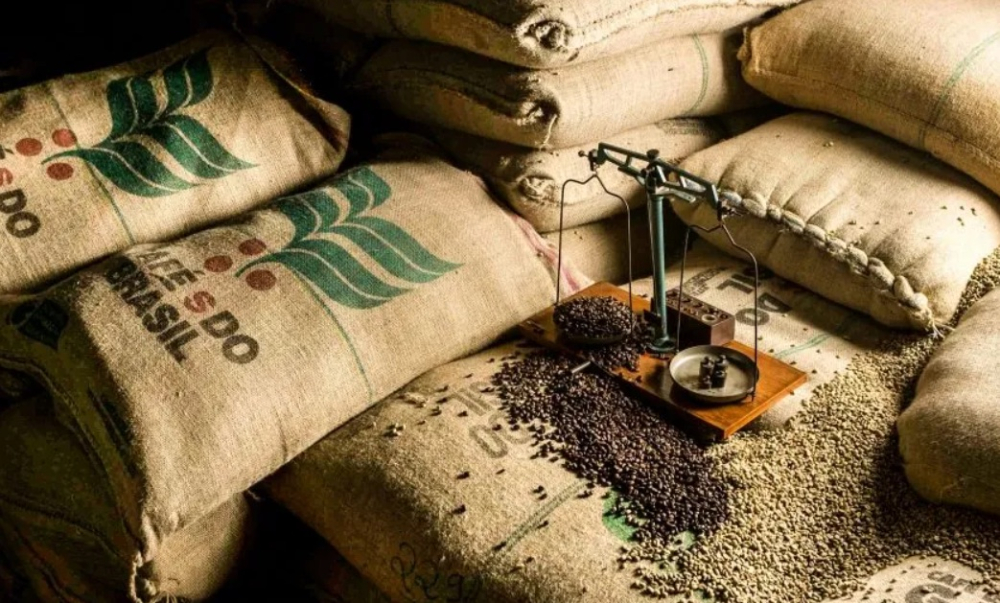
For a beginner's first attempt, you can buy Front Street. Front Street Classic Blend, or Front Street Black Cocoa Blend, which many baristas recommend for espresso moka pots—the former makes extraction more stable, while the latter brings rich nutty and chocolate aromas, and can even extract abundant oils. Here we are using Front Street. Brazil Queen's Estate, with flavors of roasted peanuts, cream, toast, and sugarcane.
1. Pour warm purified water into the lower chamber, keeping the water level about 0.5cm below the pressure relief valve; this can shorten the extraction time and also avoid scorching the coffee grounds at the bottom due to prolonged heating.
2. The grind size is slightly coarser than for espresso; you can refer to the size of the gaps in the filter basket mesh to ensure the particles will not fall into the lower chamber. Slowly pour the coffee grounds into the filter basket, tap lightly to distribute them evenly; after the mound of grounds forms a small hill shape, use a leveling method to scrape the surface flat.
3. Place the filter basket into the lower chamber, tighten the upper and lower parts together, and put it on an electric ceramic stove to heat over high heat.

4. After the temperature rises, when the moka pot makes a clear "woo-woo" sound, turn the electric ceramic stove to low heat and open the lid of the upper chamber.
5. When the coffee liquid in the upper chamber is half extracted, turn off the electric ceramic stove. Relying on residual heat and remaining pressure, the rest of the coffee liquid will be "pushed" into the upper chamber.
6. Wait until all the coffee liquid has been extracted into the upper chamber, pour it into a cup, and add half warm water to make moka pot americano, in which you can taste the mixed nut and cocoa aromas of Front Street. Brazil Queen's Estate; if you do not want black coffee, replace the water with warm milk, and it becomes a silky, rich moka pot latte.
The above content is compiled by CoffeeHunters, a coffee news website.