








Regarding the knowledge of steaming milk foam, Front Street Coffee has shared it in great detail before. However, recently a friend sent some videos of steaming milk foam and asked Front Street Coffee for some suggestions. These issues happen to be quite common among beginners when steaming milk foam, so we'll specifically discuss a few points to note when steaming milk foam.
First category: No foam after steaming
The main reason for this is that the steam wand was initially buried too deep in the milk. First, let's briefly understand how the steam wand creates milk foam. The steam wand sprays out high-temperature water vapor, and if it's sprayed directly into the milk, it only serves to heat the milk.
However, if this water vapor passes through the air before entering the milk, it will create milk foam. When air is forced into the milk, it produces a tearing sound, a "zzz" noise, so whether foam is being created can be judged by whether that "zzz" sound is present. Milk foam is essentially protein wrapping around air.
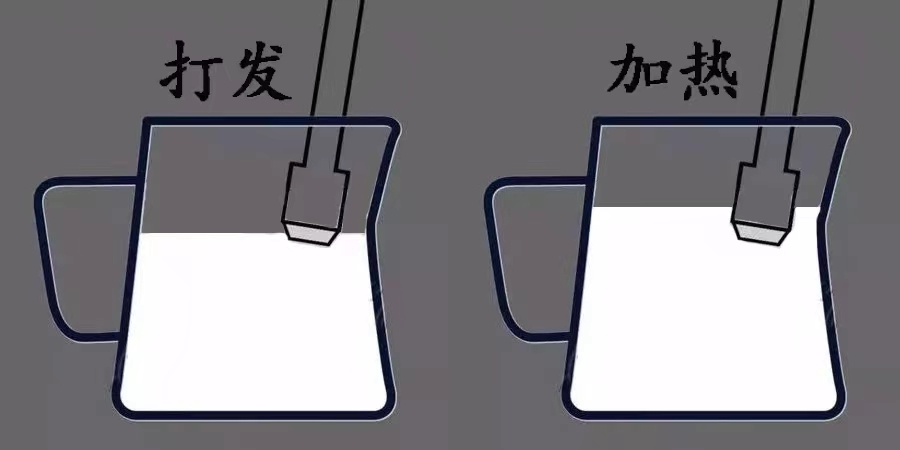
Therefore, to create milk foam, the steam holes must not be submerged in the milk. But if all the steam holes are exposed outside, it can cause uncontrollable risks, such as rapidly creating thick and coarse foam, or the steam being too strong and spraying the milk right out of the pitcher.
So generally, the safest way to steam milk foam is to have the steam wand partially buried in the milk. If it's a multi-hole design, you only need to ensure that one hole is not submerged in the milk.
Second category: The steamed foam is very coarse
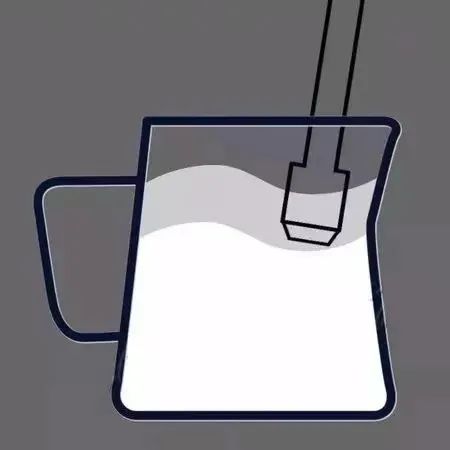
As long as the steam wand is not buried too deep, you can create milk foam, but after creating it, making it fine and smooth requires a lot of skill. Front Street Coffee previously taught everyone to first create foam and then texture it. In fact, these two steps—creating foam and texturing it—can be done simultaneously. Doing them at the same time reduces the pressure of texturing later on.
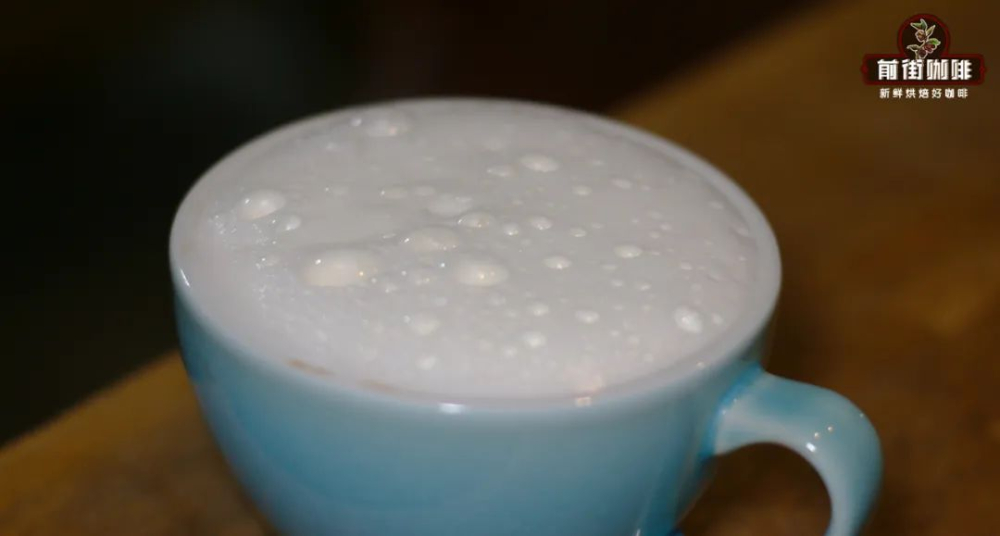
The key point of texturing is creating a vortex. The water vapor sprayed from the steam holes not only forces air into the milk but also continuously cuts through the protein-wrapped air. As we know, the more air the protein wraps around, the larger the foam and the more easily it breaks. The sprayed water vapor can thus break those unstable large bubbles, splitting them into countless small bubbles. Small bubbles are more stable and less likely to break. When many small bubbles combine, they form a layer of fine foam. Creating a vortex is to control the water vapor from scattering randomly and focus on destroying large bubbles.
There are two main points to note when creating a vortex. The first is the position and angle of the steam wand. When the steam wand contacts the milk surface, it should be at the 3 o'clock or 9 o'clock direction. The steam wand should ideally form a 60-degree angle with the surface, because to create a vortex, there must be a horizontal force.

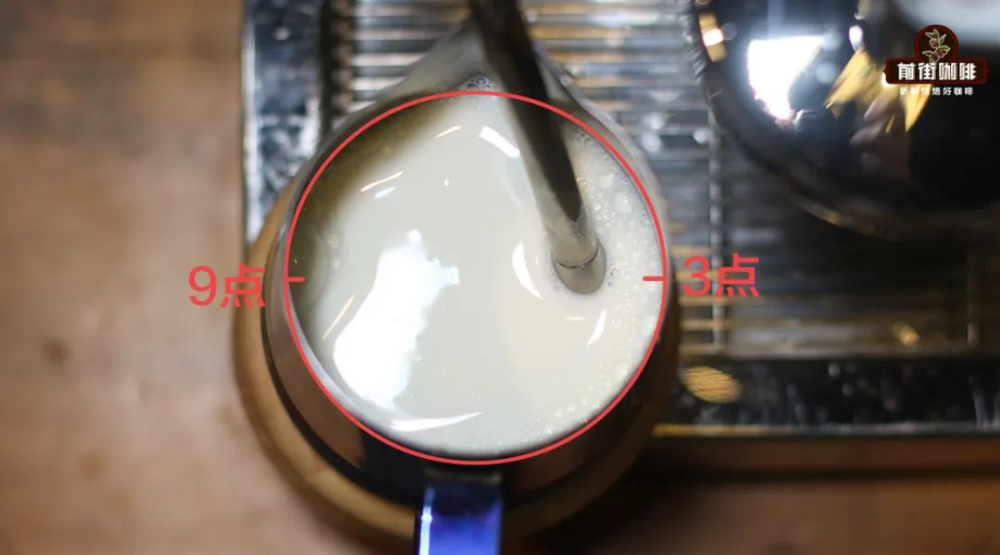
Once you master the angle and position to create a vortex, you can steam fine foam even without using your hands.
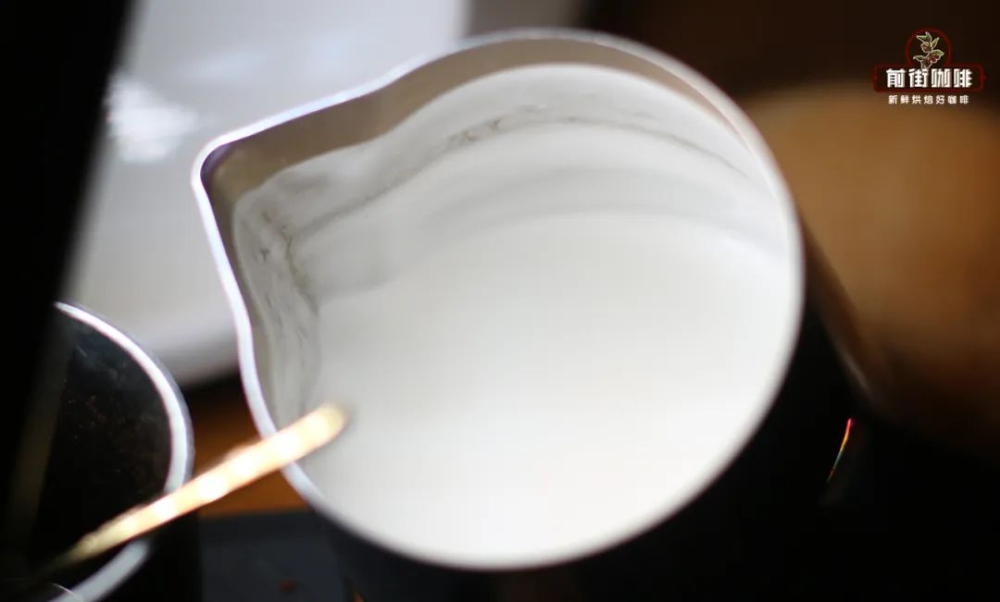
The second point is to create as large a surface as possible. The larger the surface, the thinner the foam layer for a given amount of foam—this is easy to understand. Another effect is that a larger surface makes it easier to form a vortex. That's why you'll see some baristas tilting the pitcher when steaming foam—to better form a vortex. However, this is not mandatory. If you have the conditions, you can practice creating a vortex with water first, try different angles, and find the position that creates a vortex. You'll basically be close to achieving fine foam.
After learning to create a vortex, it's time for the next step. Front Street Coffee has seen some friends who can create a vortex, but the foam they produce is still very coarse. The reason is that the vortex they create is below the foam layer—an undercurrent. When texturing, we need to move the steam holes to the foam layer to have a texturing effect. Some friends might say, "If I move it up a bit, I hear the zzz sound, and the foam increases again." This indicates that your steam wand angle is too small; generally, it's not recommended to be less than 45 degrees.
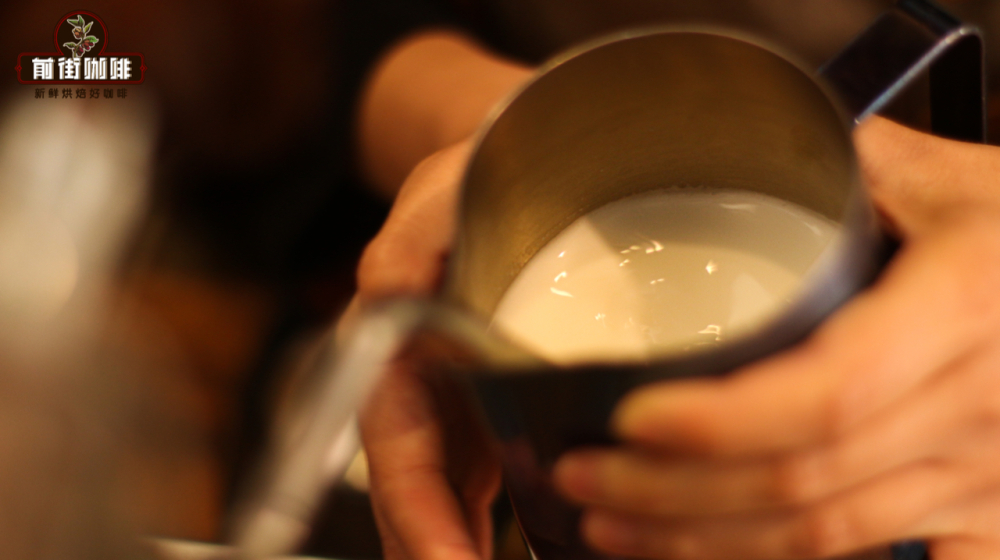
Steaming and texturing simultaneously
The principle is actually very simple: initially bury all the steam holes, then create a vortex, and then slowly move the pitcher downward bit by bit. As the pitcher moves down, the milk surface relative to the steam holes also lowers. When the steam holes are exposed above the surface, foam is created. The essence is to move bit by bit to control the amount of foam well. Moreover, since the steam is constantly creating a vortex in the foam layer, the foam is in a relatively fine state from the beginning. After creating the right amount of foam, hold the pitcher steady, and you can continue texturing.
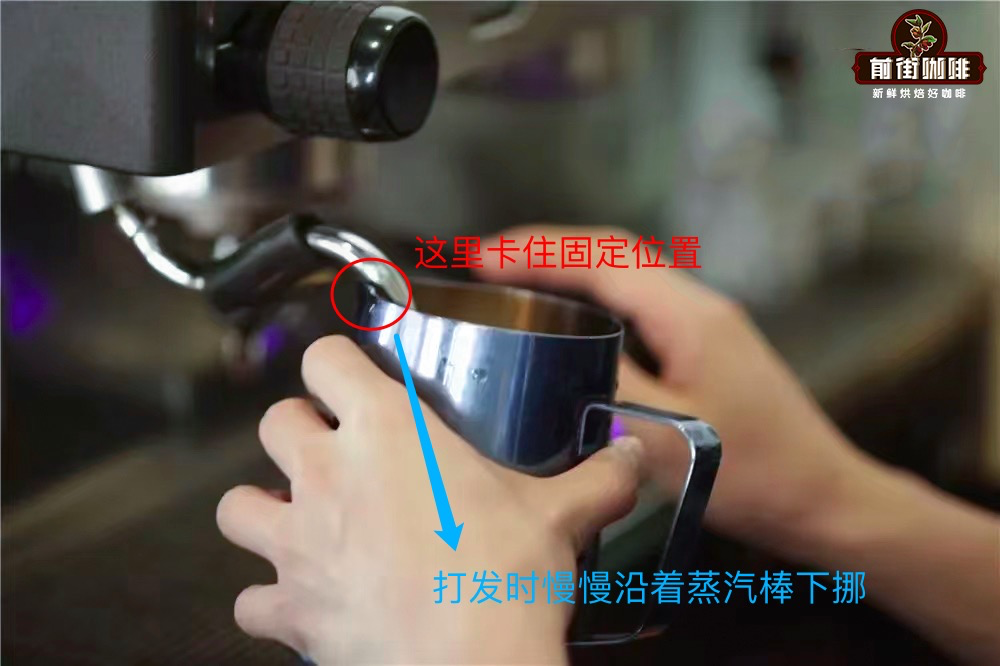
To do this consistently, you need to master using the pitcher to brace the steam wand, forming a stable structure that can move up and down. Front Street Coffee generally suggests using the pitcher's spout to brace the steam wand. When steaming foam, you just need to slowly move the spout down along the steam wand. You can practice with clean water; after a few tries, you'll get the feel for it.
The above content is compiled by CoffeeHunters, a coffee news website.


