







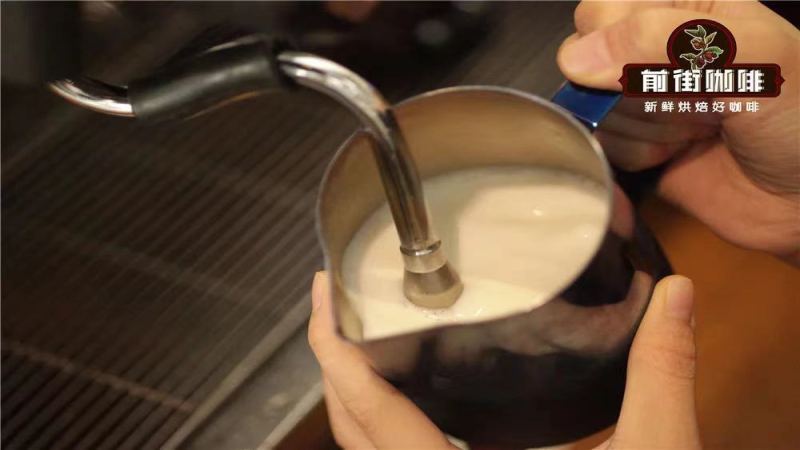

Front Street Coffee (FrontStreet Coffee) would say that steaming milk is a basic and core skill for every barista, and whether you can steam perfect milk is one of the factors for judging whether a barista's level is up to standard. For example,The milk foam for a latte is on the thinner side, making it smooth and delicate to drink. So when steaming milk for a latte, it should not be too thick; the steamed milk should have a glossy surface, with no obvious large bubbles or fine bubbles, and should be delicate and beautiful overall.
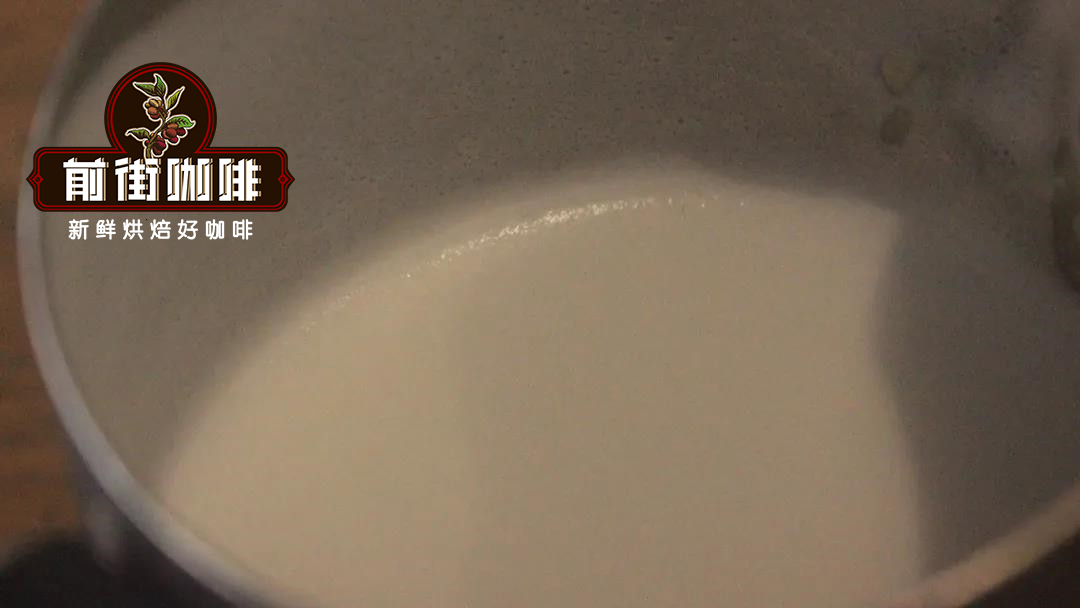
The basic principle of milk foaming is to use steam to strike the milk, forcing air into the liquid milk and using the surface tension of milk protein to form many tiny bubbles, causing the liquid milk to expand in volume and become foamy milk foam.
During the foaming process, lactose dissolves into the milk as the temperature rises, and the foaming action seals the lactose within the milk, while the role of milk fat is to make these tiny bubbles form a stable state, so that when these milk bubbles are drunk, the tiny bubbles burst in the mouth, allowing the flavor and aromatic substances to disperse and amplify better, giving the milk a sweet, thick taste and mouthfeel. Moreover, when blending with coffee, the bonding force between molecules will be stronger, allowing the coffee and milk to fully combine, so that the characteristics of both coffee and milk can each stand out while also being completely fused together, achieving a mutually reinforcing effect.
Front Street Coffee (FrontStreet Coffee) is here to answer some questions everyone commonly encounters when steaming milk foam!
Why does the milk foam not blend?
The milk foam immediately blends with the coffee as soon as it is poured into the espresso; forget about making a pattern, there is not even a line, it just floats away. Or else there is nothing wrong during the initial blending, but when it comes time to pour latte art, the milk foam clumps and floats directly on top. Front Street Coffee (FrontStreet Coffee) will first explain the first situation to everyone: this is because the amount of foaming is small and the steamed milk foam is thin, mainly just hot milk, so how could it hold a shape? So friends who encounter this situation should be a bit bolder and foam a little more!

Then why, when there is clearly no problem with blending, does the milk foam float on top during latte art?
This is mainly because the degree of integration between the milk and milk foam is relatively poor, so the milk and milk foam separate into layers, and in the end the milk foam floats on the coffee. In this case, the only thing to do is adjust during the stage of texturing the milk foam!
What determines the degree of integration between milk foam and milk? The degree of integration mainly depends on the following two points:
1. The steam wand air pressure. (The steam wand air pressure causes the milk foam to roll to different degrees during steaming; the greater the pressure, the higher the degree of integration.)
2. The fineness of the milk foam. (The finer the milk foam produced, the less air each individual bubble contains, the higher the density, and the smaller the buoyancy; the coarser the milk foam produced, the more air each individual bubble contains, the lower the density, and the greater the buoyancy. If the milk foam produced is relatively coarse, the foam will quickly float to the surface of the milk, and the degree of integration will be lower; if the milk foam produced is relatively fine, the foam will float to the surface of the milk more slowly, and the degree of integration will be higher.)
Why is a high degree of integration between milk and milk foam required?
The higher the degree of integration between milk foam and milk, the clearer and more delicate the lines of the latte art pattern will be; conversely, the lines of the latte art pattern will be blurrier and coarser.
How should the degree of integration of milk and milk foam be judged?
Front Street Coffee (FrontStreet Coffee) teaches you how to judge the degree of integration of milk and milk foam! Pour the steamed and fully integrated milk and milk foam into a glass and let it sit, observing the time it takes to separate into layers. The length of the layering time indicates the degree of integration of the milk and milk foam!
If it separates within 30 seconds, it is poor; if within 30-60 seconds, it is medium; if after 60 seconds, it is excellent.
Also, absolutely do not leave the steamed milk foam sitting aside for later use, because that will also cause layering!
Perhaps someone will ask, why is there a requirement for the temperature when steaming milk?
Generally, Front Street Coffee (FrontStreet Coffee) heats the milk to around 60 degrees, but it must not exceed 70 degrees, otherwise the protein structure in the milk will be destroyed.

Front Street Coffee (FrontStreet Coffee) previously conducted an experiment, steaming milk to different temperatures:
The situation at 90°C is: when it exceeds around 70°C, even if you do not deliberately foam it, the foam will rapidly expand, and at high temperature it keeps rolling; by the time it was almost 90°C, our milk had already overflowed the milk pitcher (as shown in the picture above), and stopped at 94°C. Obvious signs of foam dissipation appeared after about 1 minute and 30 seconds.
The situation at 60°C is: this is the temperature we use more often; steaming the milk foam according to conventional operations, we stopped when it felt hot to the touch, and the temperature was 63°C. Obvious signs of foam dissipation appeared after about 10 minutes and 50 seconds.
The situation at 30°C is: foaming according to conventional technique, the felt temperature was warm, and the stopping temperature was 33°C. Obvious signs of foam dissipation appeared after about 4 minutes and 20 seconds.
The situation at 12°C is: here we directly used milk from the refrigerator and a manual frother; the temperature when poured into the frother was 8°C, and the temperature after frothing was 12°C. Obvious signs of foam dissipation appeared after about 5 minutes and 15 seconds.
Milk foam within the 50~70°C range has the best durability whether in pure milk or after being added to coffee, for two reasons: first, after steaming the milk foam there is relatively ample time for mixing and texturing between the milk foam and the liquid milk; second, it is in the period when the milk has begun to denature but has not yet reached irreversible denaturation, so stability is relatively high.
When the milk foam is steamed to around 80~90°C, irreversible denaturation occurs in the milk. There are two kinds of protein in milk: whey protein and casein; whey protein begins to denature above 60°C. So when we steam to around 90°C, the protein elasticity is insufficient, so the foam dissipates relatively quickly.

When the milk foam is steamed to around 30~40°C, the reason the foam dissipates relatively quickly is insufficient mixing and texturing time between the milk foam and the liquid milk after the milk is foamed.
The reason cold milk foam dissipates quickly is that we use a manual frother, and its degree of mixing cannot be compared with the integration achieved by the high-speed mixing of a steam wand. The degree of integration is not high, and in addition, during the period of transition from low temperature to room temperature, it is a heating process for the milk foam; under external heat pressure, the internal gas expands when heated, so the milk foam bursts relatively noticeably.
How can Front Street Coffee (FrontStreet Coffee) produce plenty of fine-textured milk foam?
Regarding how to make a good milk foam, here is an foolproof milk foaming method: pour half a pitcher of milk into the stainless steel pitcher, position the steam wand perpendicular to the milk either in the very center or at the edge of the pitcher, then let the steam tip just touch the surface of the milk, then open the steam to the 1/2 position and do not move the pitcher; slowly close it when the milk reaches 50 degrees, and close it exactly at 60 degrees; the final temperature will reach 66 degrees, and in this way you can produce a good pitcher of milk foam.

What type of espresso machine should be used to steam milk foam?
Generally, machines have three-, four-, and five-hole steam tips; as long as you become slightly familiar with them, you can steam good milk foam. However, the machine's steam output, the wetness or dryness of the steam, and the size of the steam holes still affect milk steaming.
Why practice steaming milk foam with water?
First, as everyone knows, water is transparent, allowing you to see more clearly how the vortex forms.
Second, it allows you to better master the steaming method for milk foam with different numbers of holes! Third, beginners must remember that when you are not yet able to steam the milk foam to a silky consistency, you should use a thermometer; if the temperature cannot be better controlled, then the coffee you make will be unstable. You may produce good milk foam once or twice out of ten attempts, but that is not stable quality.
The difference between steaming milk with steam and frothing milk by hand
First of all, hand-frothed milk foam simply cannot compare with machine steam. The fineness of steam makes the milk foam it produces very fine and silky; steam has a broad radiation area, so the milk foam produced is relatively even and mixes relatively well. Hand frothing mainly relies on squeezing through the small holes of a filter mesh, so the milk foam produced is relatively coarser.

How does Front Street Coffee (FrontStreet Coffee) make milk foam?
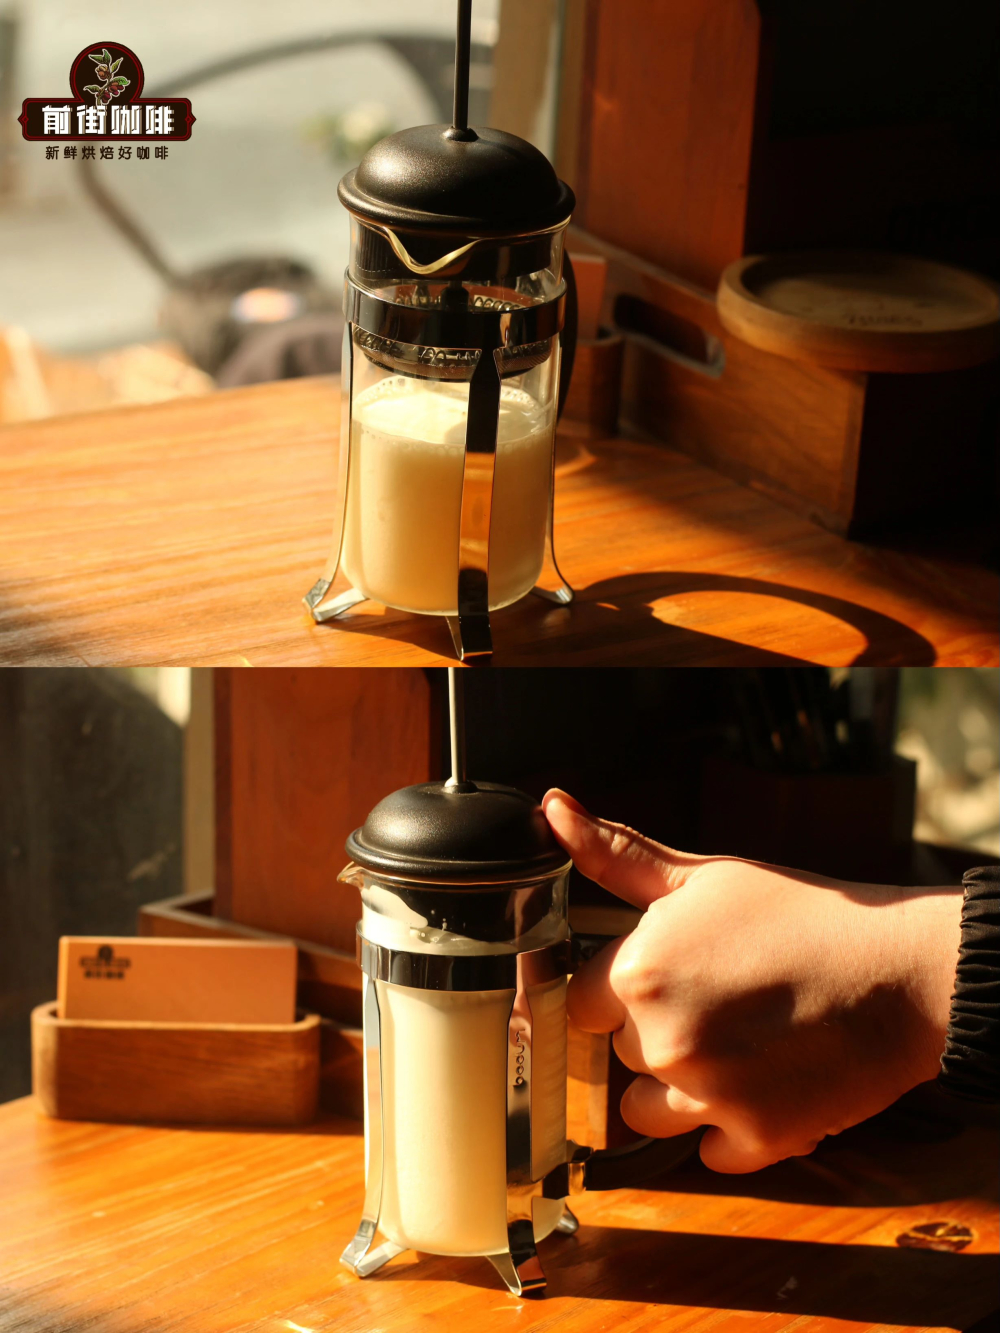
Method 1: Make handmade milk foam with a milk frother / French press
1. Pour the milk into the milk frother, and the amount should not exceed 1/2 of the frother, otherwise the milk will overflow due to expansion when making the milk foam.
2. Heat the milk to around 60 degrees, but it must not exceed 70 degrees, otherwise the protein structure in the milk will be destroyed. Note! The lid and filter mesh must not be heated directly. (If making iced milk foam, cool the milk to below 5 degrees; of course, do not over-chill it and let the milk freeze.
3. Put on the lid and filter mesh, and quickly pump the filter mesh to press air into the milk. When pumping, you do not need to press all the way down, because the goal is to drive air into the milk, so just move it at the surface of the milk; it also does not need to be done too many times, about thirty gentle pumps are enough.
4. Remove the lid and filter mesh, use a spoon to scrape off the large coarse foam on the surface, and what remains is dense hot (iced) milk foam.
Method 2: Make milk foam with a steam milk frother
First, do not put the steam wand into the milk yet, because there may be some condensed water in the steam wand, so first release some of the initial steam and also expel the excess water.
Insert the thermometer into the container, then insert the steam wand diagonally into the milk, and turn on the steam switch.
Slowly adjust the position of the steam nozzle to just a little above the surface of the milk, but absolutely do not let it rise above the liquid level, otherwise the milk will splash everywhere. When the position is correct, you will hear a steady “hissing” sound; otherwise it will be very loud or almost silent.
Once there is enough milk foam, you can bury the steam wand a bit deeper and let the steam continue heating the milk. The best insertion angle for the steam wand is just enough to make the milk rotate.
When the temperature reaches between 60 and 70 degrees, you can turn off the steam switch.
Use a wet cloth to wipe clean the milk attached to the steam wand, and at the same time release some steam again, so that it will not be difficult to clean after the milk dries.
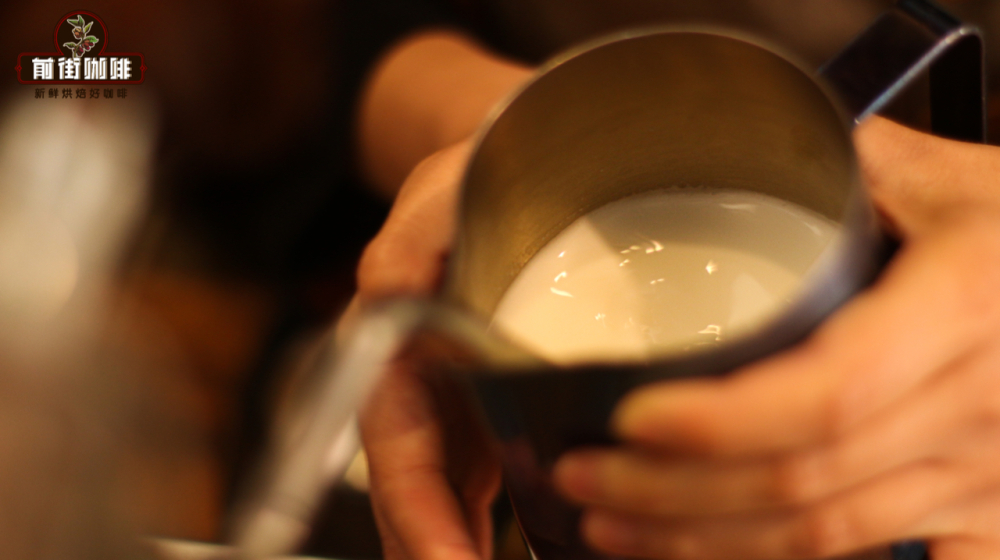
Tips for judging temperature by hand when steaming milk foam:
1. The most suitable temperature for milk foam
When milk is foamed on a coffee machine, the most suitable temperature is controlled within the range of 55~65 degrees, for the following reasons:
1. If the milk temperature is below 60 degrees, it will lower the temperature of the coffee a great deal and affect the taste;
2. The lactose in milk between 55~65 degrees will be brought out, making the coffee more fragrant, sweeter, and smoother.
3. In milk above 70 degrees, the nutrients in it will be destroyed; after all, the milk will become more watery, and the smoothness and sweetness will both deteriorate.

2. Tips for judging temperature by hand when steaming milk foam
Now that we know the most suitable temperature for milk is between 55~65 degrees, how do we master this temperature? My personal suggestion is that you need to be equipped with a thermometer. You can directly insert the thermometer into the foaming milk, and then the temperature of the milk will be clear at a glance. Of course, with accumulated experience, you can eventually do without the thermometer and judge the temperature of the milk foam directly by hand.

The technique is as follows:
1. Hold the milk pitcher with your left hand, turn on the steam with your right hand, and begin foaming the milk;
2. After turning on the steam, place your right hand back against the wall of the milk pitcher to feel the temperature of the milk foam;
3. When your hand feels very hot and you can no longer keep it pressed against the pitcher, stop foaming the milk, then insert the thermometer into the milk foam and measure the temperature.
4. If the temperature has not reached the range of 55~65 degrees, it is suggested that next time when it becomes hot to the touch, you move your palm away and begin counting silently in your head 1, 2, 3, 4, usually in seconds, to add extra time. For example, after you move your hand away from the milk pitcher, if you add four seconds and the measured temperature reaches 65 degrees, then congratulations, you have found the pattern; from then on, just add about four seconds each time it becomes hot to the touch. By adding or subtracting time according to point 4 above, you can easily master the skill of judging milk foam temperature by hand. The above technique is somewhat of a shortcut; in fact, after steaming milk foam for a period of time, you will more or less find the pattern and the feel, and the temperature of the milk foam will also become easier to control.
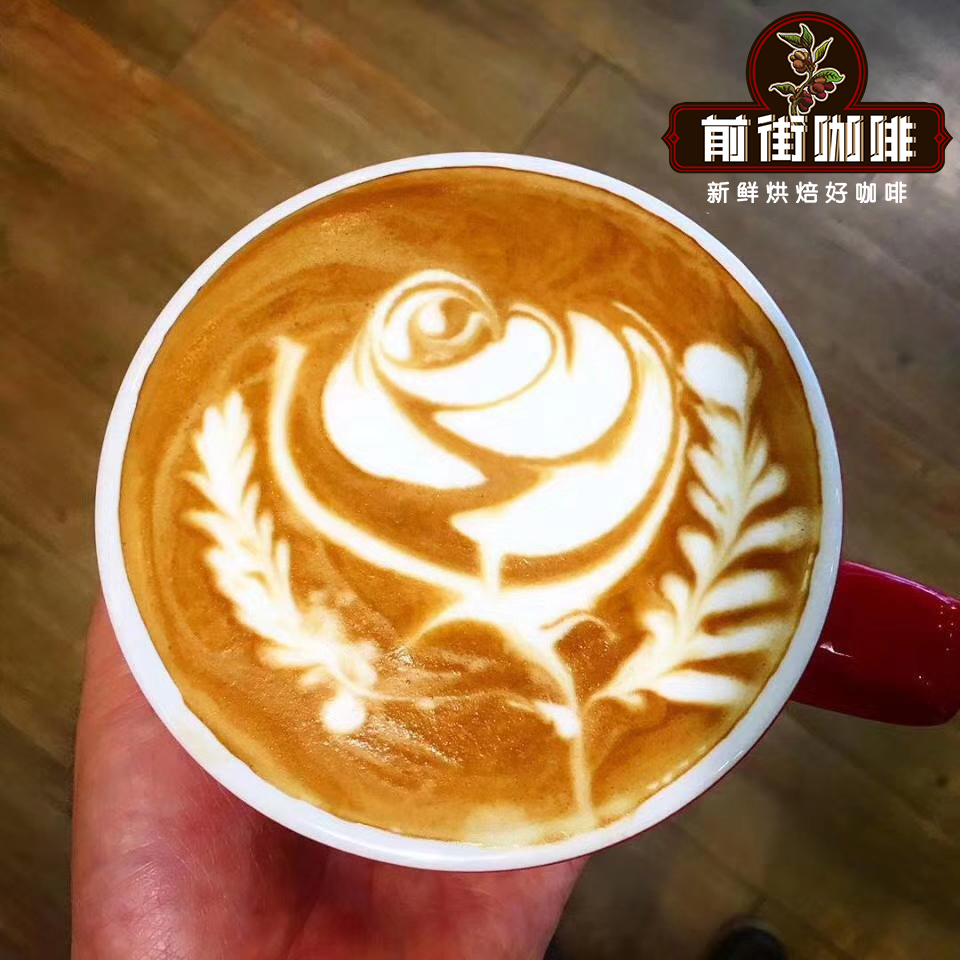
Five common misunderstandings about steaming milk foam
Regarding milk foam, there are several misunderstandings we need to understand so that we can better understand milk foam.
Misunderstanding 1: Using up-and-down shaking of the latte art pitcher to remove surface coarse foam. This is a very good method, but many friends have developed a strong dependence on it. If their milk foam is not steamed well, they do not summarize why it was not steamed well, but use this method to compensate. Over time, dependence develops. Front Street must say here that if you rely only on this method to remove coarse foam, your milk foaming technique cannot improve, and you also cannot practice advanced latte art skills.
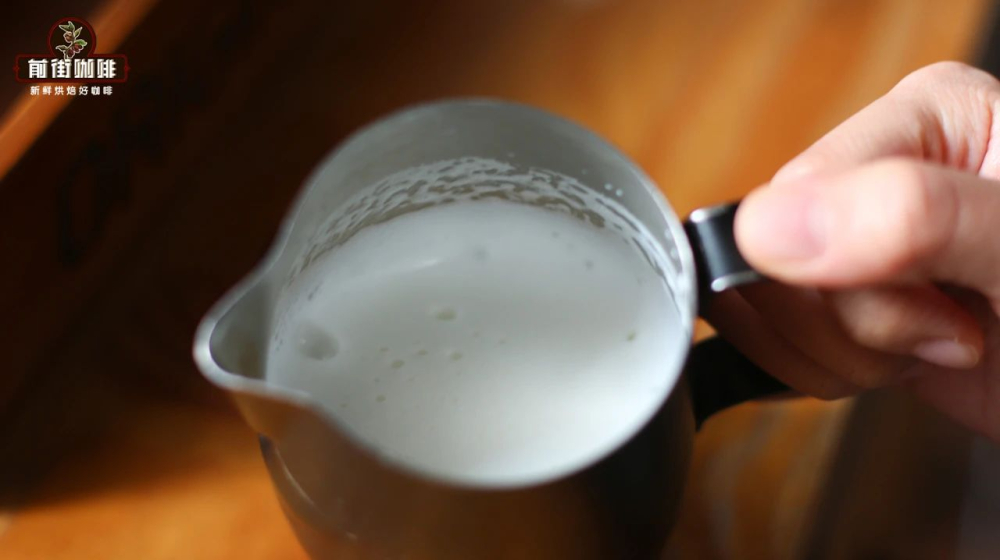
Misunderstanding 2: Using a spoon to scoop off the surface coarse foam. Front Street does not recommend this method. Although some competitors use this method in competitions, Front Street believes this is because their milk foaming technique is not up to standard, with too much coarse foam on the surface, which cannot be shaken off and can only be scooped away. Anyone who uses similar methods to handle milk foam should definitely strengthen their steam control technique when steaming milk foam.
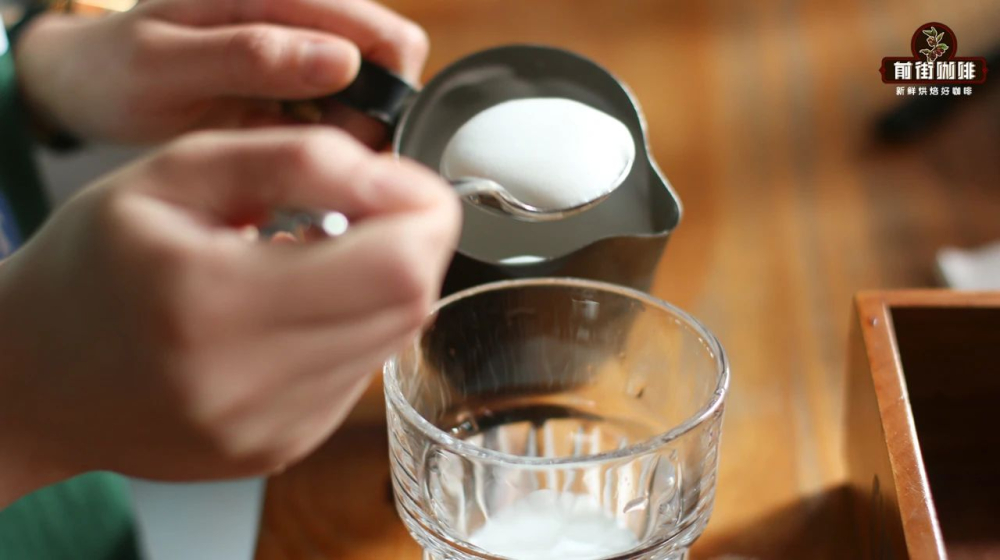
Misunderstanding 3: After steaming the milk foam, leaving it to sit nearby for a little while. This method is very troublesome; it is a sign that the milk foaming technique has not even reached the entry level. It will intensify the layering of the milk foam, and the integration of hot milk and milk foam will be very difficult to complete. With the slightest carelessness, it becomes milk as milk and foam as foam. The whole cup of coffee has no balanced mouthfeel.
Misunderstanding 4: When pouring back and forth between two latte art pitchers, keeping them at a very high position; the original purpose is integration, but instead more coarse foam is stirred up.

Misunderstanding 5: Blaming the steam when the milk foam is not steamed well. Front Street believes that a coffee machine steam pressure (that is, boiler pressure) of 0.8 BAR is a relatively easy milk foaming pressure to master; at this pressure, steaming milk foam is very prolonged and it is also very easy to understand the principle of milk foaming, but making a pitcher of milk foam takes about 13 seconds, alas, not as fast as high pressure. If the pressure is 1.0 or 1.1 BAR, then the ways and methods of steaming milk foam will change somewhat, but the principle is the same. (This point excludes the phenomenon of "spitting" caused by impure steam, where the latte art pitcher also shakes badly. If this phenomenon occurs, please empty the steam and then fully heat it once and try again.
When making complex patterns, the most important thing is to have a pitcher of high-quality milk foam, and the temperature of the milk foam is a key factor affecting the quality of the milk foam.
Front Street Coffee (FrontStreet Coffee) is here to share with everyone the method for making a tulip latte art:
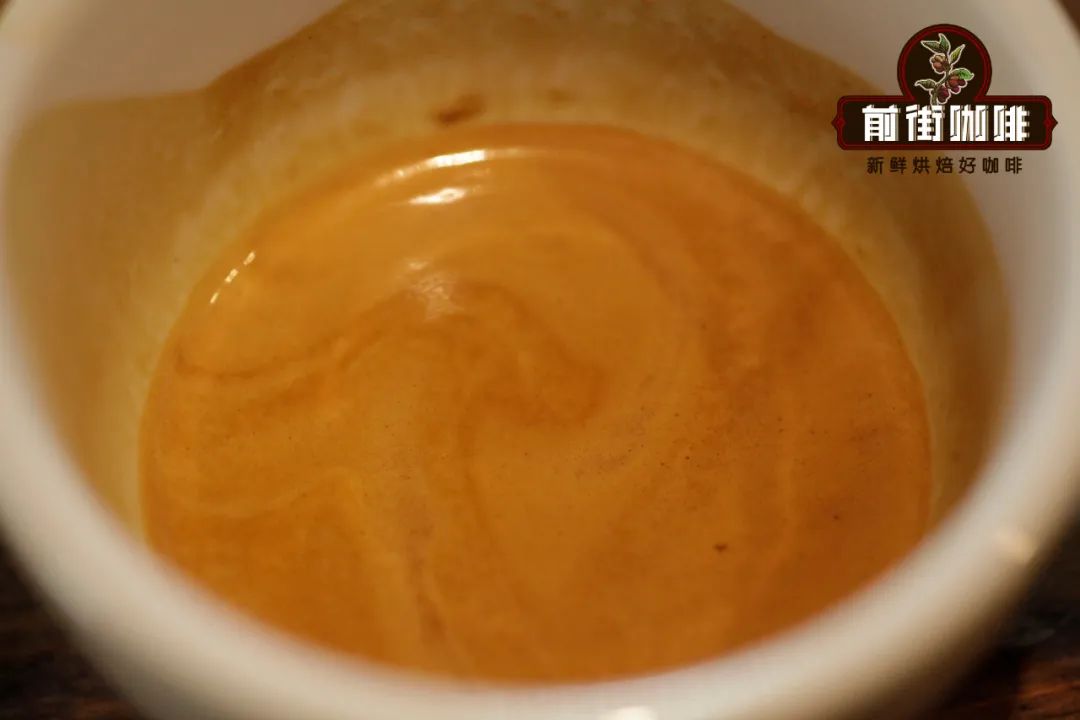
First, you still have to extract the espresso. Front Street Coffee (FrontStreet Coffee) uses its own Front Street Sunflower Warm Sun espresso blend beans.

Espresso portion
Coffee bean information
Coffee bean name | Front Street Sunflower Warm Sun Blend |
Blend bean sources | Honduras Sherry Barrel, Yirgacheffe Red Cherry Project sun-dried processing |
Cupping flavor | Vanilla, cream, fermented wine aroma, citrus, chocolate |
Extraction parameters
Coffee powder dose | 14.5 grams |
Coffee liquid yield | 20 grams |
Extraction time | 28 seconds
|
How Front Street makes tulip latte art
1: Integrate until four-tenths full, choose a point at the one-third position to inject, and keep the latte art pitcher against the edge of the coffee cup.
2: Slowly move to the center position, and note that a slight left-right swing is enough.
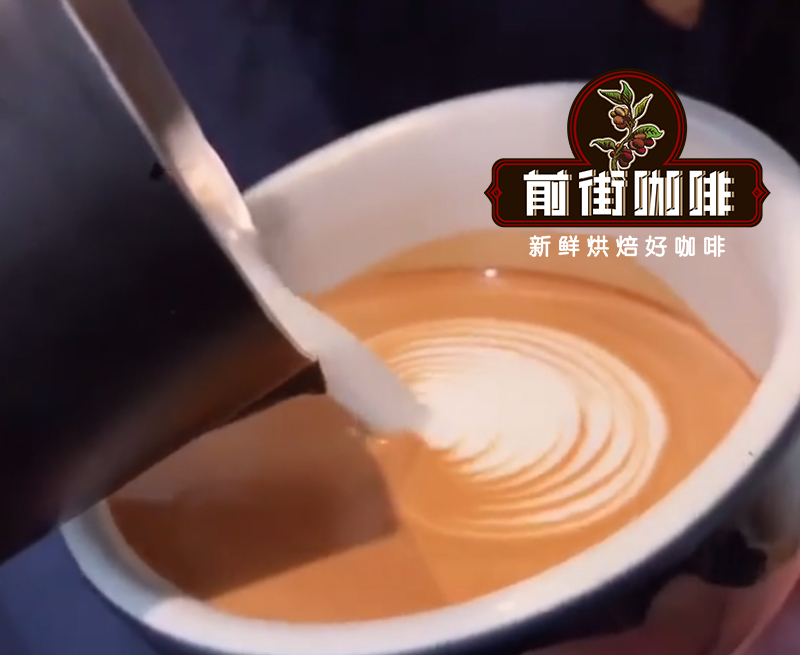
3: When the textured pattern flows back, reduce the flow rate and speed up the swinging, paying attention to the amplitude of the swing.
4: Raise the latte art pitcher; this step is similar to the rosetta.
5: Inject again at the one-third position, paying attention to the flow rate and the height of the latte art pitcher, then push forward, and note the pattern changes at the arrow position.
6: Push until the pattern is surrounded, raise the latte art pitcher, and draw it in finely; a small gap will appear.
7: Inject again, grasp the flow rate well, keep the spout of the latte art pitcher on the surface of the coffee liquid, push forward, and pay attention to the small gap in the previous pushed pattern.
8: When a "petal" is surrounded by the previous "petal," raise the latte art pitcher and draw it in finely, still leaving a small gap.
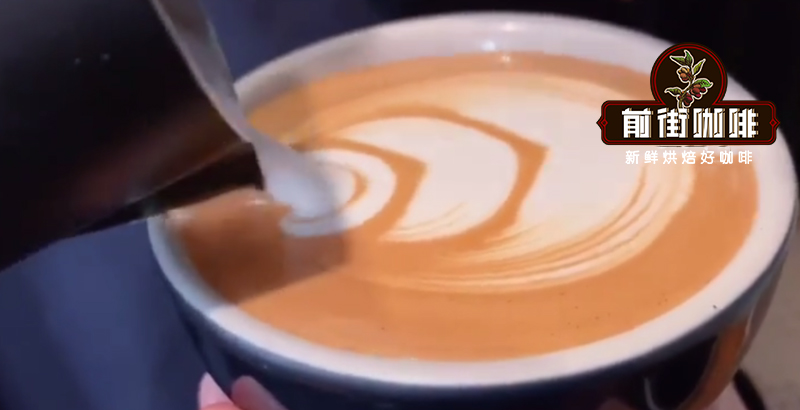
9: Inject again, swing slightly left and right, pause, and form a small heart, paying attention to the change in the gap at the black line position.
10: Raise the latte art pitcher and finish by controlling the flow rate well.
11: You can clearly see how the "petals" are formed; when finishing, be sure to pay attention to the flow rate.

The textured tulip is not particularly difficult and is also quite suitable for practice. Watch the video a few more times to understand the formation and changes of the pattern, as this will be quite helpful for latte art practice. During practice, pay attention to the amplitude of the swing; it does not need to be too fast, and there is no need to worry about too few texture lines. You can also push forward only twice, and once you are proficient you can appropriately add some texture and push forward a few more times to make the pattern look better.
For more specialty coffee beans, please add the private WeChat of Front Street Coffee (FrontStreet Coffee), WeChat ID: kaixinguoguo0925
The above content is compiled by CoffeeHunters, a coffee news website.


