







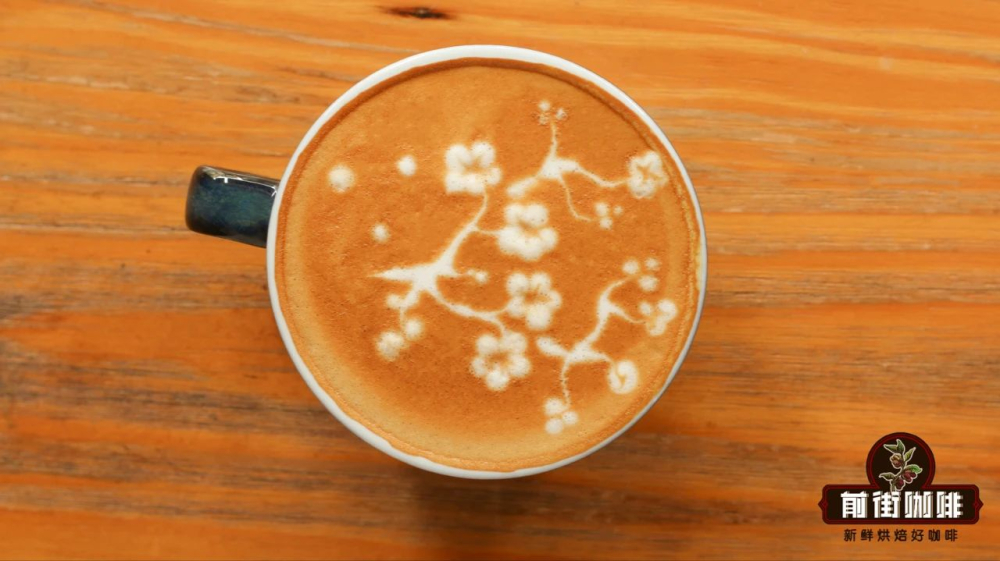
Fancy coffee art mainly includes three forms:Latte art, etching, and printing.
Printing uses molds as an aid, sprinkling cocoa powder, chocolate powder, or cinnamon powder onto the coffee to create a pattern. Latte art and etching are collectively called milk latte art (Latte Art). The former involves pouring hot milk into espresso while using techniques such as wrist movements to directly "pull" out a pattern. The latter uses auxiliary materials such as chocolate syrup, as well as tools like toothpicks and bar spoons, to do some carving work to make the pattern perfect. Latte art is the foundation, while etching is the auxiliary. Latte art tests technique, while etching tests creativity.
Five Steps to Learning Milk Latte Art
Step one: First, we need to choose a latte art pitcher with a pointed spout and a wide-mouthed coffee cup, and ensure that we can extract excellent Espresso (it is best to use an Espresso coffee machine, because the richness of the coffee crema is closely related to latte art), and can steam dense, thick milk foam.

We chose [Front Street Specialty Blend]. The 3:7 ratio of Colombia and Brazil gives the espresso a soft slight acidity in flavor, with nutty notes and a caramel-like sweet aftertaste. After adding milk, the sweetness increases, and when it cools, it takes on a bit of a cookie-like feeling.

Step two: Practice how to control the flow rate and direction of the stream. At first, you can practice with clean water, then practice with dish soap and soy sauce. Of course, using coffee grounds mixed into a paste can better simulate the texture of espresso.
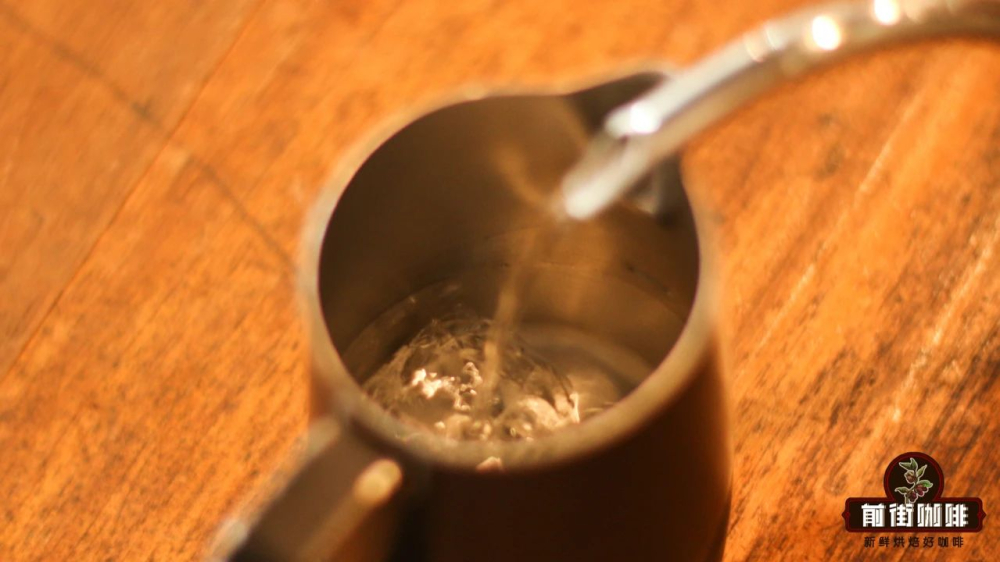
Step three: Practice the process of presenting basic patterns, and try to achieve mastery through repeated practice. A tulip and a leaf are two relatively basic milk latte art patterns.
Step four: Use milk and coffee to practice pouring basic latte art patterns.

Step five: With the foundation from step four, you have already become a qualified milk latte artist. Next, you need to further refine your technique.
Let's extract a cup of Espresso, then hold the coffee cup with one hand, tilting the rim slightly inward, and hold the milk pitcher with the other hand. The pitcher should be about 10 cm above the coffee cup, with prepared milk foam inside, and the pitcher body slightly tilted, with the pointed spout facing forward toward the coffee cup. Next, we begin our latte art journey.
[Tulip Coffee Latte Art Steps]
1. Mix the milk and coffee well;
2. Find the center point of the cup, bring the pitcher close to the cup and increase the flow to maximum until a white ball appears on the coffee surface, then stop pouring;
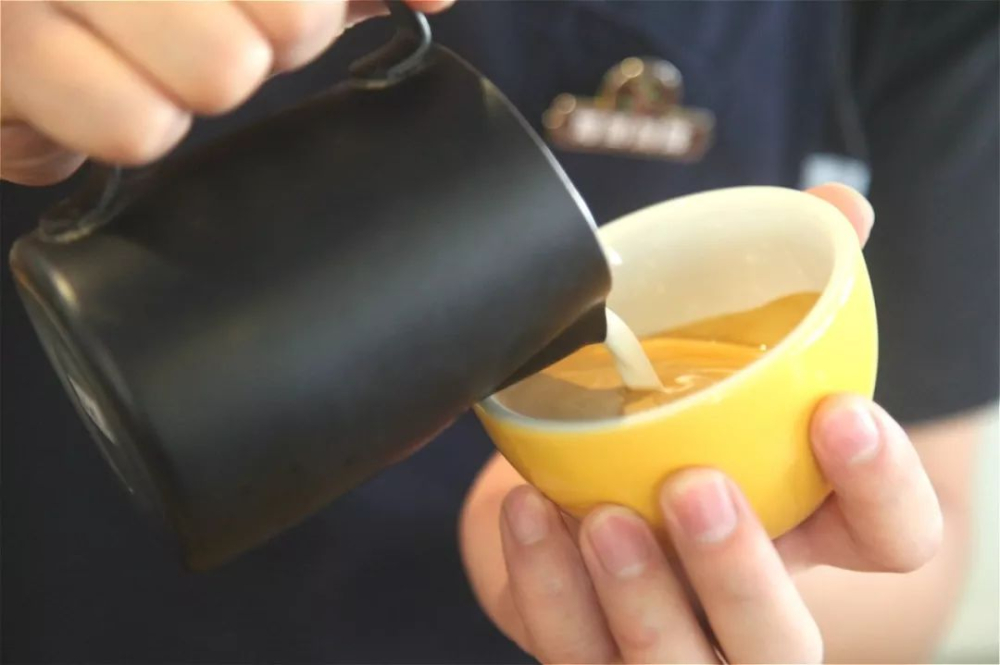
3. The second pouring point should be a bit farther back. Pour with a high flow rate, and stop pouring once a white ball appears;
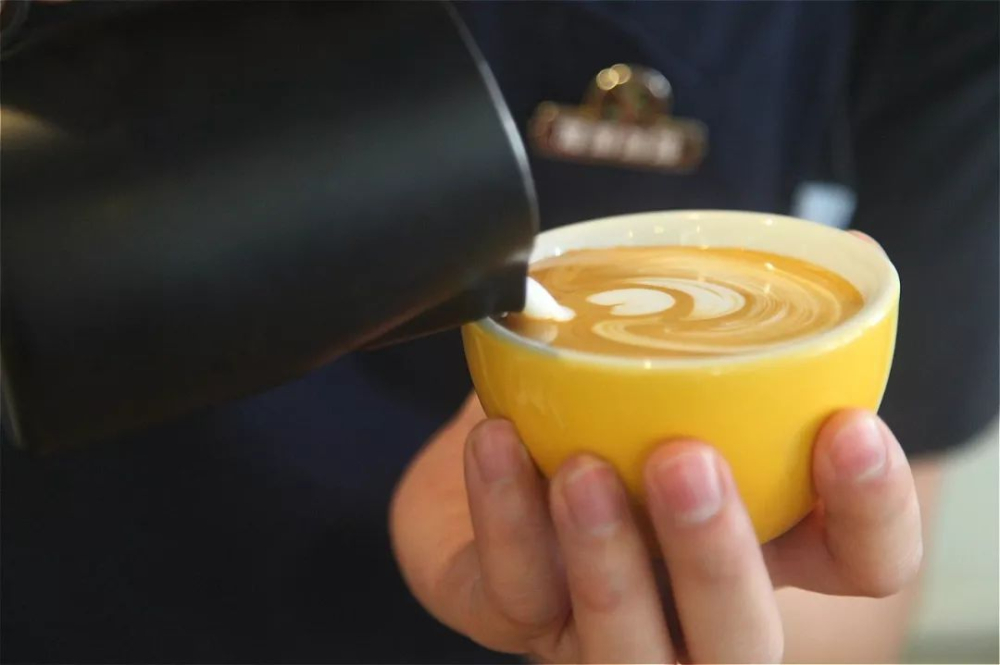
4. Repeat step 3 several times to make a tulip.
5. After the last ball appears, immediately reduce the flow and draw a line, pulling out in a straight line.
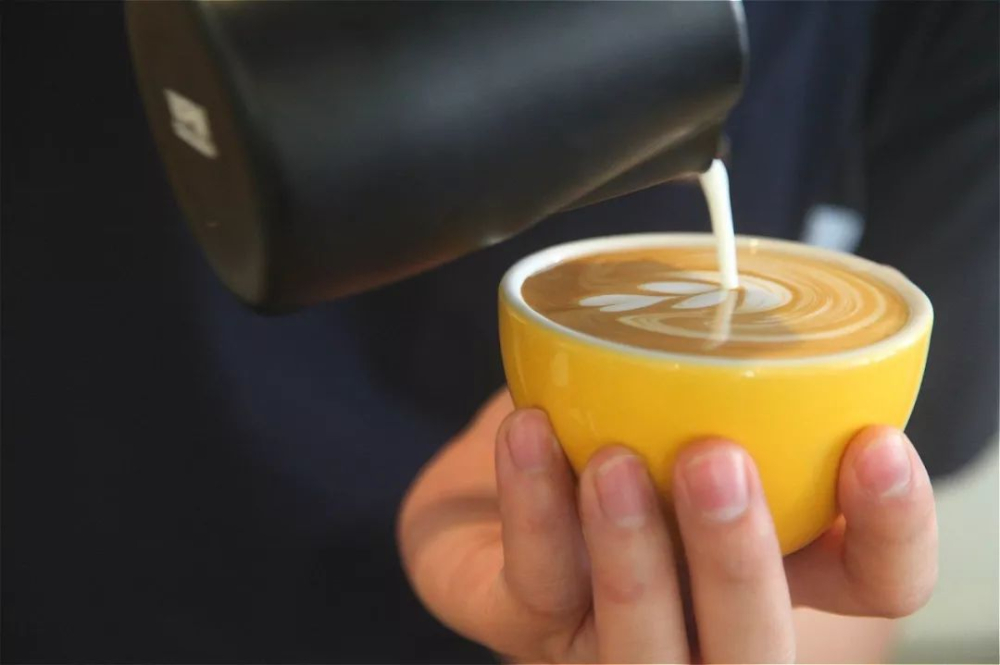
The tulip is not particularly difficult and is also quite suitable for practice. Practice several times, understand the formation and changes of the pattern within it, and master the key points. When practicing, pay attention to the amplitude of the swing. It does not need to be too fast, and there is no need to worry about too few ripples. You can also just push forward twice. Once you are proficient, you can appropriately add some ripples and push forward several more times, which can make the pattern look better. Moreover, to make tulip latte art, you need to know when to stop and when to continue pouring milk foam. This rule of slight pauses is important.
[Basic Steps for Leaf Pattern Latte Art]
1. Pour the prepared milk into the cup containing Espresso. Be careful at the beginning not to let the milk foam float on the coffee surface. Tilt the cup toward the latte art pitcher, and pour from a point slightly behind the center point.
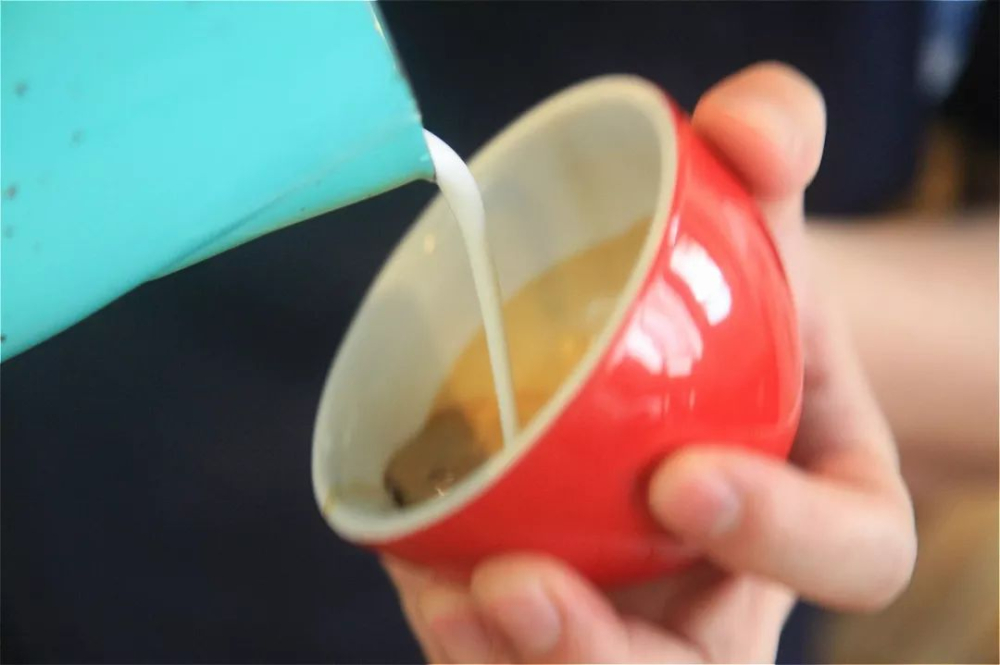
2. When the coffee surface begins to show whitening, increase the amount of milk being poured, and at the same time gently swing the latte art pitcher to create texture. Do not panic at this point; keep shaking and maintaining increased flow, and slowly move backward.

3. When you have drawn the desired number of leaves and decide to enter the finishing stage, raise your latte art pitcher to about 5 cm above the coffee, reduce the milk flow to a thin stream, and push forward to draw a stem. Then it is done~
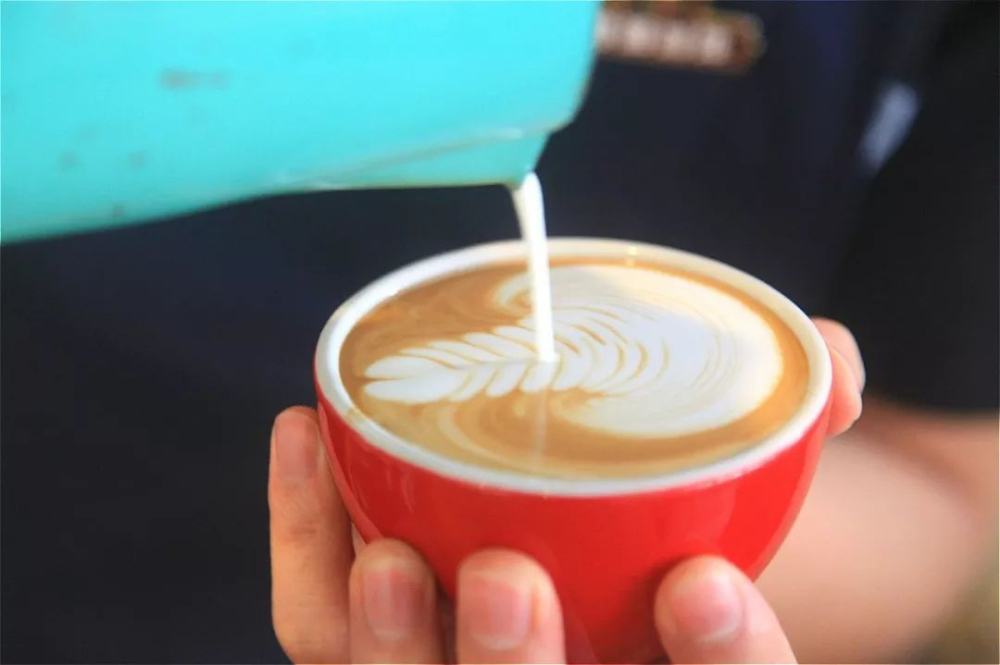
There are probably quite a few baristas or coffee lovers who got into coffee because of latte art. Coffee latte art is not only a visual enjoyment, but the dense mouthfeel of the milk foam and the technique of integrating it with coffee have also been continuously improved, ultimately achieving an artistic effect that is complete in "color, aroma, taste, shape, and artistry." Coffee latte art looks difficult, but in fact, as long as you practice more and master the key points, it becomes much easier.
The above content is compiled by CoffeeHunters, a coffee news website.


