








Latte Art Milk Froth: Key Conditions and Steaming Techniques
Latte art depends on milk froth with the right texture. The goal is a glossy, microfoam with bubbles so small they are barely visible. To achieve this, start with cold fresh milk and a clean pitcher. The steam wand should be positioned just below the surface to introduce air, then lowered to create a rolling vortex. The process takes practice. If you want to know how to froth milk for a latte, the key is to stretch the milk briefly, then focus on heating and spinning until the pitcher feels warm but not too hot to hold. Overheating will ruin the texture.
The latte milk to coffee ratio also matters for both taste and appearance. A typical latte uses about one part espresso to three or four parts milk. That balance allows the milk's sweetness to complement the coffee without overwhelming it. For latte art, the milk should be poured at a steady rate, starting high to mix and then lowering to draw patterns. The pitcher should be tilted, and the cup should be rotated as needed. Whole milk is easiest to work with because its fat and protein content helps create stable foam. Plant-based milks can work but often need barista versions.
Whether a latte art coffee looks good depends not only on the barista's skill, but also crucially on the quality of the milk foam. So, what kind of milk foam is suitable for latte art? Front Street Coffee believes that ideal latte art milk foam needs to meet three core conditions: good fluidity, a fine and smooth texture, and not too high a water content. Fluidity is closely related to foam thickness—too thick and it's hard to flow, too thin and the patterns tend to float unpredictably; fineness depends on the length of texturing time—the longer the time, the denser the bubbles; and water content is related to steaming time—over-steaming dilutes the milk, causing the foam to atomize and the pattern to blur during pouring. This article will explore these three dimensions in detail, explaining how to create high-quality milk foam suitable for latte art by controlling aeration, using leverage to stabilize the pitcher, and adjusting milk temperature, along with practical tips shared by Front Street Coffee.

However, before formally learning latte art, there is one thing more fundamental than mastering the pouring techniques: making good milk foam. Because even if the barista's technique is skilled, if the milk foam itself is subpar, the final pattern will hardly be satisfactory. So, what kind of milk foam is most suitable for latte art?
I. Good Fluidity
When it comes to milk foam suitable for latte art, the first condition is fluidity. If you only want to make a simple large heart, perhaps the demand for fluidity isn't that high; but once you want to challenge more complex patterns, the foam must be sufficiently fluid. The level of fluidity mainly depends on the thickness of the foam—the thicker the foam, the worse the flow; the thinner the foam, the smoother the flow.
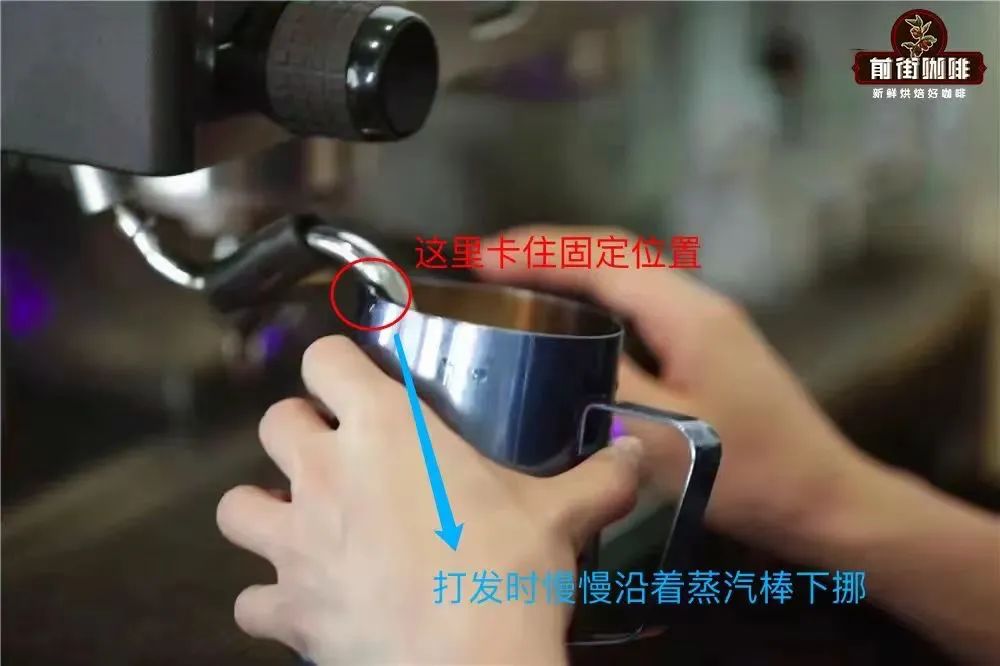
Of course, the foam shouldn't be too thin either. When fluidity is too high, the patterns tend to drift during pouring and are hard to control. Therefore, it's necessary to appropriately increase the thickness, keeping it around 1 centimeter, which is more suitable. The thickness of the foam is mainly determined by the number and duration of aeration during the steaming process. Many friends understand this principle, but in practice, they often can't resist aerating multiple times, such as suddenly giving two more bursts during the texturing stage, resulting in thicker foam. For this, Front Street Coffee shares a little tip: use leverage.
Specifically, find a pivot point between the pitcher and the steam wand, and use this pivot to stabilize the pitcher. This way, you don't have to rely entirely on hand strength to steady the pitcher during steaming, making it less likely to accidentally aerate due to shaky hands.
II. Fine and Smooth Texture
Just meeting the fluidity requirement is not enough. If the milk foam is too rough and separates from the milk too quickly, it will also fail to pour satisfactory patterns.
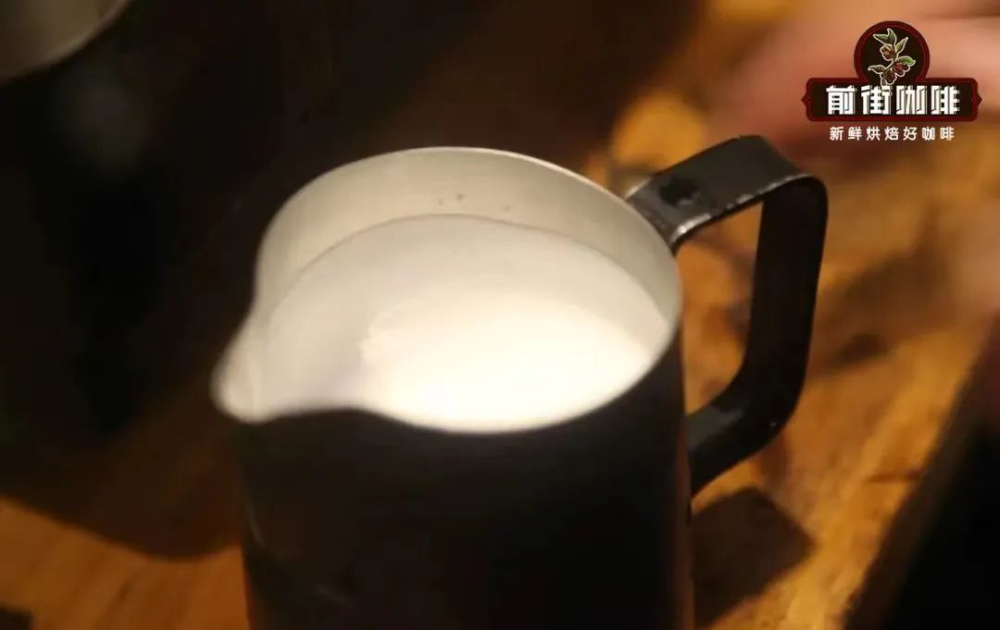
This involves controlling the texturing time. After aeration is complete, you need to submerge the steam wand into the milk to create a vortex, using the suction of the vortex to roll large bubbles in and cut them into countless tiny bubbles. The longer the texturing time, the denser the bubbles; the shorter the texturing time, the rougher the foam texture. So how do you judge the quality of the foam? The method is simple. Place the pitcher against the light and observe whether the foam surface reflects like a mirror and whether it has a glossy sheen. If it's dull and lackluster, it indicates that the bubbles are dry and rough. In this case, there is still room for remedy, such as eliminating rough bubbles by transferring the foam to another pitcher or shaking it.
Then, next time you steam, just remember to extend the texturing time. If the heating speed is too fast and the milk reaches the target temperature before the foam becomes dense, you can refrigerate the milk or lower the refrigeration temperature to make the milk's starting temperature lower, thereby gaining more texturing time.
III. "Water Content" Should Not Be Too High
Although you need to extend the texturing time, it can't be extended indefinitely. Because heating the foam mainly relies on steam, and while steam heats the milk, it also dilutes it. If the steaming time is too long, there will be too much water in the milk, diluting its concentration, making the foam more prone to atomizing during pouring, ultimately causing the pattern to "blur into a mess."
Separation can also cause blurring. Observe the foam after it has merged with the coffee; if it has sufficient fluidity yet appears atomized, it's likely due to excessive water content (after all, separated foam inherently has low fluidity). If there is too much water, you can appropriately adjust the refrigeration temperature of the milk to shorten the texturing time and reduce the impact of water on foam stability.
In summary, Front Street Coffee believes that milk foam suitable for latte art should meet these criteria: high fluidity, fine and smooth texture, and not high "water content." As for specific steaming techniques, interested friends can directly search and view them in the Front Street Coffee official account.
The above content is compiled by CoffeeHunters, a coffee news website.


