








How do crema and milk foam work together in latte art?
Latte art depends on two things at once: espresso crema of moderate thickness and milk frothed fine and smooth. If crema is too thin, the foam drifts during pouring and lines lose shape. If crema is too thick, the foam cannot push through and piles into a blob. Both sides need to be right for clear patterns.
Bean roast level, freshness, grind setting, and extraction pressure all feed into crema quality, while steam technique and pouring rhythm shape the foam. Fresh beans and a proper latte milk coffee ratio give the contrast between white foam and brown crema that makes a pattern readable. Working through each cause, one symptom at a time, usually locates the failure quickly.
Many coffee enthusiasts who try latte art at home often run into problems like patterns not appearing, blurry lines, or clumpy milk foam. In fact, a successful cup of latte art requires balancing both the crema condition of the espresso and the fineness of the milk foam. From the roast level and freshness of the coffee beans, to the extraction pressure of the espresso machine, to the milk frothing technique and the pouring rhythm, every step directly affects the final result. This article will break down the common causes of latte art failures one by one—covering crema thickness, bean selection, extraction adjustments, milk foam fluidity, and timing for pattern formation—and share practical tips that Front Street Coffee has summarized through hands-on practice, to help you create smooth and beautiful rippled patterns.

Latte art patterns failing to come out properly is a common frustration for many home coffee enthusiasts. You follow the tutorial step by step—pull the espresso, steam the milk foam, pour and integrate, push out the white lines—yet the final result just doesn't match the ideal shape. Even when you ask for help online, you often can't get a clear answer. When this happens, we need to troubleshoot the causes one by one based on the specific symptoms.
Friends often ask Front Street: between crema and milk foam, which has a greater impact on latte art? The answer is actually very clear—neither can be missing.
If the crema condition is poor, no matter how well the milk foam is steamed, it won't form a pattern with clear contrast. Conversely, if the milk foam isn't dense and smooth enough, even with perfect crema, it still won't integrate perfectly—the foam will either stiffly float on the coffee surface or sink straight to the bottom, making it impossible to create any shape. In other words, to achieve a silky-smooth latte art effect, you need both espresso crema of moderate thickness and milk frothed to a fine, smooth state.

1. Coffee bean roast level, freshness, and grinding/extracting fresh
For latte art, the crema should be neither too thin nor too thick. When the crema is too thin, the flow direction of the milk foam becomes hard to stabilize, and unexpected "drift" tends to occur during pouring. When the crema is too thick, the milk foam can't push through it, and you end up with a blob piled up in the cup.
The ideal crema thickness for making a latte is about 0.5–0.7 cm—thick and rich, yet still retaining some fluidity when swirled. To achieve this, you must first rule out pre-ground coffee powder—it has already lost most of its carbon dioxide and aroma. Second, it's recommended to use a medium-dark roasted espresso blend that is right within its peak flavor window. For example, Front Street Classic Blend with its rich caramelized aroma, Front Street Commercial Blend in the Italian style, and Front Street Dark Cocoa Blend with its balanced taste and recommended by many baristas, are all espresso beans with strong latte art performance.
Espresso beans that are too fresh contain a large amount of carbon dioxide, making the crema too thick. Beans that aren't fresh enough have insufficient gas, resulting in thin crema. Based on experience, Front Street recommends letting coffee beans degas for 7–10 days after roasting before use, and consuming them within two months—at this point both flavor and crema condition are at their best.
2. Espresso machine extraction pressure
If the coffee beans you're using already meet the above conditions, but the espresso you pull has a light-colored crema with fluffy foam that clumps when gently swirled, and during latte art the milk foam piles up messily on top of the coffee without forming any shape—this is most likely caused by insufficient extraction pressure from your home espresso machine.
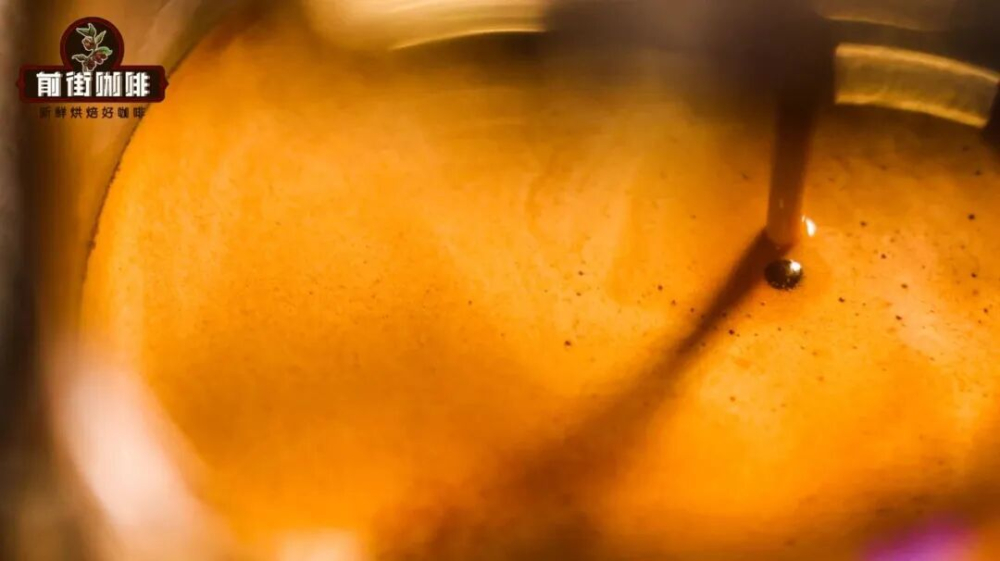
If you want to give the espresso enough flavor in a short time while also achieving fine crema, you can try adjusting to a finer grind or increasing the dose, then reducing the extraction yield.
For example, Front Street's approach is: add 0.5 g more coffee powder to the original dose, increase the espresso machine's extraction pressure, extend the time by 3–4 seconds, and extract only about 32 g from the front and middle stages of the shot. This gives you a richer flavor while reducing the interference from rough foam in the tail end.
3. Maintaining the fluidity of milk foam and crema
Regarding milk frothing, Front Street has previously written a dedicated article on the subject ("To Steam Fine Milk Foam, Just Pay Attention to These Key Points!"). After you stop frothing the milk, the foam and milk will gradually separate into layers—and the same happens with crema. If you don't immediately proceed to integrate and pour the latte art after frothing, what goes into the cup is just milk, with the foam floating on top. At that point you'll find the foam entering the coffee in clumps rather than integrating smoothly like Dove chocolate.
The solution is to find a pivot point on the table and use your wrist strength to swirl the milk pitcher clockwise, re-blending the foam and milk evenly. The same applies to the espresso—hold the cup with your left hand and give it a firm swirl to improve overall fluidity.

4. All aspects of integration
For beginners, it's best to let only one of either the milk pitcher or the cup rotate in circles during integration. If both are rotating at the same time and your technique isn't proficient, it's easy to lose control of the rhythm, causing the milk and coffee to "fight" in the cup, resulting in a latte full of large bubbles.
Before you start forming the pattern, the height of the milk pitcher should be controlled at around 5–8 cm. If it's too low, the milk will float to the surface over a large area prematurely, and the integration won't be even. If it's too high, the impact force will create bubbles of varying sizes. Typically during integration the flow rate is kept relatively thin, with the goal of fully mixing the milk foam and coffee without destroying the cleanliness and color of the crema.
The amount of milk you integrate depends on how complex the pattern you plan to make is. For basic patterns like hearts and leaves, you can integrate until the cup is 6–7 tenths full, then lower the pitcher and start pouring the art. If you want a more layered effect, you need to start forming the pattern as soon as the cup is 4–5 tenths full.
5. Controlling the rhythm of pattern formation
Many beginners, after a period of exploration, have basically mastered the latte art steps, but when practicing rippled patterns, they always rush to lower the milk pitcher and start swaying immediately after integration ends—only to find the lines are completely off from expectations, or even that the subsequent ripples disappear entirely.
The correct approach is: after integration ends, first quickly lower the milk pitcher to push out a layer of milk foam, wait until the white dot has completely settled on the liquid surface, and then sway evenly along it—this way you'll create ripples layer by layer.
The above content is compiled by CoffeeHunters, a coffee news website.


