








What Does Learning Coffee Latte Art Require From Beginners?
Learning coffee latte art starts with three basics: milk frothing, integration, and pitcher control. Beginners fail most often because the foam is too thick, so it floats instead of flowing into the espresso. The goal is dense but fluid microfoam, plus an espresso with enough crema to hold the pattern while a heart or tulip is poured.
The steam wand sets the texture. With the pitcher spout at 12 o'clock, place the wand at the 2-3 o'clock or 9-10 o'clock position and keep the tip just under the surface to draw air in. A darker-roasted blend, such as one combining Brazil, Indonesia, and Vietnam beans, extracts a thick crema that supports practice pours on any home coffee machine.
Friends who are just getting into latte art often run into the same confusion: they watch someone casually pour a beautiful heart or tulip, but when they try it themselves, the milk turns into lumps, and they can't even make the most basic pattern. Actually, latte art isn't as mysterious as it seems—the key lies in mastering a few core elements: milk frothing, integration technique, and pitcher-holding posture. From Front Street's perspective, this article systematically explains how to use a coffee machine's steam wand to create dense yet moderate foam, how to choose espresso beans suitable for latte art, and the details to pay attention to during integration and practice. It will also recommend Front Street Classic Blend, a bean suitable for beginners and for shop use, to help everyone avoid detours on the road to practicing latte art.
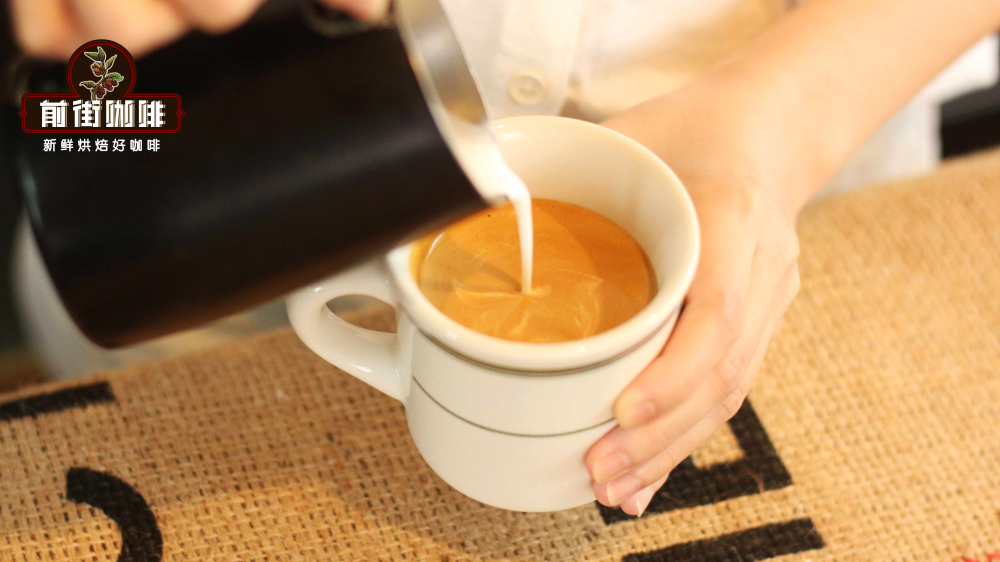
Many friends who are new to coffee find latte art especially appealing—it looks like it isn't hard at all, and with a casual pour, a heart or tulip shape appears.
But when you actually get hands-on, you discover—why is the milk coming out in lumps? Never mind doing rippled patterns or a swan—you can't even pour a simple heart. Don't worry, Front Street will now share some practical latte art tips with everyone.
What kind of coffee beans are best for making latte art? Front Street's view is that you must choose espresso beans with good crema performance. Beginners can try Front Street Classic Blend—this is a recipe developed by Front Street Coffee itself, blending beans from three producing regions: Brazil, Indonesia, and Vietnam. The roast level is on the darker side, so it fully brings out the coffee's rich aroma and makes it easy to extract thick, delicate crema. It's suitable for both home and commercial use, laying a good foundation for latte art.
Extraction parameters

1. The milk foam must be fluid
Before starting latte art, you first need to prepare a pitcher of milk foam in the right condition. The foam used for latte art needs to be moderate in thickness—if it's too thick, it will just float on the surface of the coffee as soon as you pour. So how do you create a qualified pitcher of milk foam?
| Find the right position for the steam wand

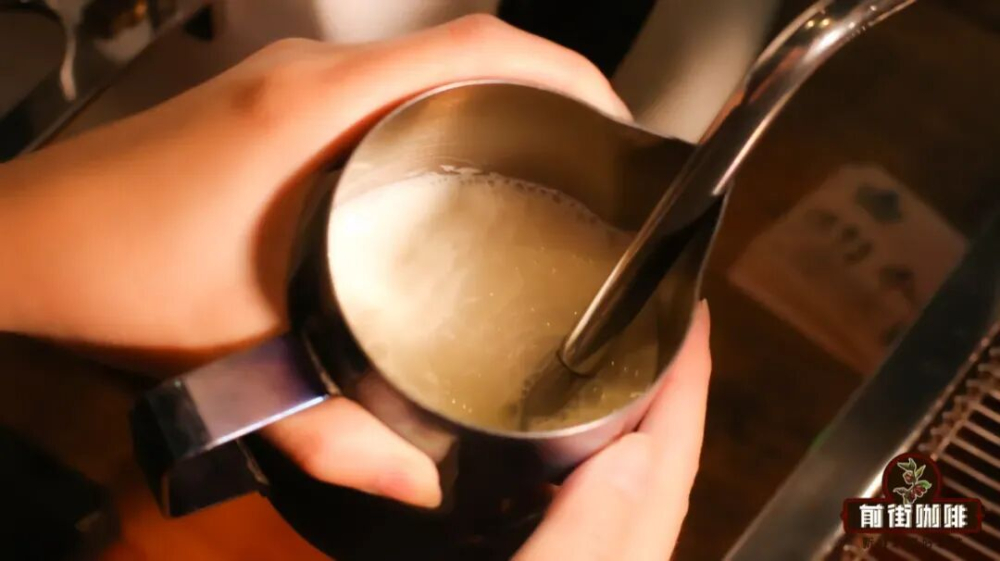
Usually the steam wand angle is set up like this: with the spout of the milk pitcher as the 12 o'clock direction, place the steam wand at the 2-3 o'clock or 9-10 o'clock position. The reason for this is that when steaming milk, the steam is used to make the milk rotate quickly and form a small vortex, which folds the coarser foam back into the milk and makes the final foam denser and more velvety.
After determining the angle, you also need to find the right insertion depth for the steam wand. Deeper is not necessarily better, because the essence of frothing milk is to inject air into the milk—if the steam wand is too deep, the air can't make contact at all. Of course, too shallow won't work either; if it's too shallow, the milk may splash everywhere as soon as you turn on the steam, or the steam may be too strong and create too much foam.
Coffee dose | 18 g |
Espresso yield | 36 g |
Extraction time | 28 seconds |
Generally, about 1 cm insertion is used as a reference. If the coffee machine's steam is on the stronger side and creates too large a vortex or turbulent flow, you can place the steam wand a bit deeper, such as 1.5 cm; if the steam power isn't enough, place it shallower, such as 0.5 cm or even less. The goal is to let the milk form a small vortex as quickly as possible while not spinning too violently or creating turbulent flow.
| The milk foam should be in the right state
When steaming milk, you should hear a zi zi sound. If you don't hear it, the steam wand may be inserted too deep, and you can move the pitcher down a little. If there's no sound at all, it means you're not currently in the frothing stage. When the milk has expanded to about 80% full, move the steam wand at an angle to a position near the pitcher wall, slightly right of center, so the foam rolls in a vortex and mixes thoroughly with the milk while also tightening the foam.

| Temperature control
The temperature of the milk also can't be ignored—it should be neither too hot nor too cold. It's generally recommended to keep it between 55 and 65°C. If the temperature is too high, on one hand it's easy to burn your hand, and on the other hand the milk foam becomes unstable; moreover, the proteins in the milk change at high temperatures, and the mouthfeel suffers as well.
2. Integration
Before the actual latte art, there's another very important step: integration. Many people may think integration is no big deal—isn't it just taking the milk foam and swirling it around a few times?
But integration is actually laying the groundwork for latte art, and the quality of the integration directly affects the taste of the cup. Integration requires a clean surface, so you can first gently swirl the crema on top of the espresso to even it out, then pour with a thinner stream. After integration, the milk coffee will show good fluidity. In addition, the amplitude of integration is closely related to foam thickness: the thicker the foam, the worse the fluidity, and during integration you need a larger amplitude to ensure the surface of the milk coffee has enough fluidity.
Before practicing with milk, it's best to practice with water first. Try tilting the coffee cup to 45 degrees and pouring into the cup while keeping the flow rate consistent. Start with pouring at a fixed point, then practice pouring at a steady pace while moving high and low, and pouring in circles. Finally, combine the high-low motion with circular pouring, and slowly straighten the cup-holding hand. Remember, before the official start of latte art, the pouring stream must not break.
3. How to hold the latte art pitcher and cup
There's also technique in how you hold the cup during latte art. Do you hold it from the bottom, from the side, or by the handle? No matter how you hold it, the most important thing is that you feel comfortable and flexible; otherwise, it will feel awkward when you make patterns later. The usual approach is to face the cup handle toward yourself, so that when you serve it to the customer, the pattern faces the customer.

During latte art, in order to bring the pitcher close to the coffee, the cup should be tilted appropriately. If the cup is too upright and the distance from the pitcher is too far, it becomes harder to control.
There are two common ways to hold the latte art pitcher: one is to grip the pitcher's handle, and the other is to pinch the handle. Gripping the handle allows you to use the strength of your wrist to make large swings, and the pattern will be more ornate; pinching the handle allows finer adjustments through your fingers to achieve more delicate patterns.
One more thing: the spout of the pitcher and the cup should remain perpendicular to each other; otherwise, the pattern you make can easily lean to one side and won't be symmetrical enough.
4. Practice!
No matter how many techniques are explained, it's useless without practice. As the saying goes, talk without practice is just fake skill. If you feel that practicing with milk and coffee costs too much, then use dish soap plus dark soy sauce instead. After all, this is a skill that comes from familiarity, and you can't develop it just by thinking about it in your head.
Of course, it's not enough to just bury your head in practice. After each practice session, it's best to summarize the problems from the previous cup, then pour it out and start over. Only by being good at summarizing will you improve faster.
The above content is compiled by CoffeeHunters, a coffee news website.


