







How Much Water Goes Into an Iced Americano Recipe?
Dialing in espresso means adjusting three core variables: grind size, dose and yield. Locking in a 1:2 brew ratio with a 25-to-30-second shot time gives a workable starting point, and grind size handles most corrections on its own. The guide closes with a full iced americano recipe.
Water temperature and pressure rarely need changing once set sensibly. Even professional baristas often pull seven or eight shots before a new blend tastes right, so the guide offers specific fixes for burnt bitterness, a short finish and flat flavor, which is where the water quantity question in an iced americano comes in.
Nothing is more frustrating when working with an espresso machine at home than dialing in a shot: you go through most of a bag of beans and the taste still isn't right. Even professional baristas need seven or eight trial-and-error shots to find the ideal state when switching to a new bean. This article draws on Front Street's hands-on experience to lay out an efficient approach to dialing in espresso—first explaining the roles of the three core variables (grind size, dose, and yield), then walking through how to quickly lock in reasonable parameters using a 1:2 brew ratio and a 25-to-30-second time frame, and finally offering specific fixes for common problems like burnt bitterness, short finish, and flat flavor. Once everything is dialed in, a complete recipe for a café-quality iced americano is included at the end.
For more specialty coffee knowledge, please follow our WeChat official account: Front Street Coffee (FrontStreet Coffee)
The pain of working with espresso is something only those who've done it by hand can understand. If you're an enthusiast tinkering with an espresso machine at home, just dialing in one shot can use up half a bag of beans. Even professional baristas, when handed an espresso blend they've never worked with, often need to pull seven or eight shots in a row before getting it to a satisfactory state. So this time Front Street is going to talk about how to dial in espresso quickly and with minimal bean waste.
Theoretical Background
To dial in espresso efficiently, the key is to quickly identify where the problem lies and then adjust the relevant parameters accordingly. This requires you to have a clear understanding of what each variable can affect. The parameters you can adjust in espresso include grind size, dose, yield, water temperature, and pressure. Dose and yield are used here to express a ratio relationship, while time is a passive parameter.
Under normal circumstances, as long as water temperature and pressure are set without any obvious problems, they don't need frequent changes. What really needs repeated adjustment are the three: grind size, dose, and yield. Among these three, grind size adjustment is the most important—most espresso dialing-in can be handled with just a slight tweak of the grind setting, and only in a few cases do you need to touch dose or yield.
Adjusting grind size is essentially controlling flow rate and time. The finer the coffee is ground, the denser the puck structure becomes, the slower water passes through it, and the longer it takes to extract an equal amount of coffee liquid—resulting in a stronger, higher-extraction shot; the reverse is also true.
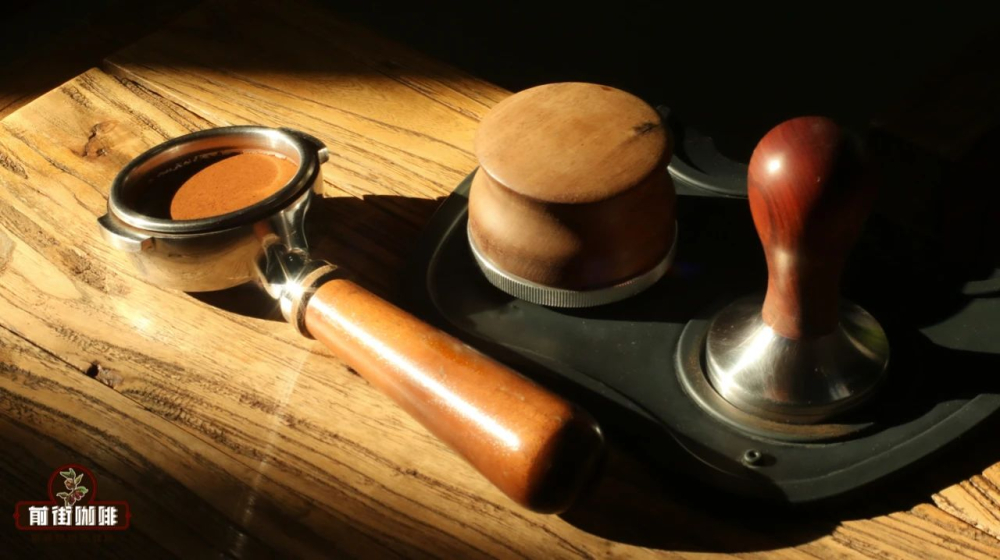
Dose can produce a similar effect, but it's constrained by the basket's capacity. There's a groove line inside the basket; a reasonable dose is one where the tamped puck just approaches that line without going past it. Generally speaking, increasing or decreasing the dose by 1 gram is within an acceptable range. If you add too much, the group head won't lock on; if you reduce too much, the puck is easily disturbed by the water flow. Therefore, dose adjustment is usually done last, for fine-tuning flavor.
Adjusting yield is really about coordinating the relationship between concentration and extraction rate. How exactly to use it will be explained in detail below.
Pre-Extraction Work to Reduce Variables
When dialing in espresso parameters, the worst thing is interference from unnecessary factors. For example, failed extractions caused by improper distribution or tamping; too few beans in the hopper affecting grind consistency; the machine not being fully warmed up so water temperature or pressure isn't up to standard, and so on. So before you start adjusting, check and confirm all these steps first—otherwise you'll waste effort no matter how long you tweak.
Step One: Choose a Grind Size and Pull a Shot
When you get a new espresso bean, the first step is to get a feel for its basic state.
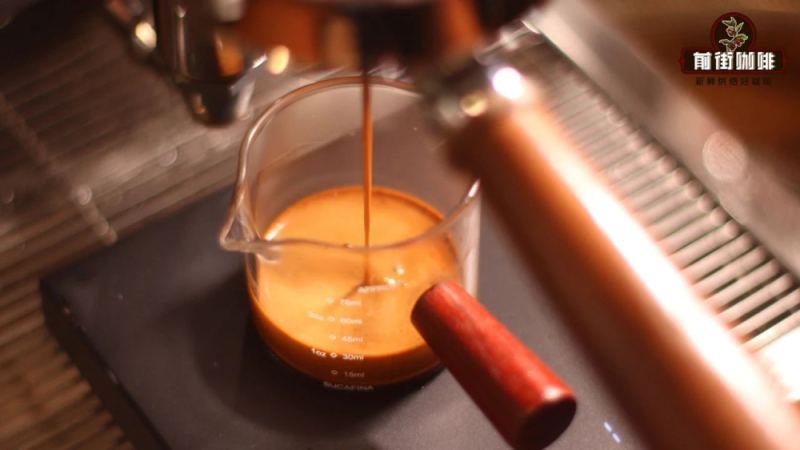
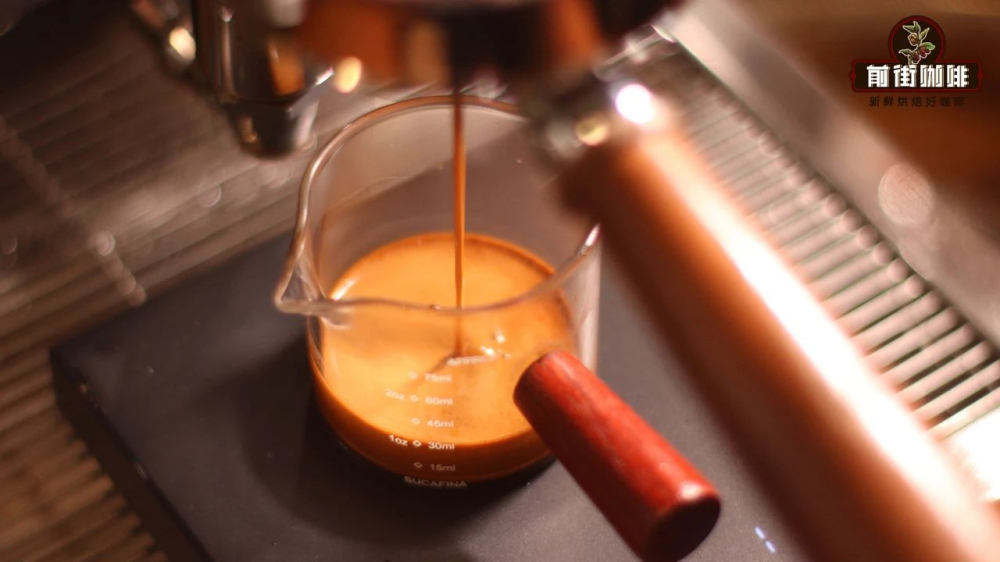
Apply the espresso extraction formula: a 1:2 brew ratio, with a time of 25 to 30 seconds. The dose is determined by the basket's capacity—for example, if the basket Front Street uses has a reasonable capacity of 20 grams, then use 20 grams of coffee to extract 40 grams of coffee liquid, with time controlled between 25 and 30 seconds as the extraction plan. Then choose a grind coarseness that looks about right to the eye and pull a shot, using the time difference to judge how much more the grind setting needs to be adjusted.
Step Two: Adjust Parameters to Bring the Time into the Extraction Formula's Range
This step is mainly done through grind size: if the flow is too fast and the time is shorter than last time, grind finer; if the flow is too slow and the time is longer than last time, grind coarser.
Dialing in grind settings relies heavily on feel—the more you adjust, the more familiar you become with the grinder, and once you have that feel you can get it right in one step. If you're within 5 seconds of the target time, you can adjust by 0.2 increments each time; if the gap is larger, be bolder and adjust by 0.5 to 1 increment each time. Even if you go from too long to too short all at once, you can use that to lock in the reasonable range for the grind setting, then gradually narrow it down.
Step Three: Adjust Parameters Based on Flavor
Even if your parameters match the extraction formula, that doesn't mean the espresso will necessarily taste good. The formula only indicates that espresso meeting its criteria will be more reasonable; ultimately you still need to adjust based on the characteristics of the coffee bean itself. Front Street lists a few common scenarios and how to handle them, assuming the extraction time under the grind size determined by the formula is 30 seconds.
1. The espresso shows negative flavors like burnt bitterness, but the concentration is moderate. This may mean the extraction time is still on the long side, bringing out the burnt bitter notes. The usual fix is to grind a bit coarser.
2. The espresso has negative flavors like burnt bitterness, and the crema is pale in color and thin in texture. This situation may be caused by bitterness extracted in the tail end, which can be avoided by reducing the yield—try testing with a 1:1.5 or 1:1.7 ratio.
3. The espresso has fairly rich flavor, but the finish is on the short side. In this case, you can extract a bit more coffee liquid and try adjusting the ratio to 1:2.5.
4. The espresso tastes rather flat, with little flavor coming through. If you've ruled out problems with the beans themselves, it may be caused by too large a dose. After switching to new beans, differences in roast level can mean the beans' volume and weight don't match; if you stick with the previous dose, the puck volume will be too large. Try reducing the dose by 0.3 to 0.5 grams first, keeping the yield unchanged.
Finally, the extraction formula is only a reference. If you're rigidly bound by it, it actually becomes harder to dial in good flavor—you end up endlessly adjusting grind size and wasting beans. The 1:2 ratio isn't necessarily the golden ratio for a given bean; sometimes 1:1.7 tastes better, and sometimes 1:2.5 is what shines. Nor is time necessarily limited to 25 to 30 seconds—some beans may be at their best at 36 seconds or 24 seconds.
Once we've successfully made a satisfying espresso, we can start making our favorite milk-based or flavored coffee drinks. Here Front Street uses the most popular item in cafés—the iced americano—as an example.
1. First prepare a coffee cup of 300 ml or more 2. Add 100 grams of ice cubes 3. Pour in 180 ml of drinking water 4. Pour in all the freshly extracted espresso, and an iced americano is ready.
The above content is compiled by CoffeeHunters, a coffee news website.


