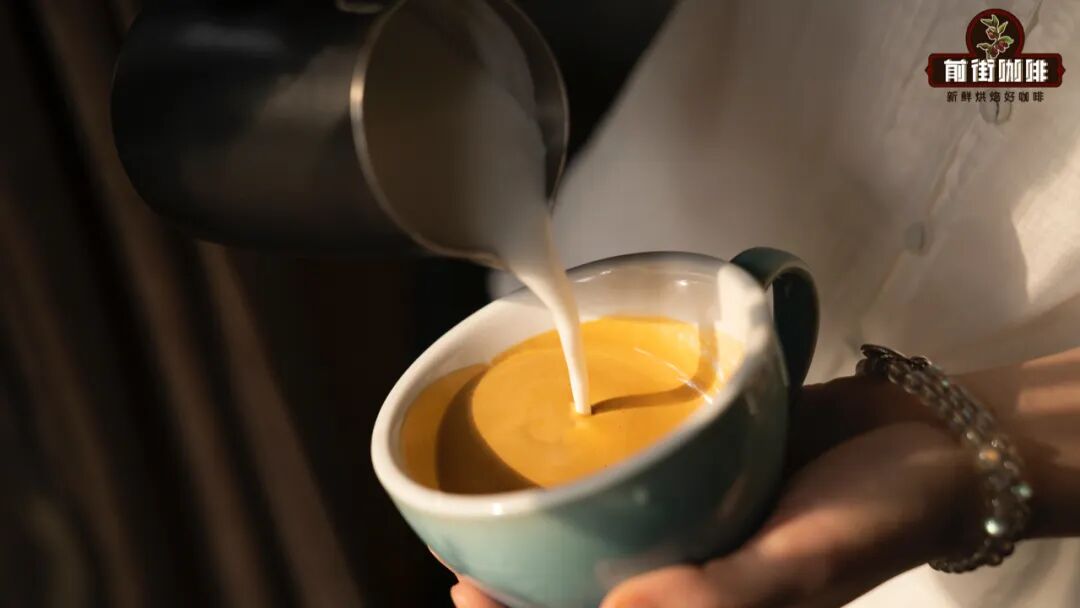
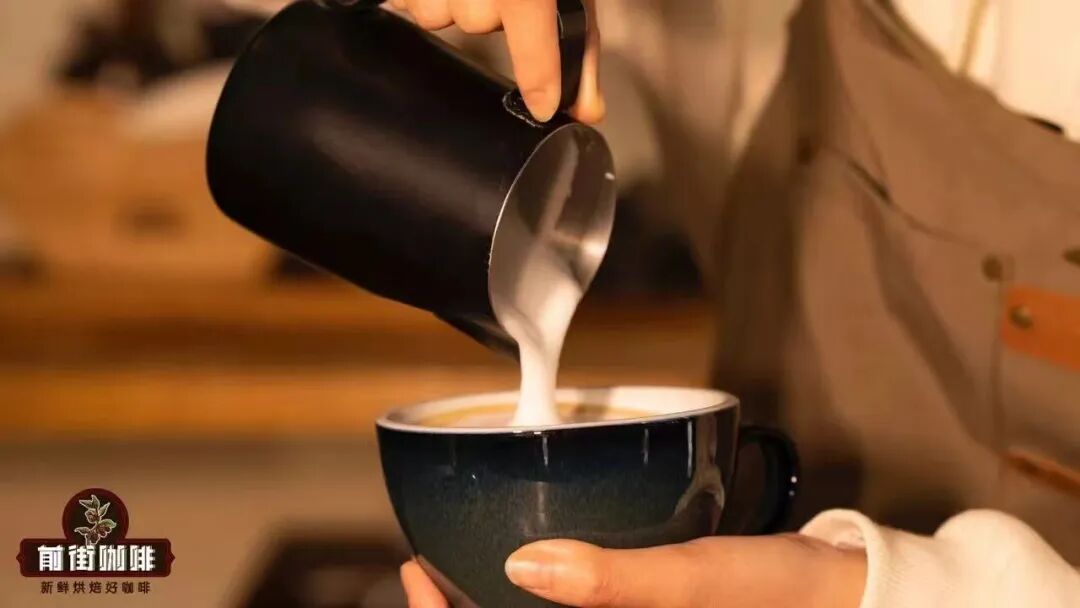
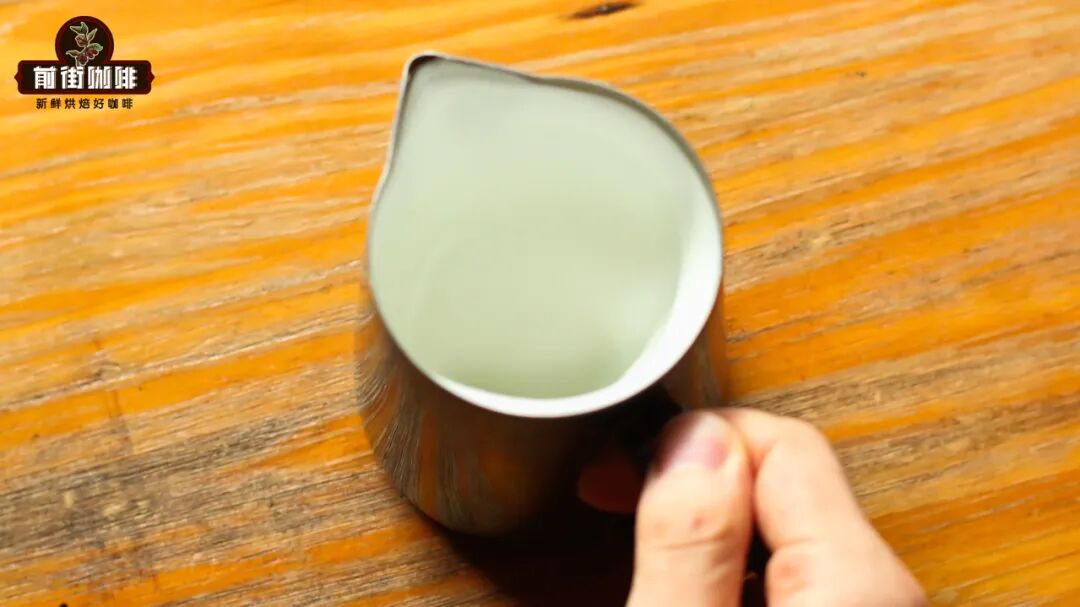
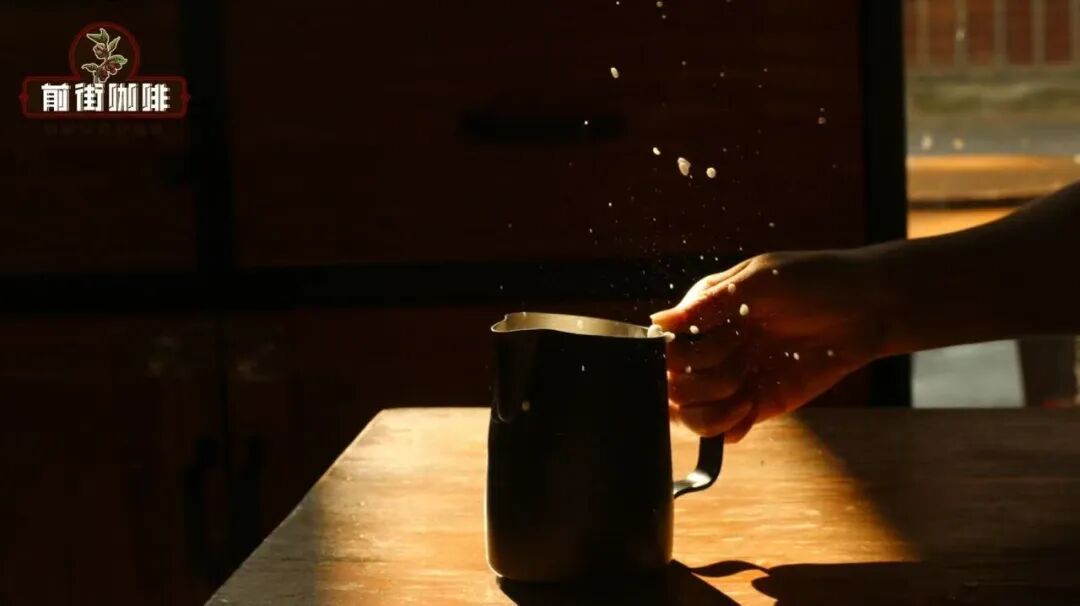
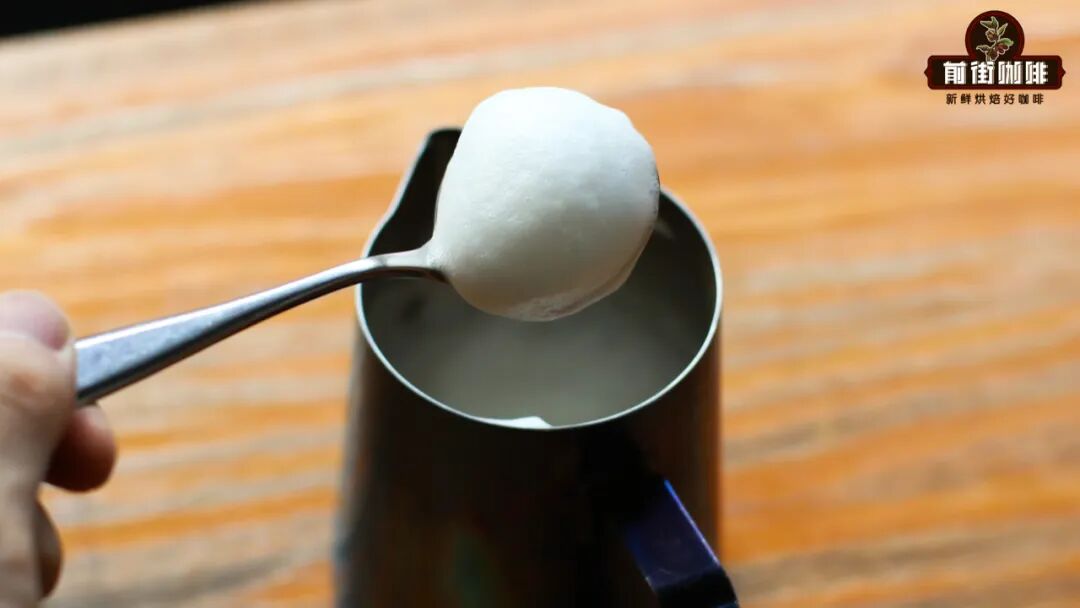
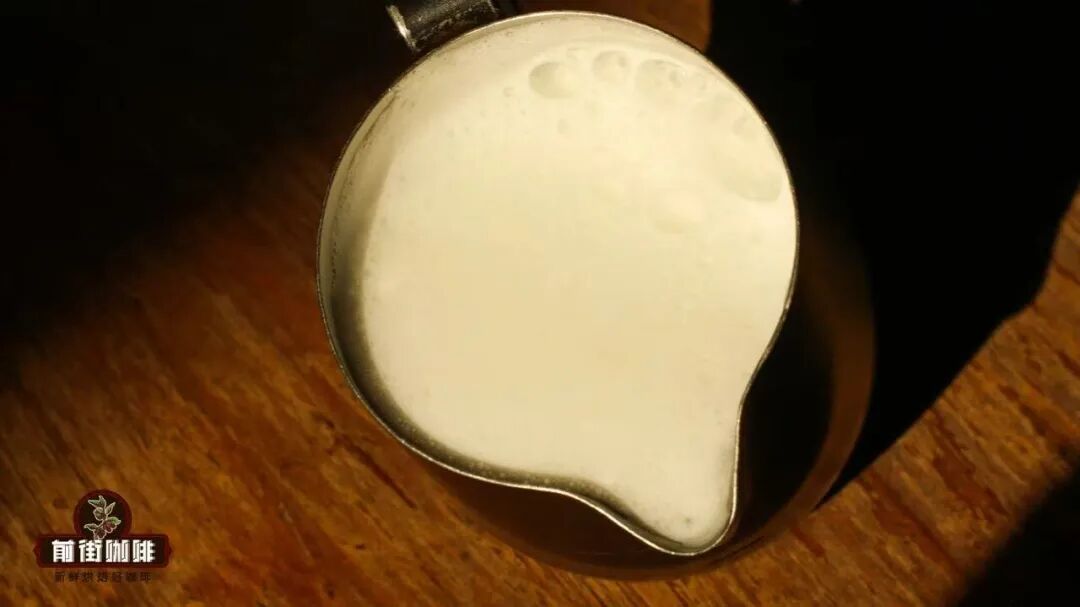
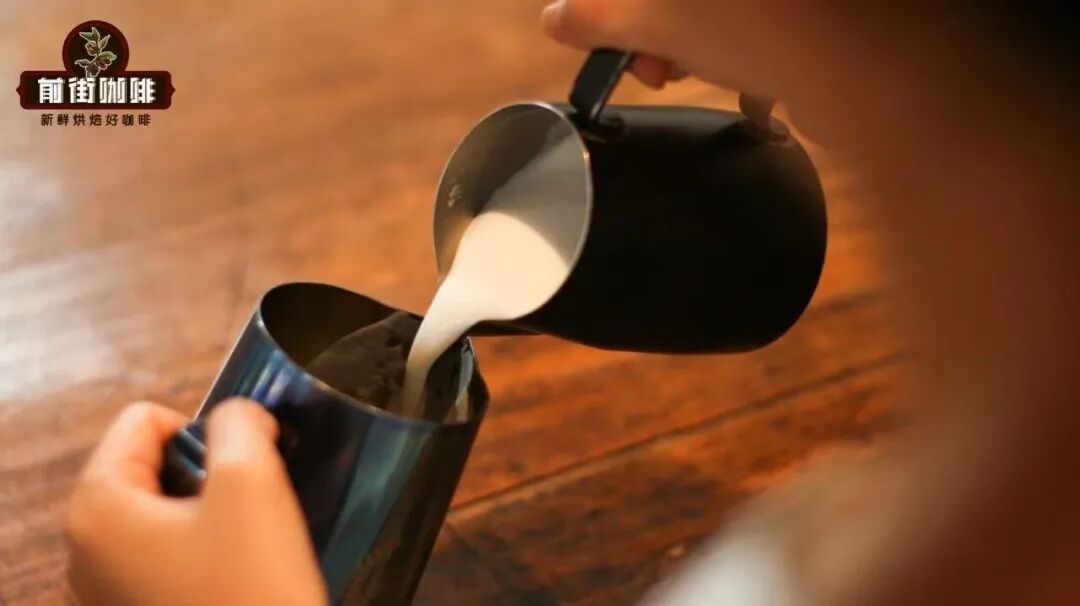
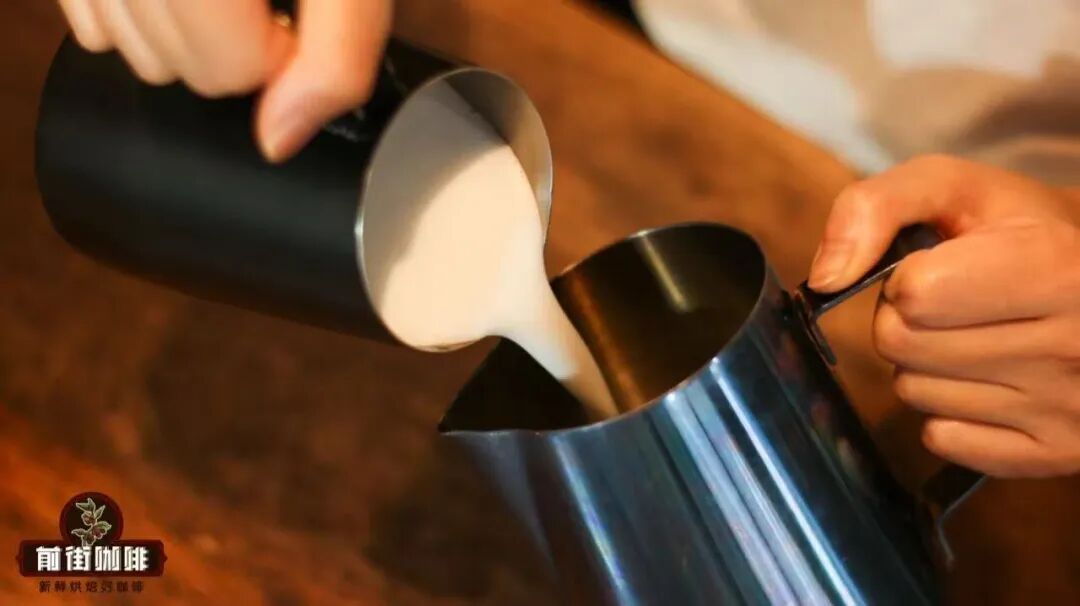
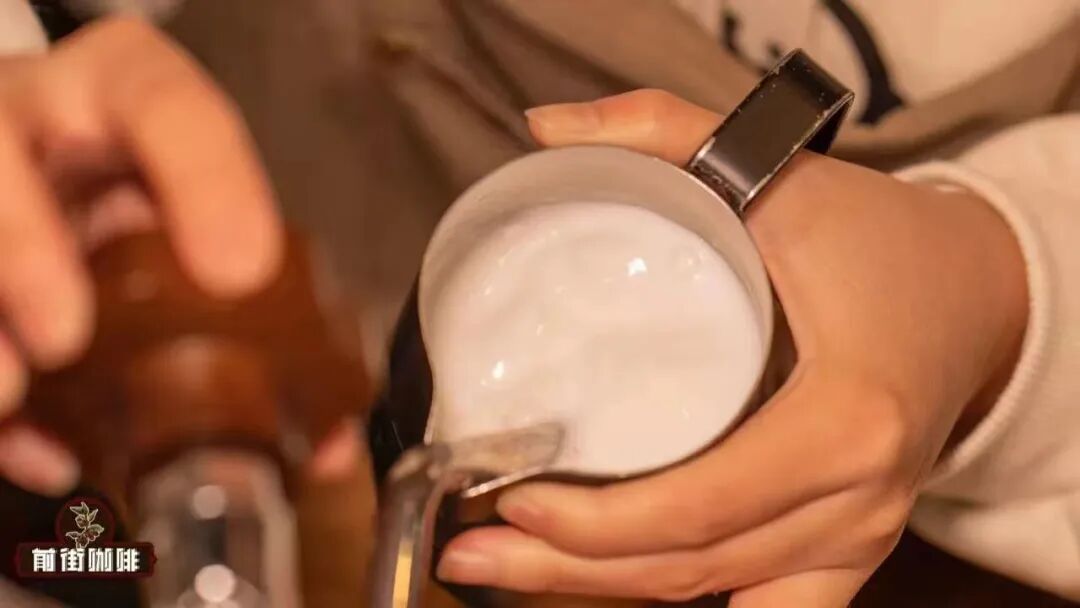
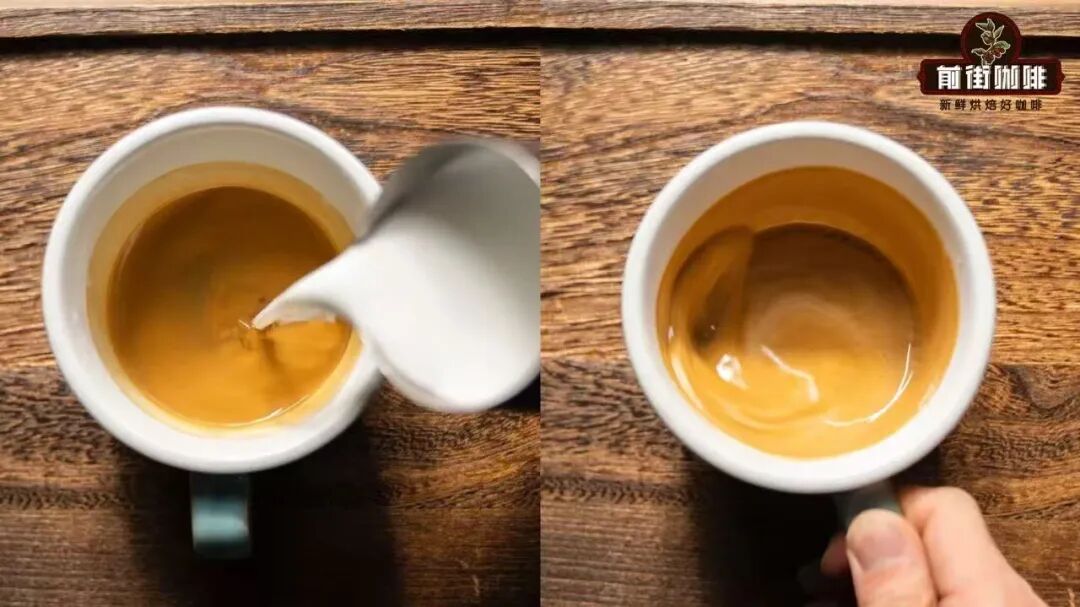
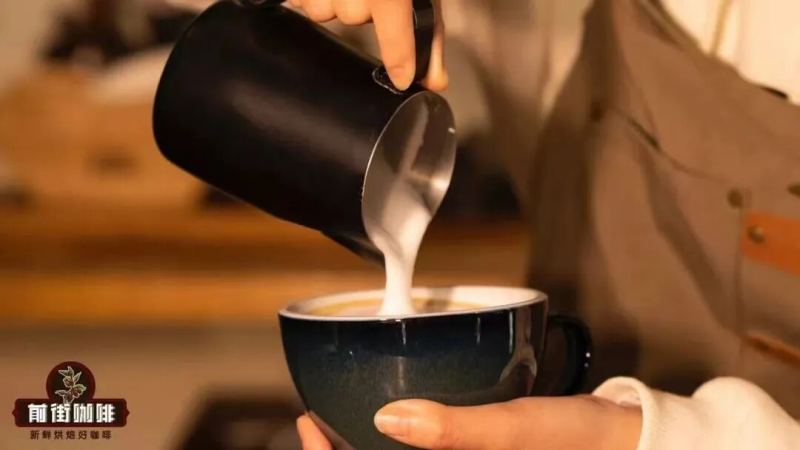
As we all know, if we want to create a beautiful latte art pattern, besides having masterful latte art skills, a portion of fine milk foam is also indispensable!But even those who have already reached the pinnacle occasionally have times when they can't steam the milk foam well. Perhaps due to a momentary lapse, the milk foam becomes rough, too thick, too thin, or something suddenly comes up and delays the latte art, causing the milk foam to separate... All of these situations make the milk foam less suitable for latte art.What do you all do with milk foam that isn't suitable for latte art?Pouring it out is definitely not an option, but if you force this kind of milk foam into latte art, the final pattern will most likely look like the picture above—not good at all. So at times like this, we need to use some special methods to "repair" this milk foam and restore its ability to create exquisite patterns!So today Front Street is here to share with you, when we haven't steamed the milk foam well(causing the milk foam to be too thick, too rough, or the milk and milk foam to separate)what methods we can use to improve the milk foam~Swirling and tapping are two little techniques we use in our daily latte art making. They refer to swirling and tapping the milk pitcher.Swirling the milk foam in the pitcher appropriately before latte art can effectively improve the integration of milk and milk foam, giving the milk foam higher fluidity, thereby better creating exquisite latte art patterns. After we finish steaming the milk foam, if something causesslightseparation between the milk foam and milk, and the fluidity isn't that high, we can improve it through this method.(Swirl until the surface of the milk foam can reflect light~)And the purpose of tapping the pitcher is to eliminate large bubbles in the pitcher by tapping! Sometimes we may be momentarily distracted, or not operate properly, causing some large bubbles to not be drawn into the vortex and cut apart. After the milk is steamed, there are still a small amount of large bubbles on the surface. In this case, we can tap the pitcher to pop these bubbles, otherwise these bubbles will hinder the formation of the pattern during latte art.But note that tapping the pitcher will accelerate the separation of milk and milk foam. The more times you tap and the greater the force, the faster the separation! So after tapping the pitcher, we need to swirl once more to increase their integration.2. Scoop Out Some Milk FoamIf it's because you accidentally let in too much air during steaming, causing the milk foam to be too thick, we need to remove the excess milk foam through other methods. For example—scooping it out with a spoon.Although it sounds a bit abstract, this method can indeed effectively solve the problem of milk foam being too thick. By scooping out excess milk foam, we can quickly thin it down and restore its high fluidity. Of course, if the milk foam is steamed very rough, you can also remove those rough foams this way.But similar to tapping the pitcher, because scooping milk foam takes some time, it will cause the milk and milk foam to separate, so after scooping, we'd better swirl to let the milk and milk foam reintegrate.Whether it's a novice friend just starting out or a barista who has been in the industry for many years, the pitcher transfer technique is often used to improve the quality of milk foam during latte art, making it easier to create complex patterns. The so-called pitcher transfer is pouring the milk foam from one pitcher into another.Front Street has previously shared that the difficulty of creating latte art patterns is actually related to the capacity of the milk pitcher. With the same milk weight, the larger the pitcher capacity used, the smaller the proportion of milk in the pitcher, which causes the pitcher to need to be tilted at a greater angle to pour out the milk and milk foam during latte art. And the greater the tilt angle, the earlier the pitcher spout can get close to the coffee surface, relatively speaking, this allows us to draw more patterns/lines.But then a problem arises: when the amount of milk used for latte art is too small a proportion in a large pitcher, it's difficult to steam the milk foam well. Because the steam wand isn't long enough / the milk volume isn't enough, the steam wand may not be able to fully submerge in the milk or form a vortex. So at this point people thought of first pouring the milk into a small pitcher to steam, and after completing it, pouring it into a large pitcher to start making latte art. Then they discovered that this method improves the fluidity of the milk foam while making it finer! Because collisions occur during the pouring process, this not only gives the milk foam and milk a higher degree of integration, but also some milk foam, especially the larger particles, will break apart due to the collisions, making the overall fluidity of the milk foam higher(thickness becomes thinner)and finer. Combined with the advantages of the large pitcher that Front Street mentioned earlier, after pitcher transfer, making latte art is like a fish in water.So we can know that if you accidentally steam the milk foam too thick, too rough, or want to achieve a better latte art effect, you can improve and enhance the quality of the milk foam through pitcher transfer. But for the latter, you need to steam the milk foam slightly thicker than usual to offset the portion of milk foam eliminated by the pitcher transfer.Similarly, there are things to note. Just like tapping the pitcher, after pitcher transfer the separation speed of milk foam and milk will accelerate, so we need to use the milk foam for latte art as soon as possible after transferring, to avoid separation affecting the latte art making; another thing is that the target pitcher for the transfer needs to be preheated before use. Use the steam wand to purge for a while to raise the pitcher temperature, so that when the milk and milk foam are poured in, the pitcher won't draw away the milk's temperature due to being too cold.Many friends might ask at this point, Front Street, Front Street, what if the milk foam is steamed too thin?Honestly, as long as the milk foam isn't steamed particularly thin, not thinner than a Flat White, then it can still be used directly for latte art (if too thin, it's recommended not to do latte art, or just steam a new batch). If you're worried that the fluidity is too high to make a good pattern, you can also try pre-infusion.What is pre-infusion? It's adding a little milk to the coffee before the formal latte art integration, then swirling the cup so this small amount of milk can integrate with the coffee.The benefit of doing this is that it can reduce the fluidity of the liquid surface, and also reduce the impact of coffee crema clumping, allowing thin milk foam to also create good patterns. But because explaining pre-infusion can easily become lengthy, if you're interested, you can click"Revealed! The Integration Secrets Baristas Are All Using"the article in the blue text to learn more~So that's all for Front Street's sharing this time. If you have any other improvement methods, feel free to share in the comments~
 The above content is compiled by CoffeeHunters, a coffee news website.