







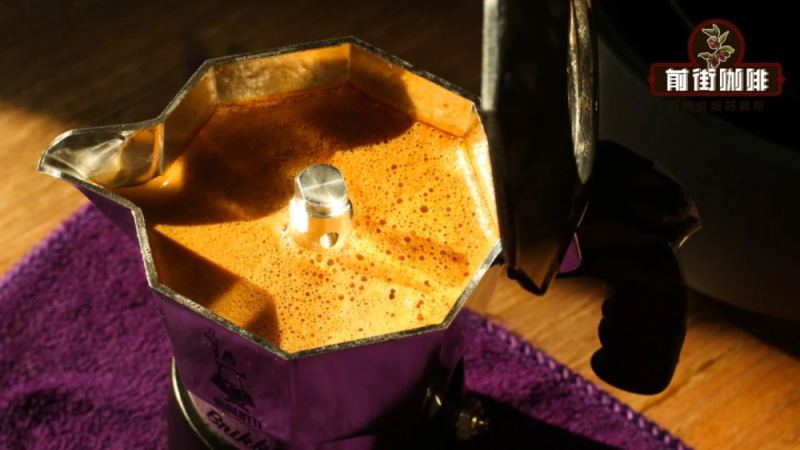
The moka pot, with its convenient operation and rich, espresso-like output, has become the daily first choice for many coffee lovers. There have always been differing views on whether a moka pot needs to use a paper filter. This article starts from Front Street Coffee's actual testing, analyzing the effects of placing a paper filter at the bottom of the filter basket versus above the coffee puck during moka pot extraction, and combined with coffee bean choices suitable for the moka pot and grinding degree standards, gradually explains the key operational points of the entire process from adding water, loading coffee, to heating and extraction, helping you make a cup of moka pot coffee with a clean taste and full flavor.
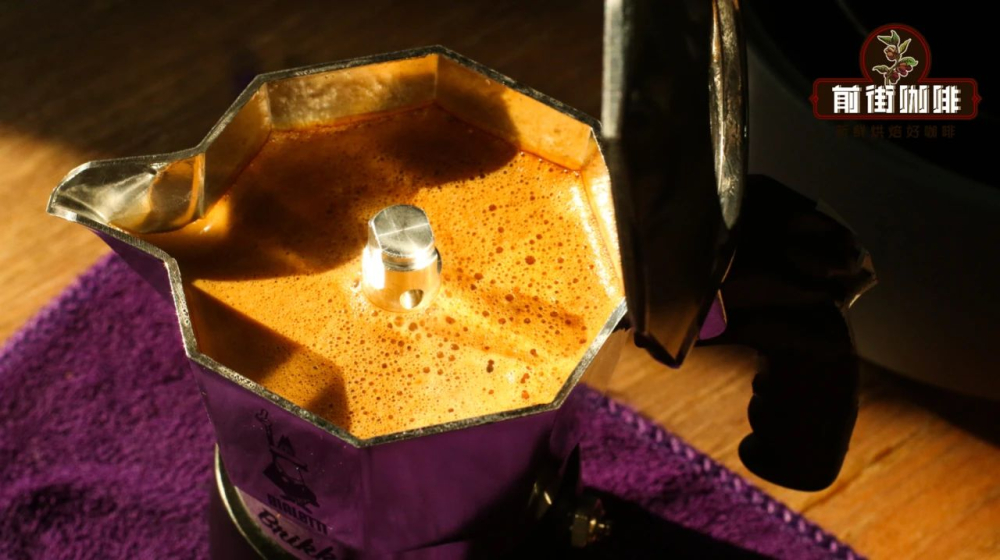
The moka pot has always been very popular among coffee enthusiasts; it is easy to operate and can extract coffee as rich as Espresso. Front Street Coffee itself is also quite fond of the moka pot. Recently, a friend came to ask Front Street: when brewing coffee with a moka pot, can you skip the paper filter? Below, Front Street Coffee will talk about this question.
One reason for adding a paper filter to a moka pot is to make extraction more even. This is similar to the idea behind espresso machines—first let hot water soak the paper filter, and the paper filter can then "evenly distribute" the hot water to every part of the coffee puck, thereby improving extraction consistency. However, the moka pot is different from an espresso machine: its hot water moves from bottom to top, so to achieve this effect, the paper filter needs to be placed at the bottom of the filter basket.
But after actual testing, Front Street found that the effect of placing a paper filter on the coffee extraction result is actually not obvious. The test used Front Street Classic Blend, which is very suitable for making espresso and moka pot coffee among Front Street's bean lineup. Front Street used it to make two groups of moka pot coffee, one with a paper filter at the bottom and the other without.
The final result was that the two groups of coffee had little difference in taste. Both presented the signature chocolate, nut, and cream aromas of Front Street Classic Blend, with a mellow mouthfeel and a lasting finish. Both tasted very good.
Another purpose of adding a paper filter is to reduce coffee grounds and improve the mouthfeel.
Compared with the bottom of the filter basket, many people prefer to place the paper filter above the coffee puck. Doing this can bring two obvious changes to moka pot coffee; the first is an improvement in mouthfeel.
The moka pot's mesh filter is not as fine as paper filter, so some finer coffee particles will pass through the metal mesh and enter the coffee liquid. Although these fine particles can add a certain body, they also bring negative experiences such as a gritty mouthfeel and bitter notes. Placing a piece of paper filter on top of the coffee puck can improve filtration precision, reduce the overflow of coffee grounds, and make the mouthfeel cleaner.
In addition, placing a paper filter above the coffee puck has another benefit: it can slightly increase the pressure during extraction. The reason is simple: the paper filter narrows the channel through which the coffee liquid flows out, so the coffee liquid needs greater pressure to pass through. Although the added pressure is limited, when the coffee grounds we use are coarser or the dose is insufficient, adding a few more paper filters is also a practical way to improve extraction efficiency.
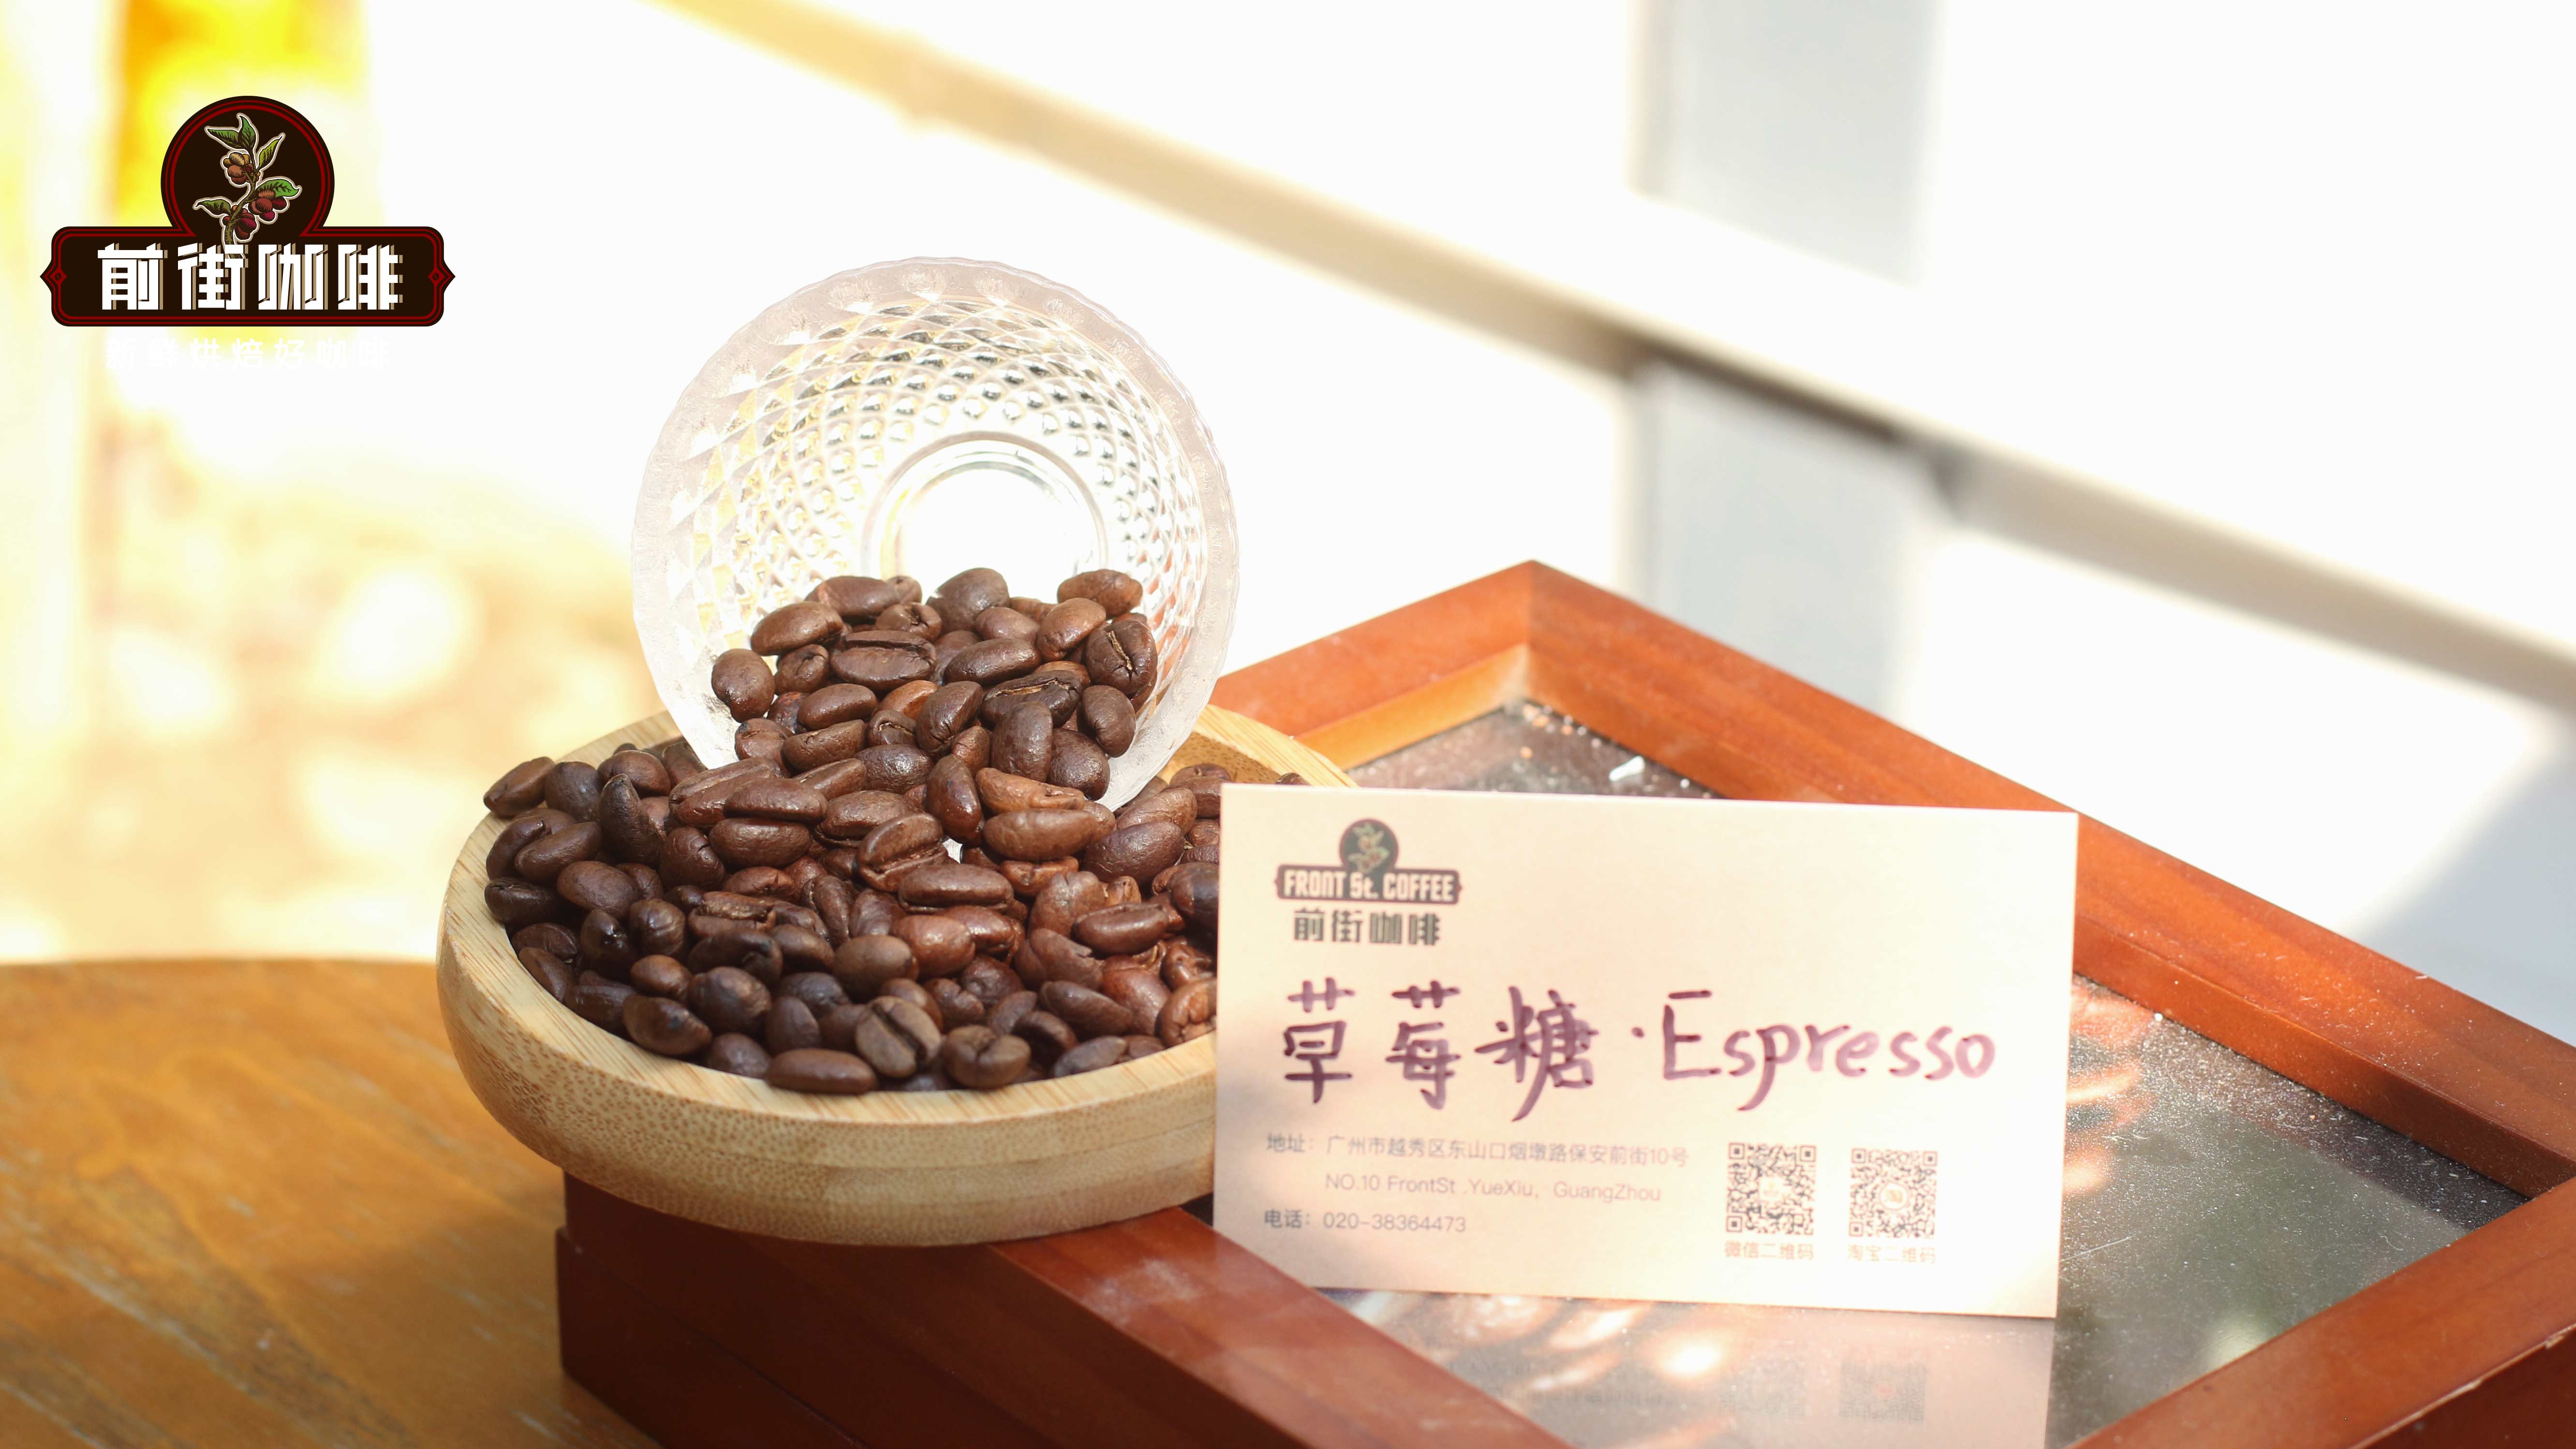
Coffee brewed with a moka pot tastes relatively strong, so medium-dark roasted coffee beans are more suitable. It can be Front Street. Indonesia Mandheling SOE coffee, with rich roasted nut and caramel aromas and full body; it can also be medium-roasted Front Street. Strawberry Candy espresso blend, which when made in a moka pot has fragrant floral aromas, is refreshing as an Americano, and sweet and silky as a latte, with very rich layers.
To extract a rich black coffee, the grind size needs to be finer than general pour-over and coarser than espresso. Grinding too coarse will cause problems such as insufficient extraction and sputtering, while too fine makes over-extraction easy, with a heavy burnt-bitter taste that is hard to drink. The coffee powder suitable for a moka pot is close to fine salt in coarseness. Front Street stores use an EK-43s grinder, with a setting of 3.
Front Street Coffee will explain the operating steps of the moka pot for everyone.
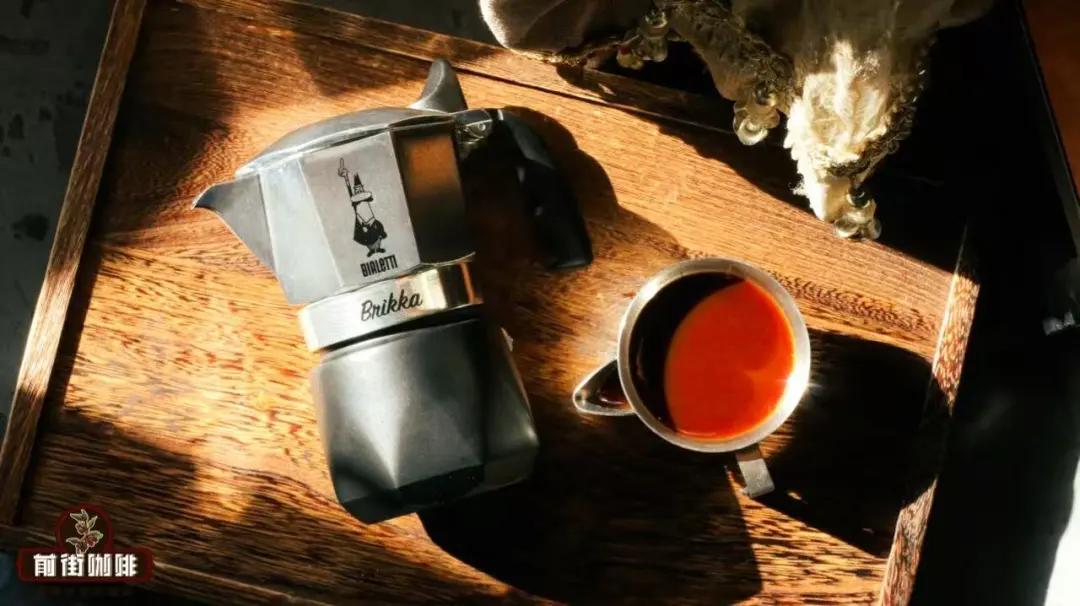
Prepare the materials needed to make coffee: coffee grounds (Front Street Classic Espresso Blend), water, a moka pot, and a heat source for heating (an electric ceramic stove).
1. Add water: first add an appropriate amount of hot water. Using hot water can shorten the time needed to bring the water to a boil, letting us get a cup of moka pot coffee faster. (Front Street used a double-serving single-valve moka pot and poured in 130ml.)
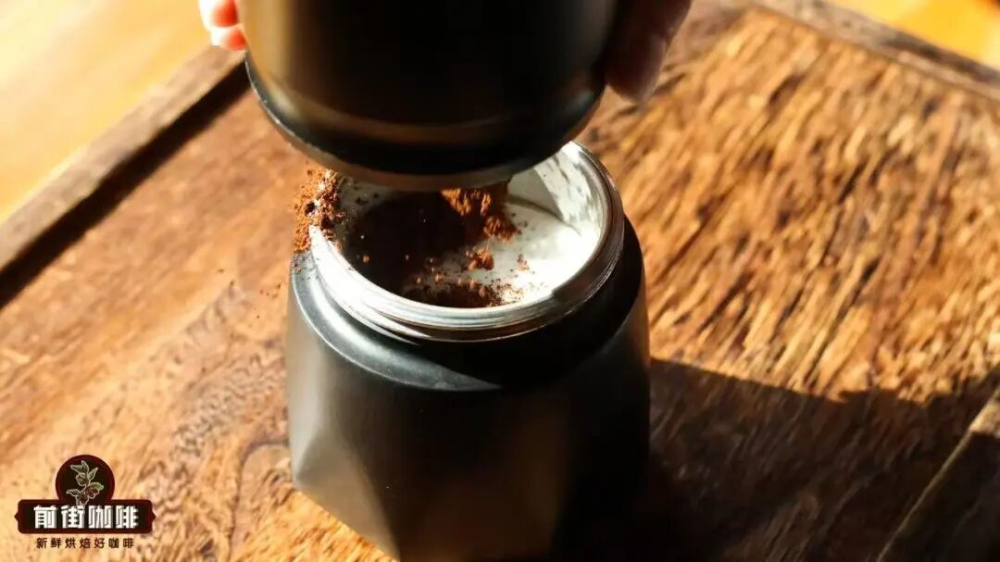
2. Load the coffee grounds: fill an appropriate amount of coffee grounds into the filter basket, then place the 18g filter basket into the lower chamber.
Note that after pouring the coffee grounds into the filter basket, it is best to tap the filter basket gently, in order to let the coffee grounds settle downward naturally and fill the gaps, reducing the occurrence of channeling. After filling, just use your finger to level the surface of the grounds. Note that if the coffee grounds are too fine, it is best not to tamp them, because this will increase the resistance of the filter basket and make it harder for hot water to pass through.
3. Tighten the upper chamber and lower chamber: the point to note in this step is that if hot water has been added, it is best to use a wet cloth for insulation to avoid burns.
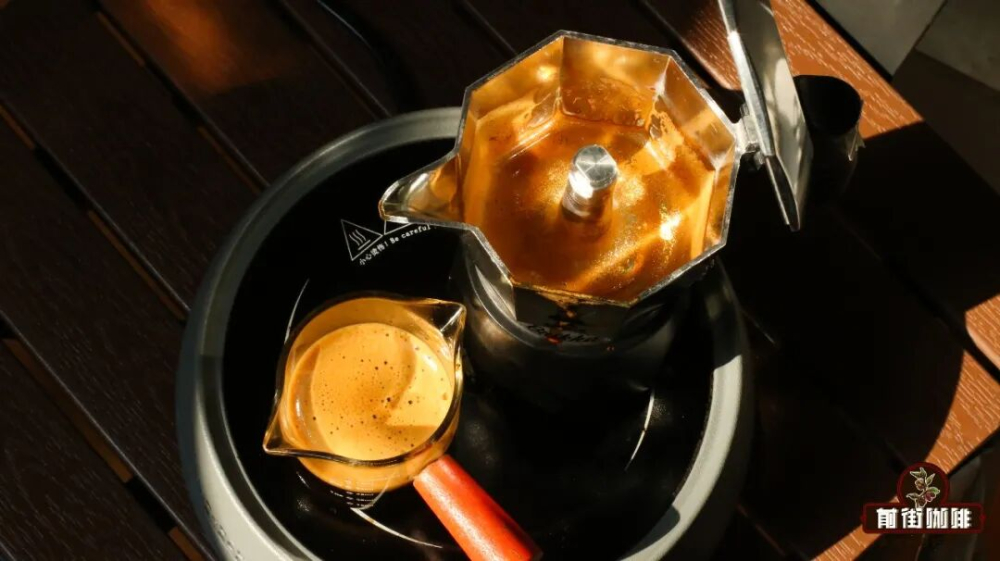
4. Place on the heat source and start brewing: there is not much to say about this point; just place the moka pot on a heat source capable of conducting heat and heat it.
5. Turn to low heat and wait for the coffee liquid to seep out: when we brew until the moka pot makes an obvious sound, it means that the hot water, pushed by steam, is about to overflow with the coffee substances, so at this point we need to lower the heat.
Otherwise, high heat will continuously produce water vapor, strengthen the pressure, and then because the pressure is too strong, the hot water will flow out faster, making it impossible to extract enough coffee substances, and ultimately making the whole cup of coffee taste flat and weak. So when the coffee liquid is about to overflow, it is best to lower the heat.
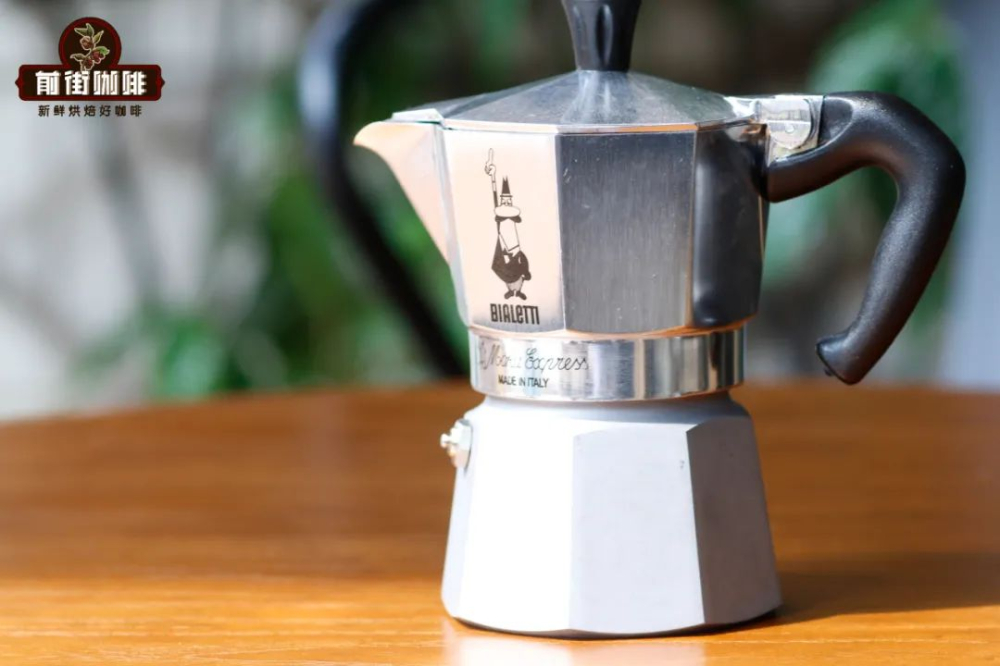
6. Stop heating and wait for extraction to finish: when the coffee liquid has come out to halfway, we should turn off the heat source, because the residual heat inside the moka pot is already enough to "urge" out the remaining hot water.
7. Taste the coffee: after the moka pot stops dispensing liquid, we can pour out the coffee liquid and taste it!
If, when drinking moka pot coffee, we sense a strong burnt-bitter taste from it, then it indicates over-extraction, and we need to appropriately reduce the amount of extracted liquid; next time, simply end extraction earlier! And if it feels too sour and has some off-flavors, then it is very likely under-extraction, and the grind can be adjusted. If the grind is in a state that cannot be adjusted, then we can improve extraction by slightly increasing the amount of water in the moka pot. After trying multiple times, you will know how to extract a delicious cup of moka pot coffee~
The above content is compiled by CoffeeHunters, a coffee news website.


