








Many people can't tell the difference between cappuccino and latte, especially nowadays when latte art is so popular—the two seem to look more and more alike. In fact, from milk foam thickness to the logic of preparation, they have a clear dividing line. Cappuccino emphasizes preserving a ring of brown "coffee golden ring," and the milk foam needs to be frothed to about 1.5 cm thick to support the "hat" shape rising above the cup rim, which is why it's not suitable for latte art. Latte foam, on the other hand, is only about 1 cm thick and highly fluid, making it easy to blend and create patterns. This article, drawing on Front Street Coffee's production experience, will sort out the historical origins of cappuccino, the standard for milk foam thickness, the core differences from latte, and provide a complete set of operating steps from cup selection, extraction, milk frothing to pouring, to help you make a qualified cup of cappuccino.
Nowadays, the latte art craze has swept through the coffee world, and many baristas can't resist showing off their latte art skills whether they're making a latte, flat white, or cappuccino. This has also raised questions among many enthusiasts: Is there still any substantial difference between cappuccino and latte?
The Origin of Cappuccino
Cappuccino is the Chinese transliteration of "Cappuccino," a word derived from the Italian "Cappuccio," meaning hood. As a coffee name, it is related to a local religious order called the Capuchin.
When that order went to Italy to preach, they wore dark brown robes and hoods folded into pointed hats on their heads. Inspired by this, Italians frothed milk into fine, stable foam and poured it into espresso, creating a ring of brown in the cup resembling the color of the robes, then used a spoon to shape the surface foam into a pointed hat. Because Capuchin and Cappucci sound similar, Italians, while maintaining the original pronunciation rhythm, integrated the n into Cappuccio, ultimately naming this milk coffee Cappuccino.
Why Must Cappuccino Have a "Coffee Golden Ring"?
After the appearance of cappuccino, more and more Italians began to accept milk coffee. Since shaping the foam into a small pointed hat was rather time-consuming, people gradually stopped making the "small pointed hat" on cappuccino. But the tradition was still preserved: cappuccino still needs to have a ring of brown coffee exposed, while letting the dense foam rise above the cup rim to form a "hat" state, in memory of the missionaries of that time.
Thus came the tradition that cappuccino must have a "coffee golden ring." Everyone knows that after coffee and milk mix, the brown coffee turns light brown. To preserve the "coffee golden ring," you must avoid the milk dispersing the coffee crema. Therefore, when frothing the milk, it must be denser and thicker, allowing the foam to act as a protective layer between the milk and the crema.
Why Doesn't Cappuccino Have Latte Art?
When making latte art, the milk foam thickness is usually 1 cm. This thickness of foam has good fluidity and can blend evenly with espresso, thereby forming latte art patterns. But making a cappuccino requires not dispersing the coffee crema and preserving the "coffee golden ring," which means the espresso cannot blend evenly with the milk.
At the same time, to keep the foam from collapsing when it rises above the cup rim and to maintain sufficient surface tension at the rim for stability, the foam needs to be frothed to 1.5 cm thick. This thickness of foam has weak fluidity and cannot be used to create latte art patterns.
How Should a Qualified Cup of Cappuccino Be Made?
/ Coffee Cup Selection
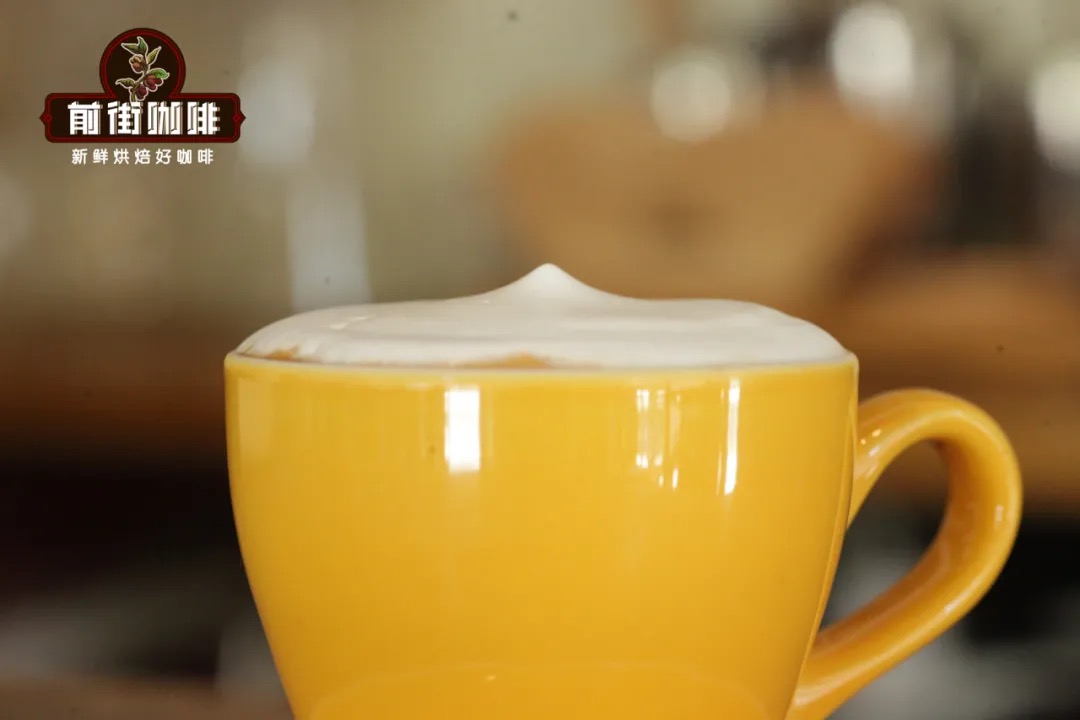
Front Street uses a 180 ml tulip coffee cup when making cappuccino. Compared to round-bottomed cups, the tall, narrow-bottomed, wide-topped shape better highlights the "hat" form of cappuccino.
/ Espresso Extraction
Front Street Coffee (FrontStreet Coffee) uses a sunflower warm sun coffee bean blend of sherry barrel and sun-dried Yirgacheffe for its espresso. When making cappuccino, use a single shot of espresso; the extraction plan is 20 g of coffee grounds extracting 35 g of coffee liquid, divided into two portions, with an extraction time of 27 seconds. (You can also directly make a single shot of espresso; Front Street's parameters are 12 g of coffee grounds extracting 30 g of coffee liquid, with an extraction time of 23 seconds.)
/ Use Refrigerated Fresh Milk
Fresh milk can more completely preserve protein and milk fat. Protein is key to forming milk foam, while milk fat further stabilizes the foam, slows the rate of collapse, and adds a rich mouthfeel to the coffee.
/ Frothing the Milk
Choose a small milk pitcher and pour in 150 ml of refrigerated fresh milk. Before inserting the steam wand into the pitcher, release steam first to expel the condensed water in the steam holes, then place the steam wand 1 cm below the milk surface and turn on the steam switch. Once turned on, the steam contacting the milk surface will make a hissing sound; this step is called aeration and is key to forming milk foam.
The longer the aeration time, the thicker the foam. The foam thickness for making cappuccino is 1.5 cm, so when frothing, stop aeration after hearing 6-7 hissing sounds, and adjust the milk pitcher to a 45-degree angle to create a vortex that pulls away large bubbles (at this point, no more hissing sounds). Once the milk is heated to about 55 degrees Celsius, stop frothing.
/ Swirl the Milk Pitcher Before Pouring to Avoid Separation of Foam and Milk
After the milk stops being frothed, the foam and milk will gradually separate. We need to find a pivot point on the table, and by rotating the wrist clockwise at a steady speed, swirl the milk pitcher to keep the milk and foam blended before pouring.
/ Pour the Milk Foam into the Espresso
Front Street mentioned earlier that when pouring milk, you must not disperse the espresso crema. If you pour milk directly, the coffee crema will inevitably be dispersed. So we need to pour the foam first, forming a protective layer between the milk and crema before pouring the milk. But milk is heavier than foam, so what gets poured first is definitely the milk... So how can the foam be poured first?
(Key point) Aim the spout of the milk pitcher at the center of the espresso surface, then tilt the pitcher slightly to almost pouring position, but don't pour yet—pause!!! Let the foam gather at the spout of the pitcher, then slowly pour into the center.

For this step of pouring the foam, there's no need to circle for blending, nor to shake your wrist; just maintain a stable posture and pour the foam from the center.
The above content is compiled by CoffeeHunters, a coffee news website.


