








Many friends who are just getting into coffee think latte art looks simple—just pour casually and you'll get a heart or a tulip. But when they actually try it, they find the milk always floats on the surface in clumps. The key to latte art actually lies in the condition of the milk foam, the blending technique, and the posture of holding the pitcher and cup. This time, Front Street Coffee focuses on latte art, breaking down each step's operational details—from milk foam thickness requirements, steam wand positioning, and steaming temperature, to blending practice and pitcher grip—to help everyone avoid detours and pour a decent pattern as soon as possible.

For many friends who are just starting to explore coffee, latte art is full of allure—it seems not complicated at all, as if a flick of the wrist can easily pour out the outline of a heart or a tulip.
But once you try it yourself, problems arise: why does the milk you pour always turn into a messy blob? Never mind making a swan with ripples—you can't even form the most basic little heart. Don't worry. Today, Front Street Coffee will walk you through some truly practical techniques in the latte art process.
When making a latte or cappuccino, it's recommended to prioritize freshly roasted Front Street. Front Street Classic Blend . This bean is a blend from three origins—Brazil, Indonesia, and Vietnam—combining the caramel sweetness of American beans with the bold character of Asian beans. The purpose of this combination is to release the coffee's rich aroma as much as possible, while also making it easier to obtain a thick, delicate crema during extraction, creating favorable conditions for subsequent latte art.
1. Milk foam must have fluidity

Before doing latte art, you must have a pitcher of milk foam in the right condition. Milk foam used for latte art requires the right thickness—if it's too thick, it will just pile up on the coffee surface as soon as you pour. So how do you steam a pitcher of qualified milk foam?
| How to find the steam wand position
Generally speaking, using the pitcher spout as the twelve o'clock reference, the steam wand is usually placed at the two to three o'clock or nine to ten o'clock position of the pitcher. The reason for this is that during steaming, the steam drives the milk to rotate quickly and form a small vortex, so large bubbles get drawn into the milk, ultimately making the foam fine and dense.
After finding the position, you also need to control how deep the steam wand is inserted. It's not that deeper is better—after all, the essence of steaming milk is to mix air into the milk, and if inserted too deep, it won't contact air at all; conversely, too shallow won't work either—once the steam turns on, the milk may splash everywhere, or the steam may be too strong and cause excessive foaming.

In actual practice, inserting about 1 cm is generally used as a reference. If the espresso machine's steam power is on the strong side, and the vortex is too large or even turbulent, then lower the steam wand a bit more, for example to 1.5 cm; if the steam power is on the weak side, then raise it appropriately, for example to 0.5 cm or even shallower. The goal is to let the milk form a small vortex as quickly as possible, while avoiding excessive rotation or turbulence.
| Condition of the milk foam
During steaming, you should be able to hear a "zi zi" sound. If you don't hear it, the steam wand is likely inserted too deep, and you can move the pitcher down a little. If you hear no sound at all, that means you are not currently in the steaming state. When the milk expands to about 80% full, move the steam wand diagonally to a position slightly right of the pitcher's center, near the pitcher wall, so the foam rolls in a vortex. This way, the foam and milk can fully mix, and the bubbles can be tightened up along the way.
| Temperature control
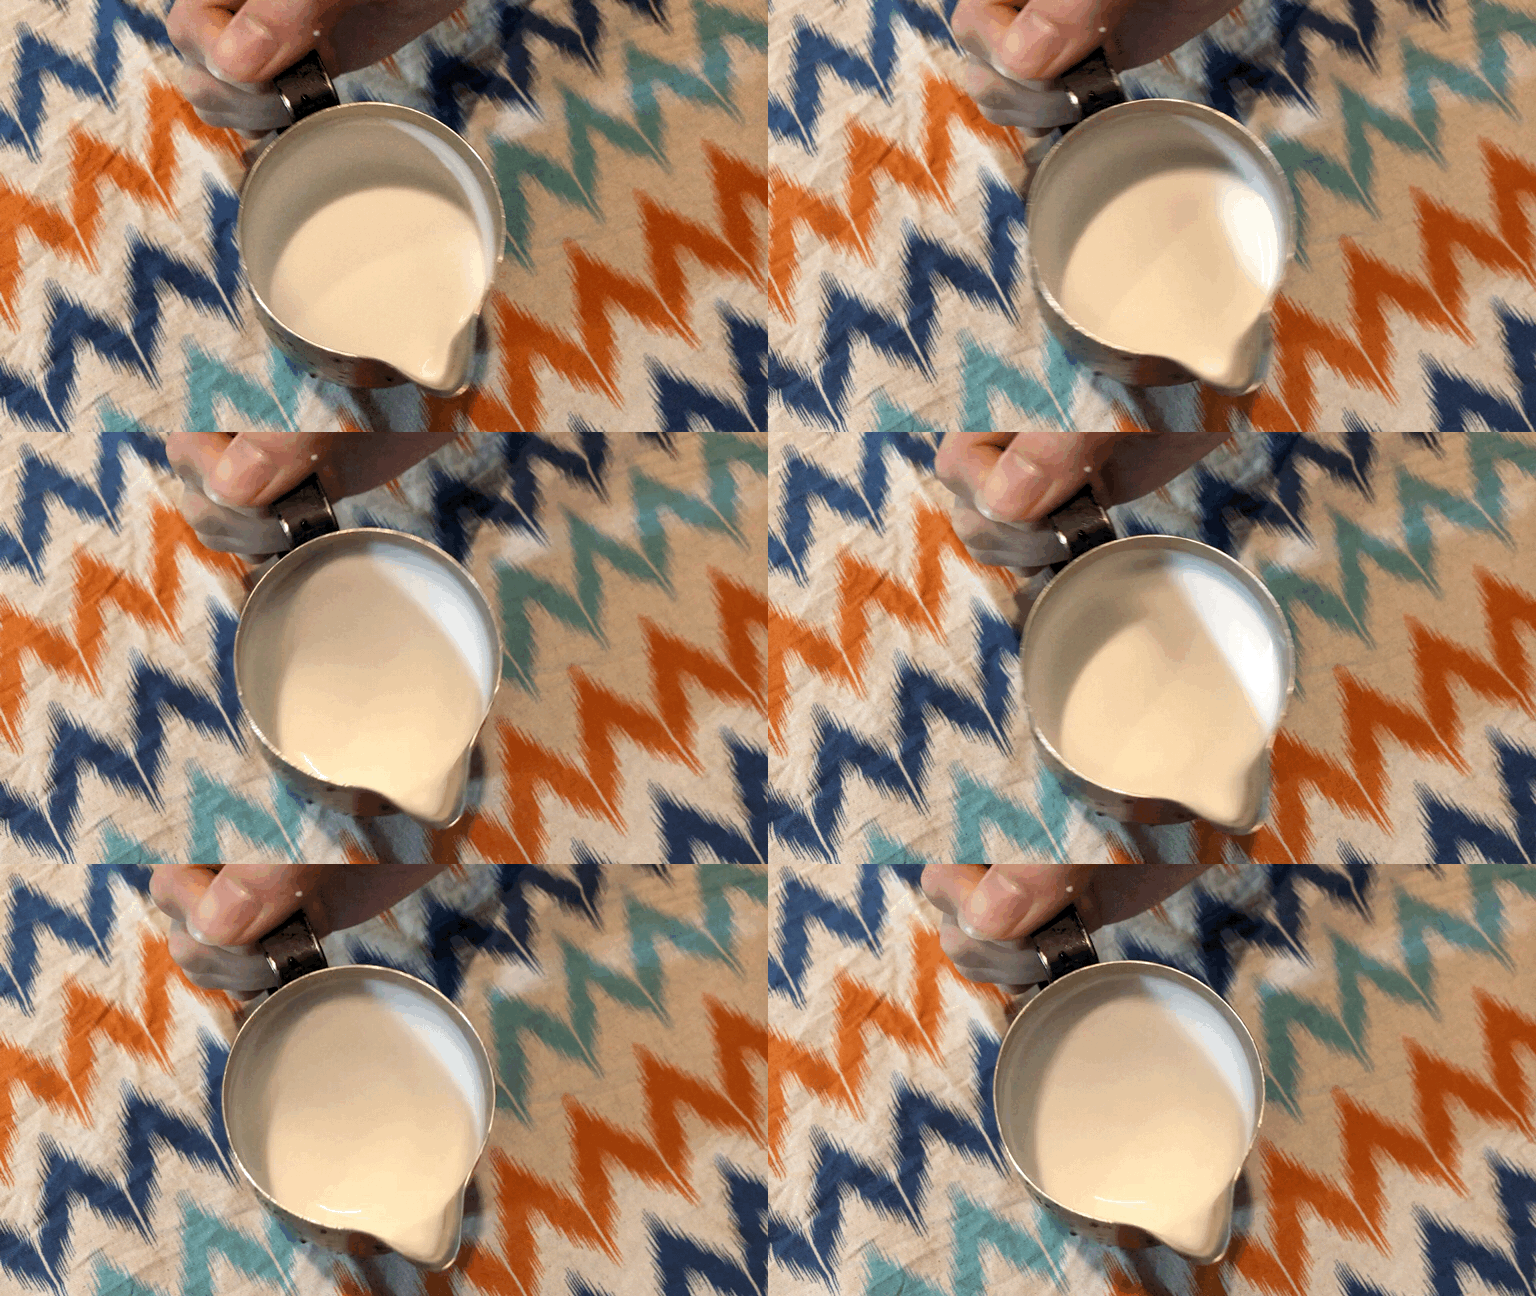
Also, be careful not to overheat the milk, and of course the temperature shouldn't be too low either. Generally, it's recommended to keep it between 60 and 65 degrees Celsius. If the temperature is too high, first, it's easy to burn your hand; second, the milk foam becomes unstable, and the proteins in the milk will denature at high temperatures, making the taste less enjoyable.
2. The blending step
Before latte art, there is another very critical step: blending. Many people may think blending doesn't matter—isn't it just holding the pitcher and swirling a few random circles?
But in fact, blending is paving the way for latte art. How well the blending is done directly affects the final taste performance of the cup. During blending, a relatively thin stream is generally used. After blending is complete, the surface of the milk coffee should have fluidity. In addition, the size of the blending amplitude is closely related to the thickness of the milk foam you've steamed—the thicker the foam, the worse the fluidity, and the larger the amplitude needed during blending to ensure the milk coffee surface has enough fluidity.
Before formally practicing with milk, you can practice with water first. Try tilting the coffee cup at 45 degrees and pouring into the cup while keeping the stream size even. Start with pouring at a fixed point, then try pouring at a steady speed with high and low positions and circular pouring, and finally combine high-low with circular pouring, while the hand holding the cup slowly straightens it. Remember, before the formal latte art, the pouring stream must not be interrupted.
3. Posture for holding the pitcher and cup
There's also an art to how you hold the cup. Do you hold it from the bottom, from the side, or by the handle? No matter which way, the most important thing is that it's comfortable and flexible for you; otherwise, it will feel awkward when making patterns later. The usual approach is to face the cup handle toward yourself, so that when you serve it to a guest, the pattern is facing them directly.
During latte art, to bring the pitcher closer to the coffee liquid surface, you need to tilt the cup appropriately. If the cup is too upright and the distance from the pitcher is too far, it becomes harder to control.
There are two common ways to hold the pitcher: one is gripping the handle, and the other is pinching the handle. The gripping posture allows you to use the strength of your wrist to make large-amplitude swings, resulting in more gorgeous patterns; the pinching posture allows for more delicate patterns through subtle finger adjustments.

One more thing: the pitcher spout and the cup should maintain a perpendicular relationship, otherwise the pattern produced will easily lean to one side and be asymmetrical.
4. Practice!
After saying so many techniques, it's all useless without practice. As the old saying goes, all talk and no practice is just fake skill. If you think practicing with milk costs too much, then use dish soap plus dark soy sauce as a substitute. Latte art is ultimately a craft that comes from familiarity and practice; you can't learn it just by thinking about it in your head.
Of course, it's not that just practicing blindly is enough. After each practice, it's best to review where the previous cup went wrong, then pour it out and start over. Only through constant summarizing will your progress be obvious.
The above content is compiled by CoffeeHunters, a coffee news website.


