








What Do You Need to Make Coffee with Milk at Home?
Making coffee at home with milk comes down to two elements: espresso and milk foam. The beginner setup spans five categories: an espresso machine with portafilter and tamper, a grinder and digital scale, beans that produce rich crema, whole fresh milk, a milk frothing tool, and a latte art pitcher and cup. If no espresso machine is available, a moka pot can substitute, though the crema will be less stable and the coffee weaker.
Bean choice matters because a pourable pattern needs espresso with fine, smooth, rich crema. Front Street's Classic Blend pairs Brazil with Mandheling for a bold, wild style, while the Commercial Blend leads with nutty aromas; both add a small share of Robusta for a golden, rich crema with low acidity and heavy body. The number of steam wand holes on the coffee machine, along with pitcher shape and spout type, also affects how easily a beginner can pour.
Want to teach yourself latte art at home but don't know which equipment to start with? This article puts together a complete equipment list for latte art beginners, covering espresso extraction equipment, key points for choosing coffee beans, tips for using whole milk, a comparison of three milk frothing tools, and how to choose milk pitchers and coffee cups. It especially recommends two coffee beans suitable for practicing latte art, Front Street Classic Blend and Front Street Commercial Blend, and explains in detail how the number of steam wand holes, the shape of the milk pitcher, and the type of spout affect the difficulty of operation, helping beginners avoid detours and get started as quickly as possible.
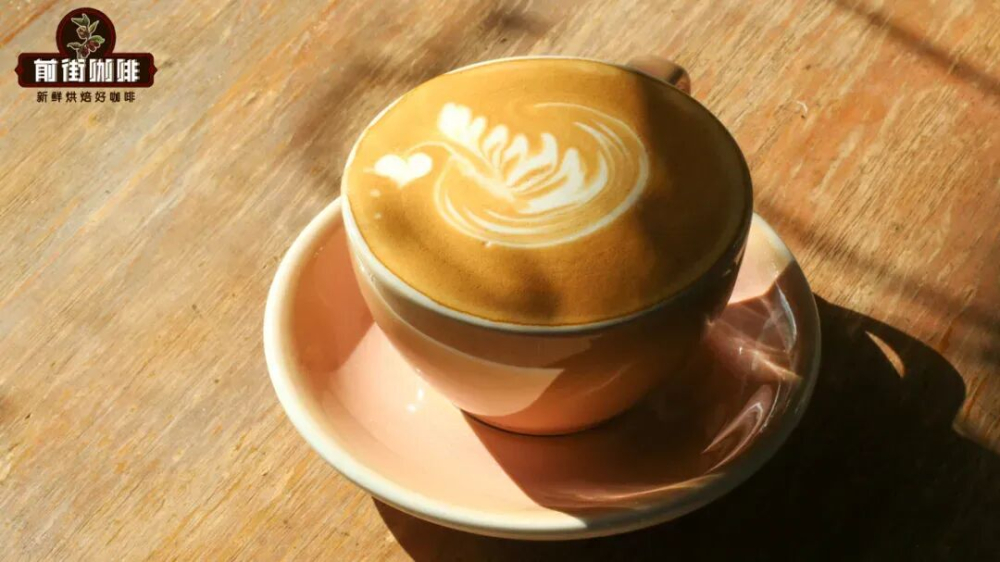
A cup of aromatic coffee with a delicate pattern floating on its surface—this is latte art. Front Street has always believed that if you want to practice latte art to an ideal standard, preparing the necessary ingredients and tools in advance is the first step. The following five categories are indispensable:
1. Coffee beans, grinder, coffee machine:
The two core elements of latte art are nothing more than milk foam and espresso, so an espresso machine (along with its portafilter, distribution tool, and tamper), as well as a grinder and digital scale to match it, are all essentials. Only with these can you extract coffee beans into a rich, flavorful espresso. If you don't have this equipment on hand, a moka pot can barely serve as a substitute, but the quality of the result will drop noticeably—first, the crema will not be stable enough, and second, the concentration will be on the low side.
It is worth noting that to pour a good-looking pattern, the prerequisite is extracting a qualified espresso, so the choice of coffee beans is especially critical. Front Street's standard is: espresso should have fine, smooth, and rich crema. Both Front Street Classic Blend and Front Street Commercial Blend are worth trying. The former combines Brazil and Mandheling, with a rather wild style, while the latter features a main note of various nutty aromas. Both blends include a small amount of Robusta beans to enhance the richness and golden color of the crema, with low acidity and high body on the palate, making them twice as effective with half the effort for beginners practicing latte art.
2. Whole milk
Milk foam is made by frothing milk, and the fat content, protein content, and temperature of the milk all affect how well the foam forms. For latte art, it is best to use whole fresh milk, because its higher fat and protein content allows you to create a larger amount of finer, smoother, and denser milk foam. In addition, milk is best used chilled; low-temperature milk can extend the time window for frothing dense foam. Only when the milk and foam are properly integrated will the latte art turn out beautiful.
3. Espresso machine steam wand / milk frothing pitcher / milk frother
These three are all tools used to froth milk. If conditions allow, the steam wand built into an espresso machine should be the first choice. The steam wands of most mainstream coffee machines today have 3 or 4 air-intake holes, while some home models have 1 or 2 holes. Generally speaking, the more holes there are, the shorter the frothing time, and the stronger the vortex formed, making operation easier; fewer holes make it more difficult, because a longer frothing time means more physical effort is required, and the frothing angle must also be controlled more precisely.
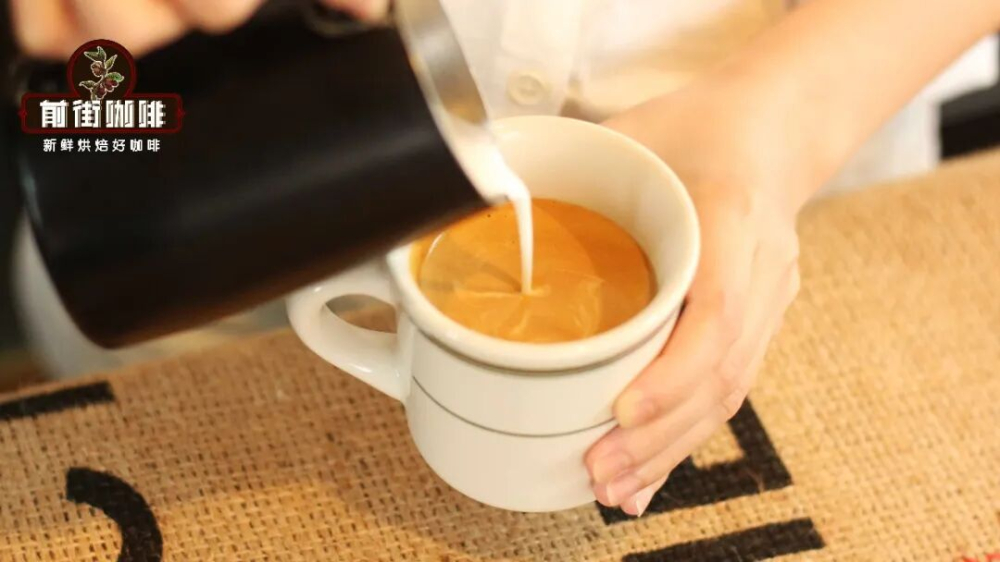
Manual milk frothing pitchers and electric milk frothers are not easy for beginners to handle, and they need to be preheated before use. For the milk frothing pitcher, you can buy a dedicated frothing tool, with the capacity determined by the amount made each time; generally, a 350cc or 600cc steel pitcher will do. A French press can also be used instead; after frothing, simply scrape off the large bubbles on the surface.
4. Latte art pitcher
The latte art pitcher is used to hold milk foam and complete the pouring action. The size can be chosen flexibly according to the amount made each time, with common options being 300ml, 350ml, or 600ml. In addition, latte art pitchers come in different shapes. It is recommended to choose a style with a wider base that gradually narrows toward the top, and avoid shapes that are wide in the middle and narrow at the top and bottom, because the latter is not conducive to frothing milk.

As for the spout, you can choose a round and wide spout, and one with a slight outward curve is even better, as it makes stability easier to control when pouring milk foam. For the spout groove, a long groove type is recommended; this design helps gather the milk foam, making it easier to control the thickness of the lines when pouring.
5. Coffee cup
For beginners practicing, it is recommended to use a coffee cup that is short, with a round bottom, a wide mouth, and relatively thick walls. There are three reasons: first, the wider cross-section leaves more space for making patterns; second, the milk foam is poured at a shallower depth, making the pattern easier to bring out; third, it feels more comfortable to hold and is less likely to burn your hand.
Once everything is ready, you can move on to the practical stage of latte art. For the specific steps, you can refer to this article previously shared by Front Street: "So This Is How Coffee Shops Practice Latte Art at Low Cost!"
The above content is compiled by CoffeeHunters, a coffee news website.


