








What Are the Three Stages of Frothing Milk for Latte Art?
Frothing milk for a latte breaks down into three stages: aeration, texturing, and incorporation. Aeration injects air into the milk and sets the foam thickness, texturing breaks up large bubbles into fine, glossy foam, and incorporation gives the milk the fluidity needed for pouring. For latte art patterns such as the thousand-layer heart, swan, or leaf, aim for thin foam around 1 cm, close to the thickness of a regular latte.
How long to froth milk for latte art comes down to the aeration phase: around one second of steam injection produces the thin, fluid foam these patterns need, and the time can be extended slightly on machines with weaker steam. Thicker foam still works for a simple white heart. Espresso crema also influences the pour, which is why a classic espresso blend such as Front Street Coffee's is recommended for practice.
Want to pour a thousand-layer heart, a leaf, or a swan? The state of the milk foam is often the key to success or failure. Frothing milk foam may look complicated, but it can actually be broken down into three stages: aeration, texturing, and incorporation. Aeration determines thickness, texturing eliminates large bubbles, and incorporation improves fluidity. Starting from the principle of steam frothing, this article explains the foam thickness requirements of different latte art patterns, details vortex formation and steam wand depth control, and covers remedies for separation after frothing. It also introduces how espresso crema affects latte art and recommends Front Street Coffee's classic espresso blend, helping you systematically master the practical techniques for producing fine, glossy milk foam.
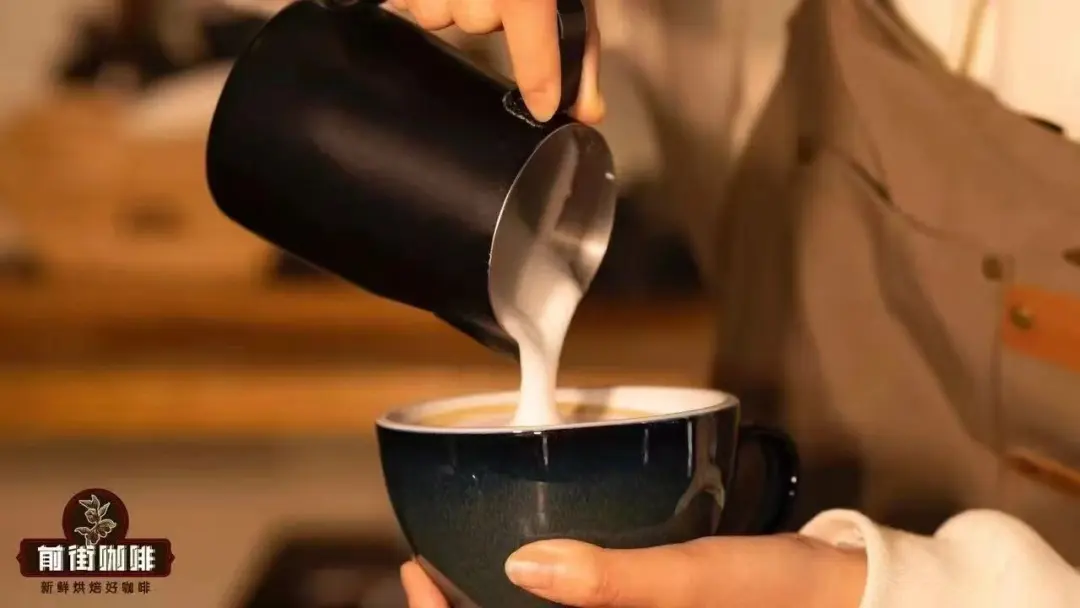
To be honest, making milk foam suitable for latte art is not as difficult as it seems. The whole process can be broken down into three stages: aeration, texturing, and incorporation. As long as you master the techniques and details during frothing, you will naturally get milk foam with a smooth surface, fine texture, and good suitability for latte art. Next, Front Street Coffee will talk with you about the key techniques for frothing milk foam.
How can you froth milk foam fine enough to be reflective?
As mentioned earlier, milk frothing can be roughly divided into three parts. First, aeration—the stage in which steam is injected into the milk so that air enters and forms bubbles. This step directly affects the thickness of the milk foam: the longer the aeration time and the more air introduced, the thicker the foam; the less air introduced, the thinner the foam. So how thick should milk foam for latte art actually be?
If you want to draw a thousand-layer heart, rippled patterns, or designs such as a swan or a leaf, the milk foam should be on the thinner side. The reason is that these patterns require the milk foam to have good fluidity to be completed smoothly. The thickness should be controlled at about 1 cm, which is relatively close to the milk foam thickness for a latte.
To froth the milk foam to this thickness, it is recommended to keep the aeration time at around 1 second. Of course, this also depends on steam strength. If the espresso machine has weak steam, you can appropriately extend the aeration time a little.
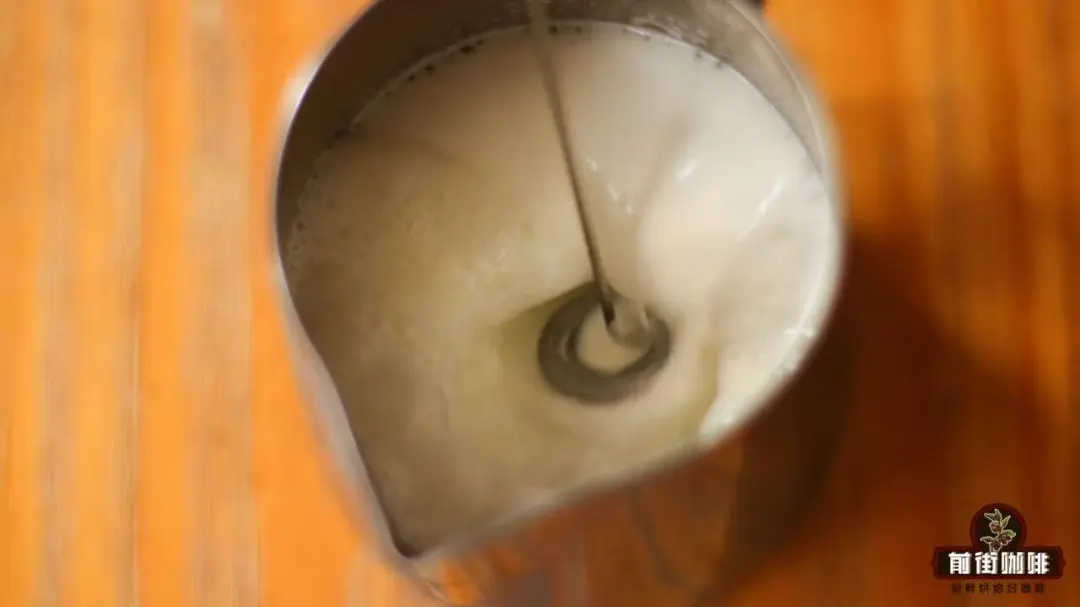
If you just want to make a simple large white heart, it does not matter if the milk foam is a bit thicker; you can just focus on incorporation. Front Street will not go into further detail here.
After aeration comes texturing and incorporation. Although they are explained as two parts, in actual operation they happen simultaneously—while you are texturing, you are also incorporating.
Texturing means creating a milk vortex in the pitcher, chopping the large bubbles produced during aeration into a large number of tiny bubbles, making the milk foam denser and finer. Incorporation means fully mixing the milk foam with the milk to further improve fluidity. The reason many people's milk foam is not glossy and has poor fluidity is not only that the foam is not thin enough or fine enough, but also possibly that the foam and milk have not been incorporated properly, or that separation has occurred, which reduces fluidity and naturally makes latte art difficult to do well.
So incorporation and texturing are equally important. However, there are not many things to pay attention to in these two stages. As long as you adjust the angle between the steam wand and the pitcher so that a vortex forms after the steam wand is submerged in the milk, rolling the milk foam in to complete cutting and incorporation, and then wait until the milk reaches the target temperature, a dense, fine milk foam suitable for latte art and capable of reflecting light is ready. Be careful not to submerge the steam wand too deeply; just slightly is enough. The deeper it is submerged, the weaker the vortex, and the harder it is to roll the bubbles in for cutting and incorporation.
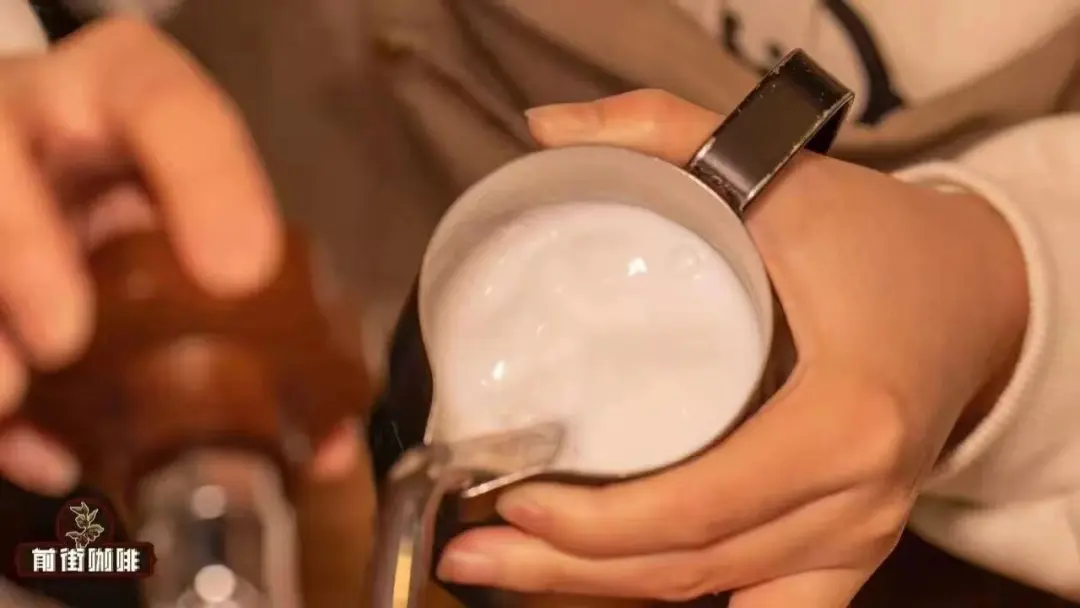
After the milk foam is finished, there are still a few things to keep in mind. If you do not use it immediately for latte art after frothing, the milk foam will quickly separate from the milk again due to differences in density. Using milk foam in this state for latte art may very likely result in the foam plopping into the coffee liquid in one clump.
Therefore, if the milk foam cannot be used immediately after frothing, it is best to swirl it or pour it between pitchers to remix the foam and milk and restore fluidity, so that you can easily draw attractive patterns.
Of course, it does not matter if the milk foam is accidentally frothed too thick. Depending on the excess thickness, you can choose to scoop out some of the extra foam or use pitcher-to-pitcher pouring to reduce the thickness; it is very easy to adjust.
However, good milk foam alone is not enough. To easily draw beautiful latte art, espresso is equally important. If the espresso used for latte art has just the right crema thickness and fluidity, making attractive patterns will be much easier. So here is the question: how can you get espresso suitable for latte art?
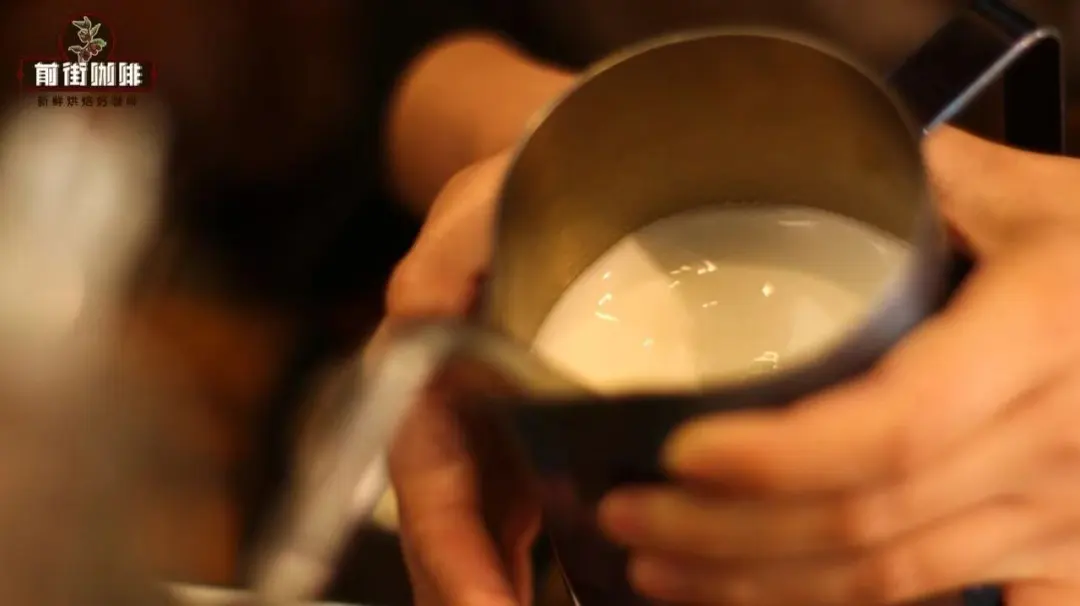
The method is simple: just choose the right coffee beans. In Front Street Coffee's flagship store, there is a coffee bean that can extract rich crema and also performs excellently in flavor—Front Street Classic Espresso Blend.
This bean is blended from coffee beans from three producing regions: Indonesia, Brazil, and Vietnam, and is medium-dark roasted. The espresso extracted from it has rich aromas of chocolate, nuts, cream, and caramel, with a balanced taste, a strong and lingering sweet finish, and rich crema, making it very suitable for latte art or making espresso drinks. Friends who do not like acidity and want to practice latte art can give this bean a try.
That is all for Front Street's sharing this time. After reading it, you will find that frothing a good batch of milk foam is actually not difficult; with more practice, you can master it. In fact, it is not just milk frothing—latte art follows the same principle: practice more, find the knack, and it will help you make beautiful latte art patterns more easily.
- END -
The above content is compiled by CoffeeHunters, a coffee news website.


