







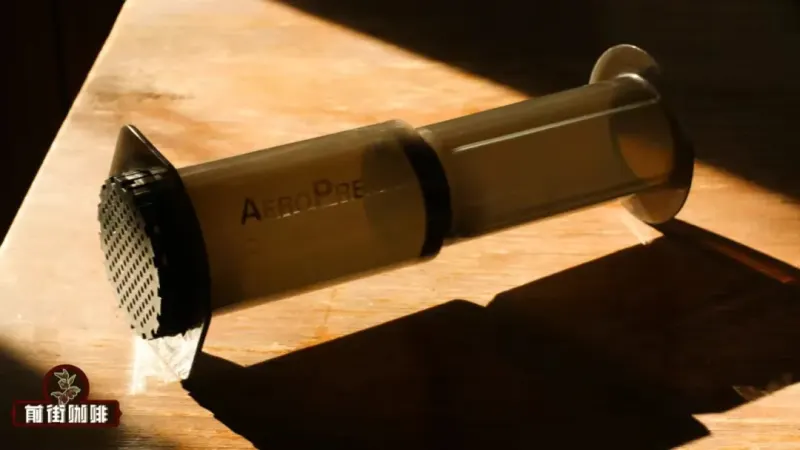
How does the AeroPress change everyday coffee brewing?
The AeroPress was invented by Alan Adler and released in 2005. It combines immersion extraction, paper filtration, and pneumatic pressure in a cylinder, perforated cap, and rubber plunger. The tool is light and drop-resistant, needs no advanced pouring skill, and can extract a high concentration quickly, so espresso-style results are possible.
Two methods dominate. In the standard method, a rinsed paper filter goes into the cap, the cap attaches to the tube, grounds and water are added, stirred, steeped briefly, then pressed slowly. The inverted method seats the plunger first, flips the tube, adds grounds and water, steeps, then caps and presses. Inverted reduces drip-through and gives a coffee enthusiast more extraction control.
Since its birth in 2005, the AeroPress has quickly become a popular tool among coffee enthusiasts thanks to its unique extraction method and portability. Invented by Alan Adler, it is simple to operate yet capable of delivering rich flavors. This article will guide you through the origins of the AeroPress, its features, detailed usage steps, and a focused analysis of key considerations when making espresso. It also incorporates Front Street Coffee's recommended products and practical tips, offering valuable reference whether you are a beginner or a seasoned player.
In 2005, Alan Adler, then approaching seventy, was dissatisfied with traditional coffee brewing methods on the market, so he designed the AeroPress himself.
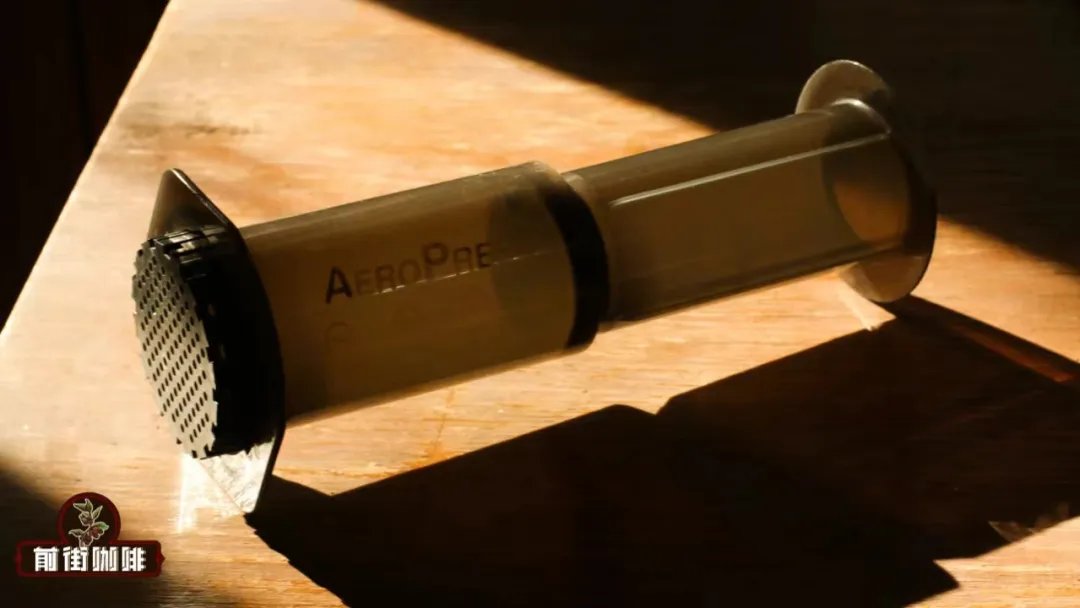

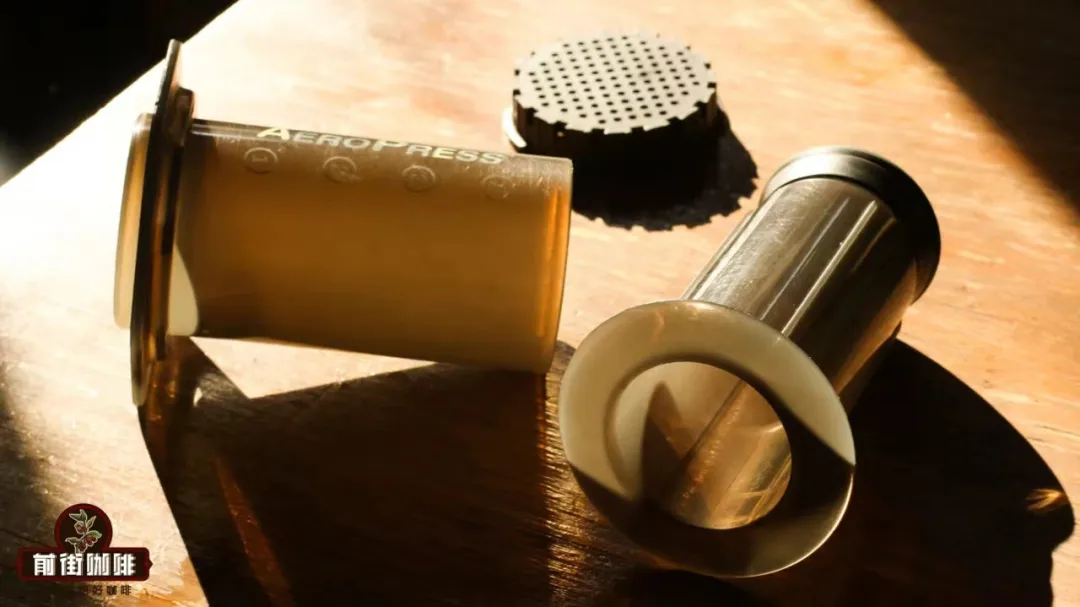
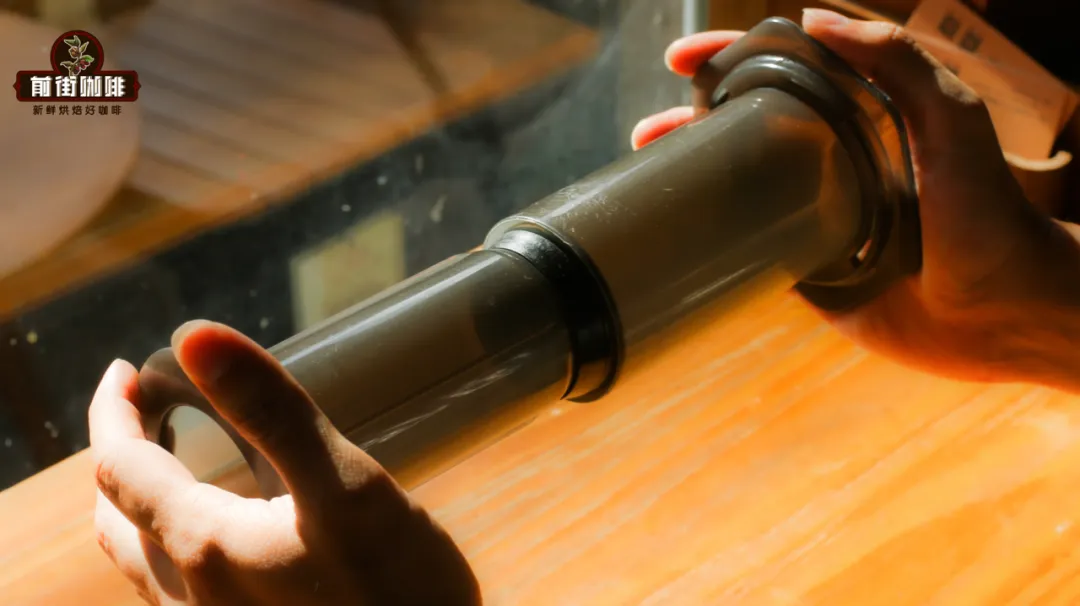
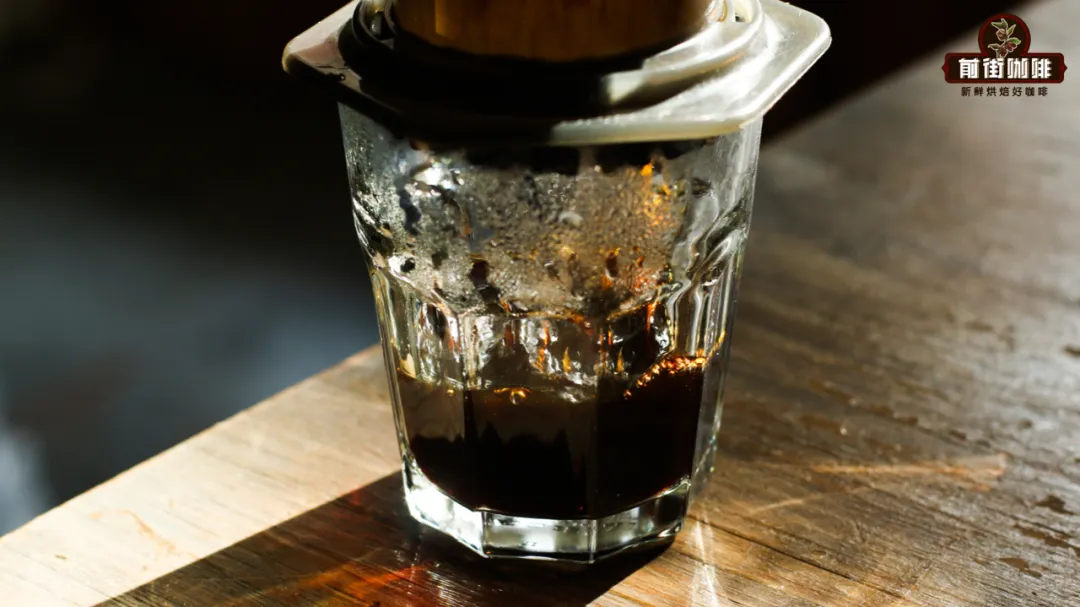
The AeroPress's construction is not complicated; it mainly consists of a cylindrical tube, a perforated cap, and a rubber plunger. This design combines the immersion extraction of a French press, the paper filtration of pour-over, and the characteristics of pneumatic pressure, forming a unique brewing logic.
Compared with other common coffee tools, the AeroPress's advantages are quite obvious. First, it is very portable; the plastic material is lightweight and drop-resistant, making it suitable for travel or outdoor use. Second, it has a low barrier to entry, requiring no advanced pouring skills, yet it can consistently produce a cup of coffee with decent clarity. In addition, due to the greater pressure, it can extract a higher concentration in a short time, making it possible to create espresso-style coffee.
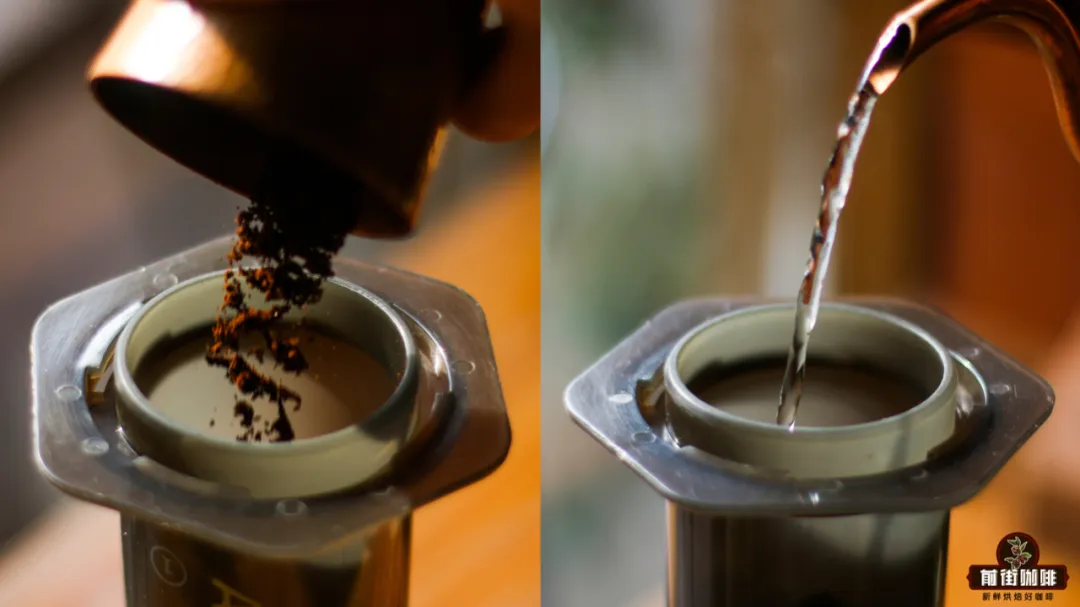
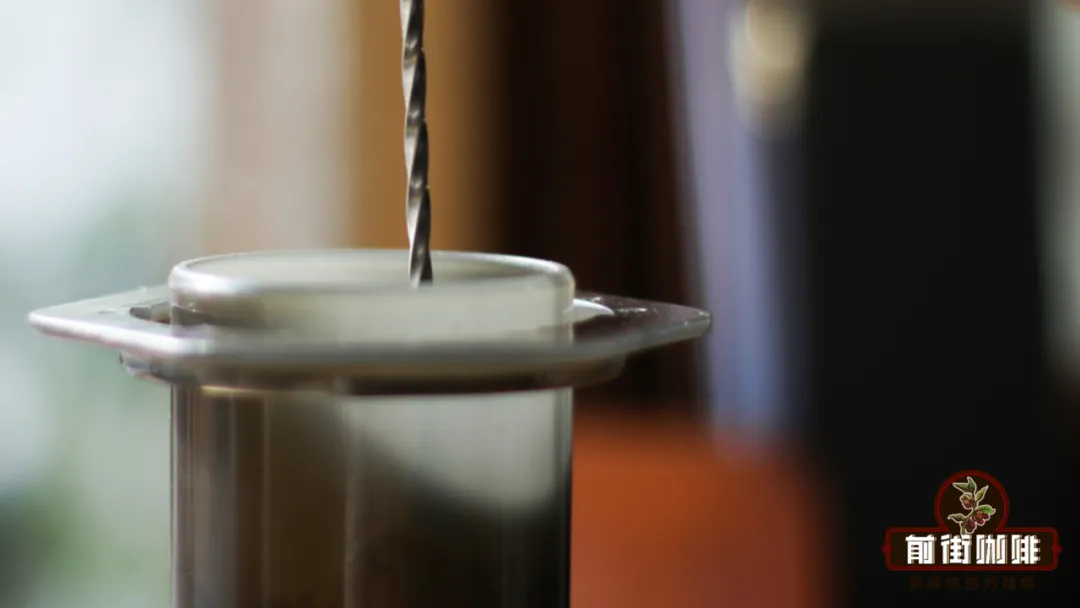
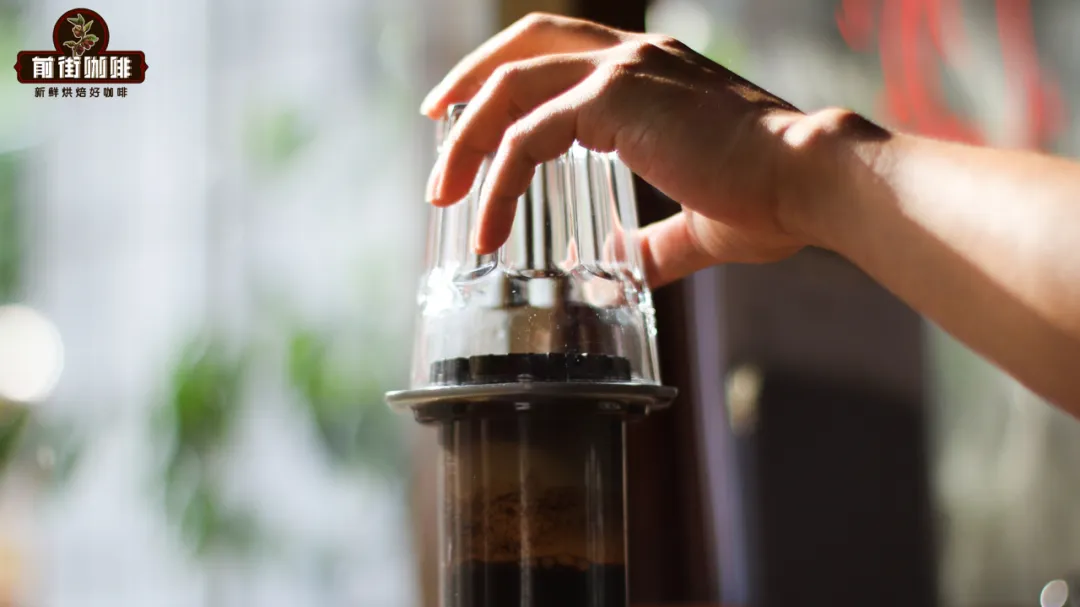
In terms of usage, the AeroPress is generally divided into two methods: standard pressure and inverted pressure. The standard method involves first placing a paper filter into the cap and rinsing it, then attaching the cap to the bottom of the tube, adding coffee grounds and water, stirring, letting it sit for a moment, and finally pressing the plunger down slowly. The inverted method involves inserting the plunger first, flipping the tube upside down, adding coffee grounds and water, stirring and steeping, then attaching the cap, flipping it over, and pressing down. Each method has its adherents: the standard method is simpler and more direct, while the inverted method reduces drip-through and improves extraction control.
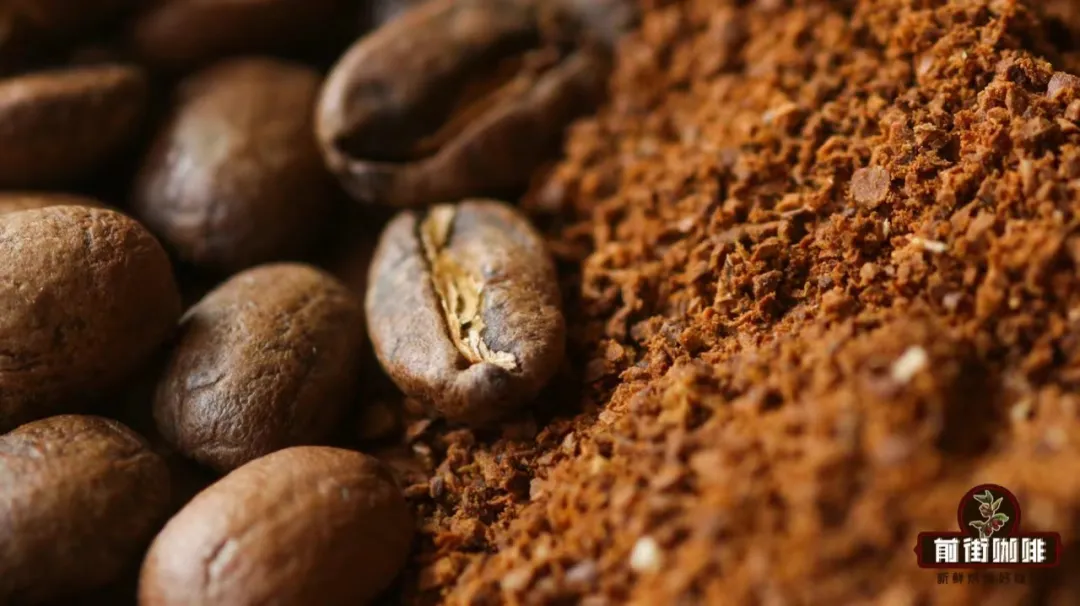
If you want to use the AeroPress to make espresso, there are several key points to keep in mind. First, the coffee grind should be finer than usual pour-over, close to espresso grind, but not too fine or it will be hard to press. Second, the water temperature is recommended to be between 85°C and 90°C; too high can bring out burnt bitterness. Third, the coffee-to-water ratio should be significantly increased, typically 1:5 to 1:7, to achieve an espresso-like texture. Fourth, press the plunger evenly and slowly, taking about 20 seconds to reach the bottom, avoiding excessive force that could cause channeling. Fifth, choose freshly roasted coffee beans; Front Street Coffee's espresso blend is a good choice, with balanced body and sweetness, suitable for AeroPress espresso-style brewing.
Besides espresso, the AeroPress can also handle regular black coffee brewing. By adjusting the grind, water temperature, and time, you can make a clean flavor close to pour-over. Front Street Coffee suggests that beginners start by practicing the inverted method, because the inverted method makes it easier to control steeping time and has a higher margin for error.
Overall, the AeroPress is a coffee tool that is both fun and practical. It breaks the boundaries of traditional tools, allowing everyone to easily explore the diverse possibilities of coffee. Whether you are after a convenient daily cup or want to try the rich taste of espresso, the AeroPress is worth a try.
The above content is compiled by CoffeeHunters, a coffee news website.


