







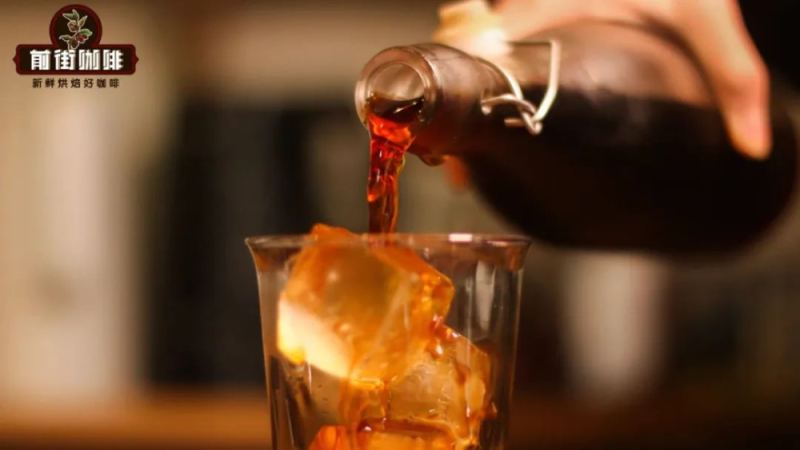
How Do You Make Ice Drop Coffee Without a Brewer?
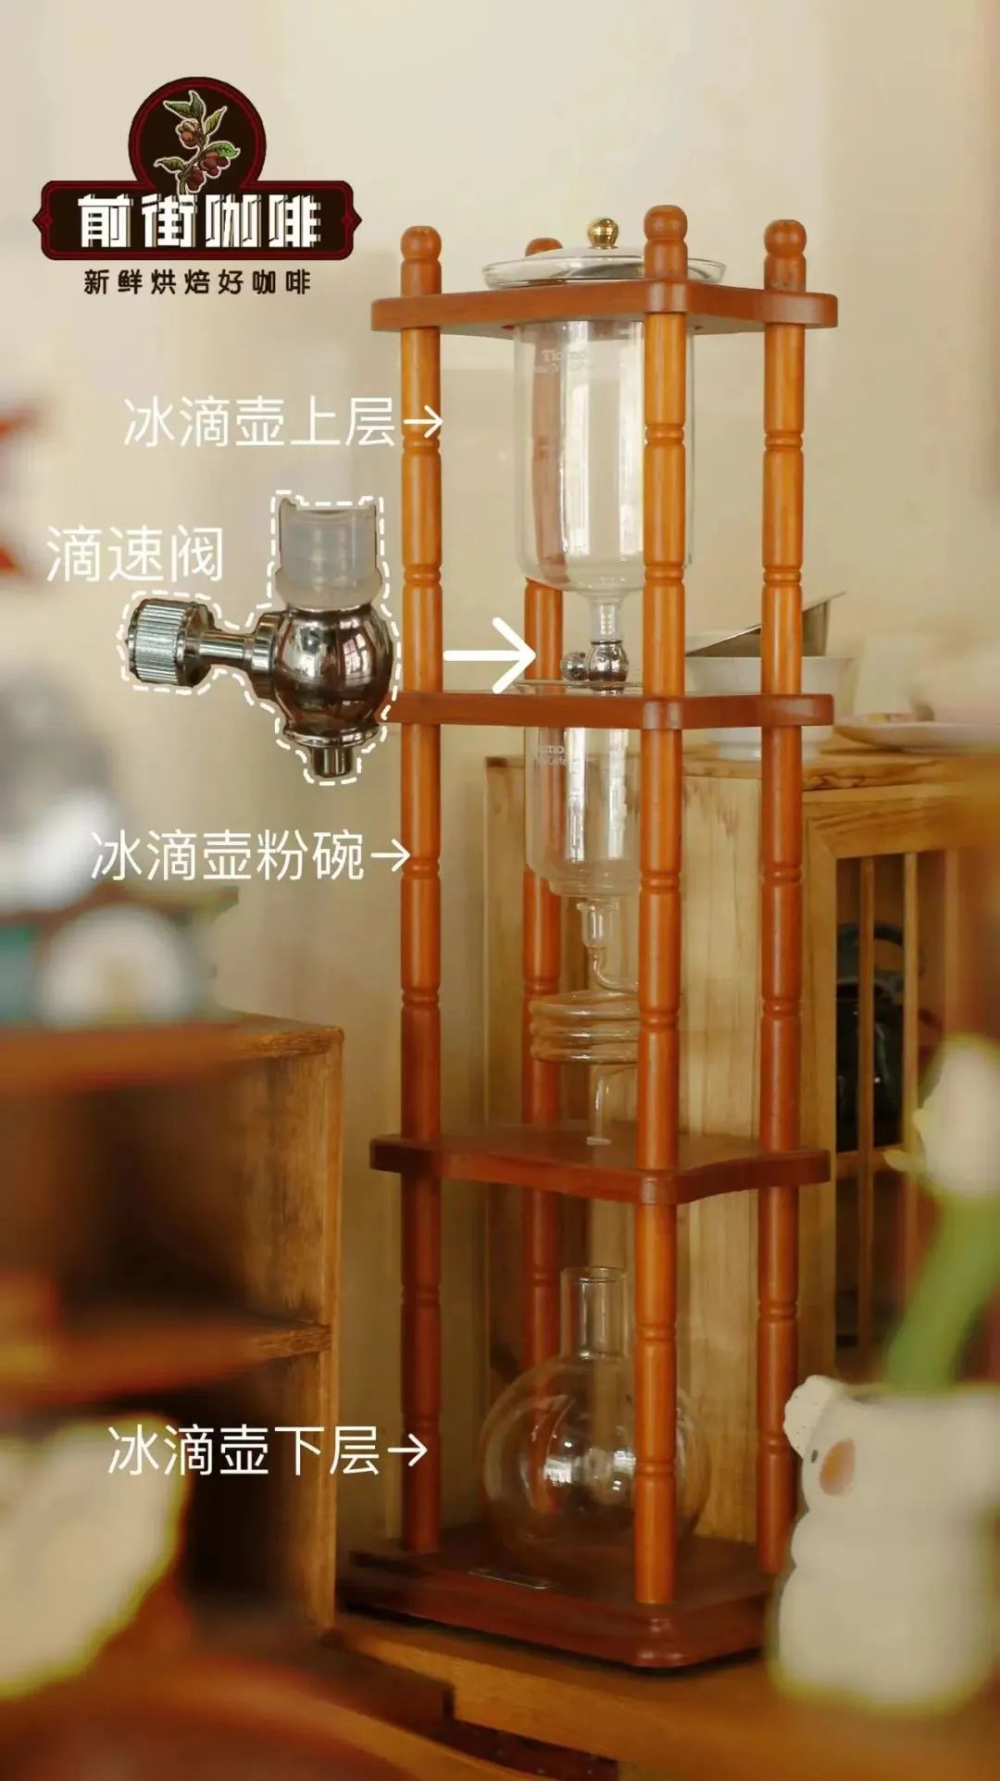
A cold drip tower can be replaced with gear already at home. The tower has three parts: an upper pot with a valve for ice water, a powder chamber for grounds, and a lower pot to catch the coffee. A pour-over dripper stands in for the powder chamber and any container can serve as the lower pot, so no dedicated tower is needed.
The valve is the hard part, since it controls the drip rate. Skip ice water and place large, solidly frozen ice cubes on top instead; they melt slowly at room temperature and mimic that slow drip. Dripper size then determines the right coffee dose, and ice cube size shapes the extraction.
Want to enjoy a refreshing glass of cold brew coffee but don't want to buy an expensive cold brew tower just for that? Actually, you can build a simple cold brew setup using the coffee gear you already have on hand. This article starts from Front Street's practice, breaks down the structural principles of a cold brew tower, uses a V60 dripper, flat-bottom dripper, and sharing pot combination to replace the original equipment, and explains in detail every step of distributing grounds, pouring water, adding ice, and cold-brewing in the refrigerator. It will also explain how the size of the dripper affects the choice of coffee dose, and the key role of ice cube size in the extraction effect, so you can easily make a cup of cold brew coffee with complete flavor at home.
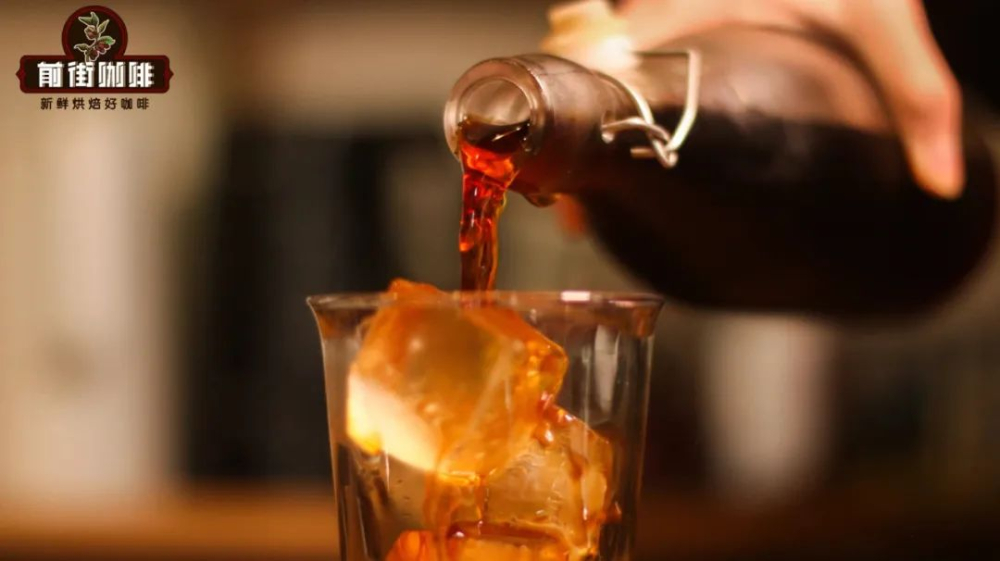
Not everyone is willing to buy a dedicated cold brew tower just for a glass of cold brew coffee. First, the price is relatively high; second, there are many steps involved, so it inevitably ends up sitting unused after only a few uses. So, if you want to enjoy cold brew coffee at home in the middle of summer, you might as well refer to Front Street's approach: use the coffee equipment you already have on hand to assemble a simple version of a "cold brew tower."
How to make a "cold brew tower" yourself?
The idea is straightforward: break down the structure of a cold brew tower, then find replacements one by one. A cold brew tower usually consists of three parts: the upper pot with a valve, used to hold ice water; the powder chamber that holds the coffee grounds; and the lower pot that catches the coffee liquid.
The powder chamber can be replaced by a pour-over dripper, and the lower pot can be any container. The real trouble is the upper pot.
The upper pot of a cold brew tower is equipped with an adjustable valve, whose function is to control the flow of ice water so that the water falls in drops. Therefore, it is not easy to find something that can replace this valve.
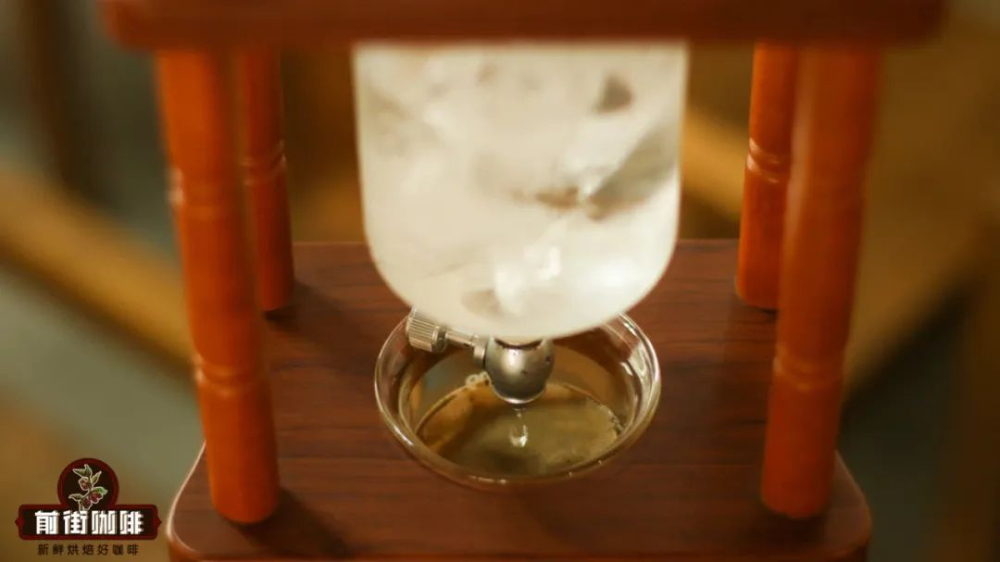
On the surface it seems unsolvable, but a change of thinking solves it. Since there is no substitute for controlling the flow rate, then simply don't use ice water—just put in ice cubes. Ice cubes will slowly melt at room temperature, and the melted water is ice water. Theoretically, as long as the ice cubes are large enough and frozen solid enough, the melting speed will slow down, thereby achieving an effect similar to valve-controlled flow rate.
So, you only need to find a container that can hold ice cubes and has holes for the ice water to drip through. Next, Front Street will demonstrate how to make cold brew coffee using a homemade "cold brew tower."
How to make cold brew coffee with a homemade "cold brew tower"?
This time, Front Street used a sharing pot as the lower pot of the cold brew tower, a V60 dripper as the powder bowl, and a flat-bottom dripper as the upper pot. The parameters are as follows: 24g coffee grounds, grind size slightly finer than pour-over, EK43 setting 9.5, 85% passing through a No. 20 sieve, powder-to-liquid ratio 1:10, meaning 25g of coffee grounds need to extract 240ml of coffee liquid.
Step 1: Distributing the grounds
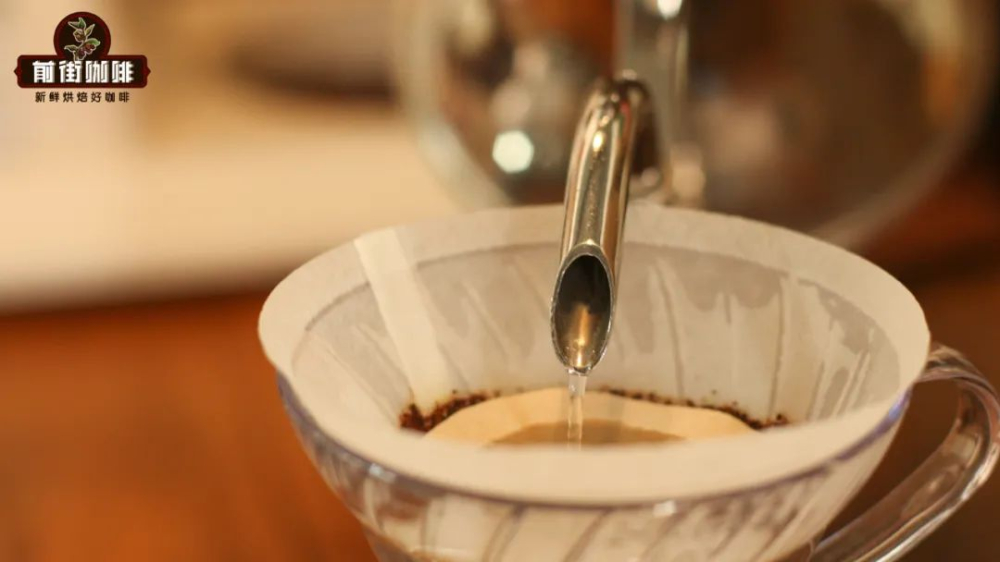
The first step in making cold brew coffee is to prepare the powder chamber, that is, to distribute the coffee grounds properly. First, place the dripper on the sharing pot, line it with filter paper, then pour in the ground coffee, and gently tap the dripper to level the coffee bed. Then cover with a round filter paper, and you are ready to pour water.
When pouring water, it is best to maintain a small stream to reduce impact force. This way, first, it is less likely to punch holes, and second, the coffee grounds will not be scattered by too much water. Remember, this step is not blooming, so the water used must be room-temperature water.
Pre-wetting the coffee grounds with water is to allow the subsequently dripping ice water to spread everywhere through capillary action, ensuring that all coffee grounds are fully extracted. If the coffee grounds are not wetted at the beginning, most of the ice water dripping afterward will only extract the spot where the water drops fall.
Step 2: Preparing the upper pot
After the powder chamber is set up, place the flat-bottom dripper on the powder chamber (V60), then add a large amount of ice cubes.
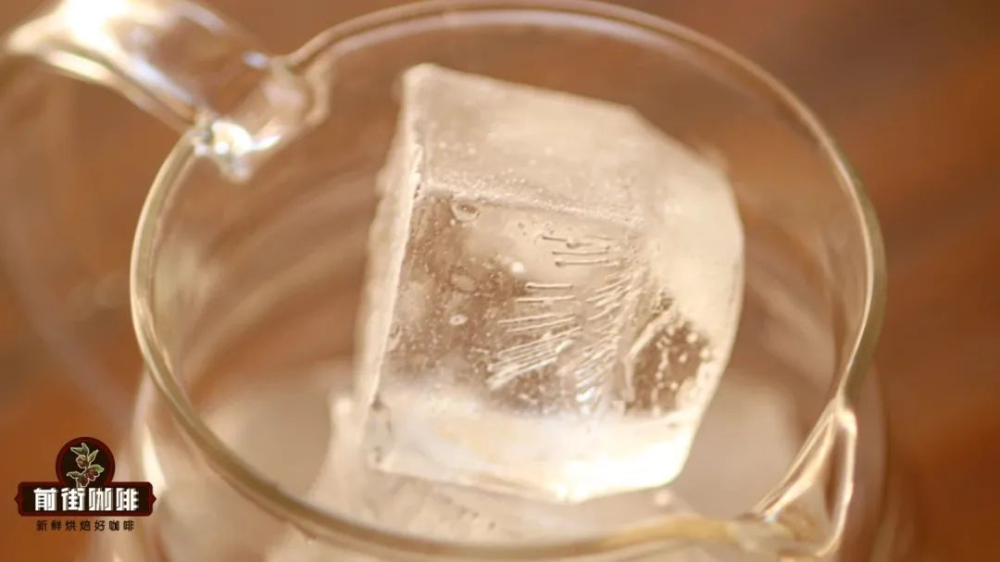
Then drizzle 10–20ml of room-temperature water over the ice cubes to help the ice start melting, because ice cubes just taken out are not easy to melt. Finally, if you have a lid, you can put it over the dripper to form a sealed space isolated from outside contamination.
After covering with the lid, you just need to wait for the dripping to finish. But if your dripper cannot hold all the ice cubes, you need to pay attention to the remaining ice during dripping and replenish it in time.
Step 3: Chilling the coffee
When the coffee liquid in the lower pot reaches the target weight, you can remove the dripper.
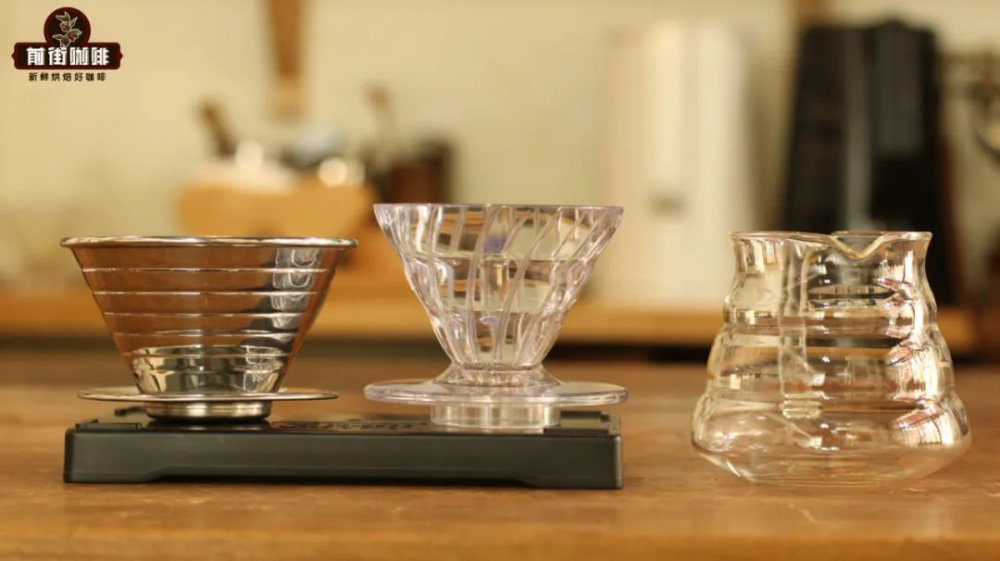
But note that at this point the cold brew coffee is not yet finished. It needs to be poured into a sealed bottle and put in the refrigerator for cold fermentation, and can only be taken out to drink after 8 hours.
Some precautions
Coffee dose:
For the specific coffee dose for extracting cold brew, Front Street suggests deciding according to the size of your own dripper. For example, the V60 model used by Front Street is 01. Filling it with 24g of coffee grounds just keeps a certain distance from the upper pot, and the surface of the coffee grounds can just be covered by the filter paper.
Ice cubes:
As mentioned at the beginning, it is best to choose ice cubes that are large and have been frozen for a long time. This is because ice cubes that are small and have a short freezing time melt very quickly in a hot environment. Melting too fast will cause the ice water to lack enough time to extract coffee substances and instead just pass straight through, and the final result is only a cup of water with coffee flavor.
Alright, that's all for the introduction. Friends who are interested might as well give it a try at home.
- END - Front Street Coffee (FrontStreet Coffee)
No. 10, Bao'an Qian Street, Yandun Road, Dongshankou, Yuexiu District, Guangzhou City, Guangdong Province
The above content is compiled by CoffeeHunters, a coffee news website.


