







For more specialty coffee knowledge, please follow: Front Street Coffee (Frontsteet Coffee)
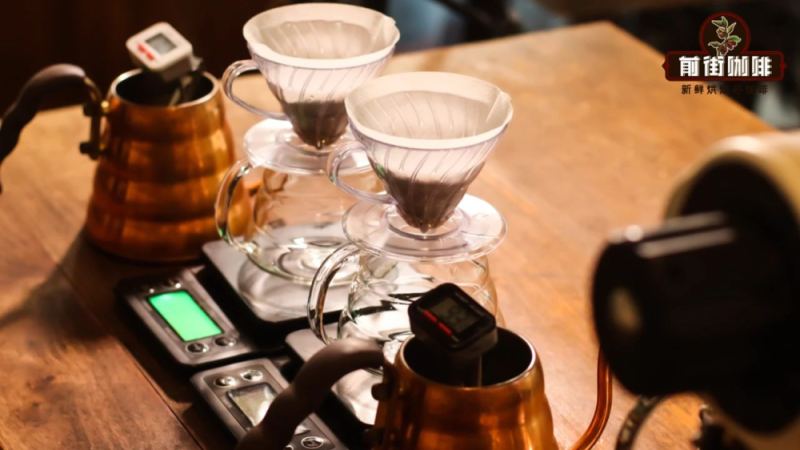
One of the great joys of pour-over coffee is using different brewing techniques to interpret a cup of coffee. And I believe everyone pays close attention to pour-over methods. So currently, the most widely spread pour-over techniques are the one-pour method and the three-pour method. Let's take a look at what characteristics each of these two techniques has!
What is the one-pour brewing method?
The one-pour method is a pour-over technique that many friends become familiar with as soon as they first encounter pour-over coffee. Its brewing theory is easy to understand: after the first stage of pouring for blooming, the second stage pours all the target water in one go. It should be noted that the one-pour method does not mean only one pouring stage. The entire brewing process includes two pouring stages: the first stage of blooming pour and the second stage of ratio pour. It is generally considered that a single pouring stage is expressed as "one-pour style."
Brewing process
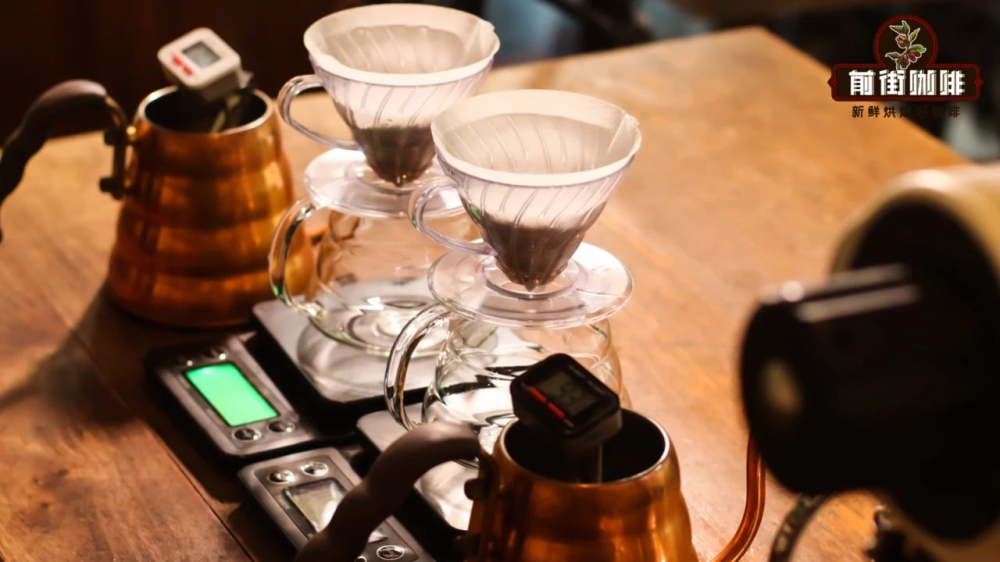
First, make preparations (warm the dripper and server, grind the coffee, prepare water at the appropriate temperature), then add the coffee grounds. If we use 15 grams of coffee powder and a coffee-to-water ratio of 1:15, the target water amount is 225 grams.
Begin the first pouring stage while starting the timer. Pour 30 grams of hot water in the first stage, circling from the center outward. The coffee grounds absorb water and slowly expand, forming a plump "coffee burger." Stop pouring when 30 grams of water has been added, and wait 30 seconds for blooming. At the 31st second shown on the scale, begin the second pouring stage, circling from the center outward in a "mosquito coil" pattern. Keep the flow steady and vertical, using a small flow rate (about 4 g/s). The liquid level rises steadily. Wait until the foam on the coffee surface is released and spreads across the entire bed surface, then move the water stream from the outermost circle back toward the center in circles. Stop pouring when 225 grams of water has been added. After all the coffee liquid has flowed into the server, remove the dripper and end the extraction.

What are the characteristics of the one-pour brewing method?
1. Highlights a clean, clear, and stable flavor
Coffee brewed with the one-pour method is usually lighter, cleaner, and clearer (compared horizontally with multi-stage pouring methods). Because the one-pour method involves less intervention in technique, it can express the coffee's taste more directly and stably than multi-stage pouring.
2. Easy to understand, but demanding on basic pouring skills
This brewing technique is the easiest for friends to grasp in theory, but the stability of pouring is very important. The one-pour method does not involve too many techniques, but the only thing to note is that the stability and size of the water stream become the key factors affecting a cup of coffee. Therefore, the one-pour method is very suitable for beginners to practice. If the pouring stream is not well controlled, it will show negative flavors more than other methods.
3. Stricter requirements for parameters
This is especially evident in the grind size parameter. Coffee grounds that are too coarse easily cause under-extraction, while coffee grounds that are too fine easily cause over-extraction due to a long steeping time. Therefore, without the influence of technique as a factor, the control of grind size must be stricter than with other methods.
What is the three-stage brewing method?
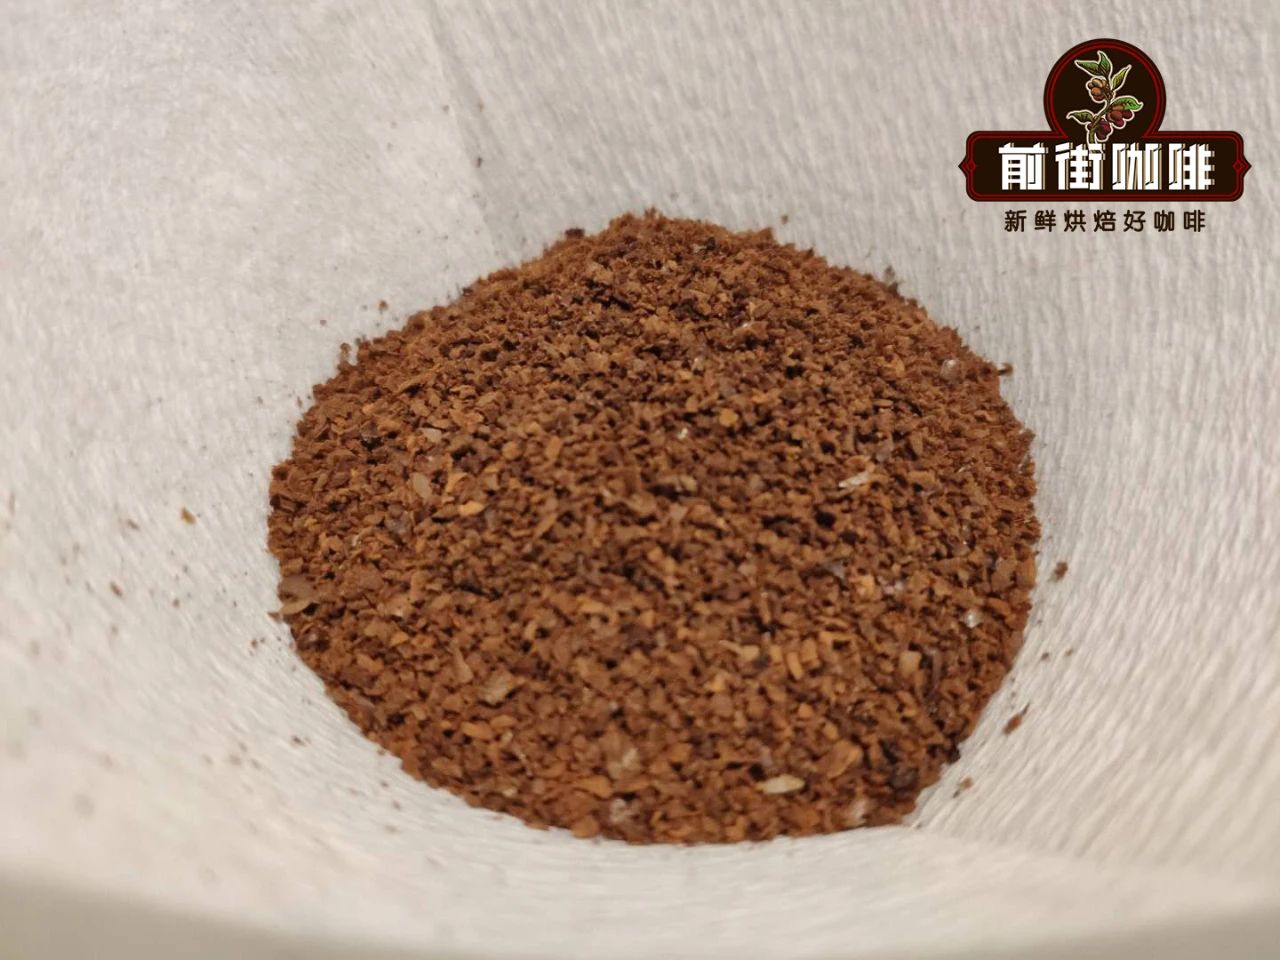
This is a relatively common brewing technique. Simply put, it divides the entire pouring process into 3 parts. This includes the first stage of blooming pour. Taking brewing Colombia Huila washed Caturra as an example, Front Street uses parameters based on 15 grams of coffee powder, a coffee-to-water ratio of 1:15, a water temperature of 88°C, a medium-coarse grind, and a 65% pass rate through a No. 20 standard sieve.
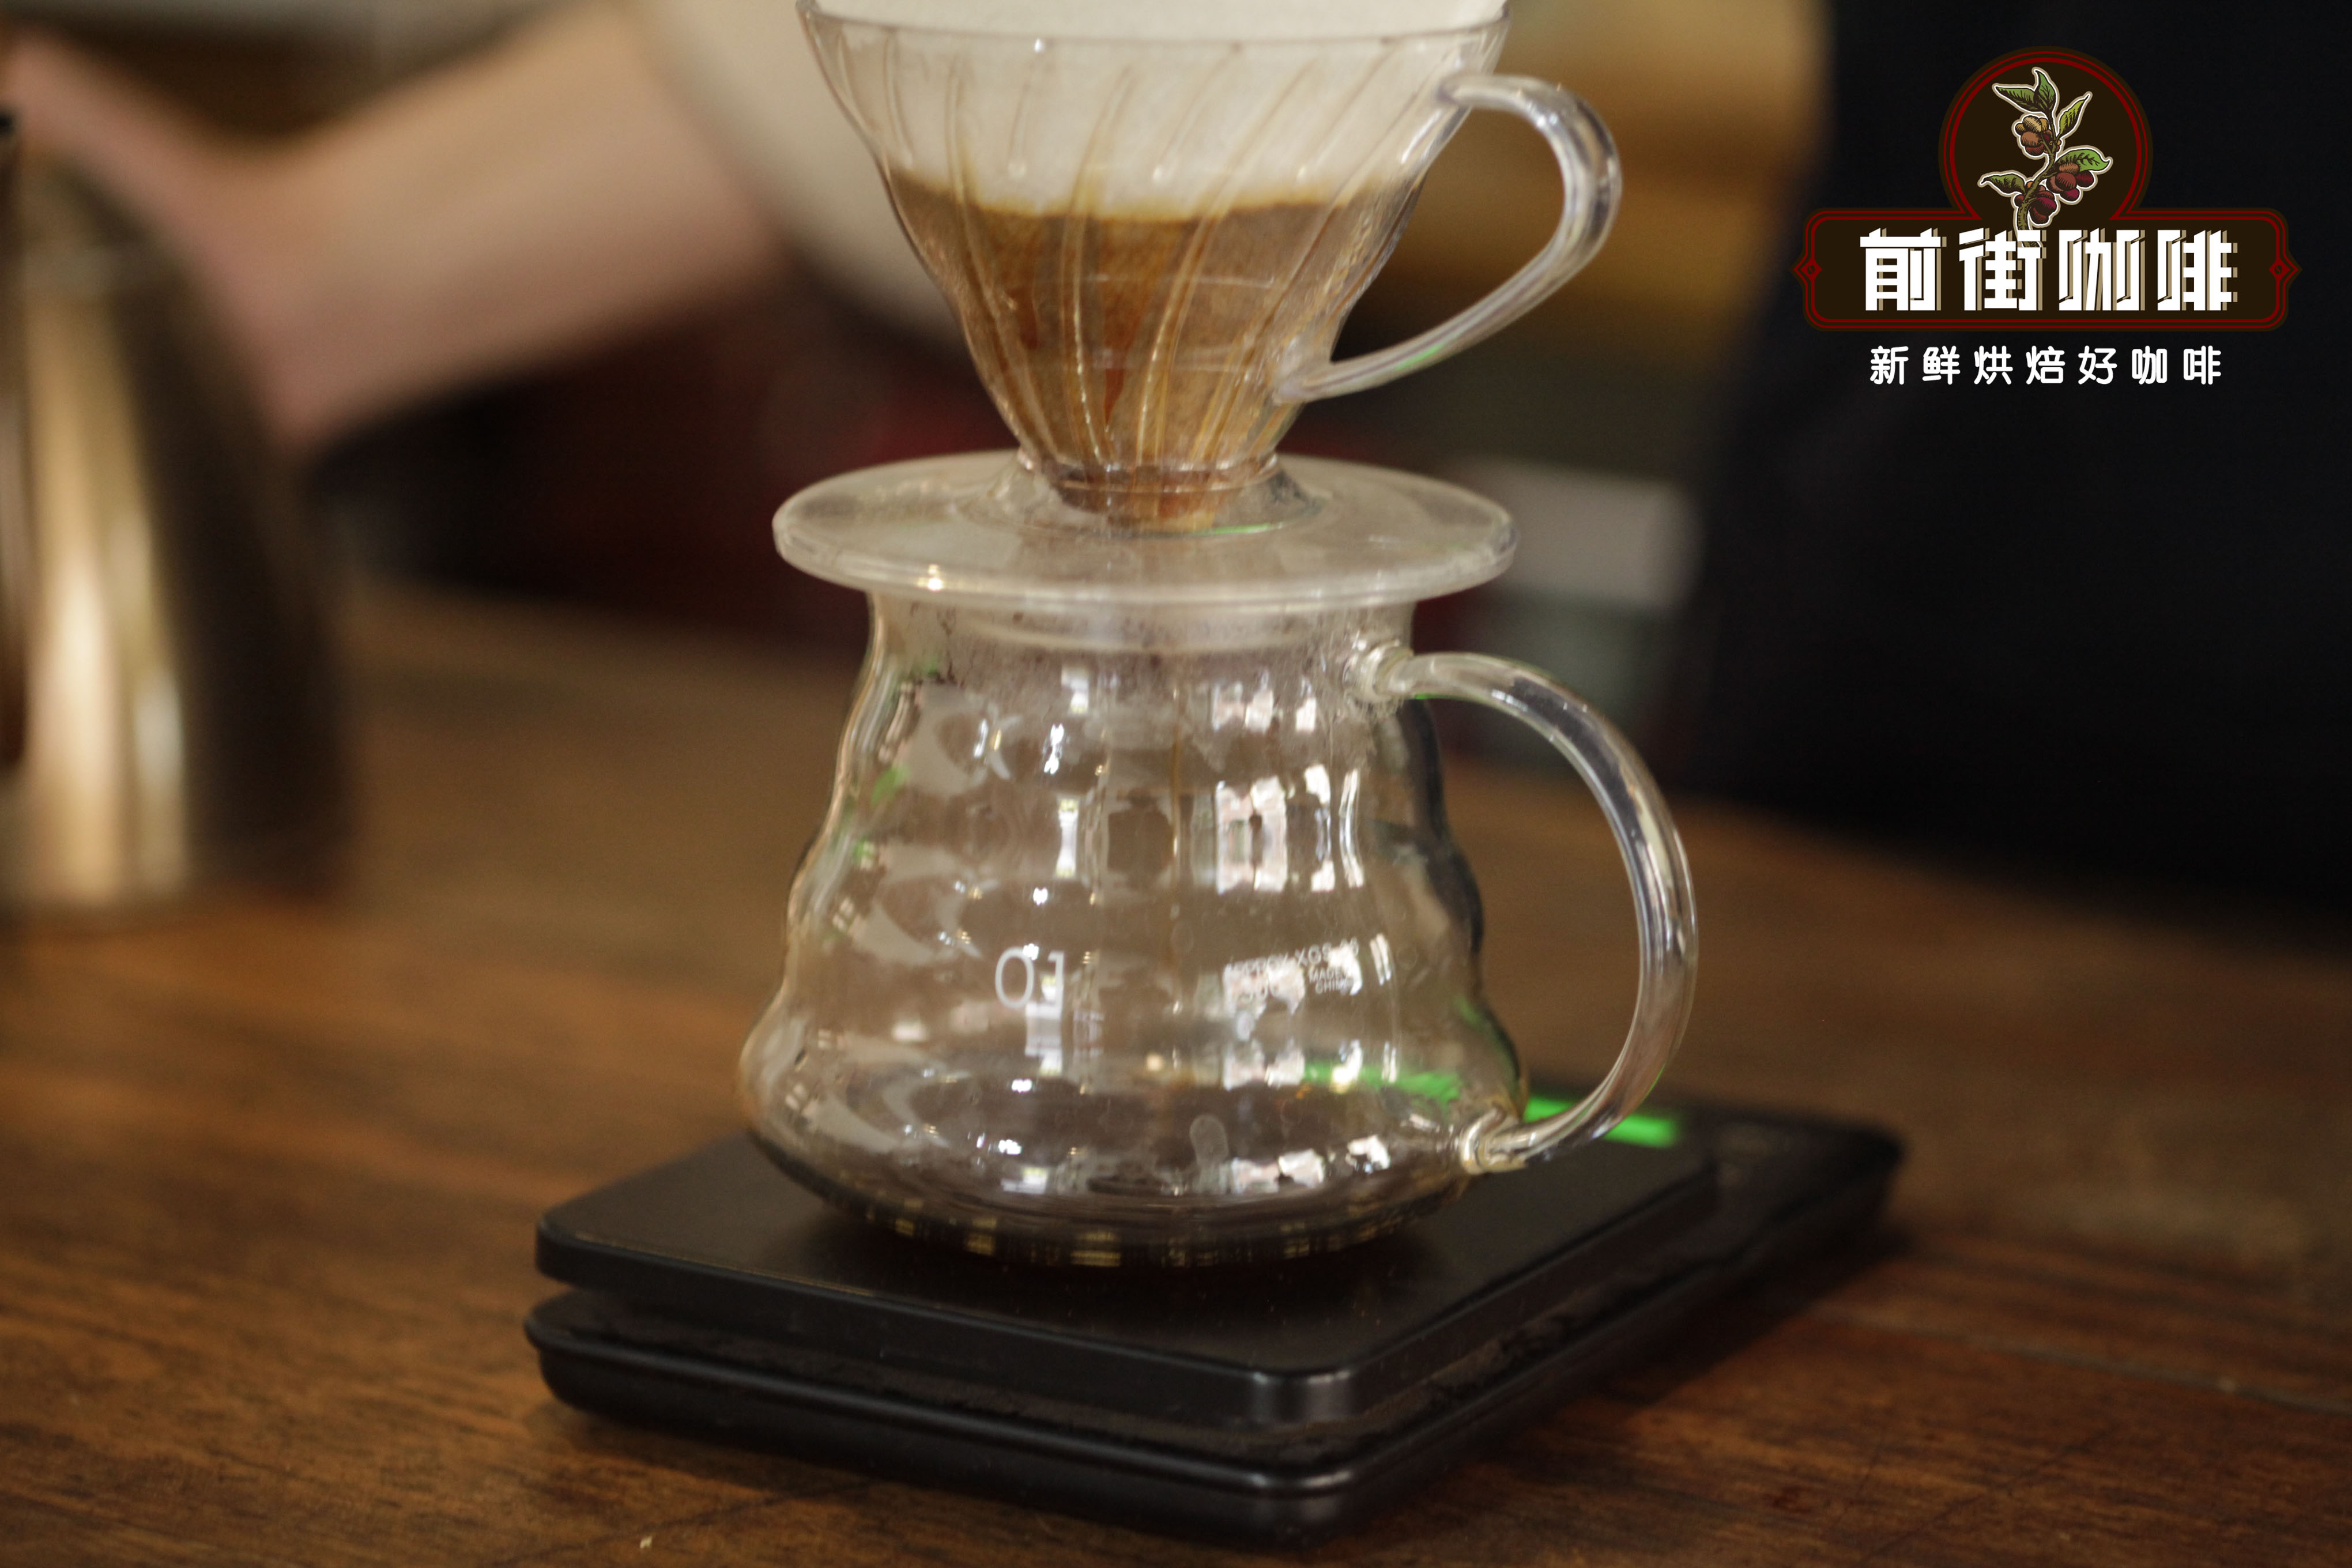
Brewing process
First, make preparations (warm the dripper and server, grind the coffee, prepare water at the appropriate temperature), then add the coffee grounds. Begin the first pouring stage while starting the timer. Pour 30 grams of hot water in the first stage, circling from the center outward. The coffee grounds absorb water and slowly expand, forming a plump "coffee burger."
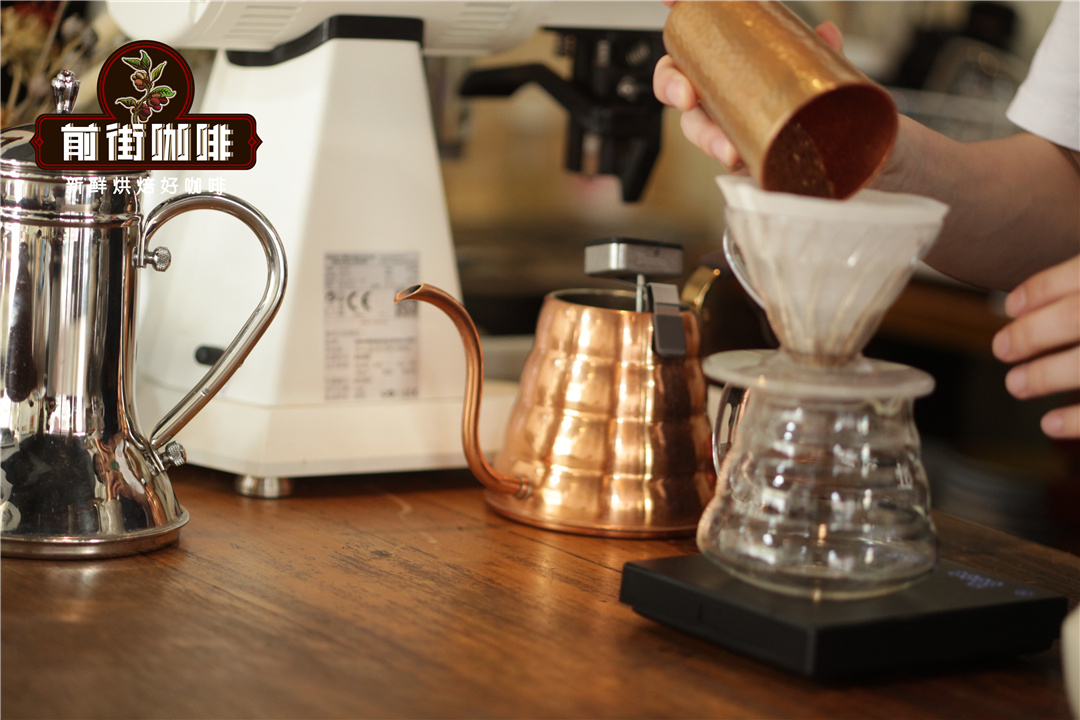
Stop pouring when 30 grams of water has been added, and wait 30 seconds for blooming. At the 31st second shown on the scale, begin the second pouring stage, circling from the center outward. Keep the flow steady and vertical. Foam will appear when the water stream hits the coffee bed. This brewing stage allows the coffee foam to be released and spread across the entire bed surface, with the liquid level raised to the base of the short ribs. The water amount for this stage is 100 grams.
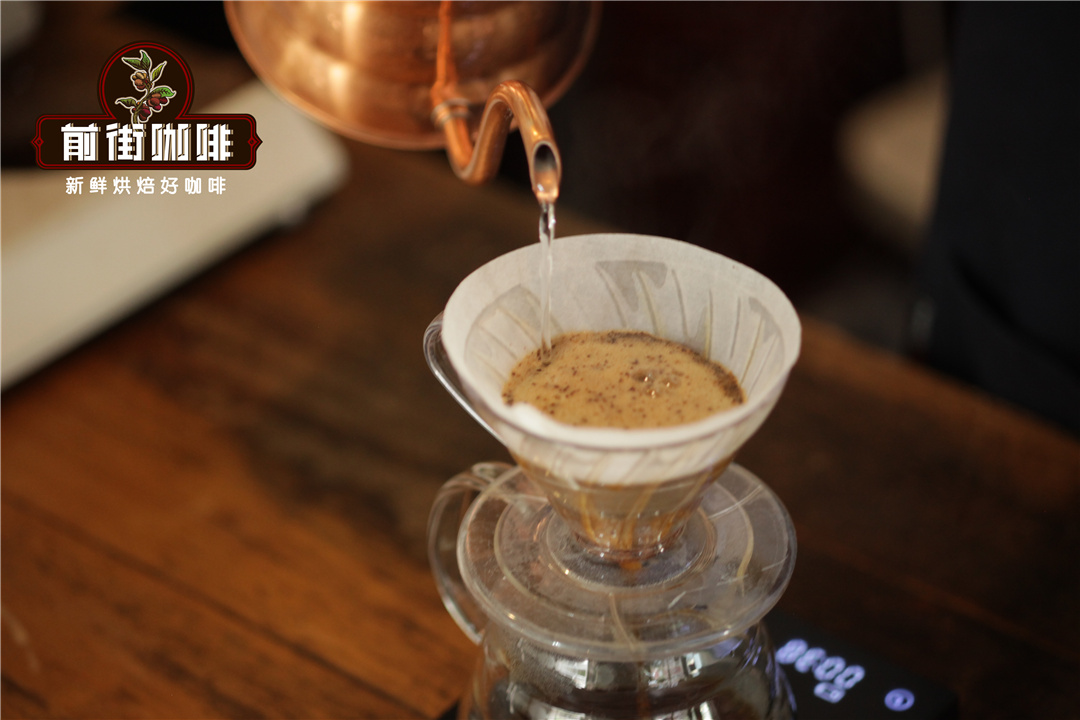
When the liquid level drops to 1/2, begin the final pouring stage. This stage also pours 95 grams in an outward-circling "aroma-seeking" pattern from the center. The originally dark brown foam turns into pale yellow coffee foam, and the liquid level also returns to the same height as during the second pouring stage. After all the coffee liquid has flowed into the server, remove the dripper and end the extraction.
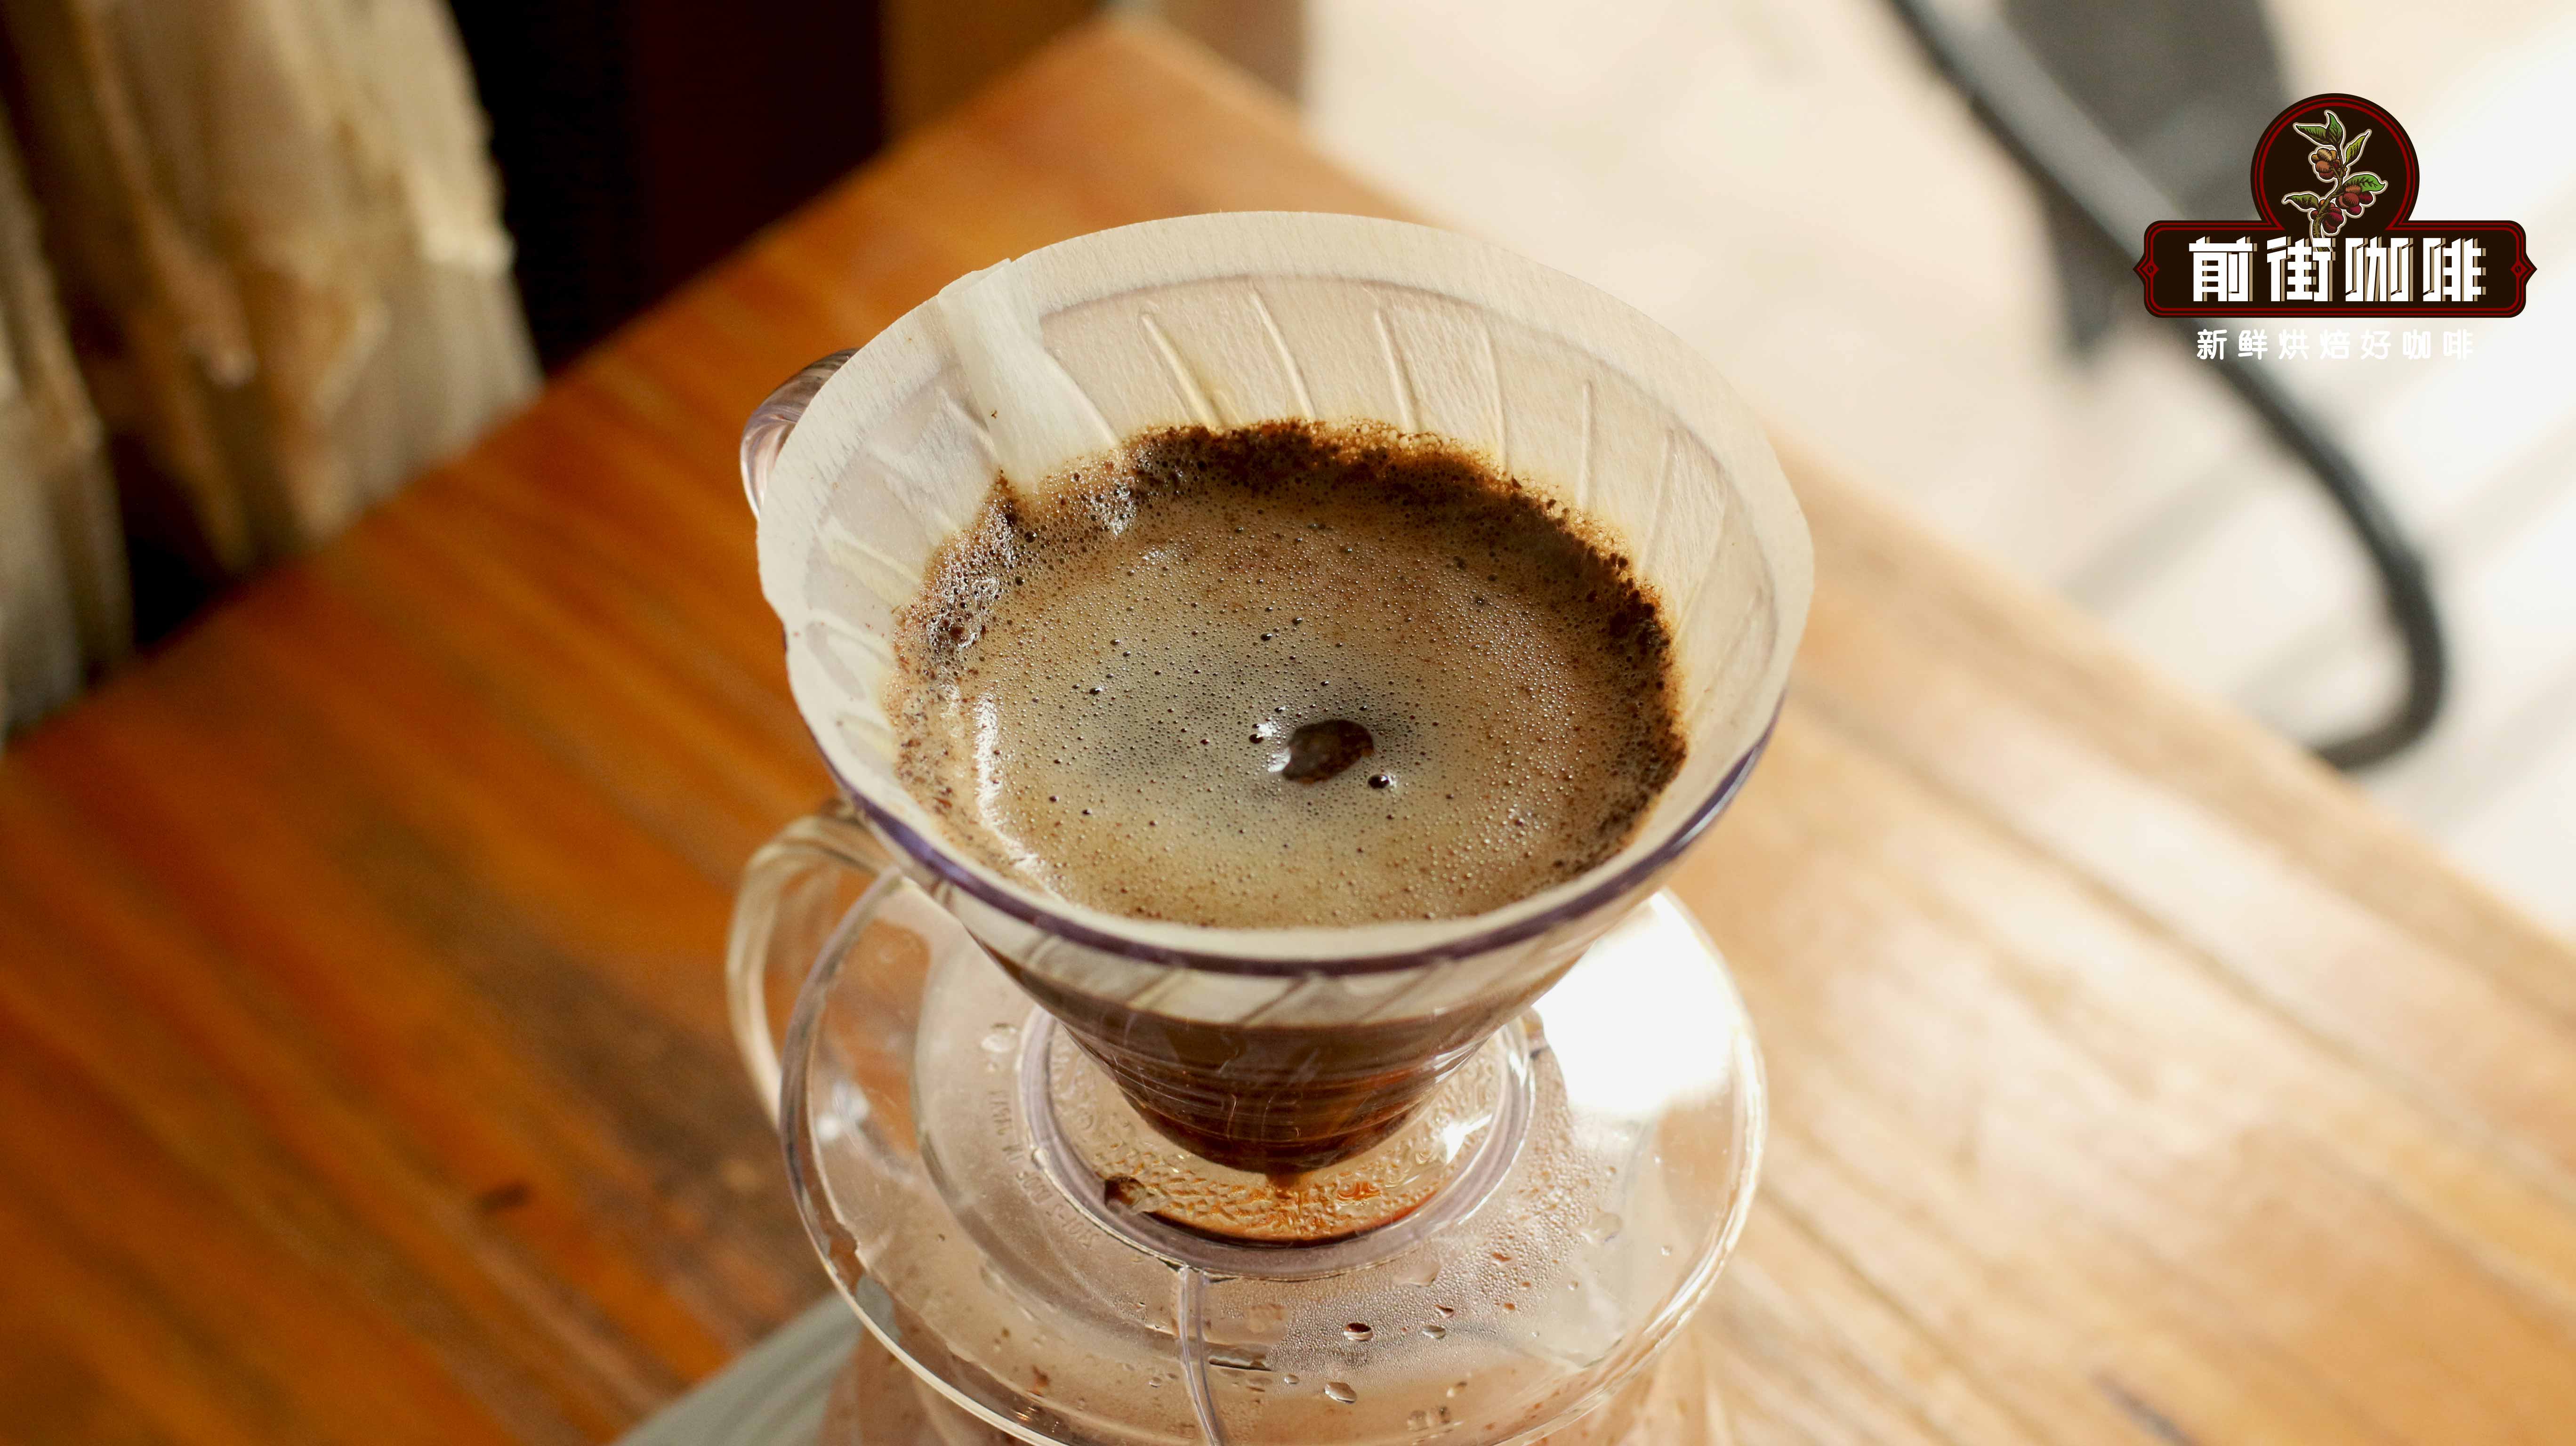
How do you determine the timing for pouring again?
Three-stage pouring has two re-pouring time points, namely the second stage and the third stage. The pouring time for the second stage is very easy to grasp; usually, the second pouring can be carried out 30 seconds after blooming. The third pouring is harder to grasp because there is no fixed time point. Generally, pouring is carried out again when the water level drops by 1/2 or 2/3.
When the water level drops by 1/2 or 2/3, there will not be too much water accumulating in the dripper, nor will the coffee bed be exposed because the water level has dropped too much, which would cause uneven extraction of the upper and lower layers of coffee grounds.
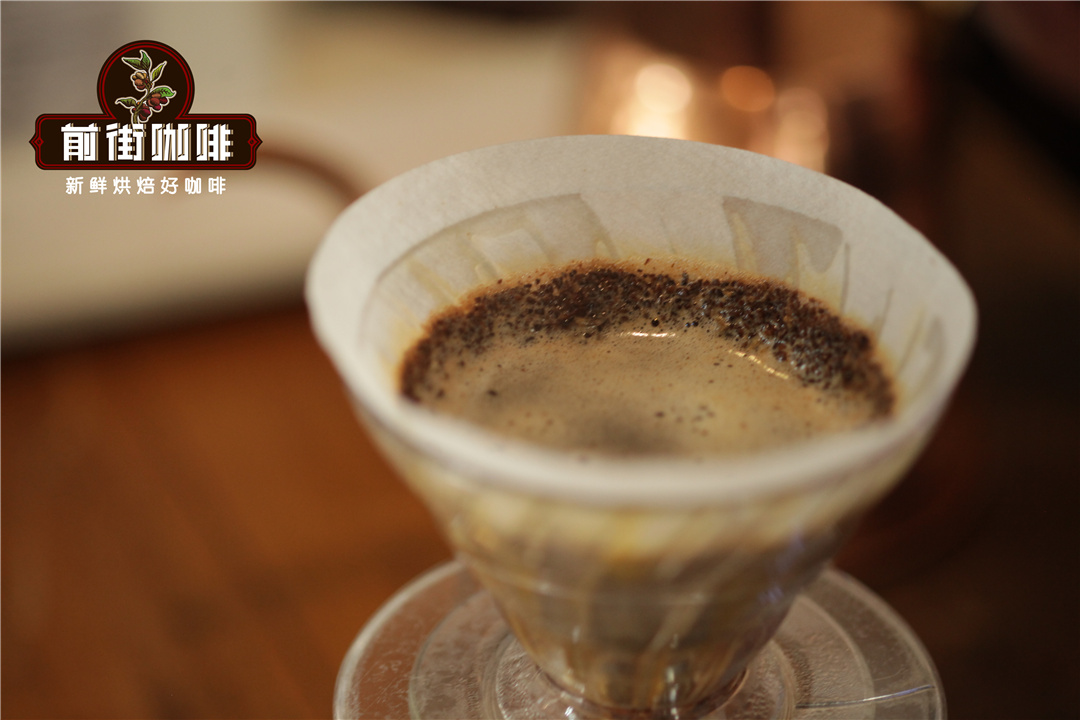
After the water level drops, the water stream can directly penetrate the standing water and agitate the lower layer of coffee grounds. If the water level is too high, the impact force of the water stream will be insufficient, causing the upper layer of the coffee bed to be over-extracted while the lower layer of coffee grounds is under-extracted.
What are the advantages of three-stage extraction?
1. Enhances coffee flavor
During extraction, it can more fully extract the coffee's flavor substances and enhance the coffee's layering. When using the one-pour method to brew Front Street Huakui coffee, it shows bright fruity acidity, with fresh citrus and cranberry flavors on the palate, as well as a light floral aroma. But when Front Street uses three-stage extraction for Huakui, the mouthfeel becomes much rounder, tasting of creamy strawberry, lemon, orange, and black tea, with very rich layering.

2. Strong compatibility
For most coffees from different origins and with different roast levels, it can express the coffee's flavor well.
For the brewer, if too much water is poured at the beginning and the water level is found to rise too quickly, segmentation can be adopted to extend the brewing time a little, allowing the water level to drop before continuing brewing. This can avoid under-extraction caused by too fast a flow.
The above content is compiled by CoffeeHunters, a coffee news website.


