







For professional coffee knowledge exchange and more coffee bean information, please follow Coffee Workshop (WeChat public account: cafe_style).
For more specialty coffee beans, please add the private WeChat of Front Street Coffee (FrontStreet Coffee), WeChat ID: qjcoffeex.
Latte art is one of the signature skills of a barista, and its forms of expression are diverse and complex. The reason baristas can so easily pour a beautiful and delicious cup of latte art is that it all comes from practice step by step.
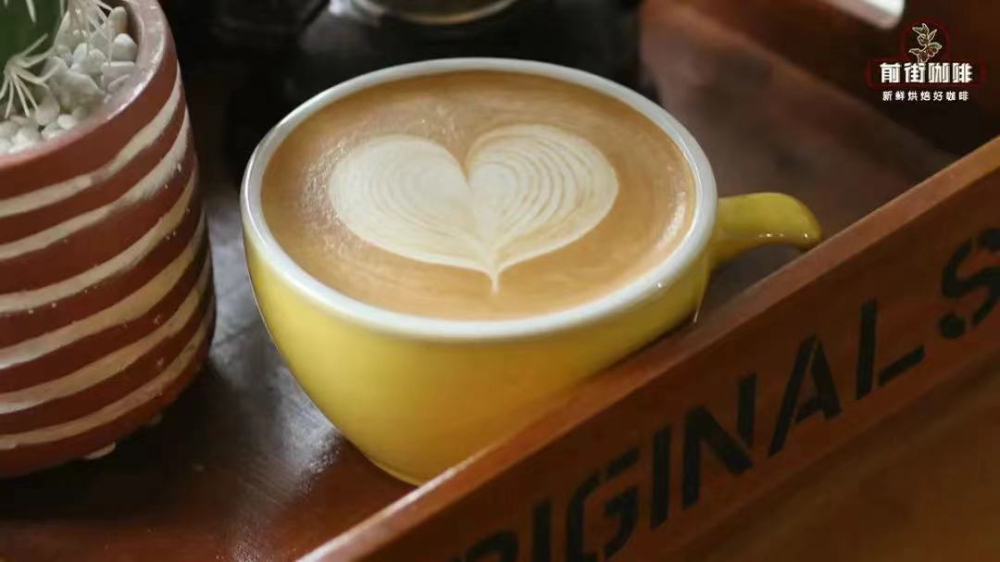
Therefore, beginners learning latte art should persist in practice, constantly summarize, and patiently communicate, so that they can master latte art skills faster and better.
In this article, Front Street Coffee (FrontStreet Coffee) will talk with you about some tips for latte art, along with illustrated explanations, to teach you "hand by hand" how to make a simple heart-shaped latte art pattern~
Before making latte art, you need milk foam with moderate thickness, fine texture, and smoothness. The thickness of the milk foam determines the smoothness, uniformity, and resistance when creating patterns during the fusion of milk and coffee, while the fineness and smoothness of the milk foam determine the mouthfeel of the latte.
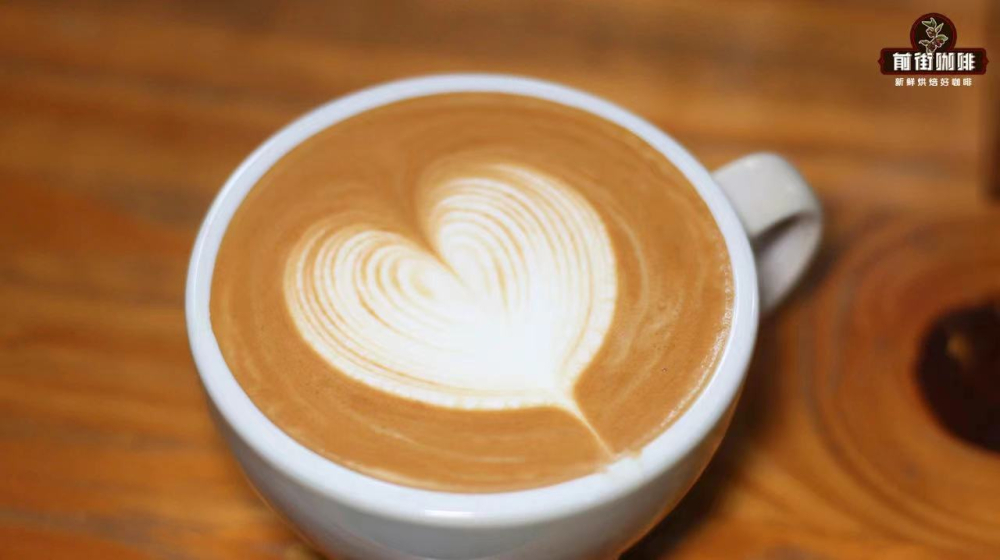
If you want to steam fine, smooth, and delicious milk foam,
Pay attention to these 5 little tips!!!
1. Before steaming the milk, open the steam wand briefly to release condensed water, so as to avoid the impact of condensed water causing large bubbles in the milk after it is inserted into the milk surface.
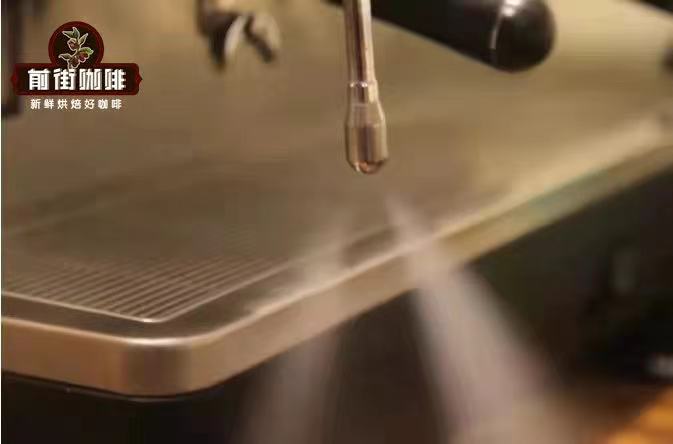
2. Place the steam wand into the milk pitcher at a 45-degree angle, which allows the steam to form a small vortex during the impact process and roll away the bubbles on the surface of the milk.
3. Insert the steam wand to a depth of 0.8 cm-1 cm below the milk surface. If inserted too deep, the holes of the steam wand cannot contact air to form a vortex; if too shallow, the steam impacts the milk surface, creating rough milk foam and also causing milk to splash.
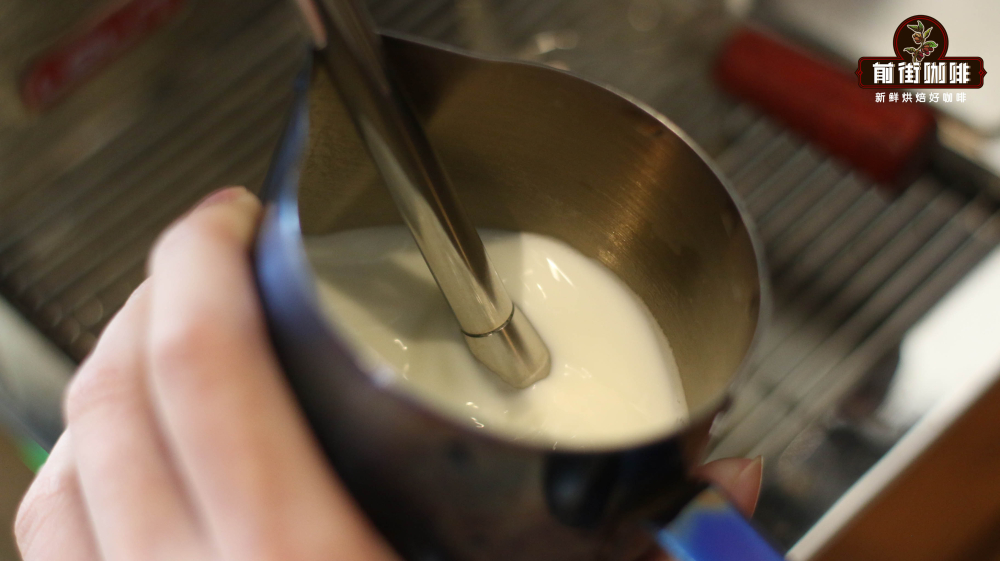
4. The aeration process only needs 4-5 "squeaks." Adjust the depth of the steam tip to 0.3 cm, then turn on the steam switch, and you will hear a "squeak—squeak" sound. This is the aeration stage. The milk foam thickness for making latte art is 1 cm, so we do not need excessive aeration. After hearing 4-5 squeaks, adjust the depth of the steam wand back to 0.8-1 cm, maintain a 45-degree angle to create a vortex, eliminate coarse bubbles, and heat to the appropriate temperature.
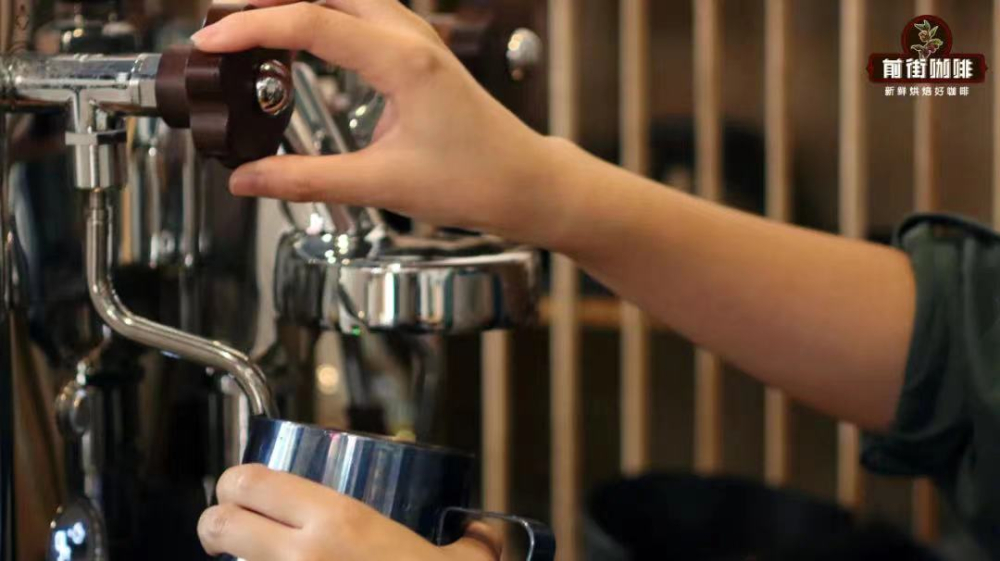
5. According to the experience of Front Street Coffee (FrontStreet Coffee), the milk temperature for making lattes/other milk coffees only needs to be heated to 55-65°C, and should not exceed 70°C at most.
Because within these temperature ranges, lactose and other sugars are at their most "active," and after mixing with espresso, you can feel the natural milk sweetness balancing the bitterness of the espresso.
After steaming fine and silky milk foam,
Next, let's understand the 5 principles of pouring latte art patterns.
1. Even fusion of milk and coffee is very important! It not only determines the cleanliness of the pattern background, but also determines the mouthfeel of the entire latte.
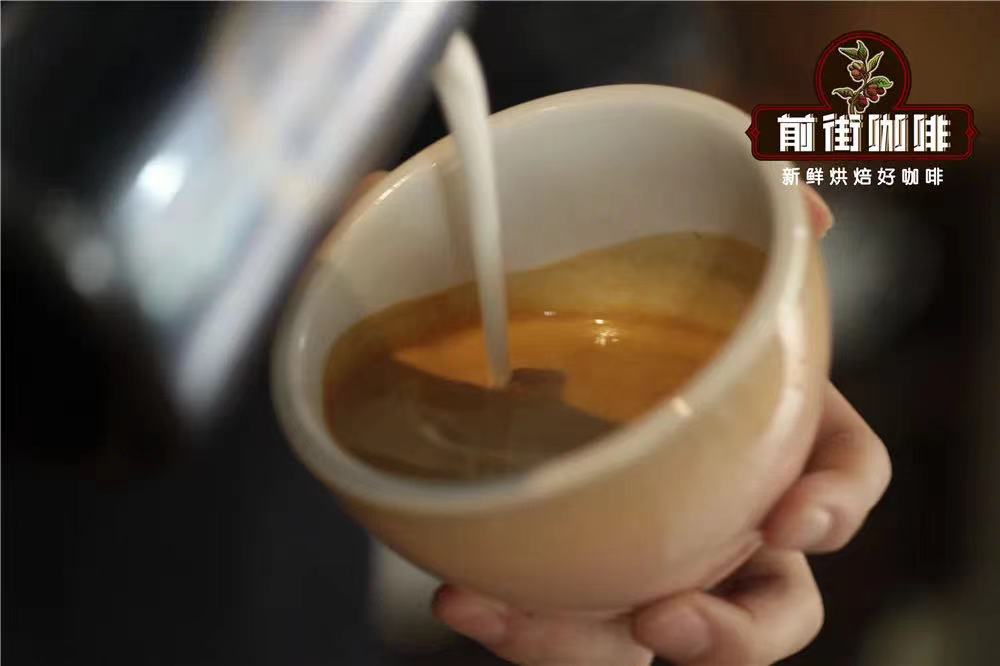
The general fusion technique is stirring in one direction. Hold the coffee cup with your left hand and the milk pitcher with your right hand, and move both hands in opposite circular motions offset by half a circle. With one high and one low stirring force, it is easy to fully mix the coffee and milk. As for how large the circle should be, Front Street suggests making the largest circle possible without touching the wall.
2. High fusion, low pattern pouring. The creation of a pattern is actually because after the milk and coffee are fused, due to the difference in density, white milk foam floats on the surface. In fact, by shaking the milk pitcher, we can make the pattern form different lines as it flows out.
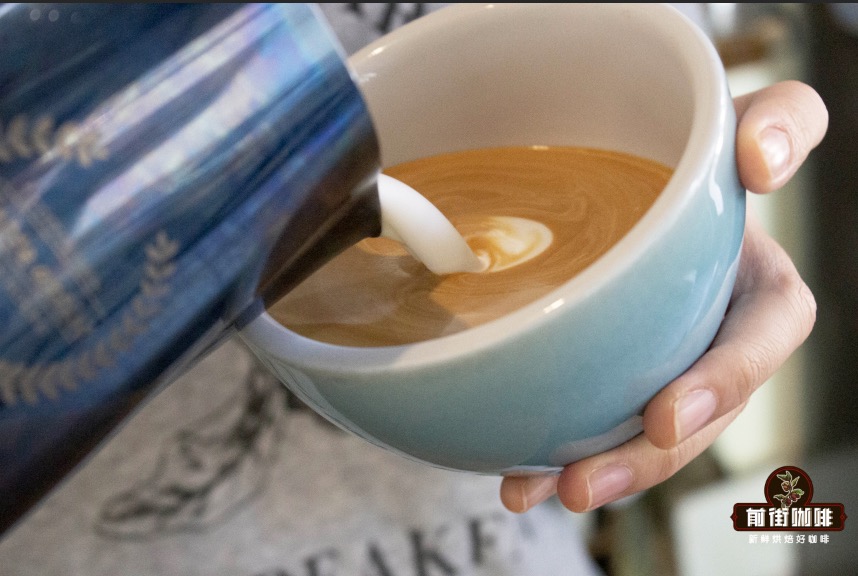
With the same milk foam, when the pitcher spout is raised high, the milk foam will be pushed into the coffee, and white lines will not appear; when the pitcher spout is lowered, the milk foam will float on the surface, and white lines will appear.
3. The starting point and trajectory of pattern pouring. Different patterns have different starting points; for example, for a heart shape it is the 1/4 point. Still taking the heart shape as an example, if the starting point is at the center, the entire heart shape will be positioned lower.
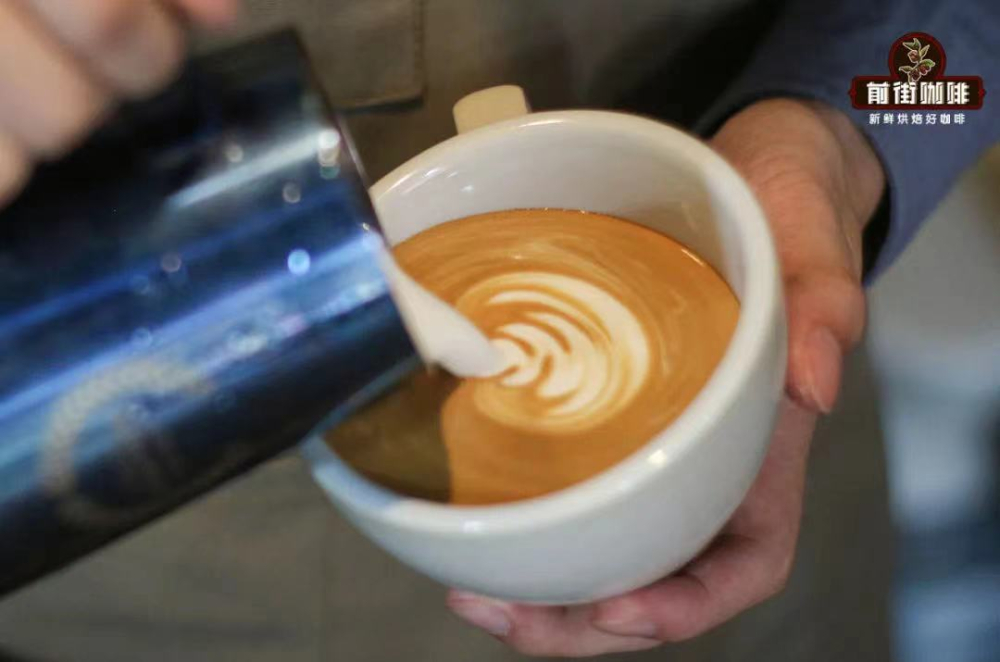
Moreover, this situation also needs to be analyzed according to the amount of fusion and the thickness of the milk foam. A large amount of fusion or thick milk foam will reduce the convection effect, so the poured pattern will be smaller. If the amount of fusion is small or the milk foam is thin, then the overall convection effect will be good, and the pattern will also be larger.
4. Pour the pattern freely. Do not hold the milk pitcher too tensely! Relax your hand, and after fusion, gently and evenly shake the milk pitcher left and right so that the milk foam can flow more smoothly onto the surface, while at the same time straightening the coffee cup to form convection.
When pouring the pattern, the coffee cup held in the left hand should slowly be returned to upright. The normal convection phenomenon is that when pouring milk in the middle, you will see milk foam "rushing" out from the center, and there will be a backflow on both sides, meaning the pattern becomes fuller. The thinner the milk foam, the more obvious this phenomenon is. For example, if we want to pour a heart shape, a patterned tulip requires convection.
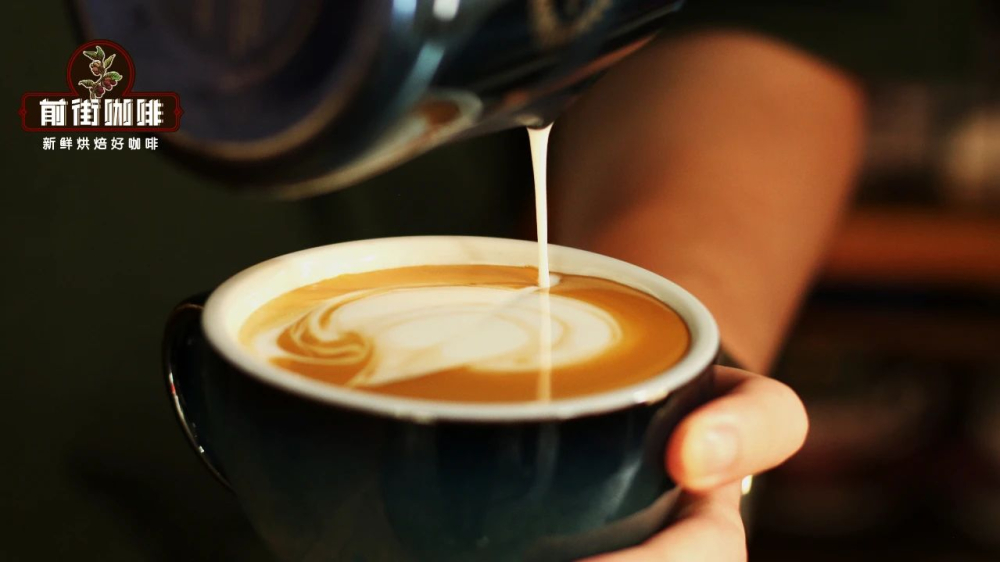
5. Finishing the latte art. When you have poured the pattern freely, first restrain your joyful mood, because doing the finishing step poorly will ruin the entire pattern. Taking the heart shape as an example, the normal finish should be to gradually raise and push forward when the coffee cup is 9/10 full, while gradually reducing the milk flow. Remember not to keep pouring milk after the tail of the heart shape is formed, as this will sink the entire heart~
The above content is compiled by CoffeeHunters, a coffee news website.


