
Many people ask Front Street Coffee how long it takes to learn latte art. If you just want to pour a good-looking pattern, with a bit of luck it only takes one day. If you want to learn to pour a specific pattern, it takes at least 4 days. Many people then ask, where does this 4-day figure come from? It's simple: on day one, read this Front Street Coffee article; on day two, practice; on day three, read this article again; on day four, practice once more and you'll have it. (The prerequisite is properly steamed milk foam.)
First, to learn latte art, you must understand the relevant principles, techniques, and practice consistently.Principle and Technique One: Why Patterns AppearLatte art is divided into two stages: incorporation and pattern pouring. With the same milk foam, when you raise the pitcher spout, the foam gets pushed into the coffee and no white lines appear; when you lower the pitcher spout, the foam floats on the surface and white lines appear. This is easy to understand, right?

So during the incorporation stage, to prevent white from appearing, you raise the pitcher spout; when it's time to pour the pattern, white needs to appear, so you lower the pitcher spout to pour the pattern.Principle and Technique Two: IncorporationGood incorporation creates a golden ring—beautiful and delicious. Poor incorporation looks like a scratched-up background board; no matter how perfect the main pattern is, the overall appearance loses points.Generally, the distance between the pitcher spout and the coffee surface is about 5 to 10 centimeters. Everyone's habits differ, so there's no completely fixed standard for height and distance.

The typical incorporation technique is stirring in one direction: hold the coffee cup in your left hand and the pitcher in your right hand, offset the two hands by half a circle to make opposing circular motions, and the stirring force from one hand high and one hand low easily blends the coffee and milk thoroughly. As for how large a circle to make, Front Street Coffee suggests making the largest circle possible without hitting the wall.Principle and Technique Three: Drop Point and TrajectoryDifferent patterns have different drop points. For example, when pouring a leaf, the drop point should be at the center of the surface, while for a heart it's at the 1/4 point. Taking the heart as an example again, if the drop point is at the center, the entire heart will be positioned lower down.

Moreover, this situation must also be analyzed based on the amount of incorporation and the thickness of the milk foam. A large amount of incorporation or thick foam reduces the convection effect, making the poured pattern smaller; if the incorporation amount is small or the foam is thin, the overall convection effect is good and the pattern will be larger.When pouring a heart, the drop point is at the 1/4 position. As you continue pouring milk, combined with returning the cup, the drop point will gradually move toward the center. If the drop point is fixed at 1/4, the entire pattern becomes elongated, making it look like your drop point has drifted backward.

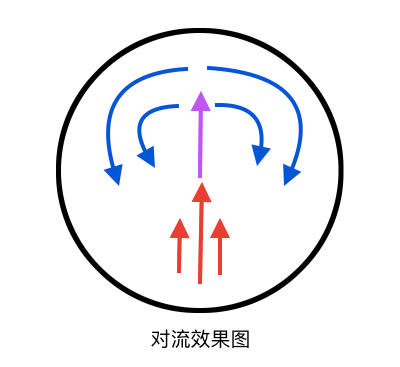
Principle and Technique Four: Pouring Patterns at WillWhen you can pour a round white foam blob, you've already taken a successful step forward. The next step is learning how to freely control its changes.At this point, the skill we need to master is returning the cup. For latte art that requires convection patterns, returning the cup is extremely important; returning too early or too late can both deform the pattern.When pouring the pattern, the coffee cup held in your left hand should gradually be returned to upright. The normal convection phenomenon is that when milk is poured in the middle, you'll see foam "rushing" out from the center, while the sides have a backflow phenomenon—that is, the pattern becomes fuller. The thinner the milk foam, the more obvious this phenomenon. For example, if we want to pour a heart or a rippled tulip, convection is needed.
Principle and Technique Five: FinishingWhen you've poured the pattern at will, first rein in your joyful mood, because doing the finishing step poorly can ruin the entire pattern. The finishing action mainly involves three problems.
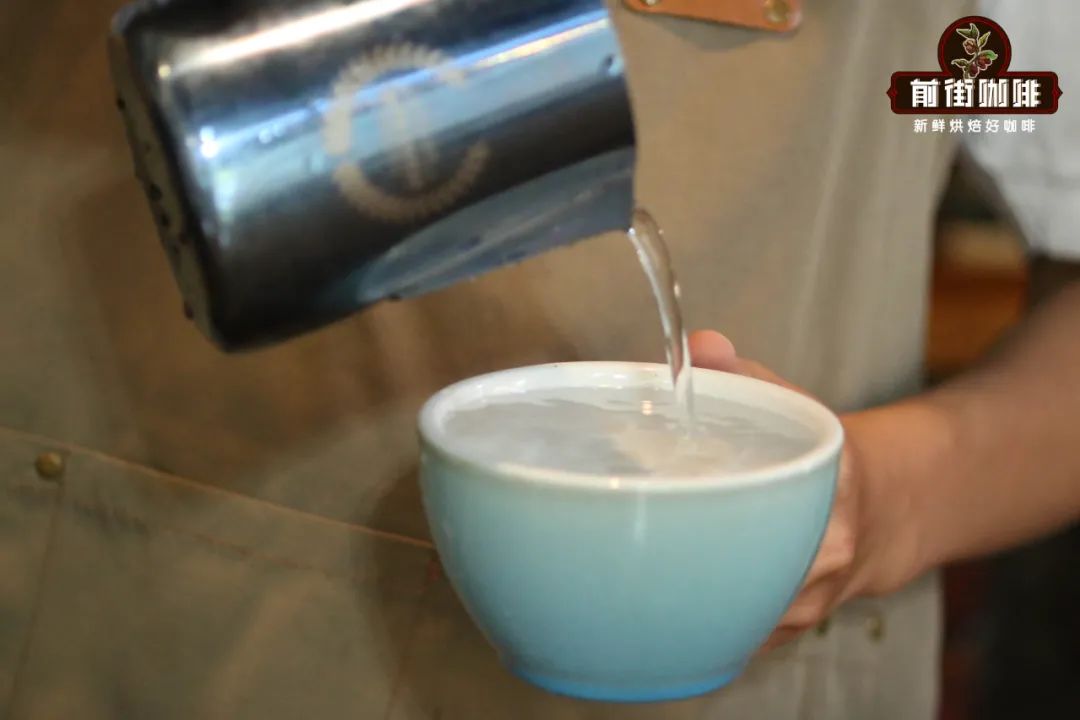
The first is that some friends like to pull the pitcher straight out of the cup, leaving a long tail, which looks rather unattractive; and if you're using a thick coffee cup, milk stains will also remain on the rim.The second is that some friends don't raise the pitcher spout when finishing, which "forcibly" elongates the pattern.The third is not finishing cleanly and crisply enough—dripping excess milk during the finish, causing the tail to "bloom" or smear.Taking the heart pattern as an example, the normal finish should be: when the coffee cup is 9/10 full, gradually raise the pitcher and push forward, while gradually reducing the milk flow. 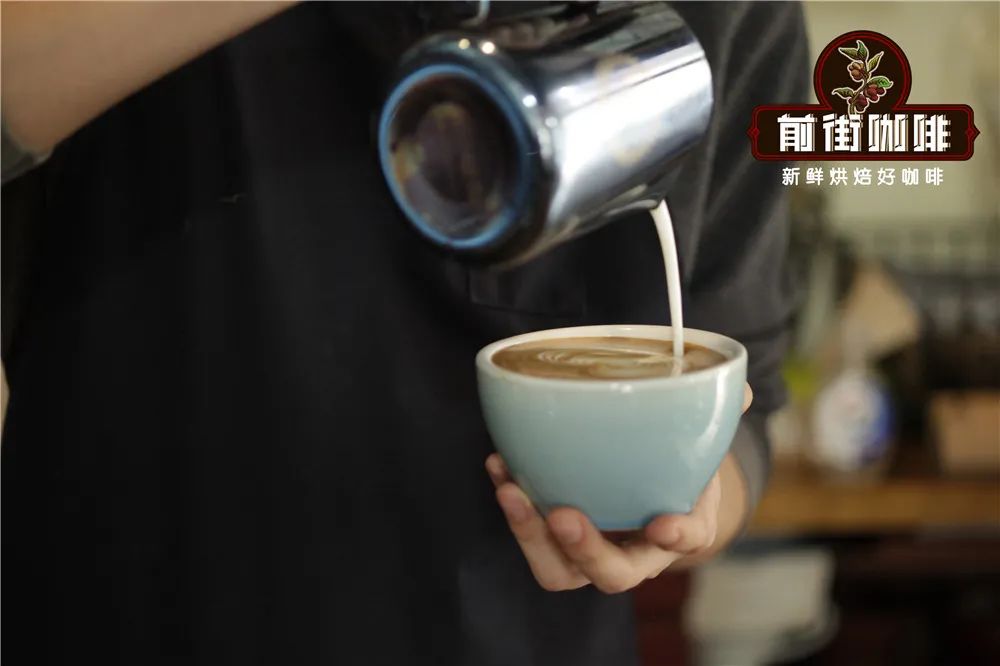
Front Street Coffee's Practice Suggestions for Everyone1. When first getting started, Front Street Coffee still recommends trying 1-2 times with real milk and real coffee. The point of doing this is to feel the sensation of milk blending with coffee while pouring the pattern. It's okay if you can't pour a pattern at first—what matters is that feeling.
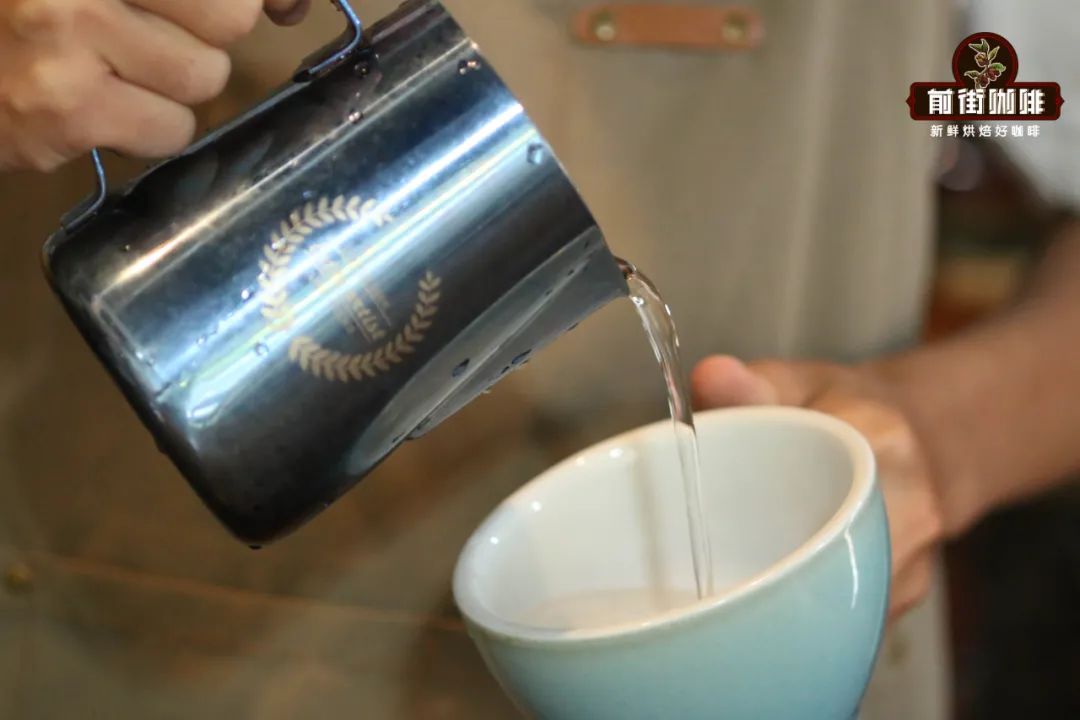
2. After experiencing the real thing, you can practice with plain water—of course, to save milk. This stage is relatively important and also rather boring. The internet is very developed now, with all kinds of latte art videos online. Front Street Coffee suggests finding videos where you can clearly see the upper body shots, preferably with close-ups of hand gestures. Don't look at their patterns—look at their gestures: "pitcher-holding posture, cup-holding posture, incorporation technique, pattern-pouring technique, cup-returning gestures..." Observe carefully, then imitate, and repeat the practice. It's best to bring a friend along to watch from an observer's perspective and see if you have any posture problems.

3. When you've practiced to the point of muscle memory, you can switch back to the real thing to test your practice results. If your method is correct, this time you'll be able to pour a decent pattern. If you can't, you can work backward from the pattern to figure out which step has a problem, then focus on practicing that. During this kind of practice, absolutely don't get obsessed with high-difficulty patterns—start with the most basic heart and practice it repeatedly.
The above content is compiled by CoffeeHunters, a coffee news website.