







How Do You Steam Milk for Smooth Latte Coffee?
Silky microfoam for latte art depends on the steam wand settings. Adjust the steam hole position, the frothing angle, and how deep the tip sits in the milk to build fine, fluid foam with a mirror-like surface. Finish steaming when the milk reaches 55 to 65°C. Foam that is coarse, full of large bubbles, thick and dry makes the drink taste worse than plain heated milk.
Good foam is fine-textured, viscous, and fluid when swirled, similar to cream. If coarse bubbles appear, tap and swirl the pitcher to collapse them, or restart with fresh cold milk. Since latte coffee means espresso plus steamed milk, the espresso needs rich crema to support the pour. A dark-roast blend of Brazil, Indonesia, and Vietnam extracts dense crema and works for both lattes and americano's coffee.
To make a latte with dense, silky microfoam and a surface as smooth as a mirror for latte art, the quality of the milk foam is key. This article starts from the working principle of the steam wand and explains in detail how to adjust the position of the steam holes, the frothing angle, and the depth of submersion to create fine, high-quality milk foam that is smooth and fluid. At the same time, the article also explains the temperature standard for determining when milk frothing is finished (55-65°C), as well as remedies after coarse bubbles appear. Front Street Coffee also combines the characteristics of its own espresso blend beans to give recommendations on bean choices suitable for home practice, and includes a complete six-step operation process to help beginners get started quickly.

When making hot milk coffee, steaming and frothing milk is almost an unavoidable step. At first, people simply heated the milk, and only later realized that with the help of high-temperature steam, they could not only raise the temperature but also create a layer of milk foam on the surface. With this layer of milk foam, coffee tastes denser and fuller on the palate. Later still, baristas discovered that milk foam could also be used to "draw" patterns on the surface of the coffee, namely latte art, and from then on almost all hot milk coffees come with milk foam.
However, if the milk foam produced is coarse, full of large bubbles, thick and dry, and almost separated from the milk, then the milk coffee made from it will instead taste bad. Only high-quality milk foam can improve the mouthfeel. Its characteristics are a fine texture and a surface that reflects light like a mirror. When swirled, it appears similar to cream, viscous and fluid.
For beginners, producing such fine and smooth milk foam is indeed difficult, so today Front Street is here to share some techniques for frothing milk.
If you want to make a latte with a naturally fine texture for latte art, you must first ensure that the espresso has rich crema.
If you are trying it for the first time, you can buy Front Street Coffee's own Front Street Classic Espresso Blend. This is a recipe combining three origins: Brazil, Indonesia, and Vietnam, using a dark roast, which can maximize the coffee's rich aroma and also allow everyone to easily extract rich and dense crema. It is very suitable whether for making an Americano diluted with water or a latte paired with milk, and can be purchased from the Front Street Taobao store or the Front Street Tmall flagship store.
For those who do not want too heavy a mouthfeel, you can also choose the espresso coffee bean recommended by many baristas at Front Street - Front Street Black Cocoa Espresso Blend. This recipe combines Yunnan small-batch beans and Brazil Cerrado, with aromas of nuts, chocolate, and plum. The overall taste is mild and the price is affordable. It can absolutely be called a good item for home use, and because of its high compatibility, it can also be the first choice for opening a coffee shop.

Understanding the Frothing Principle
First, let's talk about the principle of frothing milk with a steam wand. The steam wand sprays high-temperature steam into the milk, which heats it. Frothing, meanwhile, uses steam to introduce air into the milk, and the proteins in the milk wrap around the air, thus forming milk foam.
Therefore, when the steam holes are in a half-submerged state, the steam can push air into the milk and produce milk foam. At this time there is both a frothing effect and a heating effect. Once the steam holes are fully submerged in the milk, air can no longer enter, and only the heating effect remains.
In actual operation, at the beginning let the steam holes remain half-submerged and first create milk foam. At this time you will hear a "tsk~ tsk~ tsk~" sound, which is the sound made when air is injected into the milk. After the amount of milk foam is sufficient, fully submerge the steam holes to prevent continued aeration from making the milk foam too thick.
Find the Right Frothing Angle
When frothing milk, it is best to find a good angle so that the milk rotates in one direction, which saves effort and makes it easier to control. Specifically, first use the spout of the pitcher to catch the steam wand and form an angle. The milk pitcher can be tilted slightly toward your body to increase the surface area of the liquid, which helps form a vortex better.
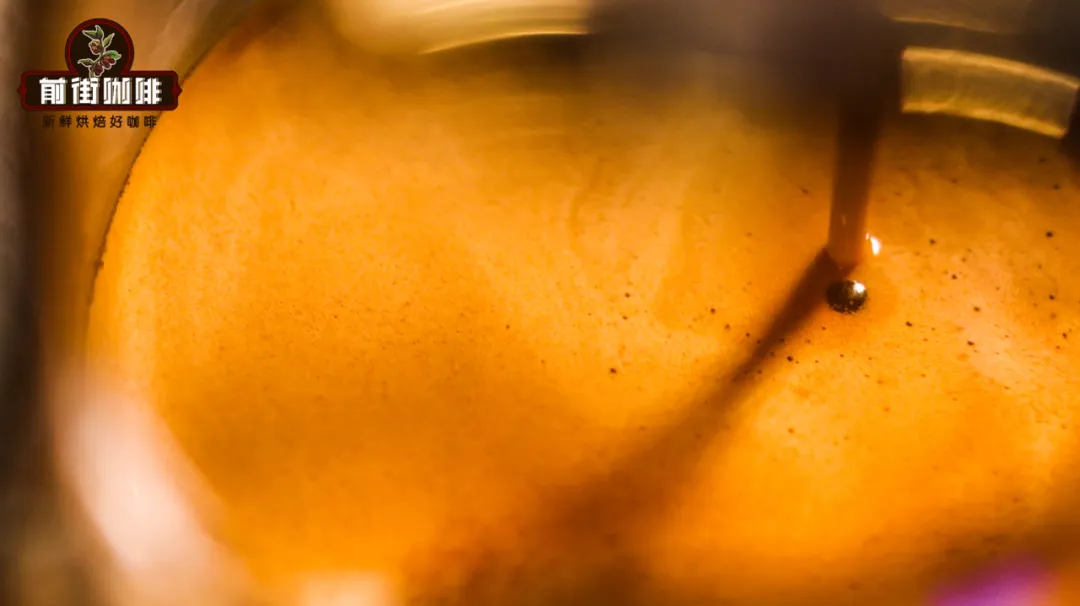
The position of the steam holes is generally placed at the 3 o'clock or 9 o'clock position centered on the liquid surface. Taking the picture below as an example, the steam wand lands at the 3 o'clock position, and the milk pitcher is also tilted slightly to the right, so that frothing will form a clockwise vortex.
Texturing the Milk Foam
When the amount of milk foam is sufficient, submerge the steam holes so that it does not continue to aerate. But freshly made milk foam is usually rather coarse and still has many large bubbles. Next, all these coarse bubbles need to be broken up into fine small bubbles.
So, do not bury the steam holes too deep, otherwise the steam sprayed out will not be able to contact the milk foam layer. The most suitable position is to just cover the steam holes, so that the "tsk~ tsk~" sound no longer occurs. In this way the steam can break up coarse bubbles within the milk foam layer and form fine, smooth milk foam.
When Is It Considered Finished?
Does that mean you can stop once the milk foam has been textured? Not exactly. The timing of finishing is related to temperature. Generally, when the milk temperature reaches 55-65°C, you can stop. Beginners can first use a thermometer together with the feel of the pitcher to master the milk temperature, while experienced hands can roughly judge just by touching the milk pitcher with their hand. If the temperature has not yet been reached after texturing, continue heating until it meets the standard.
If the temperature has been reached but the milk foam has not yet been textured, please also stop, because milk that is too hot will cause proteins to denature. Some beginners spend a relatively long time in the texturing stage, so it is recommended to use refrigerated milk, which can buy more texturing time.
What should you do if you find coarse milk foam after finishing frothing?
If there are only a small number of large bubbles, you can solve it with "tapping the pitcher" and "swirling the pitcher." "Tapping the pitcher" means knocking the milk pitcher against the table to break up unstable large bubbles. But too many taps will accelerate the separation of the milk foam, so generally no more than 3 taps. "Swirling the pitcher" means shaking the milk pitcher, which can also eliminate some coarse bubbles while maintaining the integration of the milk foam and milk to ensure fluidity.
The above is some of Front Street's views on how to froth high-quality milk foam. Below, Front Street briefly describes the steps for frothing milk:

1. Pour in the milk. The milk is best refrigerated. Fill the milk pitcher to about 50% full.
2. First turn on the steam and release the condensed water.
3. Find the right frothing angle and turn on the steam switch. If the steam volume can be adjusted, you can gradually increase it until it is suitable.
4. Froth until about 60% full, then you can texture the milk foam. If at this time you feel the steam is too strong or insufficient, you can adjust it appropriately. The standard is at least to ensure that the vortex is rotating.
5. Touch the milk pitcher with your hand to feel the temperature. When it feels hot to the touch, turn off the steam.
6. After frothing is complete, shake the milk pitcher. First, this can preserve the integration of the milk foam; second, it can check the quality of the milk foam (fineness, fluidity).
The above content is compiled by CoffeeHunters, a coffee news website.


