







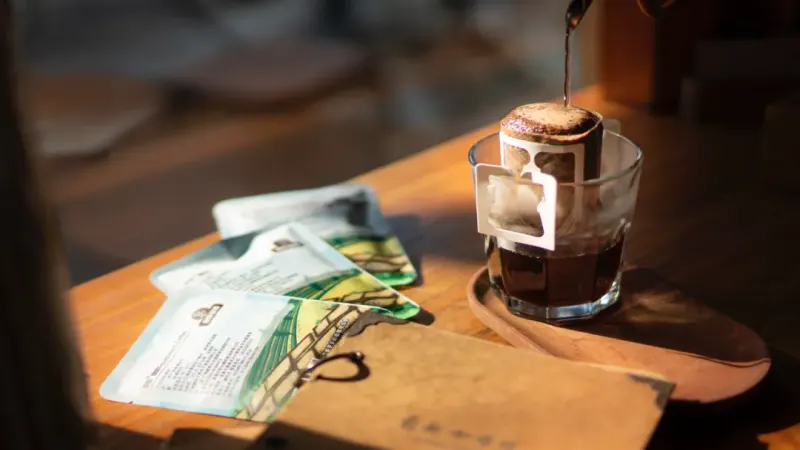
Steps for Making Coffee in a Drip Bag at Home
Making coffee with a drip bag starts with hot water, a mug, and the bag itself. For a latte base, use less water than usual so the resulting liquid is stronger. Hang the bag on the cup, pour hot water over the grounds in stages, and let it drip through rather than filling the cup all at once.
If a stronger base is needed, stir the bag while it steeps or use one of the alternative methods such as boiling or cold brewing. After extraction, add heated or steamed milk to taste. Medium-dark roasted beans are a practical choice here, since their flavor is more likely to remain noticeable once the milk is mixed in.
Many friends want to know: can drip bag coffee be used to make a latte? Front Street often receives this type of question, and the answer is: although it cannot replicate the concentration of espresso, through some unconventional methods, you can absolutely make a rich milk coffee at home. This article will introduce three feasible options in detail—stirred extraction, boiling, and cold brewing—and explain each method's water temperature, coffee-to-water ratio, key operating points, and pros and cons. At the same time, Front Street will also recommend medium-dark roasted drip bag products suitable for making milk coffee, helping you choose the right beans and easily make a delicious drip bag latte.
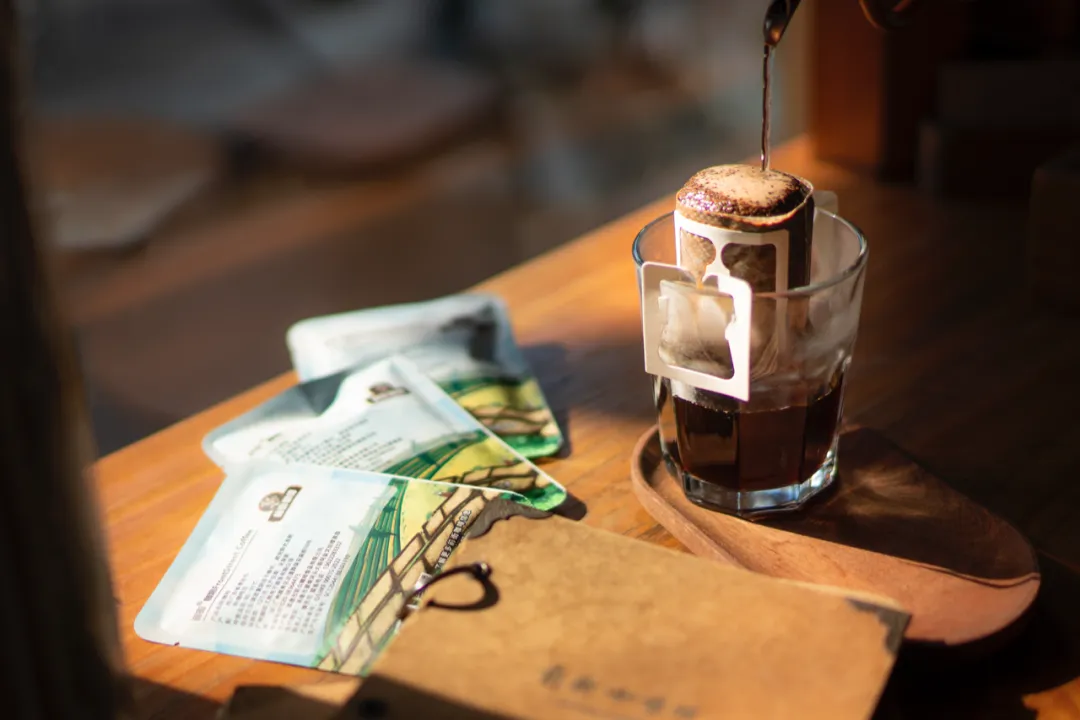
Front Street usually organizes quite a few drip bag questions from buyers and shares the answers. Recently, perhaps because the year-end is approaching, drip bag sales have clearly risen, and along with that, inquiries have increased. Among the many questions, the one repeatedly asked is a topic Front Street has discussed before: can drip bag coffee be used to make a latte?
The answer is yes, but it depends on how far you want to take it. If what you're after is the standard latte in the espresso system, then drip bags are basically not up to the task. The reason is the lack of pressurized extraction from an espresso machine; we cannot get coffee liquid as concentrated as espresso, and even if we barely get close, the process becomes extremely complicated and time-consuming.
However, if you just want to make a cup of milk coffee with a prominent coffee flavor and a decent mouthfeel and flavor, then it is completely feasible. Moreover, there is more than one path to achieving this goal.
So how exactly should you do it? Next, Front Street will teach everyone how to use drip bags to extract coffee liquid rich enough, and then make it into a delicious "latte."
But before starting, one premise needs to be made clear: this cup of milk coffee is definitely not obtained by directly brewing the drip bag with milk. In the article "Can Coffee Be Brewed with Milk?", Front Street explained that milk's concentration is too high to serve as a qualified extraction solvent.
Therefore, if you want to use drip bags to make a decent cup of milk coffee, you need to change your approach and extract it in a less conventional way.
Although there are many types of drip bags, bean selection still matters when making milk coffee. Front Street recommends prioritizing medium-dark roasted single-origin pour-over coffees, such as the creamy peanut-aroma Front Street Queen's Estate drip bag, the low-acid and mellow Front Street PWN Golden Mandheling drip bag, the balanced Front Street Blue Mountain No. 1 drip bag, and the complex nutty-flavor Front Street Bird of Paradise drip bag.
Unconventional method one: stirring
This is a relatively effortless concentrated coffee extraction solution. If you want to use drip bags to make a cup of milk coffee with both acceptable mouthfeel and taste, stirring is an option worth trying.
The method is to stir vigorously during brewing to speed up the dissolution of flavor substances, so that even under normal pressure, you can extract enough flavor with very little water and obtain a concentrated coffee suitable for making milk coffee. Reading the text may not be very intuitive, so next Front Street will give the specific steps.
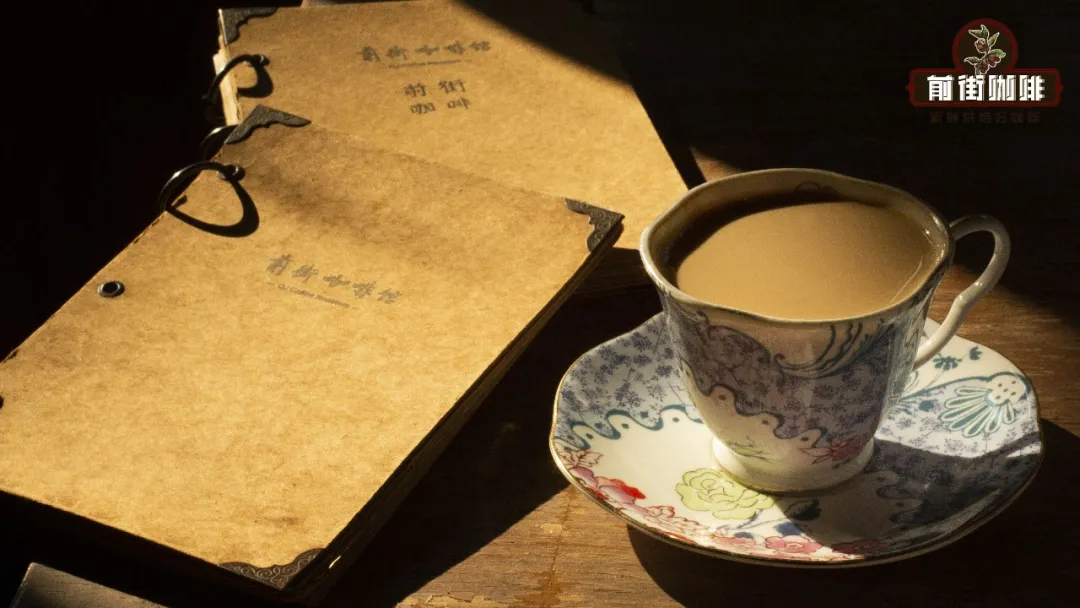
It should be noted that if you plan to make milk coffee, it is best to choose medium-dark or dark roasted drip bags. There are two reasons: first, this type of bean is easier to extract, and flavor substances can dissolve out in large amounts relatively easily, so the resulting milk coffee is naturally richer.
Second, the taste of dark roasted coffee is more harmonious with milk, unlike light roasts, which are more likely to create conflicts. For example, Front Street Indonesia Mandheling and Brazil Cerrado drip bags from Front Street's bean list are both good choices.
Of course, if you prefer the flavor of light roast, that is completely fine too. Tastes vary from person to person, and the operating steps are the same. Without further ado, next Front Street will demonstrate exactly how to do it.
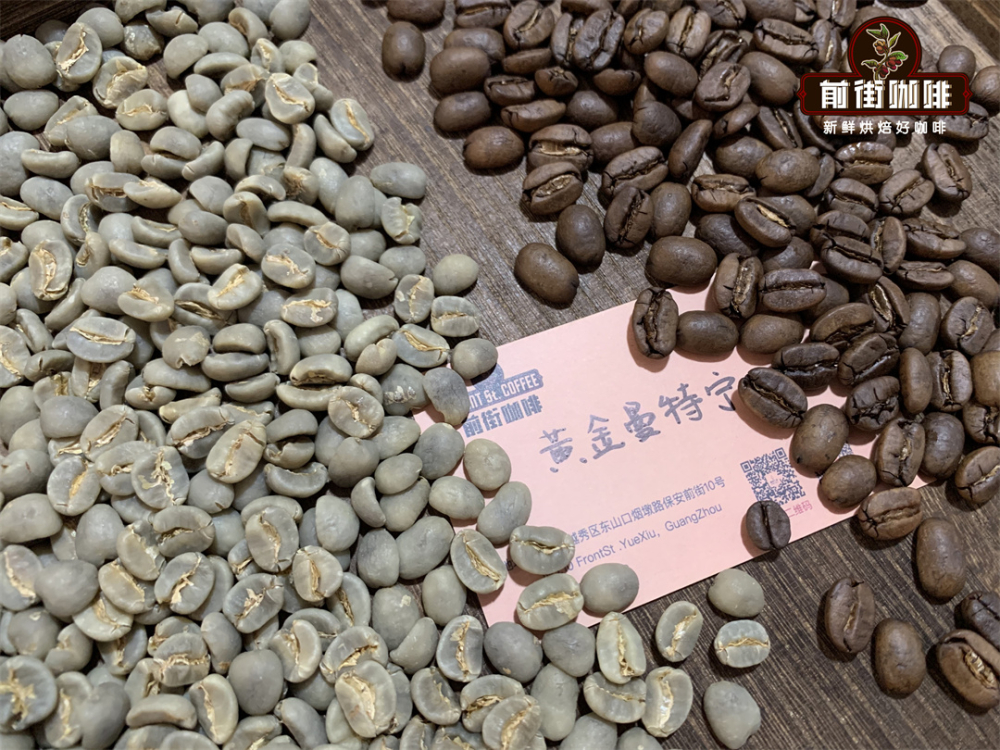
Front Street's drip bags are 10g each, while the concentrated coffee used for milk coffee is best made with 20g of grounds, so here Front Street will open two drip bags and combine the coffee grounds into one drip bag. This time Front Street is using Front Street Indonesia·Mandheling, and the extracted coffee will have flavors of chocolate, nuts, cream, and caramel.
Then prepare a slender stirring stick, use 100°C water, pour in 80ml of water (coffee-to-water ratio 1:4), and start with an extraction time of 2 minutes.
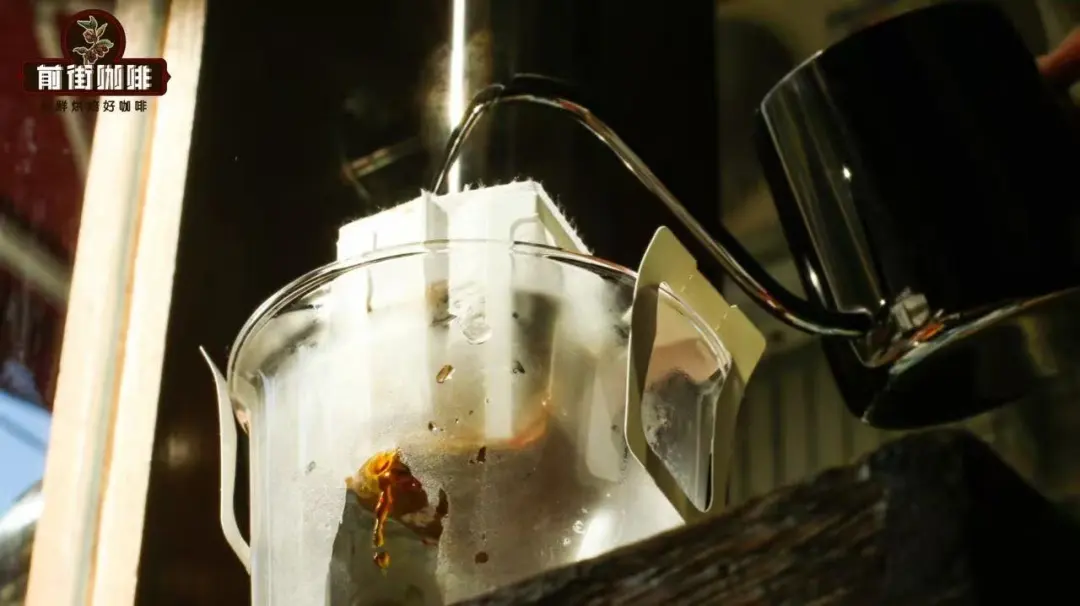
Once the water has boiled, you can begin making the concentrated coffee. First pour in 30ml of hot water for blooming, and during blooming use the stirring stick to agitate the coffee grounds. Because the coffee bed is relatively thick, stirring is needed to let all the coffee grounds be soaked by the hot water and degas evenly.
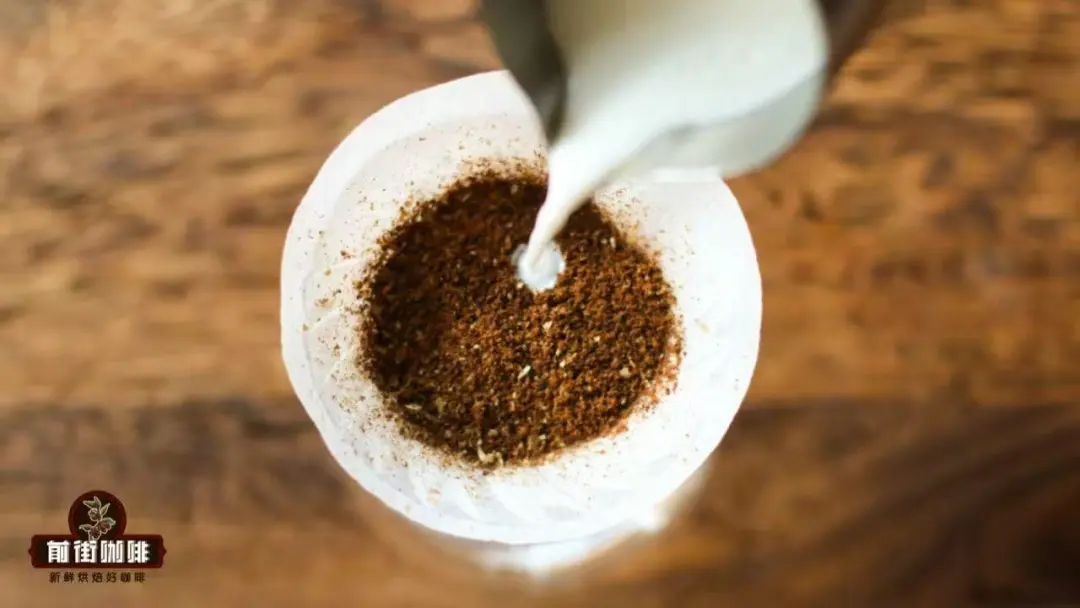
A reminder here: 20g of coffee grounds will be quite full in one drip bag, so when pouring water, be sure to use a very small stream and go slowly. Pouring while stirring will be a bit difficult, but not too difficult.
After the blooming is complete, pour the remaining 50ml of hot water in several stages. There is no hard requirement for how much to pour each time; stop when it reaches level with the bag opening, then keep stirring. After all the hot water in the drip bag has dripped through, repeat this action until all the target water amount has been poured.
By operating this way, you can get a concentrated coffee with both relatively high concentration and extraction yield. Front Street has tested it many times, and the extracted coffee liquid is about 47ml, with a concentration of about 6.95% and an extraction yield of around 17%. It tastes relatively balanced, with all the flavors it should have present, which is already quite good for concentrated coffee made from drip bags.
Then add an appropriate amount of milk to this concentrated coffee according to your preference, and a cup of milk coffee with both a rich mouthfeel and flavor is complete. Front Street generally recommends a coffee-to-milk ratio of 1:3. For example, if the extracted coffee liquid above is 47ml, then add about 148ml of milk.
Since the concentration and taste of the coffee ultimately cannot reach the level of espresso, do not add too much milk, lest the mouthfeel and flavor be diluted too much. Of course, if you just like that kind of light milk coffee, adjust it yourself.
Unconventional method two: boiling
Actually, milk is not completely unusable for extracting coffee; it is just inefficient and slow. Quite a few friends have left messages on Front Street's backend asking whether milk and coffee grounds can be put into a pot and boiled, relying on boiling to make a rich milk coffee. Front Street previously tested it, and the answer is that it is feasible.
Boiling allows milk to remain at high temperature for a long time, thereby continuously dissolving the flavor substances in the coffee. The boiling method is not complicated; just pour the coffee grounds from the drip bag and the milk together into a pot and boil, at a ratio of 1:5. After it comes to a boil, turn to low heat or use residual heat and boil for another 2 minutes, stirring during the process to prevent the milk from overflowing.
But Front Street still recommends the first method more. Although boiling can make a rich milk coffee, it is not very appealing. First, some components in milk are destroyed at high temperatures, and both the mouthfeel and sweetness are compromised.
Second, the whole process is cumbersome, and after boiling it still has to be filtered. The milk concentration is very high, and filtering with a drip bag filter bag or filter paper is very slow. If you want to filter it out quickly, you need to use a strainer, which means buying extra tools, and cleaning is also troublesome. So Front Street does not mainly recommend this method; if conditions allow, choose other ways.
Unconventional method three: soaking
Soaking is much simpler, and Front Street shares it often. Just put the milk and the whole drip bag together into a sealed container and soak overnight, then the next day take out the drip bag and you can directly get a rich milk coffee.
The reason this method works is that the extraction time is greatly extended, and the milk has more than 8 hours to dissolve the flavor substances in the coffee. There is only one downside: the production cycle is long, and it needs to be prepared the night before.
If you can accept this method, simply soak the drip bag and milk at a ratio of 1:5. The operation is simple, and it is not picky about coffee beans. However, Front Street has already shared this many times before, so interested friends can look through past articles; there is no need to say more here.
The above content is compiled by CoffeeHunters, a coffee news website.


