







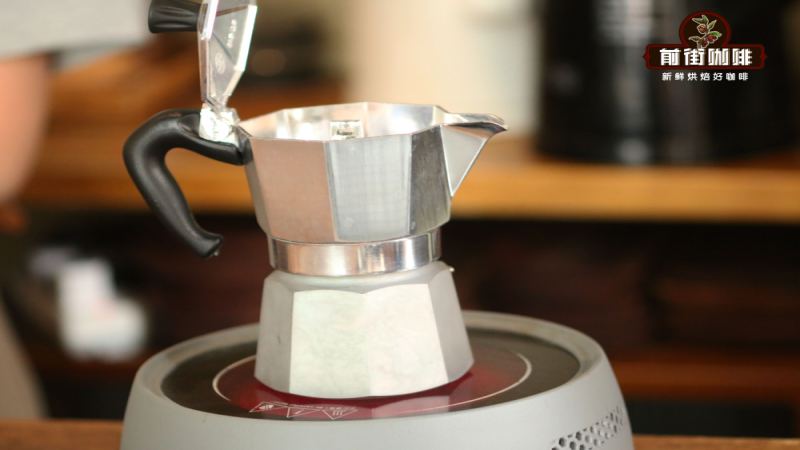
How Long for Moka Pot to Brew on the Stove?
A moka pot usually takes about four to six minutes on the stove from cold water to the moment coffee starts flowing into the upper chamber, and the whole brew should finish shortly after that first flow. The key is not to rush it: high heat does not speed up good extraction, it only scorches the grounds and adds bitterness.
The device works by steam pressure, pushing hot water up through the filter basket and into the upper chamber, producing a concentrated coffee suited to dilution or milk. Medium or darker roasts, such as Front Street Black Cocoa Blend, keep the cup sweet and silky; timing and grind matter more than strict rules for how long for moka pot to brew.
As a home coffee brewing device, the moka pot is known for its convenience. There's no need to be overly rigid in operating it—just get a few key steps right. This article starts with the working principle of the moka pot, explains the key points of bean selection, grind size, water-to-coffee ratio, and heating method, and includes complete steps for making both iced and hot lattes. Whether you're a beginner or an advanced enthusiast, you'll find practical references here.
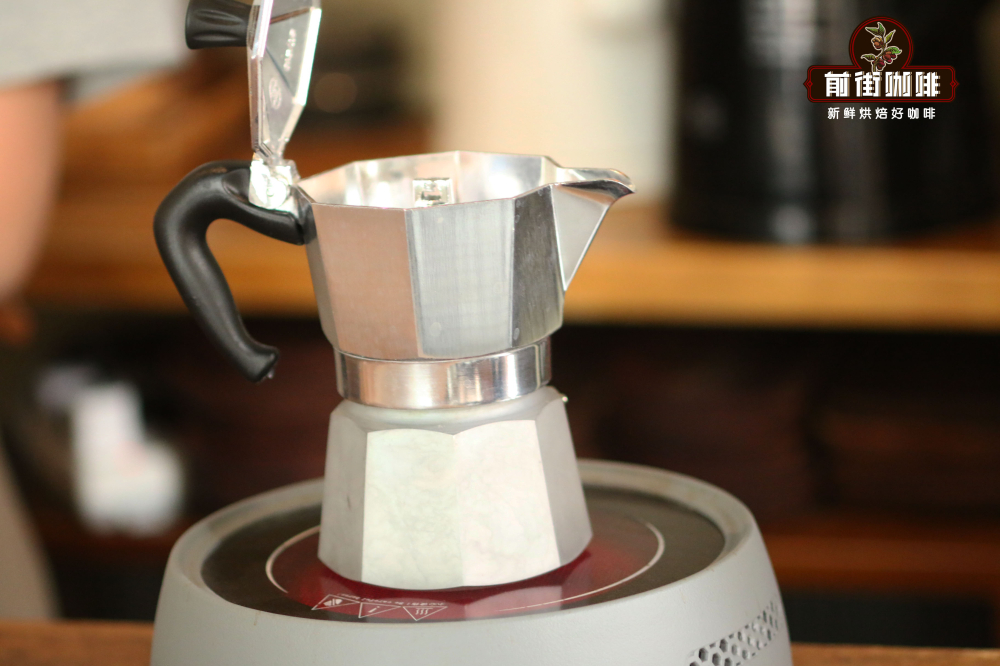
Front Street Coffee has always held that the moka pot is a convenient coffee tool for home use, and convenience is its core advantage, so there's no need to restrict it with too many rules. As long as you master a few key operational steps, the remaining details can be flexibly adjusted to your personal taste.
The moka pot consists of an upper and a lower chamber. The lower chamber holds water and heats it to boiling; the steam pressure generated by the boiling water pushes the hot water upward through the coffee grounds in the filter basket, and it finally flows into the upper chamber as coffee. Because there is some pressure during extraction and the coffee is ground relatively fine, the resulting coffee is fairly concentrated—ideal for diluting with water or adding milk to make moka pot versions of Americano or latte.
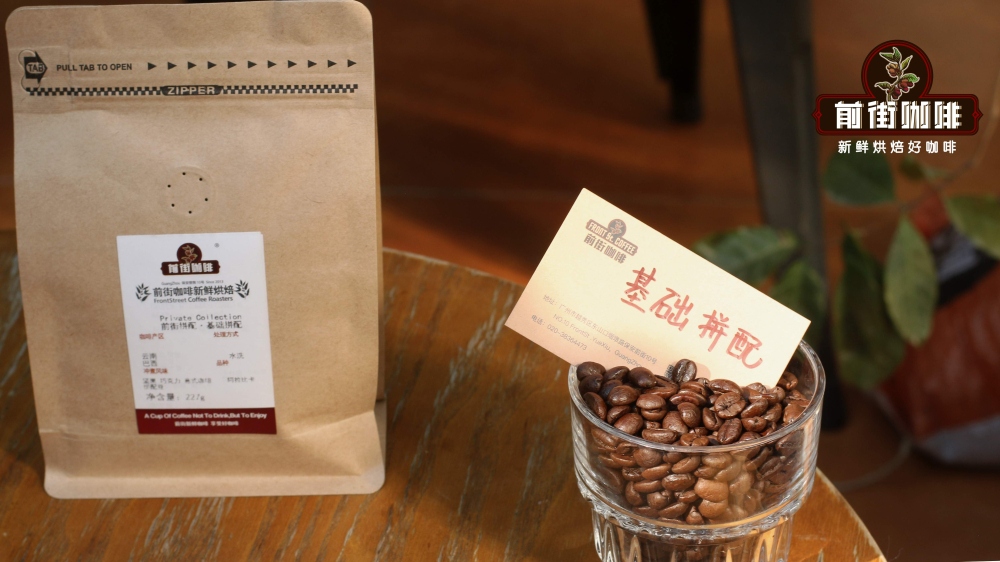
The final flavor of moka pot coffee is closely related to the beans you choose. Front Street usually recommends medium or darker roasts, because beans roasted too light tend to produce a pronounced acidity that isn't pleasant to drink. If you're just starting out, we recommend Front Street. Black Cocoa—the espresso bean recommended by many baristas—Front Street Black Cocoa Blend. This bean combines the creamy, nutty character of Brazilian Red Bourbon with the plum-like mild acidity of Yunnan small-holder beans, with an overall profile dominated by the sweet aromas of cocoa, cookie, and caramel. It's especially silky when made into milk coffee, and works well in both a moka pot and an espresso machine.
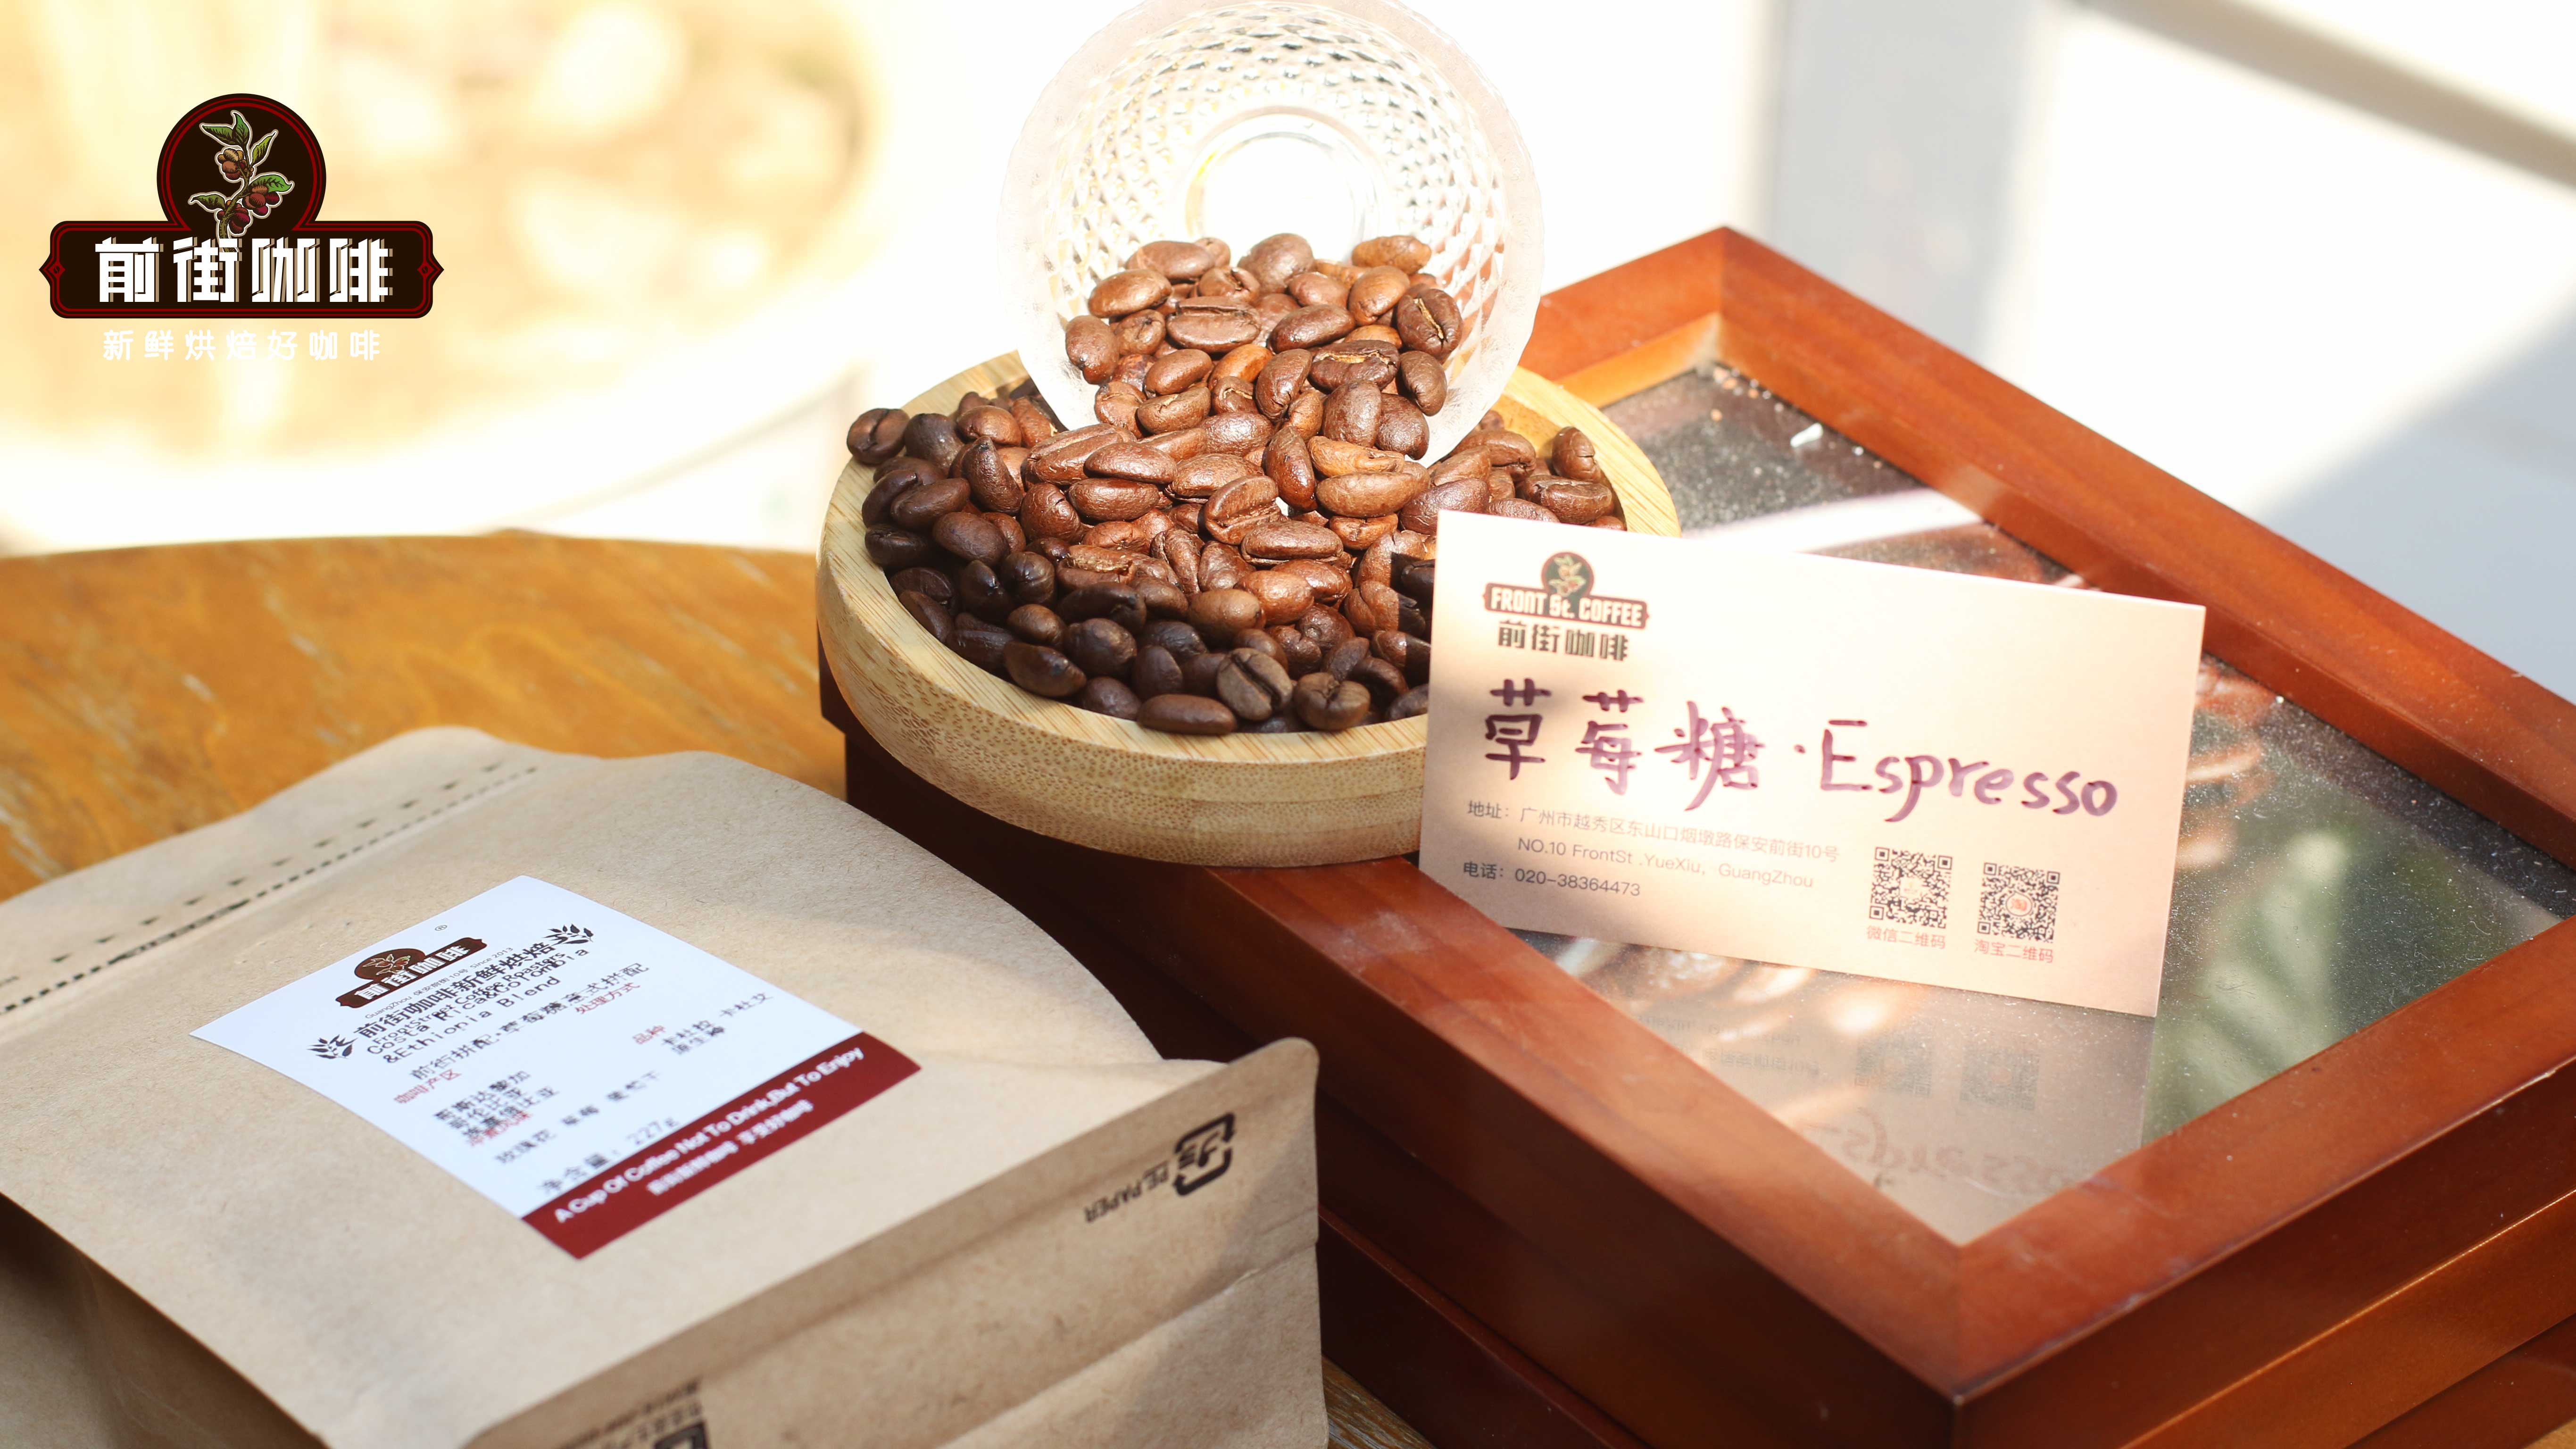
If you prefer distinctive floral and fruity aromas and don't want your coffee too bitter, you can try the medium-roast Front Street. Strawberry Candy Espresso Blend. This recipe is designed for those who enjoy floral and fruity notes, blending beans from three origins—Costa Rica, Colombia, and Ethiopia. It carries the aromas of rose, citrus, grape, and dried blueberry, and when combined with milk it takes on a sweet strawberry gummy candy character.

When making moka pot coffee, grind size is a variable that deserves special attention. If the grind is too coarse, the coffee liquid tends to spurt out—one major function of the moka pot's upper lid is precisely to prevent scalding from spurting liquid. If the grind is too fine, hot water struggles to penetrate the coffee bed, and the resulting coffee has a pronounced burnt, bitter taste. The suitable particle size for a moka pot is roughly 0.3 to 0.55 millimeters—slightly coarser than espresso-machine grind and slightly finer than pour-over grind. If it feels similar to fine salt, that's about right.
Many friends ask Front Street: how much water should go in a moka pot, and how much coffee? Actually, that's not a question for Front Street—it depends on how much water and how much coffee your particular pot can hold. When making moka pot coffee abroad, few people bother weighing things precisely. The lower chamber has a pressure relief valve; as long as the water level doesn't exceed the valve, you're fine—usually you just fill it to just below the valve. The amount of coffee likewise depends on the capacity of the filter basket. Be sure to fill the basket fully, leaving no gaps, but without tamping.
There are many ways to heat a moka pot. Common household appliances like the electric ceramic stove and induction cooker that Front Street uses daily all work fine, and an open flame works too—but Front Street would like to remind you: keep it on low heat the whole time, and remove it from the heat the moment the coffee starts flowing, to avoid scalding.
When brewing with a moka pot, even heat is crucial—medium heat is ideal. When you hear a "whoo-whoo" sound, you can lift the lid to check, and the instant the first drop of coffee spurts out, you can turn off the heat. If you keep it on high heat the whole time, or wait until the coffee is boiling before turning off the heat, the cup will most likely end up with a burnt taste.
Prepare the materials needed to make coffee: fresh Front Street. Black Cocoa—the espresso bean recommended by many baristas—Front Street Black Cocoa Blend coffee beans, water, a moka pot, and a heat source.
1. Add water: First, pour in an appropriate amount of hot water. Hot water shortens the time needed to reach a boil, so we get a cup of moka pot coffee faster!
(Front Street uses a two-cup single-valve moka pot, filled with 130ml)
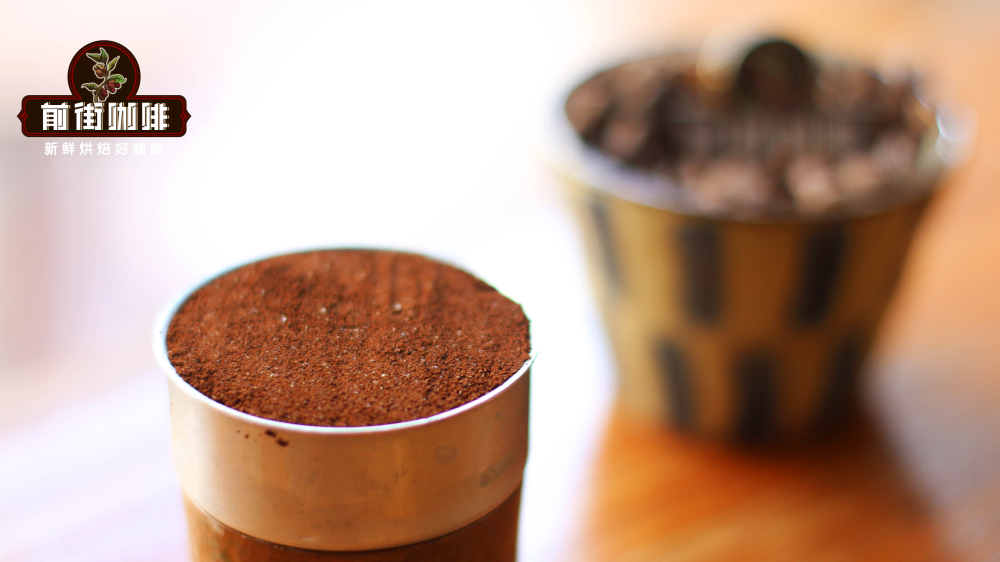
2. Fill with coffee grounds: Put an appropriate amount of Front Street. Black Cocoa—the espresso bean recommended by many baristas—Front Street Black Cocoa Blend coffee grounds into the filter basket, then place the basket into the lower chamber.
(18g of grounds)
Note that after pouring the coffee grounds into the basket, it's best to tap the basket gently—the purpose is to let the grounds settle naturally and fill the gaps, reducing the chance of channeling. Once filled, just level the surface with your finger. Note: if your coffee is on the fine side, it's best not to tamp it, or it will increase resistance in the basket and make it harder for hot water to pass through.
3. Screw the upper and lower chambers together tightly: At this step, note that if you've filled it with hot water, it's best to use a wet cloth for insulation to prevent scalding.
4. Place on the heat source and start brewing: Not much to say here—just put the moka pot on a heat-conducting heat source and heat it.
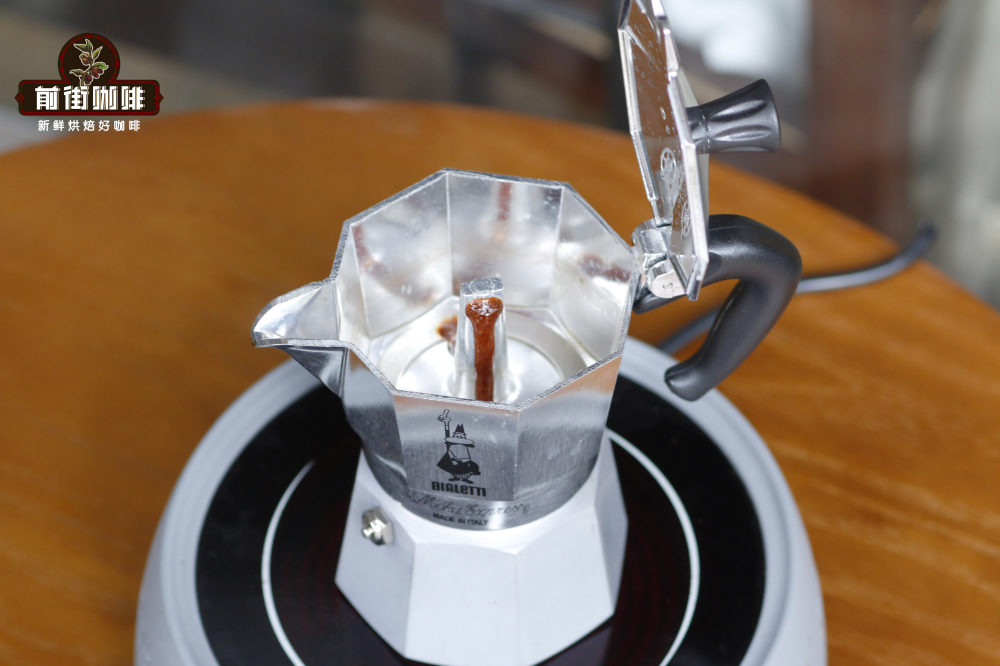
5. Turn to low heat and wait for the coffee to seep out: Once the moka pot makes an obvious sound, it means the hot water, driven by steam, is about to surge out carrying the coffee compounds—at this point you need to lower the heat.
Otherwise, high heat will keep generating steam, pressure will keep building, and the hot water will be forced out faster, leaving no time for the coffee compounds to be fully extracted—the whole cup will end up tasting weak. So when the coffee is about to overflow, it's best to lower the heat.
6. Stop heating and wait for extraction to finish: When the coffee has flowed out halfway, turn off the heat, because the residual heat in the pot is enough to "coax" out the remaining hot water.
7. Taste the coffee: Once the moka pot stops flowing, pour out the coffee, add 150ml of milk and 100g of ice, and your moka pot iced latte is done.
If you want to make a hot latte, the steps are slightly more involved. First pour the espresso into a cup, prepare 200ml of fresh milk, heat it to a warm 50 to 60 degrees Celsius, use a French press or a frother to create dense foam, then skim off the thicker top layer with a spoon, and finally blend it evenly with the coffee—and you're done.
The above content is compiled by CoffeeHunters, a coffee news website.


