








Two Simple Iced Coffee Methods Using Drip Bags
You do not need a full pour-over setup to enjoy iced coffee at home. A single drip bag can produce two distinct drinks: iced pour-over and cold brew. For iced pour-over, use less water and a finer grind to keep the coffee strong after ice melts. Cold brew requires a longer sealed refrigeration time and a simple filtration step.
For bright, fruity notes, choose a single-origin drip bag. For a heavier body, pick a darker roast. The process stays simple: adjust the coffee-to-water-to-ice ratio, pour in stages, and let the cold brew steep in the fridge. These methods lower the barrier to making refreshing iced coffee without professional equipment.
In the height of summer, a glass of iced coffee always brings the most direct refreshing comfort. But not every coffee lover has professional pour-over equipment on hand—in fact, all you need is a single drip bag to easily make two distinctly different iced coffees: iced pour-over and cold brew. This article, based on actual brewing with Front Street drip bags, breaks down in detail the coffee-to-water-to-ice ratio, water temperature adjustments, and staged pouring technique for iced pour-over, as well as the coffee-to-water ratio, sealed refrigeration time, and filtration steps for cold brew, helping you enjoy a refreshingly cool cup of good coffee at home with the lowest barrier to entry.

On scorching days, a glass of ice-cold coffee is probably what many coffee lovers look forward to most once summer arrives. For this reason, Front Street has recently been continuously sharing various iced coffee recipes, and today is certainly no exception.
This time, Front Street is going to show you how to make two completely different styles of iced coffee using only drip bags. After all, not everyone is willing to haul out a full set of professional equipment to fiddle around. So we'll use the most effortless and convenient drip bags to make these two iced drinks that normally require professional gear—one is iced pour-over coffee, and the other is cold brew coffee.
If you're choosing the best drip bags for making iced coffee, it's recommended to prioritize single-origin series with distinctive flavors. If you enjoy bright, fruity, floral notes with balanced acidity and sweetness, go for Front Street Huakui Drip Bag or Front Street Guodingding Drip Bag; if you prefer a heavier, richer body, then Front Street Xizhua Drip Bag and Front Street Strawberry Candy Drip Bag are recommended.
How to Make Iced Pour-Over Coffee with Drip Bags?
As you probably know, iced pour-over is essentially an evolution of the hot pour-over framework. The usual method is to brew a hot pour-over and then immediately add ice to quickly get a glass of iced coffee. However, melting ice dilutes the coffee's strength, so brewing parameters need to be adjusted to compensate for this effect.
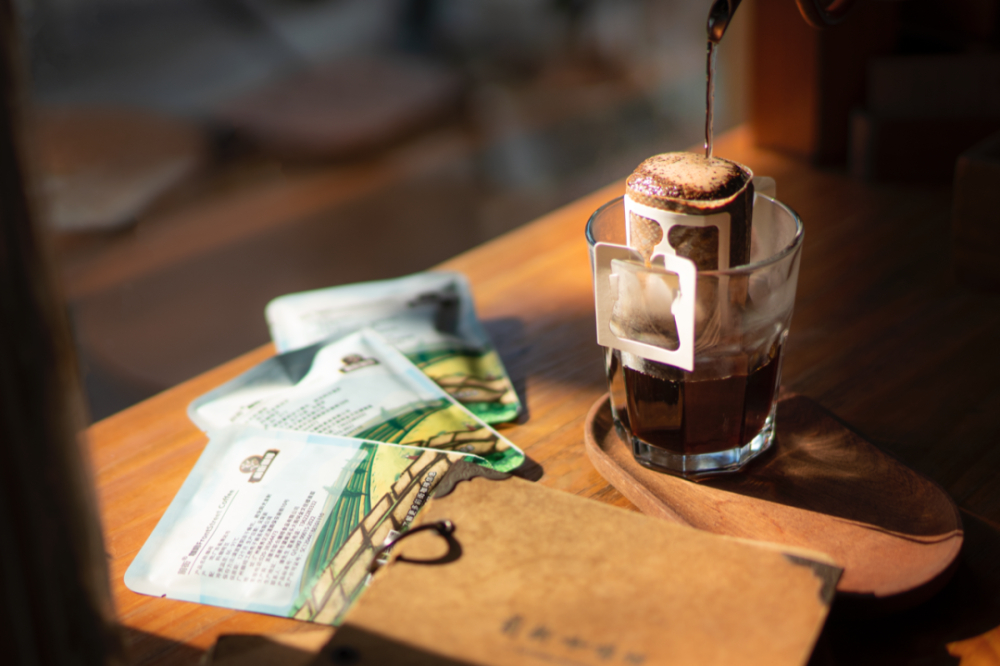
The brewing logic of drip bag coffee is not much different from traditional pour-over, so the iced pour-over approach can equally be applied to drip bags.
When making iced pour-over, Front Street makes two parameter adjustments: reducing the amount of water poured and grinding finer. Reducing water is to increase coffee strength, countering the dilution from melting ice; grinding finer compensates for the drop in extraction efficiency caused by using less water, allowing the coffee to maintain high strength while still achieving sufficient extraction.
We can reduce the brewing water for drip bags, but drip bags use pre-ground coffee, so the grind size cannot be adjusted. Therefore, we need to change what we adjust to water temperature.
The higher the water temperature, the faster hot water dissolves the coffee's flavor compounds. Next, Front Street will use the Strawberry Candy Drip Bag to demonstrate how to make a glass of iced pour-over coffee with a drip bag.
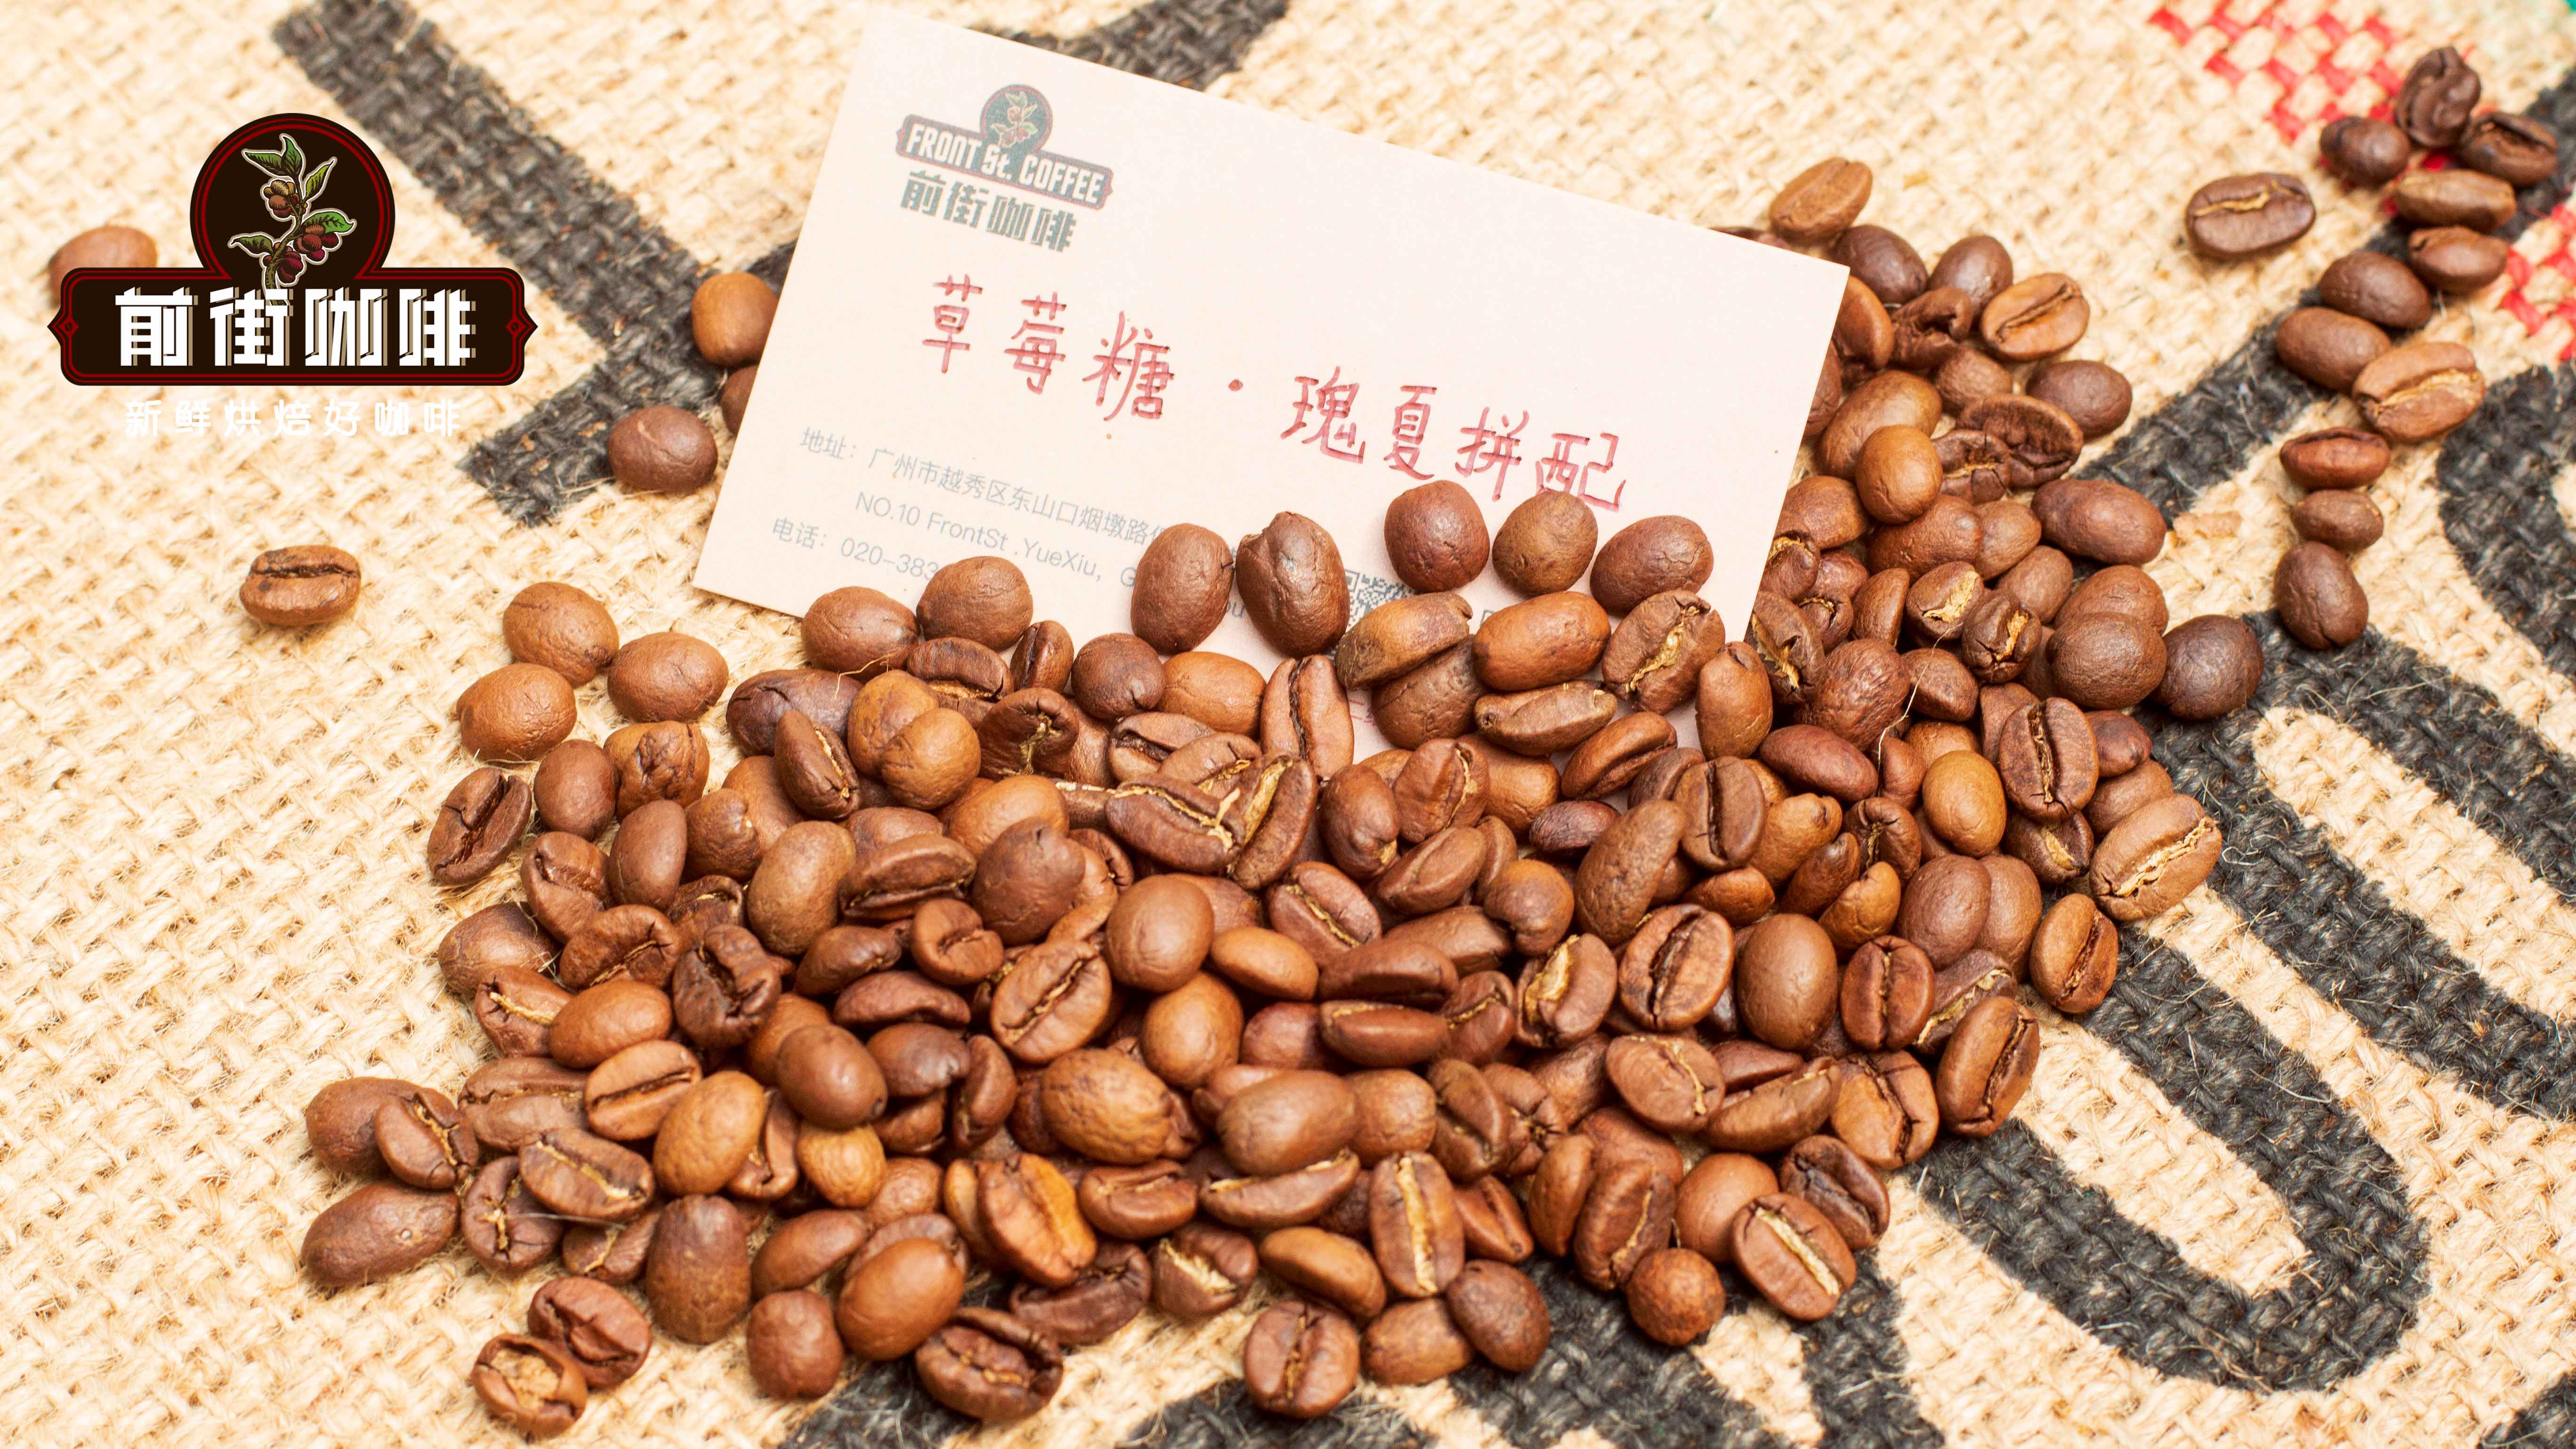
Each Front Street drip bag contains 10g of coffee. The extraction parameters are as follows: water temperature 93°C (use 90°C for dark-roasted beans), coffee-to-water-to-ice ratio 1:10:6, meaning 10g of coffee corresponds to 100ml of hot water and 60g of ice. However, the ice won't all melt instantly, so as long as you don't sip it slowly for a long time, a little extra ice won't hurt. The specific steps are as follows:
Step 1: Prepare a tall cup (a large-capacity short cup also works), and put the ice into the cup first.
Step 2: Hang the drip bag on the rim of the cup.
Step 3: Once the water temperature is right, begin brewing. First do the bloom, using 20ml of hot water to bloom for 25–30 seconds.
Step 4: After the bloom, pour the remaining 80ml of hot water in four stages, 20ml each time, using a slow circular pour for each. Be sure to wait until the previous pour has completely drained before pouring the next stage.
Step 5: After the final pour of hot water has fully permeated, remove the drip bag, and extraction is complete.
Step 6: Stir the coffee with any tool to even out the strength and temperature. Once stirred, it's ready to drink.
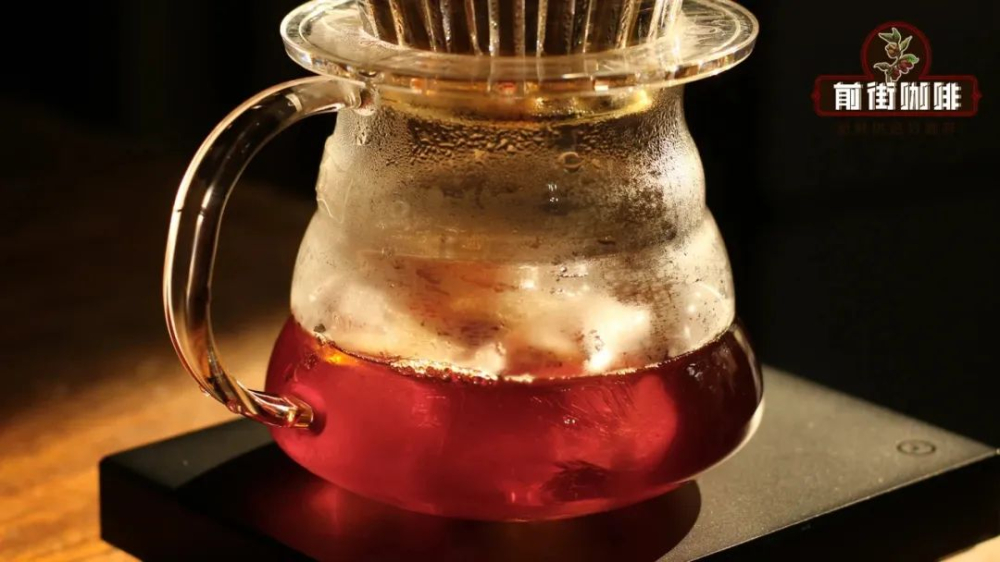
How to Make Cold Brew Coffee with Drip Bags?
Cold brew is relatively much simpler to make—there aren't many parameters that need strict control, nor do you need to deliberately control the water flow, making it very easy to do. But you'll need an extra sealed bottle, and the amounts used will be larger.
In terms of parameters, you can adjust flexibly based on whether you'll add ice when drinking. If you'll add ice to keep the cold brew at a low temperature, use a 1:10 coffee-to-water ratio when making it—the principle is the same as iced pour-over, so we won't repeat it here; if you don't plan to add ice, then a 1:12 coffee-to-water ratio will do.
Also, a single Front Street drip bag contains only 10g of coffee, so with a 1:10 ratio, you'll end up with only about 80ml of cold brew concentrate. For most people, that amount is clearly not enough to be satisfying.
So it's recommended to use 3–5 drip bags at a time to make cold brew; otherwise, after waiting half a day, you only get half a cup, which really isn't worth it. Of course, the specific amount depends on personal needs. Here, Front Street uses four Strawberry Candy Drip Bags for the demonstration.
Step 1: Take out the drip bags, tear open the seals, pour the coffee grounds into the sealed bottle, and be careful to keep the drip bag packets—don't throw them away.
Step 2: Pour in an appropriate amount of room-temperature water. Front Street used 4 drip bags totaling 40g of coffee, and at a 1:10 ratio, pours in 400ml of water here.
Step 3: Stir the coffee grounds and water with any tool until all the coffee grounds are submerged in the water.
Step 4: Tighten the bottle cap to seal it, put the entire bottle in the refrigerator, and refrigerate for 8–12 hours (the longer, the stronger).
Step 5: Once the time is up, take out the coffee, and set the previously saved drip bag packets over a cup.
Step 6: Pour the coffee liquid into the drip bags to filter out the coffee grounds, and the cold brew coffee is done.
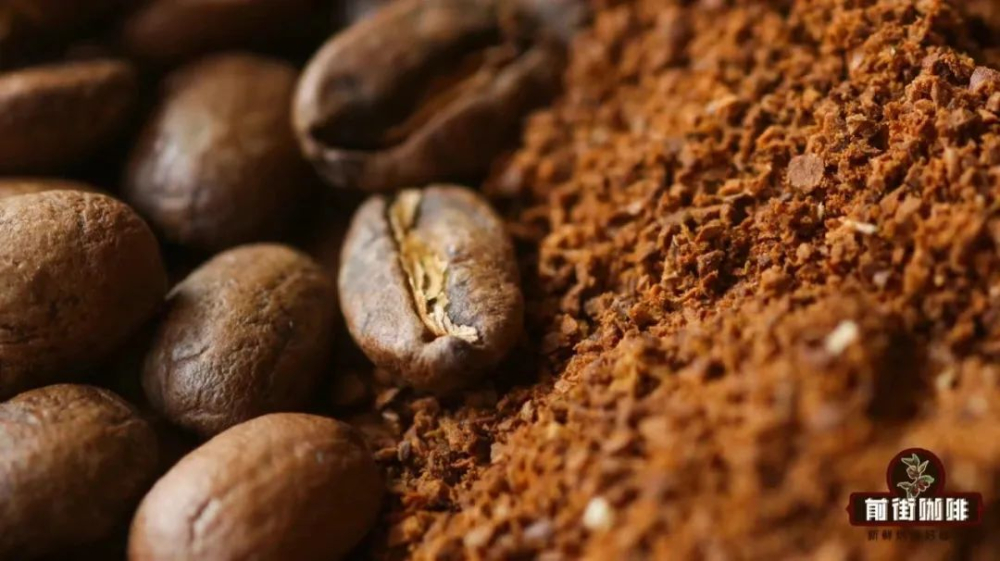
After the coffee liquid is filtered out, add ice and you can enjoy the cold brew. Note that any portion you don't plan to drink right away after filtering needs to be poured back into the sealed bottle and returned to the refrigerator to avoid spoilage. The shelf life is about five days; as long as you finish it within five days, the likelihood of spoilage is very low.
The above content is compiled by CoffeeHunters, a coffee news website.


