







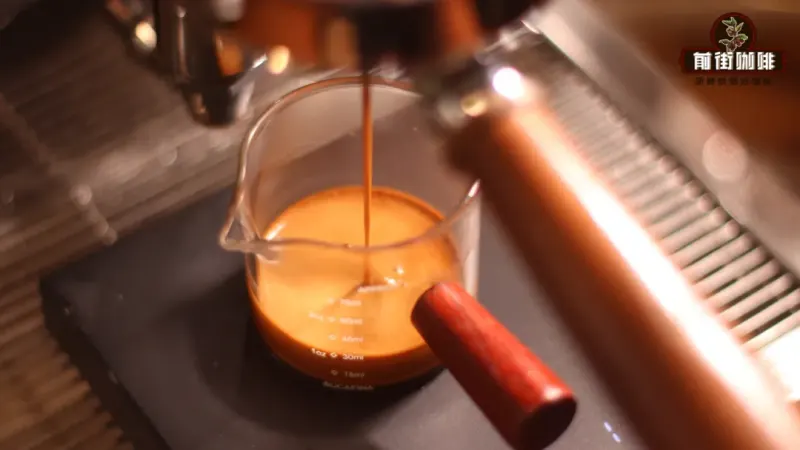
7 Steps to Make Coffee: Which Details Shape the Espresso Extraction Process?
The espresso extraction process runs from grinding to the end of the shot in under a minute, yet flavor depends on details that are easy to skip. Eight points decide the outcome: hopper pressure, portafilter basket cleaning, watching how grounds exit the grinder, distribution, tamping, pre-flushing, knocking the portafilter, extraction timing, and cleaning afterward.
Even with parameters locked in during morning calibration, one overlooked step can change the taste of the shot. The article walks through how to make coffee with a coffee machine in order, so home baristas can repeat the same result. Bean choice also matters, with freshly roasted blends picked for home machines and commercial setups alike.
An espresso from grinding to extraction is often completed in under a minute. It looks simple, but in reality, many variables affecting flavor lie hidden within. Front Street repeatedly emphasizes in daily production that even if a perfect set of extraction parameters has been locked in during morning calibration, a slight oversight in the operational steps can still greatly diminish the final product's taste. This article walks through the complete process of making espresso with an espresso machine, sorting out eight easily overlooked details one by one—from hopper pressure, portafilter basket cleaning, and observing the coffee grounds' output state, to distribution and tamping, pre-flushing, portafilter knocking, extraction timing, and post-extraction cleaning—to help coffee enthusiasts achieve consistent output and continually obtain the ideal espresso flavor.
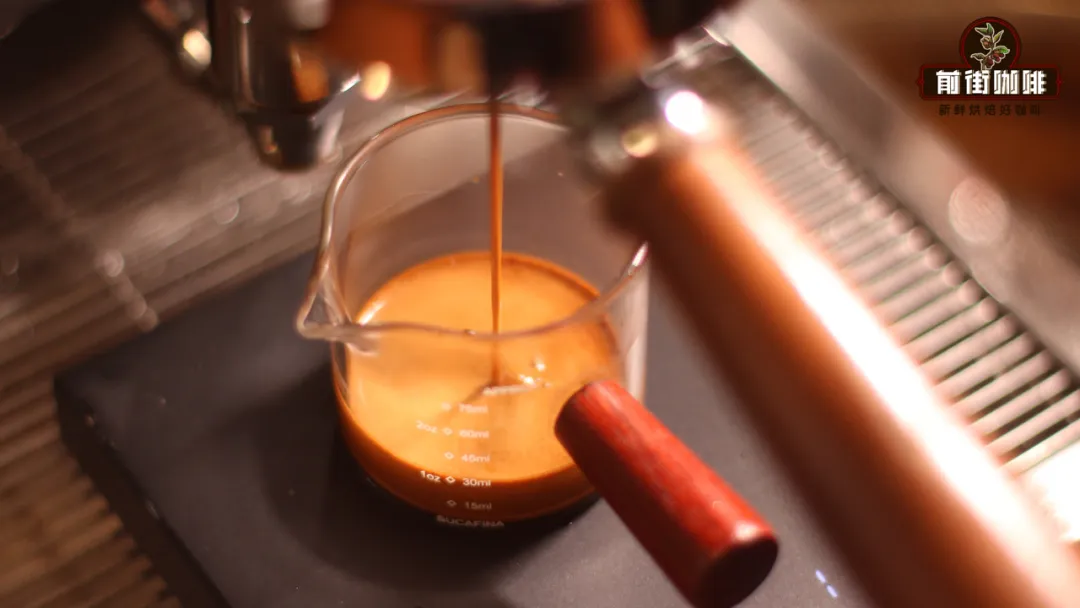
From the start of grinding to the end of extraction, making a cup of espresso typically takes less than a minute. At first glance, making a good cup of coffee doesn't seem complicated. But as Front Street often mentions, while the operation appears simple, there are actually quite a few aspects that truly require attention.
As the saying goes: success or failure lies in the details. This saying couldn't be more apt when applied to espresso extraction. Even if we've found a set of parameters during morning calibration that can extract excellent flavor, if we neglect certain key points in subsequent preparation, then even following these same parameters, the resulting espresso may not taste good.
Therefore, Front Street is here today to sort out which details in the process of making espresso directly influence the extraction result. In order to consistently and stably extract delicious espresso, we'd best pay extra attention to these aspects during operation.
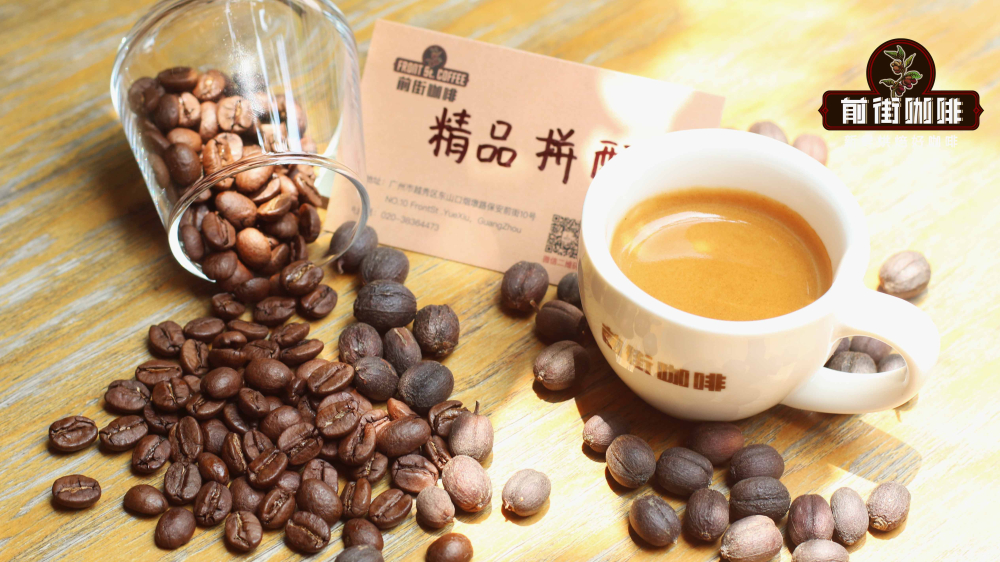
Before formal extraction, choosing the right coffee beans is crucial: for home espresso machines, we recommend prioritizing freshly roasted Front Street blend series, including the rich-crema Front Street Classic Blend, the prominent nutty-aroma Front Street Specialty Blend, the extremely cost-effective Front Street Dark Cocoa Basic Blend, and the Front Street Commercial Blend suitable for café use. Each bean has its own distinct style—choose according to your needs and you'll find the one that suits you.
1. Hopper Pressure
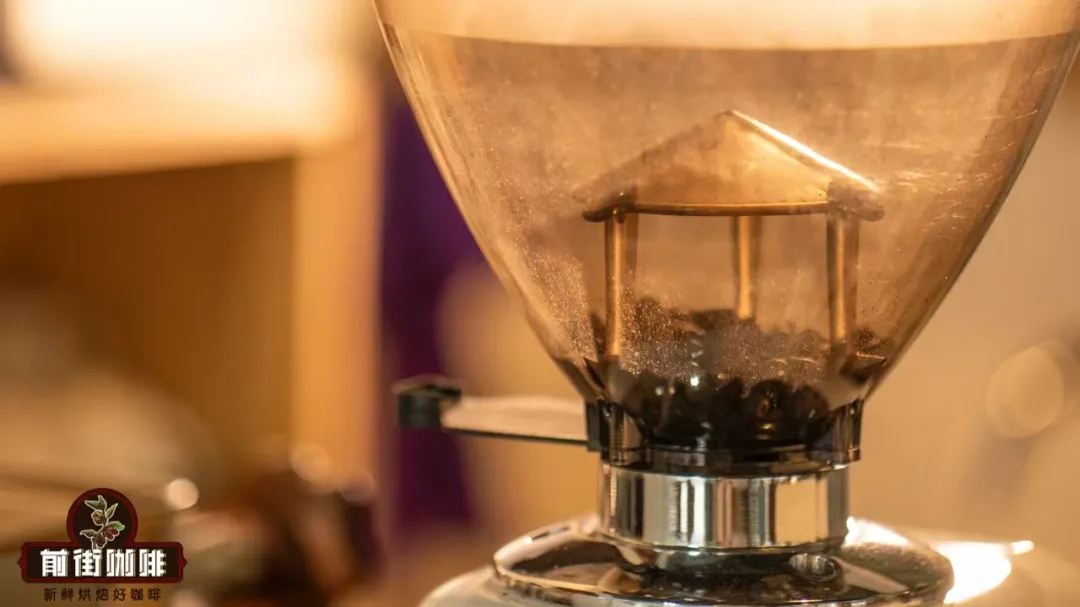
First, before grinding coffee, be sure to confirm the amount of coffee beans remaining in the grinder's hopper, because this directly affects the coarseness of the ground coffee. For example, when the beans in the hopper are less than a quarter of capacity, the grinding quality noticeably declines.
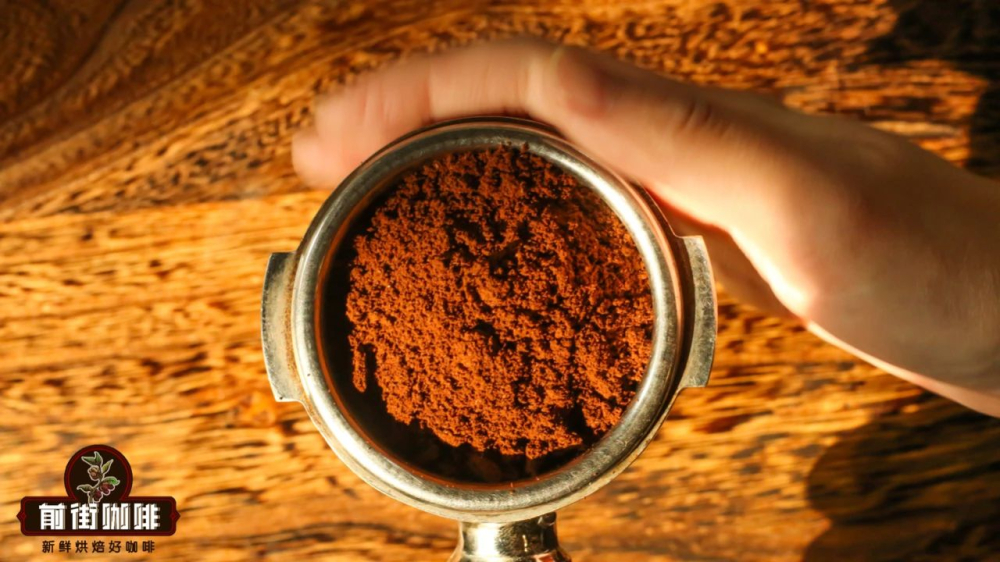
The reason is that during grinding, if there isn't enough weight pressing down from above, the coffee beans will bounce up due to being squeezed, resulting in poorer uniformity of the ground coffee. As a result, the extracted espresso will deviate from the established parameters, the time will shorten, and under-extraction problems are likely to occur.
So, if you want to ensure consistent output, checking the hopper level before grinding is essential. Usually, beans filling more than half the hopper is sufficient. (If you don't want to pour in too many coffee beans at once, you can also use other heavy objects to substitute for the pressure.)
2. Clean the Portafilter Basket
Since many friends are accustomed to catching grounds directly in the portafilter basket rather than using a dosing cup, cleaning the basket becomes the second detail to watch out for (if using a dosing cup, then this belongs to the third step).
Because even if we rinse the basket promptly after extraction is complete, a small amount of coffee residue may still remain in the crevices; at the same time, if the interval between rinsing and the next use is short, a few water droplets will still cling inside the basket, which likewise affects extraction stability.
If these water droplets aren't removed, a portion of the coffee grounds will be pre-wetted before extraction. After they're tamped into a puck, the wetted areas will directly form channels, thereby interfering with extraction; and although residual coffee grounds have a relatively smaller impact, they can still potentially cause interference. Therefore, before dosing, it's best to wipe the basket clean first.
3. Observe the Coffee Grounds
After completing the above two steps, you can begin grinding the coffee. However, during grinding there are also things to observe: first, the state of the grounds output, and second, the coffee grounds themselves.
The output state mainly refers to whether the coffee grounds fall in a large scattered pattern like the left image, or in a small concentrated stream like the right image.
Normally, the grinder's output state should be as shown in the right image—a small, concentrated stream of grounds. If you notice the output is loose and spread out like in the left image, it's very likely that static electricity has caused some coffee grounds to accumulate and clog at the discharge chute. Clogging affects the quality of the coffee grounds, which in turn causes extraction deviation, so observation is needed to determine whether the grinder needs to be cleared.
The other observation point is relatively simple: check whether the ground coffee has formed large clumps due to static electricity. If so, it's best to break them up with a distribution needle or other needle-like tool to reduce the occurrence of channeling.
4. Tamping
Next comes the distribution and tamping stage. These two steps are what Front Street frequently emphasizes, because whether distribution and tamping are even directly determines extraction stability.
If distribution is uneven and force application inconsistent, the puck will form channeling due to uneven coffee grounds distribution and an uneven surface.
On this point, it's hard to explain fully in just a few words. Interested friends can refer to these two articles → "How to Properly Distribute and Tamp Coffee" and "How Much Force Should Be Used to Tamp Coffee Grounds?" In short, distribution and tamping are crucial to espresso extraction and deserve close attention.
5. Pre-flushing
Not long ago, Front Street just shared the importance of "Pre-flushing Before Espresso Extraction." Before locking the portafilter onto the group head, you need to open the water valve once and flush hot water.
The purpose is simple: first, to once again clear residual coffee grounds on the dispersion screen; second, to make the hot water temperature used for extraction more stable.
6. Avoid Knocking
Once everything is ready, you can begin extraction. But before extraction, there's one more detail to note: try not to let the portafilter get knocked. Many beginners, unfamiliar with the espresso machine's structure, knock the portafilter every time they lock it onto the group head because they haven't aligned it with the locking position.

The force from the collision will cause cracks of varying degrees in the puck depending on its magnitude. When the collision is mild, cracks mainly appear between the puck and the basket—the originally tightly fitting parts separate due to the impact, and these cracks become channels through which hot water preferentially flows; if the collision is more severe, the puck may even crack outright, which will likewise seriously interfere with extraction.
Therefore, if beginners are unfamiliar with the locking position, Front Street suggests feeling out the position first before starting extraction; otherwise, bumps and knocks can easily affect the coffee's flavor.
7. Not Extracting for a Long Time
Some friends lock the portafilter onto the group head but don't extract immediately—instead they go handle other things first. This practice can easily cause two problems with the espresso: first, a noticeable burnt-bitterness; second, insufficient flavor fullness.
Because the group head's dispersion screen is always at high temperature, if the puck remains in contact with it for a long time without extraction, it will be continuously heated, causing flavor compounds to dissipate at an accelerated rate. If the dose is large and the coffee grounds directly touch the dispersion screen, the puck may even get scorched, giving the espresso a pronounced burnt-bitterness. So Front Street suggests starting extraction immediately after locking the portafilter onto the group head, to avoid a great deal of unpleasant experiences.
8. Clean Promptly
After espresso extraction is complete, remember to flush hot water once more to clean the dispersion screen, preventing residue clinging to the dispersion screen from being scorched and imparting a pronounced burnt-bitterness to the next extraction.

The above content is compiled by CoffeeHunters, a coffee news website.


