







What Does Siphon Coffee Brewing Involve?
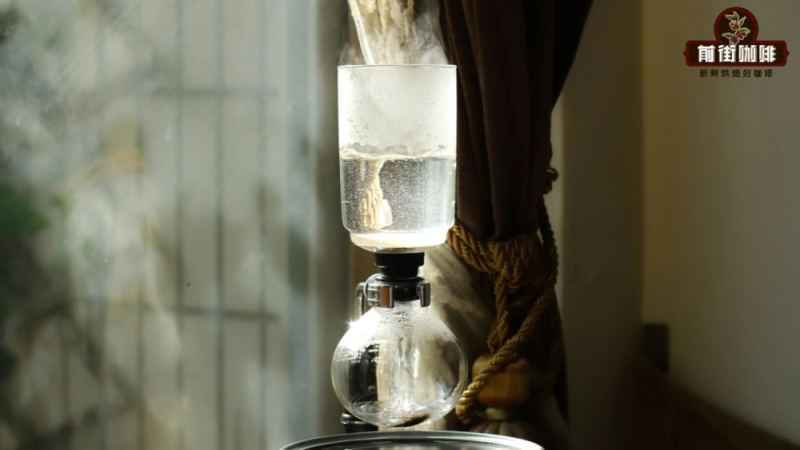
Siphon coffee brewing relies on three parts: an upper chamber, a spherical lower chamber and a stand. Heating the lower chamber builds steam pressure that pushes water upward to meet the grounds; removing the heat source pulls the coffee back down through a filter. Grind size, coffee-to-water ratio, grounds timing and heat source choice all shape the final cup.
Filter material is the other main decision. Flannel cloth is the traditional option and keeps more oils in the cup, but it takes more effort to use and clean. Round paper filters give a cleaner result by trapping fine particles and oils. Heat can come from an alcohol lamp, gas burner or halogen lamp, each changing how the water rises.
As a coffee brewing device full of retro charm, the siphon has long ceased to be the mainstay of coffee shop production, yet it still retains a loyal following. This article, from the perspective of Front Street, will systematically explain the siphon's structural principles, filter material selection, types of heat sources, timing of adding coffee grounds, grind size and coffee-to-water ratio, along with a complete set of operating steps. Whether you are a beginner just getting to know the siphon or an enthusiast looking to refine your technique, you will find practical reference here.
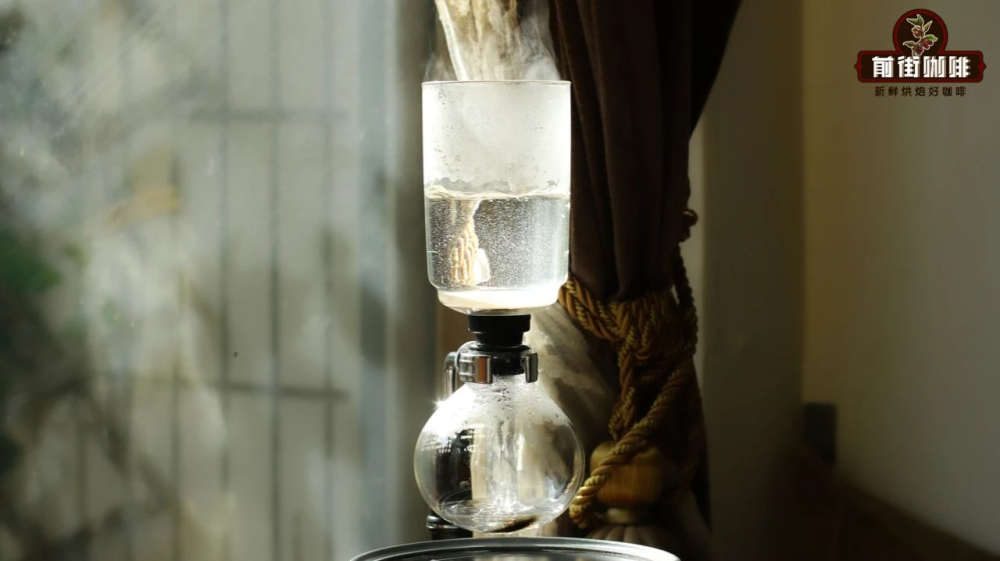
Looking at it today, the siphon qualifies as a coffee brewing tool with a strong sense of nostalgia. Nowadays, many cafés either no longer offer siphon coffee or treat it merely as a specialty item, not a main offering. But for those who love siphon coffee, if you can't get it outside, you just make it yourself. This Front Street article will try to explain everything about siphon coffee in as accessible a way as possible.
-The Structure of the Siphon
Viewed as a whole, the siphon consists of three main parts: the upper chamber, the lower chamber, and the stand. The stand is connected to the lower chamber, serving to secure and support it. The lower chamber is roughly spherical in shape, a design that allows for more even heating during the process. The upper chamber is cylindrical, with a narrowed bottom that extends into a slender tube, and a rubber gasket fitted at the narrowed point.
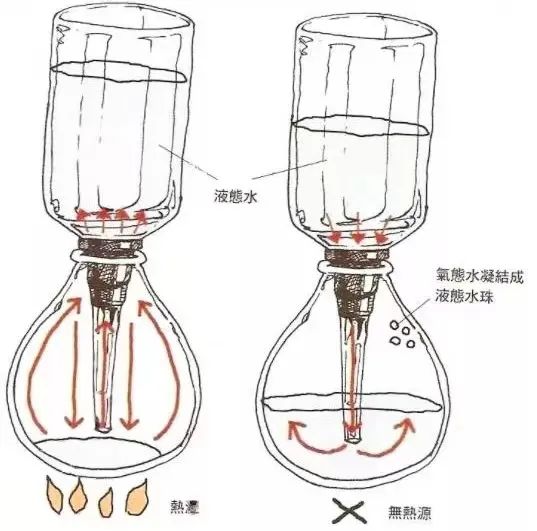
When the upper chamber is placed onto the lower chamber, the rubber gasket creates a seal. At this point, heating the lower chamber causes the water to produce steam, creating pressure inside the lower chamber that pushes the water up into the upper chamber. The upper chamber is precisely where the coffee grounds come into contact with the water. When the heat source is removed, the coffee liquid flows back down into the lower chamber, and the siphon brewing is complete.

-Choosing Between Cloth and Paper Filters
No one wants a mouthful of grounds when drinking coffee, so filter material is needed to intercept the coffee grounds. The most common choices are flannel cloth filters and round paper filters. Flannel is a more traditional siphon filter material; its advantage lies in preserving the oils in the coffee, while its drawback is that it is relatively cumbersome to use and clean.
Paper filters are a newer filter material, with the advantage of producing a cleaner filtration effect—even fine particles (including but not limited to oils) can be blocked. If you are just drinking it yourself and brewing infrequently, Front Street recommends choosing flannel, so you can experience the flavor profile of siphon coffee more fully.
-Types of Heat Sources
Currently, the three most commonly used heat sources are gas stoves, halogen lamps, and alcohol lamps. Both gas stoves and halogen lamps allow you to adjust the flame intensity, heat up quickly, and are stable—the only shortcoming is a slightly higher cost. The benefit of an alcohol lamp is that it is cheap, but the heat source is not stable enough, and the heating time is also longer.
Front Street believes that no matter which heat source you use, you can make good coffee—the key is to understand the characteristics of the heat source you are using and make corresponding adjustments. Of course, if conditions permit, still give priority to a gas stove or halogen lamp.
-Add Coffee Grounds First or Later
There are two different approaches when it comes to adding coffee grounds during siphon brewing. The traditionalist camp advocates adding the grounds first. The other camp believes that if you add the grounds first, the water will come into contact with some of the coffee grounds as it rises, causing some of the coffee to be "extracted prematurely," which may result in uneven extraction—so they insist on waiting until all the water has risen into the upper chamber before adding the grounds. This is somewhat similar to the debate in pour-over coffee between "start pouring then start the timer" versus "start pouring and timing simultaneously."
Front Street's suggestion is that beginners will be safer using the method of adding grounds later, as there are fewer uncertain factors than adding grounds first.
-Grind Size for Coffee Grounds
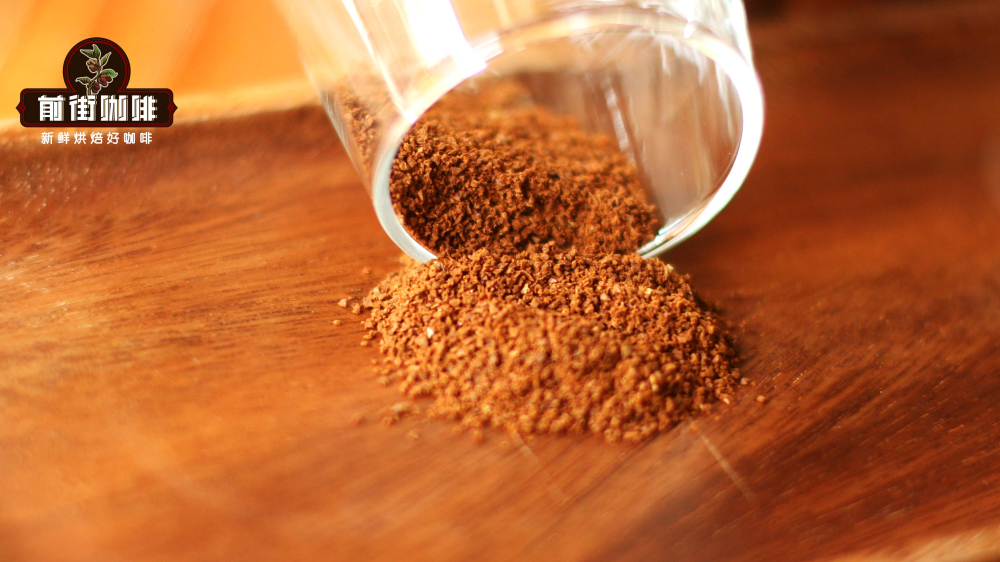
Siphon coffee requires a finer grind than pour-over. Based on Front Street's calculations, the grind size is approximately 90% passing through a No. 20 sieve. If using a shop-grade EK43s grinder, the corresponding setting is 9; if using a C40 hand grinder, the setting is 20.
-Coffee-to-Water Ratio
The coffee-to-water ratio for siphon coffee is typically controlled between 1:10 and 1:12, with 1:12 being used more frequently. If you are making a single serving at home, you can refer to Front Street's commonly used parameters: 18 grams of coffee grounds with 200 milliliters of water.
-Stirring Techniques
There are many different stirring methods, including the rotational stir, the cross stir, the Z-shaped stir, the infinity-symbol stir, and the tapping method, among others…
Front Street suggests that beginners start with the tapping technique, tapping the coffee grounds layer along the trajectory shown in the diagram below. The stirring rod uses the center as a pivot, with both ends moving back and forth in an offset manner.
There is not just one technique, but Front Street believes this method is relatively easy to control and has a low barrier to entry.
-Determining When to Stop
When should you turn off the heat for siphon coffee? Some people like to judge by smelling the coffee's aroma, but this is highly dependent on personal skill and difficult to describe clearly in words. Therefore, Front Street recommends that beginners use a timer. If you are adding grounds later, start timing from the moment you add the grounds; if you are adding grounds first, start timing from when you are about to move the stirring rod. The time to turn off the heat source should be controlled at around 50 to 70 seconds.
-Specific Operating Procedure
Using Front Street's usual brewing method as an example
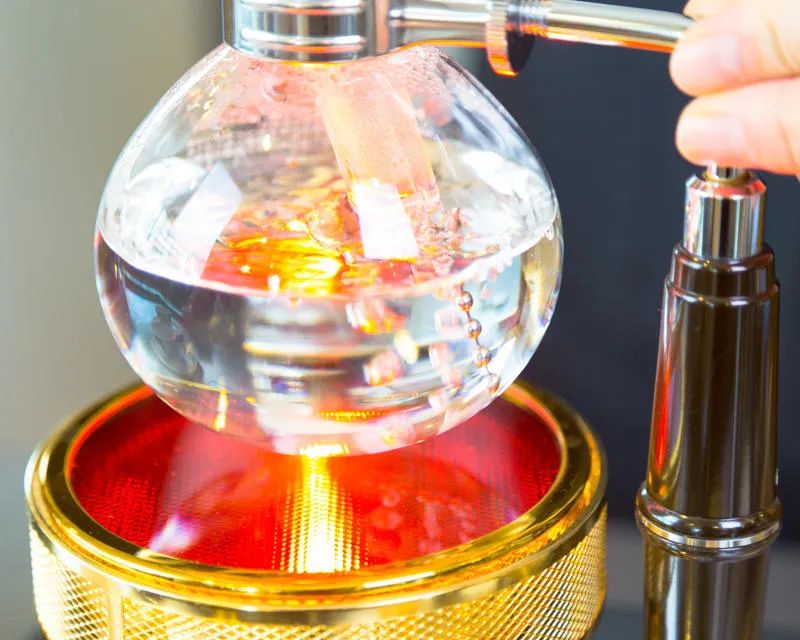
1. Pour in 200 milliliters of hot water, wipe the outside of the lower chamber dry, then turn on the heat source.
2. Insert the upper chamber into the lower chamber at an angle, making sure the anti-explosion bead touches the bottom of the lower chamber.
3. When continuous small water droplets appear in the lower chamber, straighten the upper chamber and press it firmly into place. Wait for the water in the lower chamber to be drawn up into the upper chamber.
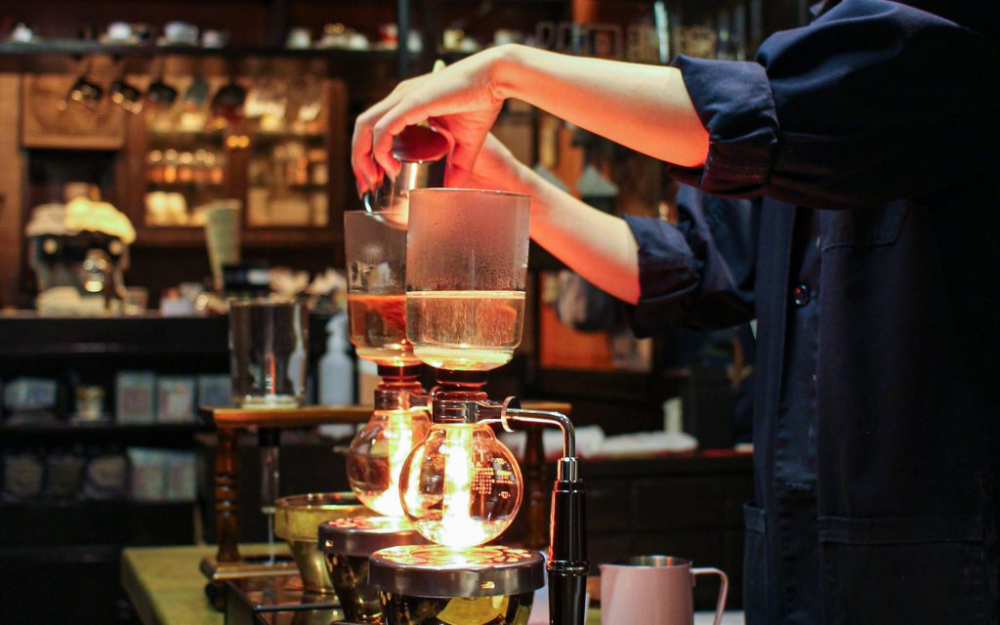
4. Add the coffee grounds and start timing. In the first stage, use the stirring rod to tap and press all the coffee grounds into the water so they absorb water evenly.
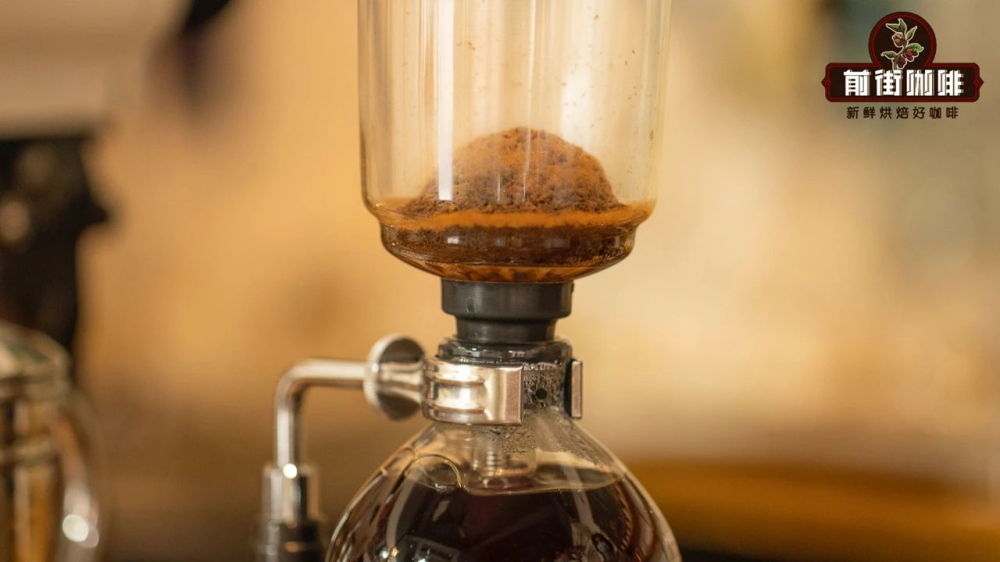
5. In the second stage, at 25 seconds, stir using the method recommended by Front Street, allowing the coffee to clearly show three distinct layers: coffee liquid, coffee grounds, and coffee foam.
6. In the third stage, at 50 seconds, stir in the same direction. At 60 seconds, remove the heat source and wait for the coffee liquid to flow back.
The siphon coffee brewed this way has an intense aroma. Although it is not as clear and clean as pour-over, the oils floating on the surface give the mouthfeel an extra richness.
In Front Street's view, compared with pour-over coffee, operating a siphon is noticeably more cumbersome. First, you need to prepare a heat source before brewing; you cannot be distracted during the entire extraction process; and after brewing, you must promptly clean up and wash the flannel used for filtering grounds. In a shop with high volume, using a siphon to produce coffee is only more laborious.
The above content is compiled by CoffeeHunters, a coffee news website.


