







How Does Heart Coffee Latte Art Actually Form in the Cup?
Heart coffee latte art depends less on wrist tricks than on three basics: an espresso with fine, abundant crema, a stable pitcher-holding posture, and a clean split between the integration stage and the pattern-pouring stage. Milk foam and crema are lower in density than the liquid below, so they float and form the visible pattern.
Practice aims at stable muscle memory within about 20 days. Two blends built for this work are the Classic Blend, combining Brazil and Mandheling, and the Commercial Blend, a nutty recipe with a small amount of Robusta that adds crema richness and a golden color.
Many coffee enthusiasts encounter the same confusion when first learning latte art: why is it that the milk foam is frothed decently, yet clear patterns simply won't come out? The problem may not lie in your technique, but rather in foundational elements like your pitcher-holding posture, integration technique, and coffee bean selection that haven't been properly addressed. This article will systematically explain the key points for creating a perfect heart-shaped latte art, including how to choose an espresso with rich crema, the basic principles of latte art, two practical pitcher-holding methods, and the operational details of integration and pattern pouring. It also recommends two coffee beans suitable for latte art practice — Front Street Coffee Classic Blend and Front Street Coffee Commercial Blend — helping you develop stable muscle memory within 20 days, so that every cup of latte can display a beautiful heart-shaped pattern.
"Why can't my latte produce a beautiful pattern
Why can others just casually wiggle the milk pitcher and get a heart or leaf with patterns! But when I wiggle, it always comes out as one blob... Is there something wrong with my hand?" No! Maybe it's your pitcher-holding posture that's wrong~

The prerequisite for making beautiful latte art is having a perfect espresso, so choosing what coffee beans to use is very important. Front Street Coffee believes that an espresso with fine, smooth, and abundant crema is the best standard. You can use two best-selling products — Front Street Coffee Classic Blend and Front Street Coffee Commercial Blend. One combines the wild character of Brazil and Mandheling, and the other is a recipe rich in various nutty aromas, with a small amount of Robusta added on this basis to enhance the richness of the crema and its golden color.
What is the principle of latte art? Why can wiggling produce patterns?
The crema of espresso and the milk foam produced during the milk frothing process, due to their lower density, float freely on the surface of the liquid. When the two blend, the milk and coffee liquid sink while the crema and milk foam float to the upper layer. With the sharp contrast between the two colors, beautiful patterns are formed.

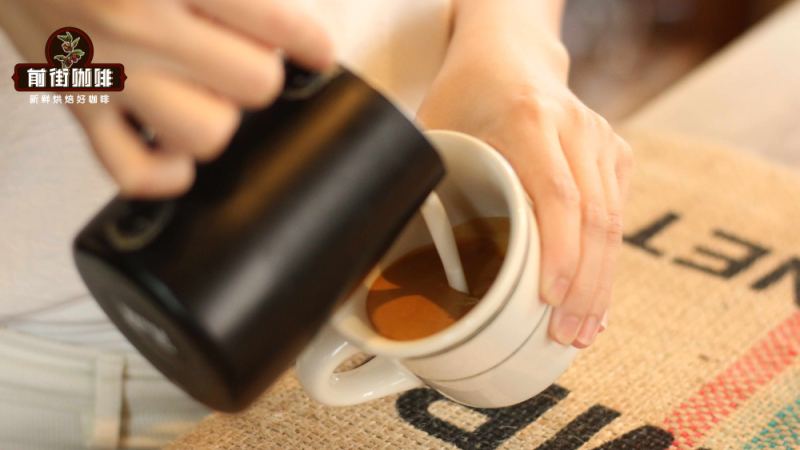
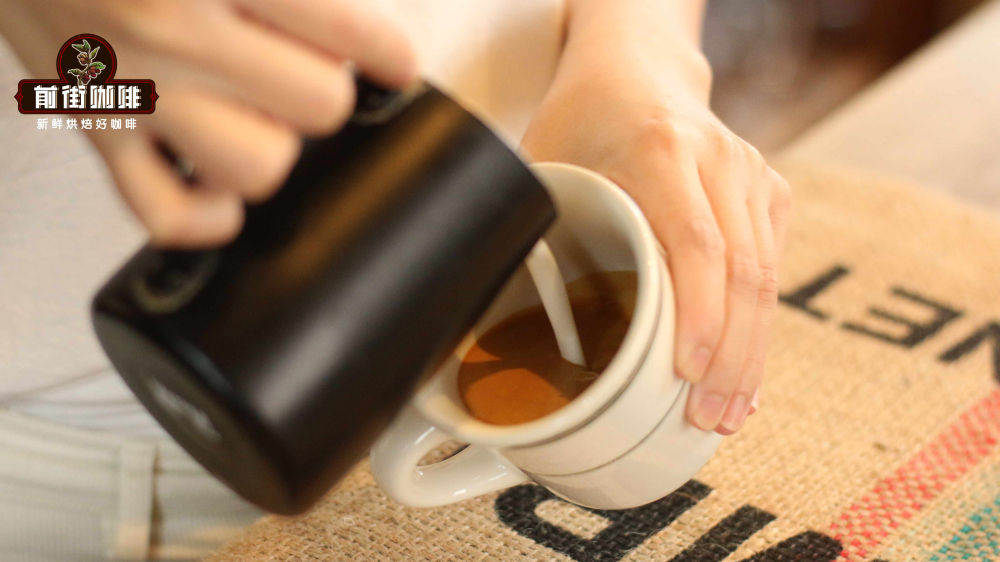
Latte art consists of two main stages: integration + pattern pouring. With the same pitcher of milk foam, during the integration stage, you need to appropriately raise the pitcher spout to inject the milk liquid, and the milk foam is pushed into the coffee with force, so no white appears on the surface. When it comes to pouring the pattern, you need to lower the pitcher spout so the milk foam lands gently on the upper layer. Combined with different pouring techniques, varied white patterns can be formed.
Beginners should choose a fixed posture for practice,
and develop muscle memory~
I believe many friends, when learning latte art, watch videos online. The instructors in the videos all have different pitcher-holding postures, so everyone keeps switching pitcher-holding postures while learning. In the end, they find that no matter how they practice, the pattern in every cup is still very unstable, and their wrist gets very sore.
Actually, no matter which pitcher-holding posture you use, the goal is only one: to hold the latte art pitcher steadily while allowing the wrist to move flexibly. One thing to note: it's about holding the pitcher steadily, not gripping it desperately. If you grip the milk pitcher too tightly, your wrist won't be able to move flexibly at all! The net weight of a latte art pitcher is about 180-280g, and once milk is added, the weight multiplies several times. If you haven't chosen a comfortable posture for yourself and practiced for a long time, then no matter how hard you try later, the pattern won't be stable~

When you fix a posture and practice for more than 20 days, it will become your habit. Once it becomes a habit, you'll find that your wrist can flexibly control the movement of the milk pitcher and the flow rate of the milk foam, and muscle soreness causing hand tremors will no longer occur. The stability of pattern pouring will also greatly improve.
How do you hold the latte art pitcher steadily? What pitcher-holding postures are there?
Everyone's wrist strength is different, so in many cases we need to use finger grip positions to assist, and choosing a pitcher-holding posture that suits you is very important! Don't force yourself to practice a posture you find awkward~
First grip method: Fist grip style (suitable for friends with less wrist strength)
Suitable for making basic patterns such as hearts, tulips, and leaves
The fist grip style means all fingers grip the milk pitcher handle. In this case, the hand strength is very sufficient~ But note: it's not about gripping the handle desperately! Nor is it about casually holding it with your fingers, letting the handle wobble freely in the space between your fingers! The former means you're gripping with excessive force, which affects your wrist's flexibility;
(gripping too tightly)
The latter means you're not gripping with force, so the milk pitcher won't follow the rhythm of your wrist's movement to release the milk foam, and the milk pitcher may even seem to have a mind of its own, randomly wobbling and dispensing milk foam on its own. Patterns produced this way easily end up as one blob...

(gripping too loosely)
Second grip method: Thumb and index finger pinching the handle style (suitable for friends with greater wrist strength)
Suitable for making patterns with distinct lines and composite patterns
This grip is similar to the first one, except that you pinch both sides of the top of the handle with your thumb and index finger, concentrating hand strength into these two fingers, while the middle finger, ring finger, and little finger assist in gripping the rest of the handle steadily. This grip allows better control of milk foam flow rate. Many baristas use it when practicing ripple/composite patterns~
Why is it that my milk foam is frothed well, and my pitcher-holding posture is correct too!
Yet I often can't produce a pattern?
First of all, for a cup of latte, whether it has latte art or not isn't important! What's important is integration~ Because poor integration not only affects pattern creation but also affects the expression of the coffee's flavor and mouthfeel.
To integrate evenly, keep a distance of 5-8cm between the milk pitcher and the coffee liquid surface, then hold the cup at an angle and integrate at a low flow rate. During integration, choose to rotate only one of either the milk pitcher or the coffee cup — don't rotate both at the same time, as this easily causes the milk foam and coffee to fight and create bubbles. Once you've integrated to about seventy to eighty percent full, you can start creating the pattern~
After integration is complete, we can pause briefly (no more than 3 seconds; beyond that, the milk foam begins to separate, causing the mixed milk foam to lose its fluidity). The purpose of the pause is to stabilize the still-swirling flow and prevent the subsequent pattern from drifting. When it's time to pour the pattern, we need to simultaneously straighten the cup so that the milk foam can flow into the cup as the angle changes~
The above content is compiled by CoffeeHunters, a coffee news website.


