








What Coffee Making Skills Make Latte Art Patterns Bigger?
A larger latte art pattern depends less on wrist speed than on two pour variables: the distance between the pitcher spout and the liquid surface, and the flow rate of the milk. Keep the spout close to the surface and pour at a steady, controlled rate, and the shape spreads wider instead of sinking or staying small.
The base matters just as much. Use an espresso with rich crema, such as a blend of Arabica and Robusta, and texture the foam so it is neither too thick nor too thin. Thick foam on coffee pours stiffly and blocks fine lines; thin foam shifts and leaves jagged edges, both of which limit pattern size.
Many friends who are just getting into latte art run into the same problem: the pattern won't come out big—either it doesn't appear at all, or it's pitifully small. Actually, latte art isn't about chasing exaggerated size, but a full, plump pattern really does have more expressive power. To solve this problem, you first need a proper espresso and well-textured milk foam, and second, you need to understand the two key factors that affect how the pattern turns out—the distance between the pitcher spout and the liquid surface, and the flow rate of the milk pour. In this article, Front Street Coffee also recommends classic blends and commercial blends suitable for latte art practice, helping you complete patterns more smoothly on a base with rich crema.

When it comes to latte art, although bigger isn't always better, a full and plump shape really does catch the eye more. That's why many coffee bloggers, when teaching latte art, not only repeatedly remind you to center the pattern, but also emphasize making it as big and full as possible.
Yet this is exactly the hurdle many beginners hit—no matter what, the pattern just won't come out big. At best the shape doesn't appear; at worst it's so small it looks "malnourished." Today Front Street is here to talk about exactly what factors keep latte art patterns from getting big, and how we can adjust and improve.
The basic prerequisites before latte art
Before you start pouring latte art, there's one thing you must make sure is in place: a cup of espresso in ideal condition and a properly textured milk foam. For latte art practice, it's best to choose an espresso bean with rich crema extraction. If you prefer a buttery cookie-like flavor, you can try Front Street Classic Blend, which combines beans from three origins—Brazil, Indonesia, and Vietnam—using a blend of Arabica and Robusta that maximizes crema performance; if you're after the style of a coffee shop's output, Front Street Commercial Blend is the top choice, with notes of roasted chestnut and dark chocolate.
If the milk foam you've textured doesn't meet latte art standards, then forget about controlling pattern size—even making a complete shape will be a struggle. For example, when the foam is too thick, overall fluidity is poor, making it hard to easily create fine lines; when the foam is too thin, fluidity is too high, and the pattern tends to shift during pouring or develop jagged edges.

So the first step in latte art is always learning to texture a proper milk foam. As for how to texture milk foam, you can head over to this article → "How to Texture Milk Foam?"~
Once you've mastered milk foam texturing, we can analyze why the pattern won't appear or won't get big. Ultimately, it comes down to two aspects: distance and flow rate.
1. Distance
Distance refers to how far the latte art pitcher spout is from the coffee surface. The reason milk foam can form lines on the coffee surface is that it floats on top of the coffee liquid, allowing the white lines to be visible. To achieve this, you need to bring the pitcher spout and the liquid surface as close together as possible.
Because once the distance is too great, the foam hits with strong impact force when it falls, and this force pushes the foam down into the coffee liquid, sinking below the crema where it simply can't show. Therefore, we should keep the pitcher spout as close to the liquid surface as possible, so the poured foam carries no impact force and can float on the surface.
During latte art, you can shorten the distance between the pitcher spout and the liquid surface by controlling two factors. The first is integration. Integration is the preparatory action before the actual latte art pour—stirring the milk into the coffee liquid so the two combine more thoroughly, while also raising the liquid level.
The more you integrate, the higher the liquid level, and the pitcher naturally doesn't need to tilt as much for the spout to get close to the surface. This is a practical little trick for narrowing the distance between the two. But if you're making a more complex pattern that requires reserving enough space for the design, you can't integrate too much—so you'll need the second method: controlling the amount of milk in the pitcher.

The less milk in the pitcher, the greater the angle the pitcher can tilt. As long as you keep the milk amount at the minimum needed to make one latte, the pitcher can achieve maximum tilt on that basis. We often see baristas in coffee shops using two pitchers—one large, one small. The small pitcher is used to texture the milk foam, and after texturing, it's poured into the large pitcher for latte art.
This approach takes advantage of each pitcher's strengths and combines them. The small pitcher's advantage is its small capacity—a small amount of milk is enough to reach the height needed to contact the steam wand, making texturing convenient; the large pitcher's advantage is its large capacity—the same small amount of milk makes up a low proportion in the large pitcher, allowing for more tilt during latte art.
2. Flow rate
Besides distance, another reason is insufficient flow rate. Flow rate here refers to the speed at which milk is poured during latte art. Many friends, due to lack of experience, don't dare to pour freely during latte art, worrying that too much flow will cause coffee to overflow the cup or fill it up all at once.
But as mentioned earlier, latte art patterns need milk foam to "sketch" them out. If the flow rate is too low during pouring, it's hard for the foam to come out, and the milk lacks the driving force to carry the pattern. The final result is either a pattern that shrinks into a tiny blob or one that doesn't appear at all.
This situation is actually simple to fix—just increase the flow rate during latte art on top of what you're already doing. Distance and flow rate are both indispensable, so we need to simultaneously bring the pitcher spout closer to the liquid surface and increase the milk pouring flow rate, ensuring the latte art pattern comes out full and powerful.
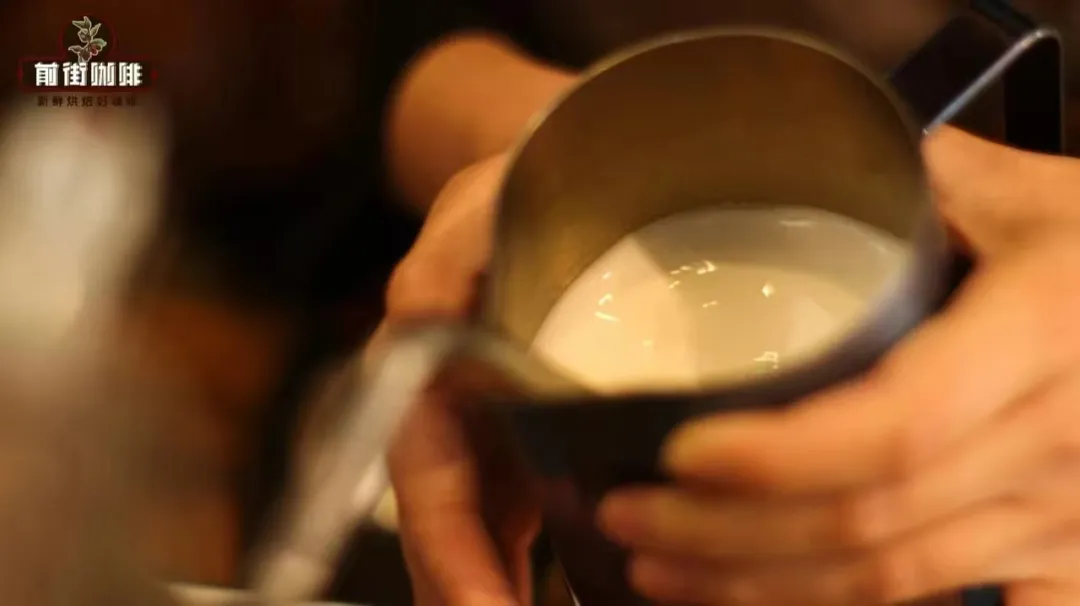
It should be noted that what Front Street is sharing here is only how to make patterns fuller, not how to create a beautiful latte art piece. To complete a beautiful latte art pattern requires far more skills than these—it mostly comes down to friends practicing diligently, since practice makes perfect.
The above content is compiled by CoffeeHunters, a coffee news website.


