








Want to make café-level heart latte art at home, but it always turns into a blob the moment you pour? The key actually lies in three things: the condition of the milk foam, the mixing technique, and how you hold the pitcher. Front Street Coffee has systematically put together everything from steam wand positioning and milk frothing temperature control, to mixing flow practice, pitcher grip, and efficient daily practice methods, to help you conquer the heart pattern step by step. There's no mysticism in this article—just practical details you can actually practice, suitable for beginners to follow along.
For more specialty coffee knowledge, please follow: Front Street Coffee (Frontsteet Coffee)
Many friends who are just getting into coffee are deeply fascinated by latte art. Watching others do it, it seems like a flick of the wrist can effortlessly draw a heart or a tulip—so easy.
But when it's your turn to try, things are completely different—why does the milk come out in lumps? Never mind rosettas or swans, you can't even make the most basic heart. Don't worry—Front Street Coffee is here today to walk you through some genuinely useful latte art tips.
1. The milk foam needs to be fluid
Before you start pouring latte art, you must first prepare a pitcher of milk foam in proper condition. For latte art, the foam should be medium in thickness—if it's too thick, it will just float on the surface of the coffee when poured into the cup and won't flow at all. So how do you create an ideal pitcher of milk foam?
| Where to position the steam wand
Generally speaking, with the pitcher spout as the 12 o'clock direction, the steam wand is usually placed at the 2-3 o'clock or 9-10 o'clock position. The reason for this arrangement is that when frothing milk, you need the steam to make the milk spin rapidly, forming a vortex, so that larger bubbles get folded into the milk, ultimately achieving a fine, silky texture.
Once the position is set, you also need to determine how deep to insert the steam wand. Deeper isn't necessarily better—after all, the essence of frothing milk is to inject air into the milk, and if the steam wand is too deep, the air can't make contact at all. Of course, too shallow won't work either—if it's too shallow, the milk will splash everywhere the moment you turn on the steam, or the steam will be too forceful and cause the frothing volume to spiral out of control.

Generally, inserting the steam wand about 1 cm can serve as a baseline. If your espresso machine has strong steam that creates too large a vortex or even turbulence, then insert the steam wand a bit deeper, say 1.5 cm; if the steam pressure is insufficient, then place it shallower, say 0.5 cm or even less. The goal is to get the milk to form a small vortex as quickly as possible, without spinning too aggressively or causing turbulence.
| The milk foam condition must be right
When frothing milk, you should be able to hear a "zi zi" sound. If you don't hear it, the steam wand may be inserted too deep—just lower the pitcher a little. If there's no sound at all, that means you're not in the frothing stage. Once the milk has expanded to about 80% full, move the steam wand diagonally to a position near the wall on the right side of the pitcher's center, letting the foam roll in a vortex—this will mix the foam and milk evenly and also help settle the bubbles.
| Temperature control
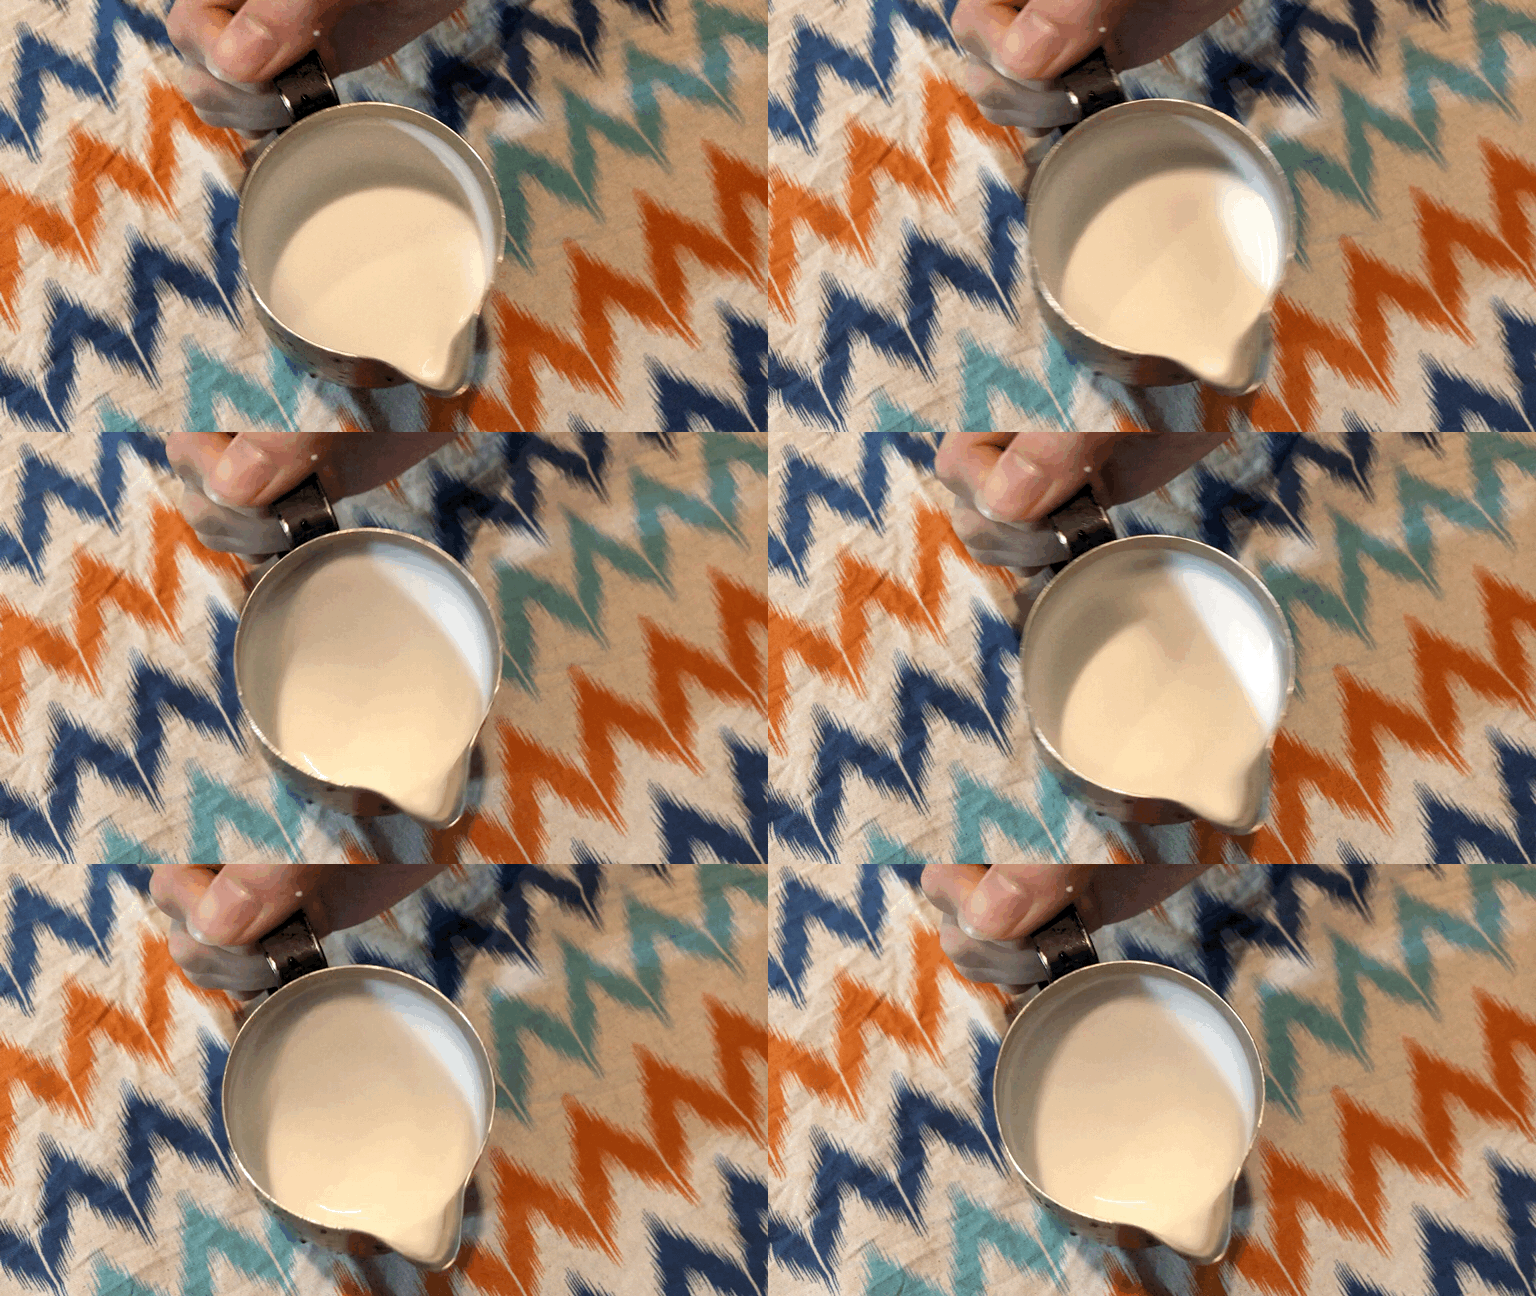
At the same time, be mindful that the milk shouldn't be too hot, and of course not too cold either. Generally, it's recommended to keep the temperature at 60-65°C. If the temperature is too high, first, it's easy to burn your hand; second, the milk foam becomes unstable, and the proteins in the milk will denature at high temperatures, which also compromises the taste.
2. Mixing
Before the actual latte art pouring, there's another very crucial step: mixing. Many people might think mixing isn't that important—isn't it just taking the milk foam and swirling it around a few times?
But mixing is actually laying the foundation for latte art. How well you mix directly affects the final taste of the cup. Mixing is usually done with a relatively thin stream of milk. After mixing, the surface of the milk coffee needs to be fluid. Additionally, the extent of your mixing is closely related to the thickness of the foam you've created—the thicker the foam, the less fluid it is, and the larger the mixing motion you'll need to ensure the surface of the milk coffee has enough fluidity.
Before practicing with milk, it's recommended to practice with water first. Try tilting the coffee cup at 45 degrees and pour into the cup while keeping the flow rate consistent. Start by pouring at a fixed point, then try pouring at a steady rate while moving high and low, and circular pouring, and finally combine the high-low motion with circular pouring, while slowly straightening the cup-holding hand. Remember, before you're ready to pour latte art, the stream of water must not break.
3. The posture for holding the pitcher and cup
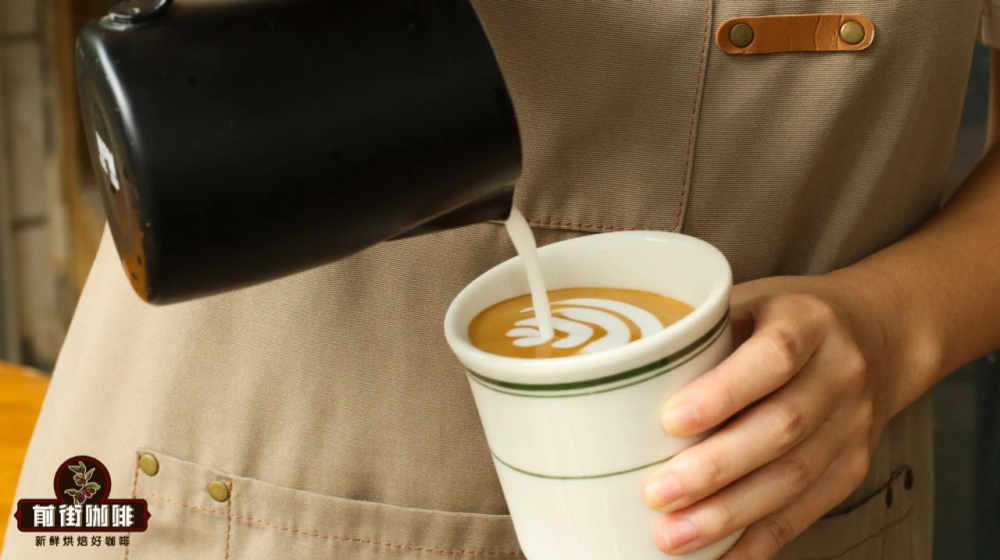
There's also technique involved in how you hold the cup during latte art. Do you hold it from the bottom, from the side, or by the handle? Whichever way, the most important thing is that it's comfortable for you and flexible—otherwise you'll feel awkward when making the pattern later. Generally, we hold the cup with the handle facing ourselves, so that when serving it to a guest, the pattern faces them directly.
During latte art, to keep the pitcher as close to the coffee surface as possible, the cup should be tilted appropriately. Otherwise, if the cup is too upright and the distance from the pitcher is too far, it becomes hard to control.
There are two common ways to hold the pitcher: one is gripping the pitcher's handle, the other is pinching the pitcher's handle. Gripping the handle allows you to use the strength of your wrist for larger swings, making the pattern more elaborate; pinching the handle lets you rely on subtle finger adjustments for a more delicate pattern.

One more thing: the pitcher's spout and the cup should maintain a perpendicular relationship, otherwise the pattern you make will easily lean to one side, asymmetrical left and right.
4. Practice!
After all these tips, it's all for nothing without practice. As the saying goes, talk is cheap. If you think practicing with milk costs too much, then use dish soap plus dark soy sauce as a substitute. After all, this is a skill that comes from familiarity—you can't improve just by thinking about it.
Of course, that doesn't mean you should just bury your head and practice endlessly. After each practice session, it's best to summarize the problems from the previous cup, then go back and start over. Only by being good at summarizing will you improve faster.
The above content is compiled by CoffeeHunters, a coffee news website.


