







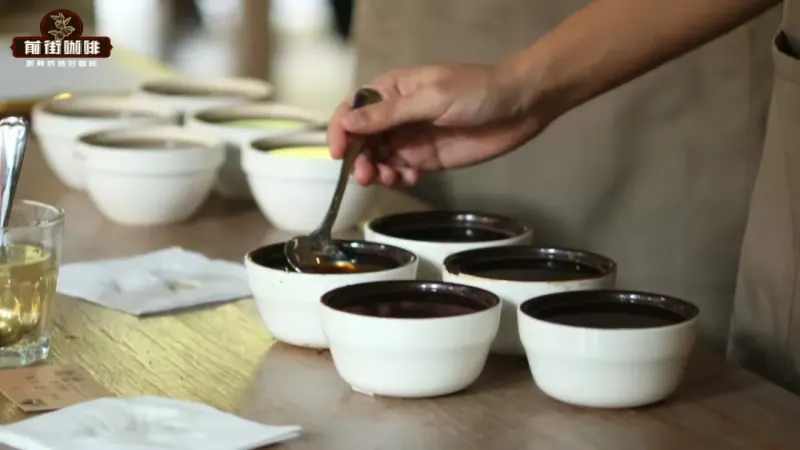
As a coffee evaluation method with minimal human intervention, cupping has now moved from a professional tool for green bean traders to a broader group of coffee enthusiasts. Organized by Front Street Coffee, this article systematically covers the equipment needed to host a cupping session at home or in a shop, the operational taboos that must be noted, and the complete steps from smelling dry aroma, pouring water and smelling wet aroma, breaking the crust and skimming, to tasting and scoring. The article also provides standardized extraction parameters, such as 11 to 12 grams of coffee grounds, a coffee-to-water ratio of 1:18.18, 94 degrees Celsius water temperature and a 4-minute steeping time, helping readers reduce variable interference during practice, more objectively experience a coffee's true flavor performance, and compare it with the taste of everyday pour-over.
For more specialty coffee knowledge, please follow: Front Street Coffee ( Frontsteet Coffee )
The emergence of cupping as an evaluation format was not particularly early; it was not officially born until the late twentieth century, making it appear quite young compared with other coffee extraction methods.
It was originally created simply to quickly judge commercial quality. However, as the industry developed, people gradually discovered that this method is least disturbed by human factors and can evaluate a coffee relatively objectively. As a result, the scope of cupping continued to expand, no longer limited to green bean traders and roasters; whether upstream or downstream in the industry chain, cupping is used to inspect coffee bean quality. Even world-class coffee competitions have specially established competitive events centered on cupping.
Why is Front Street suddenly talking about this topic? Because recently quite a few friends have come to the shop asking about the specific method of cupping; they also want to hold a cupping session at home or in a shop and try doing coffee evaluation. Therefore today Front Street will share in detail the cupping process and the matters needing attention. When you have time, you might as well try it yourself and feel how coffee tastes during cupping compared with what you usually brew.
Equipment to prepare for cupping
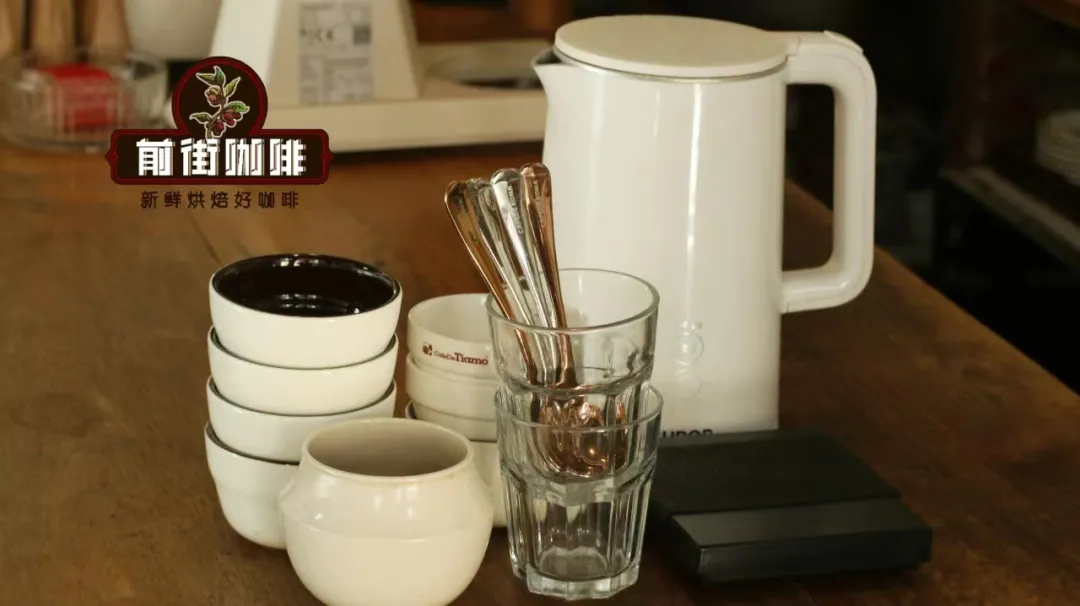
Front Street will first talk about the equipment needed for cupping. If you plan to hold cupping sessions over the long term or multiple times, you can choose to buy professional cupping bowls and cupping spoons, which makes the operation more convenient. If you just want a simple experience, any container and spoon can also manage.
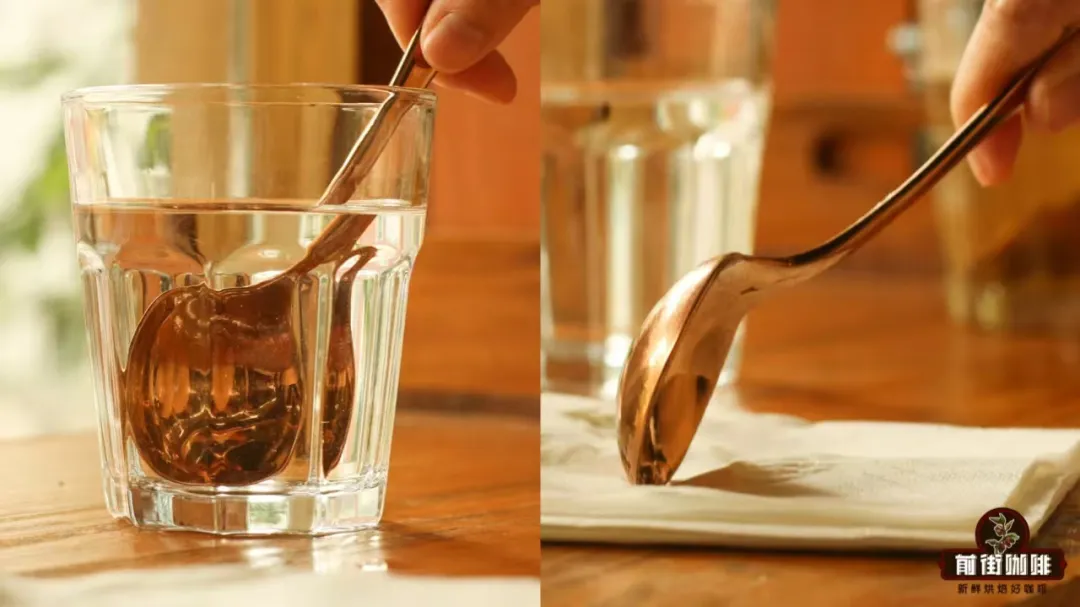
In addition to bowls and spoons, cupping also requires several cups of clean water and several paper towels. The clean water is used to rinse the spoon that has touched coffee, ensuring that residue in the spoon does not contaminate the next cup of coffee; the paper towels are used to blot dry the water remaining on the spoon after rinsing, avoiding water diluting the coffee.
(Do it like this ↓)
If cupping is conducted in an unfamiliar environment, Front Street highly recommends that each person bring an extra small cup, use a spoon to scoop the coffee into the small cup, and then drink, so as to avoid the cupping site turning into a large saliva-sharing session.
Finally, there is the cupping score sheet. The score sheets are divided into SCAA and COE types; everyone can find the corresponding form and print it for use according to need or preference.
Notes during cupping
①: During cupping, it is best not to wear perfume or apply strongly scented hand cream, as these will interfere with aroma judgment.
②: To avoid the introduction of subjective factors, cupping is best conducted blind.
③: Try not to express subjective opinions on the spot; the reason is the same as above, as it can easily influence others.
④: Be bolder and simply score according to your own feelings.
⑤: Cupping should preferably be carried out at least 8 hours after the coffee beans are roasted.

Cupping parameters
Unlike other extraction methods, cupping extraction parameters have unified standards; all cupping uses the following parameters:
Dose used: generally 11g~12g
Coffee-to-water ratio: 1:18.18
Grind level: 75% passing rate on a No. 20 sieve
Water temperature used: 94°C
Water quality used: TDS of 75~250ppm
Steeping time: 4 minutes
So without further ado, let us begin cupping.
1. Smell the dry aroma
After coffee beans are ground into powder, the aromatic substances originally locked inside the coffee begin to volatilize outward in large amounts. Therefore, what we need to do at this time is "smell the aroma."
However, because the total surface area of the coffee grounds increases, flavor substances volatilize faster, so we need to control the time as much as possible; it is best to finish the aroma-smelling stage within 10 minutes. During aroma smelling, you may encounter olfactory fatigue; at this time you can appropriately take a deep breath of your own body scent, eliminate the fatigue, and then continue smelling.
2. Pour water / smell the wet aroma
After smelling the dry aroma, you can begin pouring water. Pour 94°C hot water to the specified amount, then experience the coffee's wet aroma.
Note that from the moment the first cup is poured, the timer should be started, and when breaking the crust, it should be done in the order in which water was poured.
3. Break the crust
After four minutes, we need to begin breaking the crust. Breaking the crust requires a spoon; use the back of the spoon to draw three circles on the surface of the coffee liquid, with the purpose of causing the coffee grounds to gather somewhat.
4. Skim the grounds
After breaking the crust, take out another spoon, working with both spoons, and skim out the coffee residue floating on the surface. The best way to confirm whether skimming was successful is to observe whether there is residual foam on the surface. If there is, it means it was not skimmed cleanly enough. A small amount of foam has little effect, but if there is a lot of foam, another round of foam removal is needed, because foam carries a large amount of fine powder, which easily leads to a mouthful of coffee followed by a mouthful of grounds.
Note here that after each skimming, the spoon needs to be rinsed in clean water, and after rinsing, use a paper towel to blot the water dry, avoiding contamination of other coffee samples.
5. Tasting
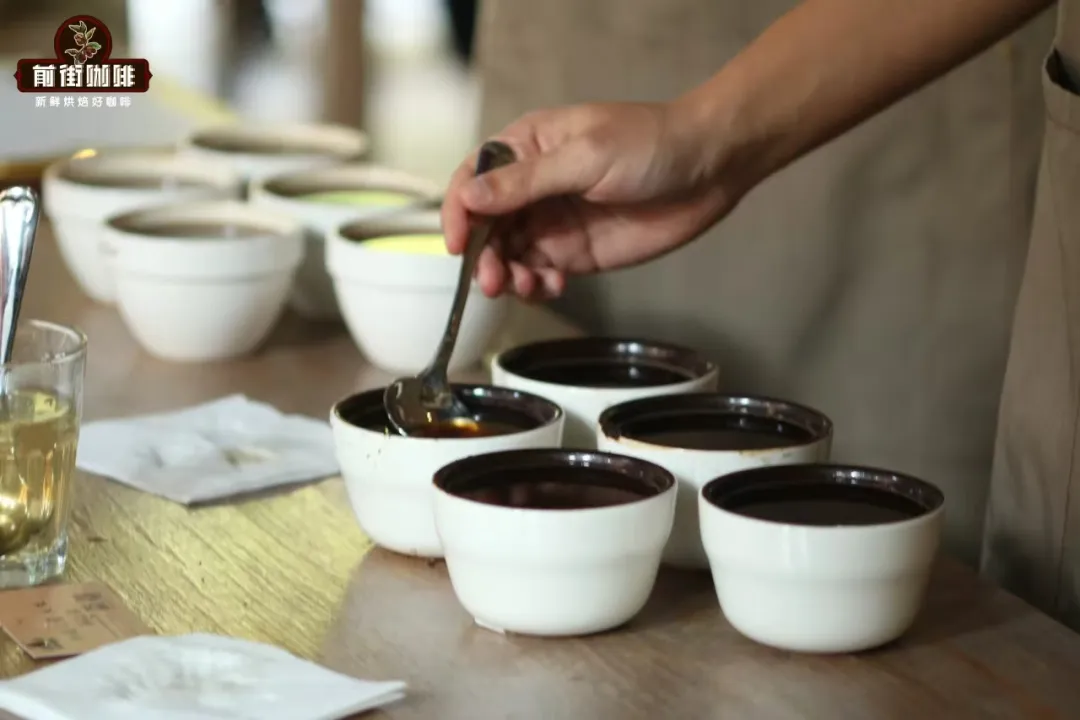
After skimming is completed, we can begin tasting. First use a spoon to scoop out the coffee liquid, observe the color of the coffee liquid, and then begin tasting. From high temperature to low temperature, try to experience each stage several times; either the regular drinking method or slurping can be used (during the high-temperature stage, it is best to slurp to avoid burning your mouth).
Likewise, after each time a spoon is used to scoop coffee, the spoon needs to undergo a rinsing process to avoid flavor carryover.
After tasting is finished, you can begin scoring, and then exchange views with one another. At this time, communication will no longer be influenced by others, and everyone can confidently express the feelings they just had during the cupping process.
The above content is compiled by CoffeeHunters, a coffee news website.


