








Many coffee enthusiasts step into the world of coffee precisely because of latte art, hoping that one day they can casually sketch out delicate and refined patterns. So how long does it actually take to master latte art? In fact, if you just want to make a good-looking shape, it can be achieved in as little as one day, or at most two or three days; if you want to challenge high-difficulty composite patterns, you need to understand the principles and pair that with practice. This article is compiled and shared by Front Street Coffee on the principles of pattern formation in latte art, the key techniques of incorporation and drawing, finishing considerations, and practice suggestions, while also reminding you of how cup diameter and bottom curvature affect drawing, to help you get started with latte art more smoothly.
For more specialty coffee knowledge, please follow: Front Street Coffee (Frontsteet Coffee)
Latte art has brought many people from other fields into the coffee world, with the goal of one day being able to casually draw delicate and refined latte art patterns. Then the question comes: to master latte art techniques, exactly how long does it take?
Honestly, latte art is not as complicated as imagined. If you just want to make a good-looking pattern, with good luck you can get the hang of it in one day; even with average luck, two or three days is about enough.
If the goal is high-difficulty composite patterns, then you need to first understand the relevant principles, then pair that with practice, and usually you can quickly produce the target pattern you want. Next, Front Street will talk about the principles of latte art, as well as some easily overlooked details, hoping to help everyone get started with latte art more smoothly. For milk foam steaming, please see "How to Steam Milk Foam."
The principles of pattern formation
Latte art mainly involves two actions: incorporation and drawing. The difference between the two lies in the height difference between the pitcher spout and the liquid surface when pouring the milk foam. When the latte art pitcher spout is relatively high above the liquid surface, the milk foam pours directly into the coffee and incorporates with it; this action is "incorporation."
When you pour the milk foam with the pitcher spout almost touching the liquid surface, the brown coffee surface will show different white stripes depending on the pouring force; this action is "drawing."
Usually we first incorporate the coffee and milk to half the cup volume before starting to draw: first, to let the milk and coffee combine better; second, after half a cup it is easier to create the pattern.
Incorporation techniques
Incorporation is not just casually swaying the milk foam a couple of times from high above. If you want the liquid surface after incorporation not to be as maddening as a white shirt stained with spots, you need to pay attention to the height during incorporation.

(The image shows a "white shirt stained with spots" liquid surface.)
A common incorporation method is: hold the cup with the left hand and the pitcher with the right hand, then offset the left and right hands by half a circle and make relative circular motions. The key is to control the height at around 5–10 centimeters, and pair it with slightly stronger up-and-down stirring, so messy and chaotic stripes are less likely to appear.
Drawing techniques
The most critical part is drawing. At this point the coffee in the cup has reached half capacity, and next comes drawing time. There are four key points in total; let Front Street explain them slowly.
Key point 1: When drawing, in addition to the right hand controlling the milk foam output, the left hand also needs to control the rotation of the coffee cup; this action is generally called "cup return."
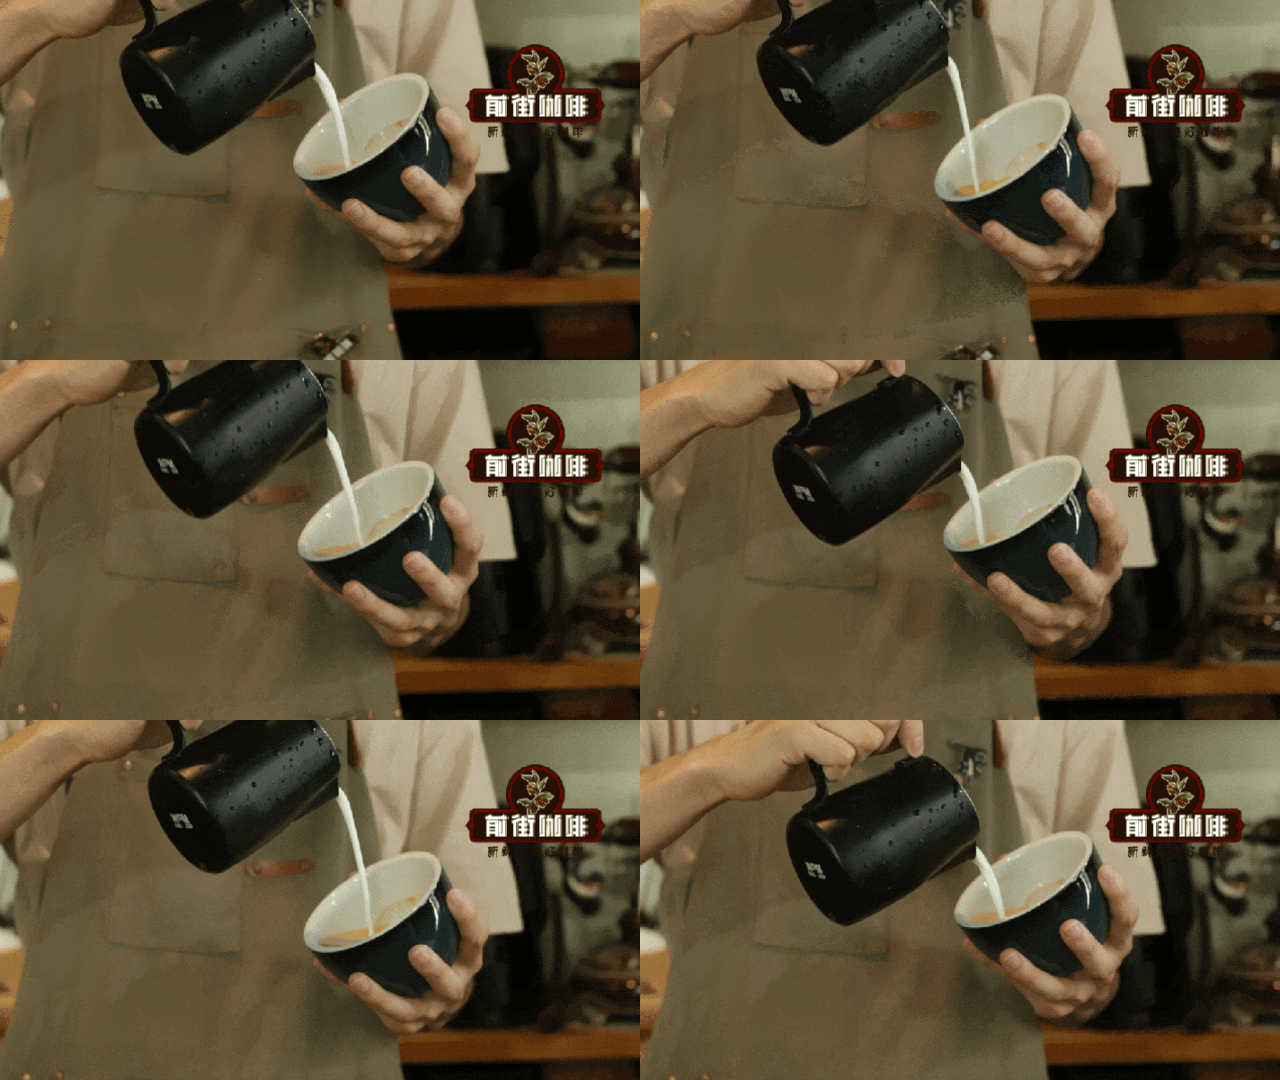
Cup return is very important: if you return too early, the pattern is hard to form; if you return too late, the coffee easily overflows. So the first thing to practice when drawing is the coordination of both hands at the same time—while the right hand pours milk foam, the left hand can perform an appropriate cup return according to the output.
Key point 2: The greater the force when pouring the milk foam, the more milk foam is poured in, and the latte art stripes formed with the swaying will tend to be thicker (this also happens if the milk foam is steamed too thick); the smaller the force, the easier it is for the poured milk foam, together with the swaying, to form clearly textured stripes on the liquid surface (when the milk foam thickness is appropriate, the stripes will be clearer).
Key point 3: Front Street Coffee believes that different patterns have different placement points. Under normal circumstances, the position of the latte art pattern you see will deviate somewhat from the placement point when drawing. For example, if the final position of a heart-shaped latte art is in the very center of the cup, then when drawing, the placement point should move a bit to the right of the center (toward the direction of the latte art pitcher), because the movement of the cup return plus the push flow of the milk will both change its final position.
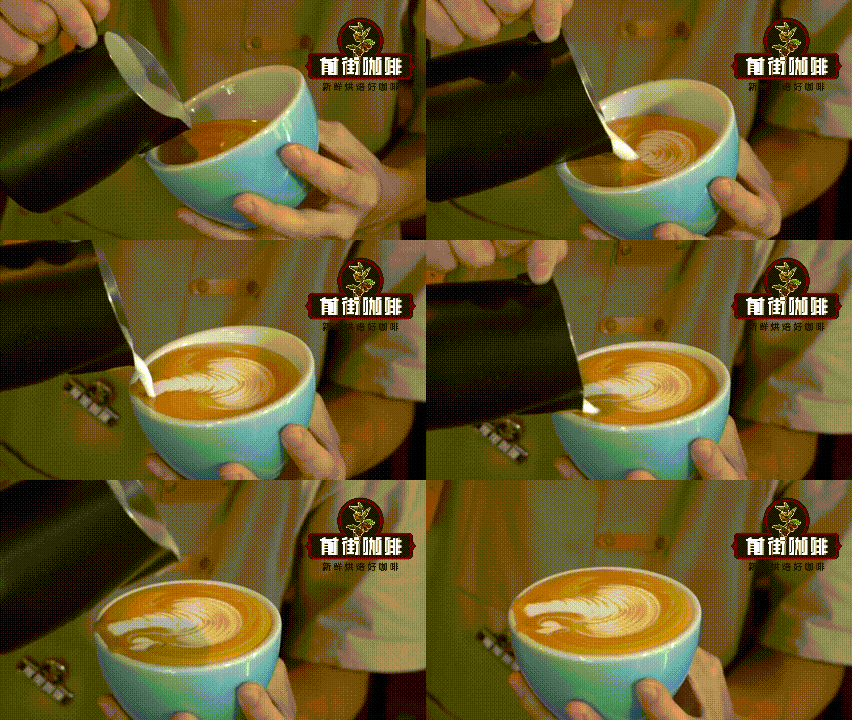
Key point 4: The finish is very important. A good finish is the finishing touch; a bad finish is gilding the lily. Even if the pattern was made very well earlier, if the height is not controlled well during the finish, the entire carefully laid-out pattern may collapse.
(The finish was not done well, causing the middle lines to be too thick and also making the whole pattern unbalanced left and right.)
So what Front Street wants to emphasize is: when finishing, pay attention to controlling the height of the latte art pitcher, and do not let the milk pitcher get too close to the liquid surface, so as to avoid leaving extra "strokes." There is also one more point: the finishing action should start at the latest when the cup is nine-tenths full, otherwise the coffee can easily overflow because there is too much volume.
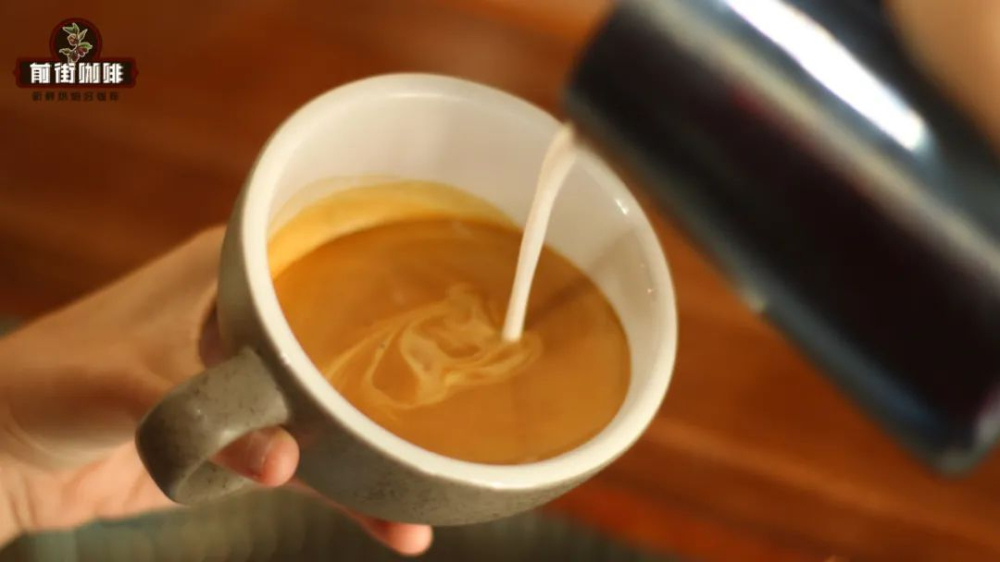
Latte art practice suggestions
Suggestion 1: This is what Front Street mainly mentions. When you first start latte art, you can first try 1–2 times with actual milk and coffee, to experience what it feels like to do latte art with "real weapons and live ammunition," and remember this resistance and feel; this will be very helpful for later practicing with dish soap and soy sauce. (If conditions allow, you can also keep practicing with real milk and real coffee.)
Suggestion 2: The core of practice is to train the muscle memory of both hands. Do not rush to pursue what pattern you can make; first practice well "the posture of holding the cup and gripping the pitcher, the incorporation technique, the cup return technique, and the details of pattern formation." Although boring, this is the most important part. After practicing for one to two days, you can master the latte art techniques for basic patterns.
Suggestion 3: Control practice time; do not practice continuously for a long time, otherwise it is easy to become rigid in thinking and fatigued, and the effect will instead be worse. Rest and adjust every twenty minutes, and recall which details in the practice just now need improvement; this way you will get the hang of it faster.
Suggestion 4: If you encounter something confusing, you can take a photo, then boldly private message Front Street in the backend or at the bottom of the article, and Front Street can give some suggestions.
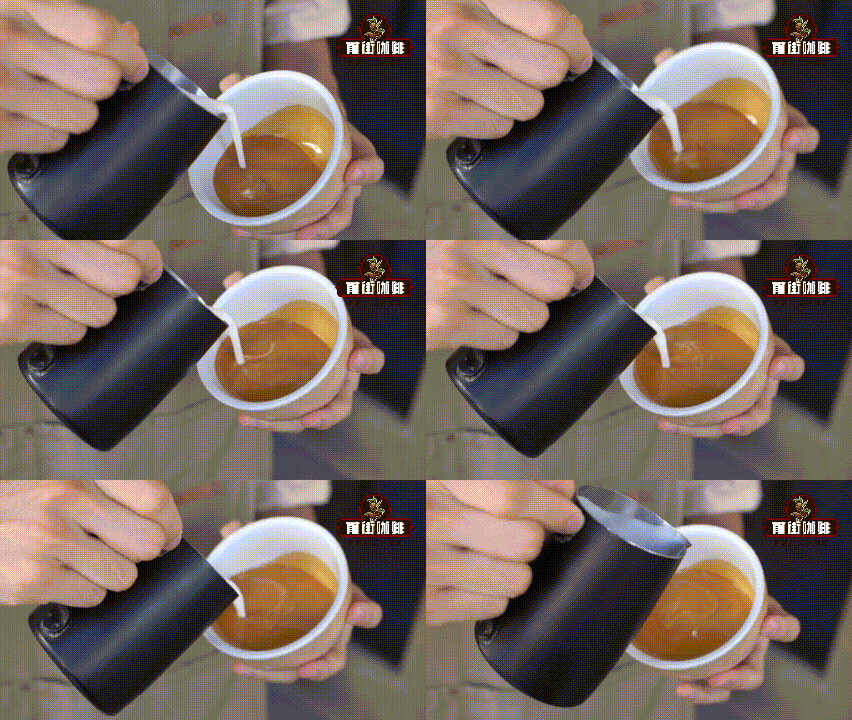
An inconspicuous little detail
When you have learned the basic patterns (heart, leaf, tulip) and are preparing to move toward composite patterns, you can observe the cup you are using. Many friends may actually already have latte art skills at a peak level (exaggerating), but are limited by the coffee cup, preventing them from unleashing their full strength.
The wider the cup diameter, the larger the range available for drawing; the smaller the diameter, the smaller the range available for drawing. And the more curved the cup bottom, the more thoroughly the poured milk incorporates with the coffee. Simply put: a cup with a large diameter and a curved bottom is more suitable for high-difficulty latte art drawing. Alright, go ahead and give it a try, and if there is anything you do not understand, ask Front Street through the backend.
The above content is compiled by CoffeeHunters, a coffee news website.


