







How to Steam Silky, Dense Milk Foam for Latte Art
Many coffee enthusiasts practice latte art and find their patterns never look right, even with correct pouring gestures. The problem often lies in the milk foam quality. A good latte art piece needs fine, dense milk foam with moderate fluidity. Front Street Coffee explains what qualities a milk foam suitable for latte art should have and how to optimize the steaming process by adjusting foaming time, milk temperature, and latte art timing.
Fine milk foam has better stability and will not quickly separate or dissipate during pouring, ensuring consistent pattern quality. High fluidity is equally crucial. Only with sufficient fluidity can the milk foam blend smoothly with the coffee, making the background cleaner and allowing clear lines during latte art. The more complex the pattern, the higher the demand for milk foam fluidity. But note that fluidity should be appropriately high, not excessive, as too much reduces stability.
Many coffee enthusiasts encounter a common confusion when practicing latte art: they have clearly mastered the gestures and techniques of latte art, yet the patterns never look quite right. The root of the problem often lies not in the technique, but in the quality of the milk foam. A good latte art piece depends on a fine, dense milk foam with moderate fluidity. In this article, Front Street Coffee shares in detail what qualities a milk foam suitable for latte art should have, and how to optimize the steaming process from three dimensions: foaming time, milk temperature, and latte art timing, helping you more easily create latte art patterns with distinct lines and a clean background.
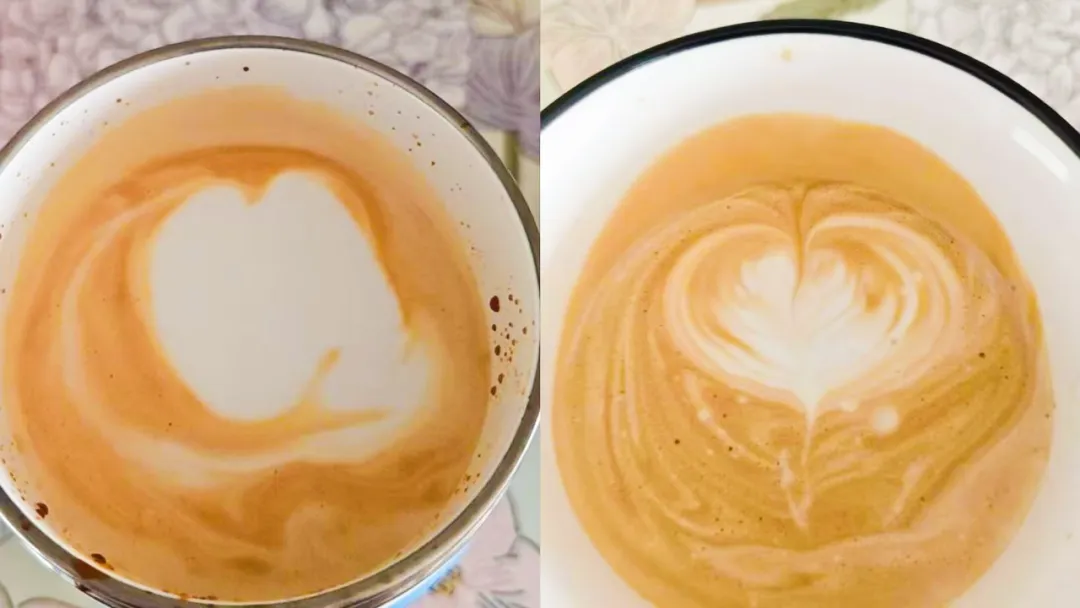
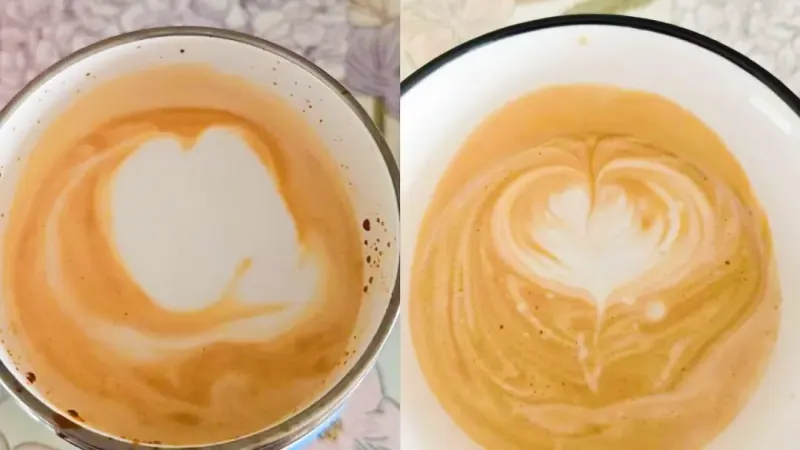
Setting aside other differences, just looking at the pattern presentation, the gap between these two cups of latte art is like night and day. And they were made within an extremely short time interval, almost consecutively, as if this friend suddenly became a highly talented latte art master.
Objectively speaking, such a dramatic contrast cannot rule out the possibility that some people are indeed born latte art prodigies, but more commonly, these friends have already mastered the techniques and drawing ability of latte art—they just have never been able to steam a qualified latte art milk foam, which is why they have been unable to produce ideal patterns. Precisely because of this, once they steam a high-quality latte art milk foam, they can effortlessly complete a beautiful latte art piece. Of course, there are also occasions when they get it right by chance.

.
However, it is certain that a high-quality milk foam can indeed make it easier for us to create beautiful latte art, which is also the consistent view of Front Street Coffee. "Fine and dense" and "high fluidity" are precisely the two major qualities that Front Street Coffee believes a milk foam suitable for latte art should possess. Fine milk foam has better stability and will not quickly separate or dissipate during the latte art process, effectively ensuring the quality of the latte art and helping us create beautiful patterns.

In addition, high fluidity of the milk foam is equally crucial. Only with a certain degree of fluidity can the milk foam blend more smoothly with the coffee, making the final background cleaner and allowing us to more easily sway out clear lines during latte art. The more complex the pattern you are making, the higher the demand for milk foam fluidity. But note that the fluidity should be appropriately high, not as high as possible. Excessive fluidity actually reduces stability during latte art, because when it flows too fast, the lines are easily lost control during the process, which places higher demands on the latte artist's skill proficiency.
So, if you want to quickly learn to create a beautiful latte art pattern, you first need to learn to steam a high-quality latte art milk foam. How can you steam a high-quality latte art milk foam? In "How to Steam Milk Foam?" , Front Street Coffee has already shared the milk foam steaming process, so the specific steaming steps will not be repeated here. In this article, Front Street Coffee mainly shares how to steam a milk foam suitable for latte art—a high-quality latte art milk foam that is both fine and fluid. It is actually not complicated; we can optimize the milk foam steaming from the following aspects. ① Control the foaming time: The length of foaming time determines the thickness of the milk foam. The longer the foaming, the thicker the milk foam; conversely, the thinner it is. Generally speaking, the milk foam thickness suitable for latte art, that is, the milk foam thickness of a latte, is about 1 cm. To achieve this thickness, you need to control the foaming time within a range that is neither too long nor too short (sounds a bit like stating the obvious...) .

Taking Front Street Coffee as an example, the coffee machine used by Front Street Coffee is a Lelit V3, and its steam strength is at a medium level. When steaming latte milk foam, the foaming duration is about 0.5 to 1 second. This is only a reference value; in actual operation, everyone needs to adjust according to the steam strength of their own coffee machine. The stronger the steam, the shorter the foaming time; the weaker the steam, the longer the foaming time should be extended accordingly. ② Control the milk temperature: Milk used for latte art is best refrigerated before use. The purpose is simple: to lower the initial temperature of the milk, so that during the steaming process you can get more ample texturing time, making the milk foam finer and denser, with higher stability.
③ Control the latte art timing: After steaming the milk foam, it is best to start latte art immediately and try not to let the milk foam sit for too long. Because if the milk foam sits too long, it will separate from the milk, and after separation the milk foam loses its fluidity and becomes completely unusable for latte art. Therefore, after steaming the milk foam, it is best to start the latte art operation within the shortest possible time.

Of course, if the optimal latte art timing is delayed due to some matters, causing the milk foam to have already separated, we can also recombine the milk foam and milk by shaking, pouring into another pitcher, etc., and then proceed with latte art. But after recombination, the milk foam will separate faster, so you need to start latte art even more quickly.
- END -
The above content is compiled by CoffeeHunters, a coffee news website.


