







How do you make froth for coffee with an electric milk frother?
Milk foam forms when air is injected into the surface of milk and the proteins and lipids wrap around those air bubbles. A tool that beats air into the milk to create bubbles, and then refines them into smaller ones, is enough to produce velvety foam at home without a fully automatic or semi-automatic espresso machine.
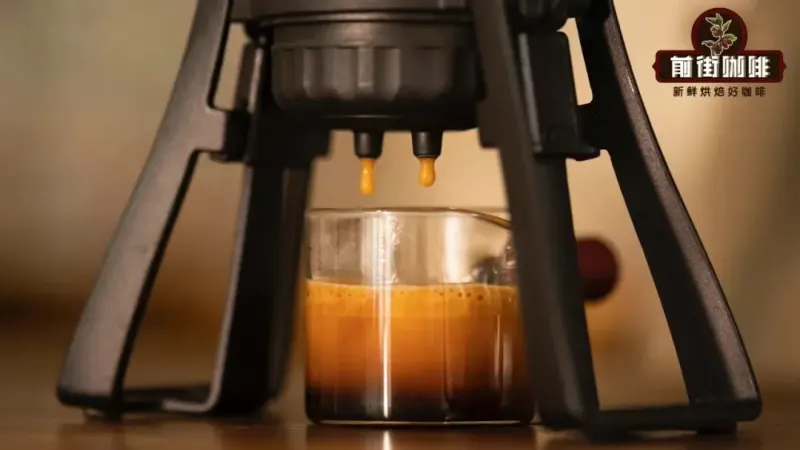
Hand presses and double-valve moka pots can extract strong coffee close to espresso, but they cannot steam milk the way a coffee machine does. An electric milk frother solves that step. If the foam turns out too thick or the surface looks rough, the milk has usually been over-aerated or heated too far; cappuccino milk is generally kept warm rather than boiling.
Nowadays, high-pressure extraction tools such as hand presses and double-valve moka pots are emerging one after another. Even without an expensive fully automatic or semi-automatic coffee machine, you can still make a cup of strong coffee at home that is close to espresso in flavor. However, these devices cannot directly provide milk foam like a coffee machine can. If you want a "latte" or "cappuccino" with a velvety texture, you will need to find another way. In this article, Front Street will guide you through the principles of milk foam formation, teach you step by step how to make milk foam at home with an electric milk frother, answer common questions such as what to do when the milk foam is too thick or the surface is rough, and finally discuss the optimal temperature of milk for cappuccino.
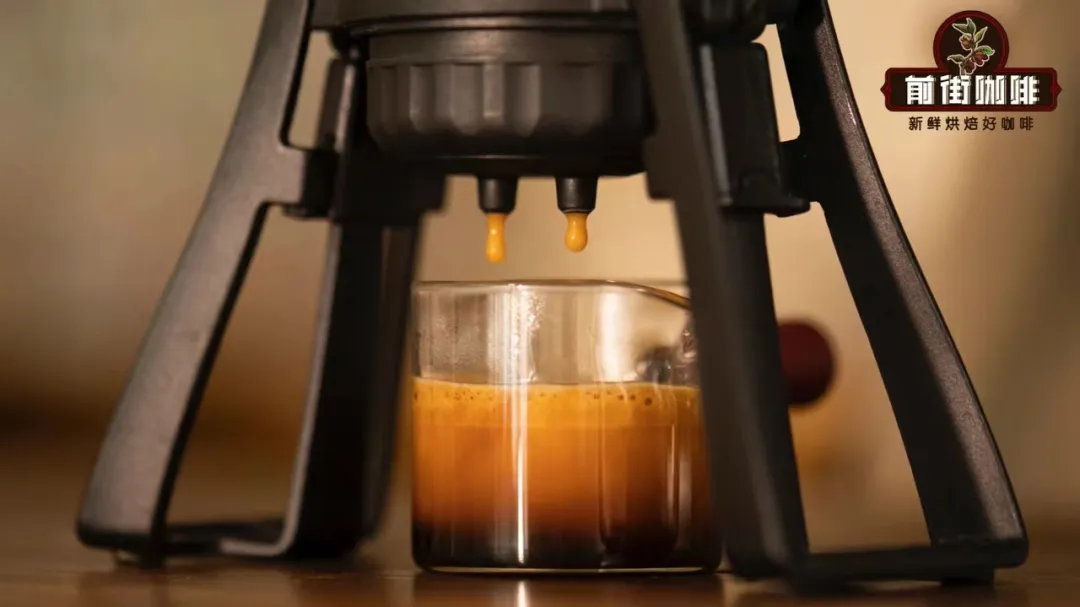
Nowadays, high-pressure extraction tools such as hand presses and double-valve moka pots are constantly emerging. Expensive fully automatic or semi-automatic coffee machines are no longer the only way to make coffee at home, because these tools can also extract strong coffee similar to espresso. As long as you use this strong coffee instead of an espresso base to make fancy coffee, the final result will also be quite close to high quality. However, there are some steps that these devices cannot achieve like a coffee machine can, such as frothing milk foam. If you want a "latte" or "cappuccino" with velvety milk foam, these devices fall short. This also leaves many friends puzzled: you can make coffee and heat milk, but how exactly do you make milk foam?
Very good. Next, Front Street will share how to make a serving of milk with milk foam at home. But before we start, we need to first understand how milk foam is formed.
The principle of milk foam formation
Actually, the principle of milk foam formation is very simple. As the name suggests, milk foam is bubbles made from milk. Inject air into the surface of the milk so that the proteins and lipids in the milk wrap around the air, creating countless bubbles. Then, through a series of operations, these larger bubbles are refined, and finally we get the velvety milk foam we are familiar with. So, as long as you find a tool to beat air into the milk to form bubbles, and then find a way to make them fine, you can obtain a serving of milk with velvety milk foam! Making "latte" and "cappuccino" (quotation marks are added because what is made is not strictly a latte) is no problem at all!
How do you froth milk foam?
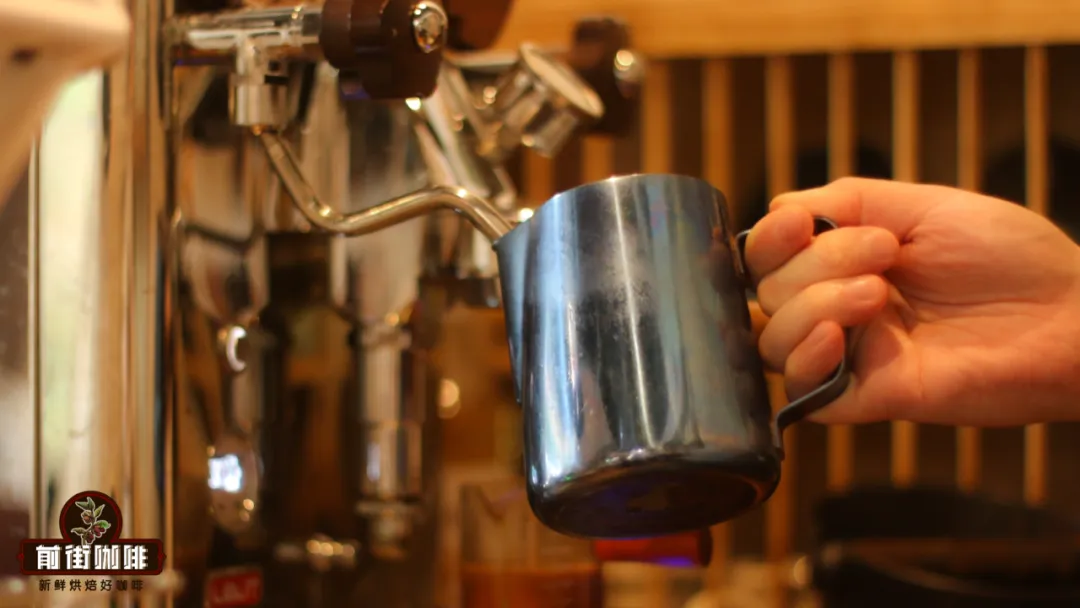
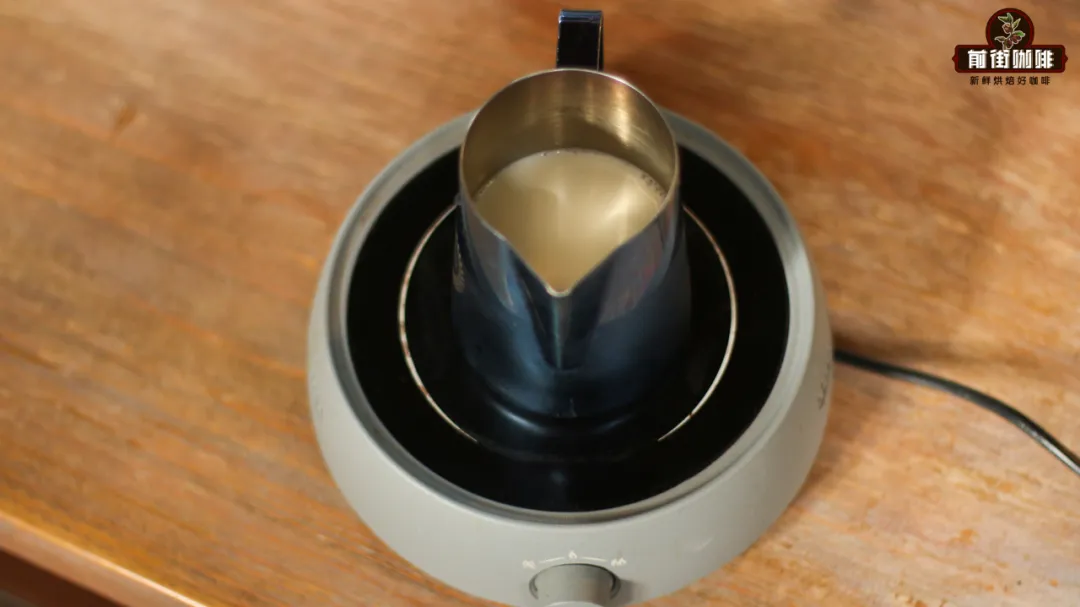
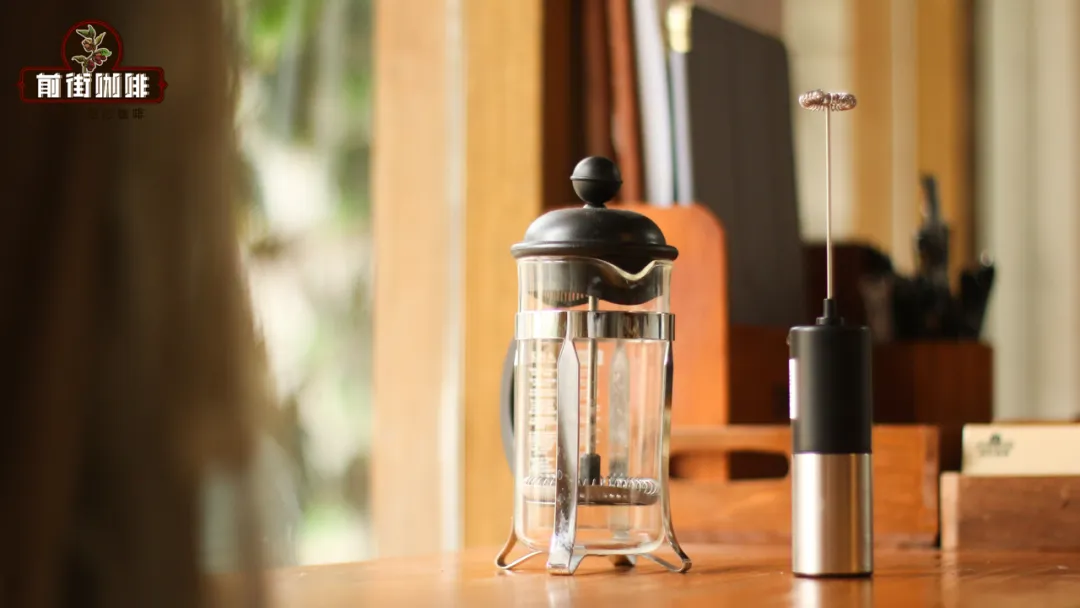
Before frothing, you still need to heat the milk first. Any heat source will do. First heat the milk to between 60°C and 70°C to bring out the sweetness of the lactose, and then froth the milk foam. Currently, tools more suitable for frothing milk foam include: automatic frothers, and French presses (which can be considered all-purpose)! The two frothing methods are different, but both can give the milk a layer of velvety milk foam. Next, Front Street will share the method for frothing milk foam. (This time we will mainly talk about electric frothers. For the French press frothing method, you can refer to the article "How to Froth Milk with a French Press?" ~)
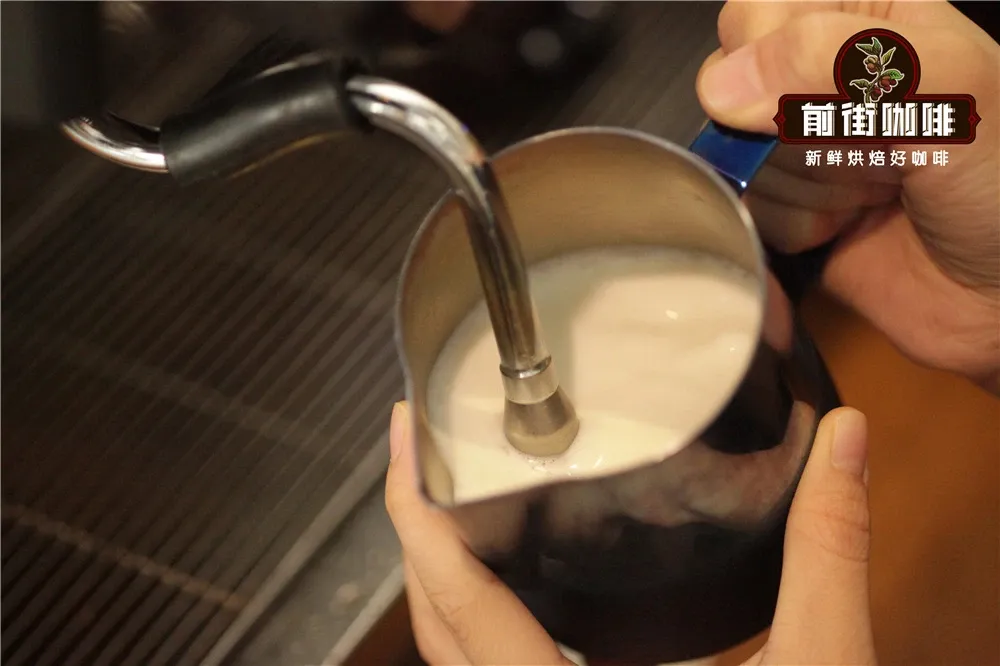
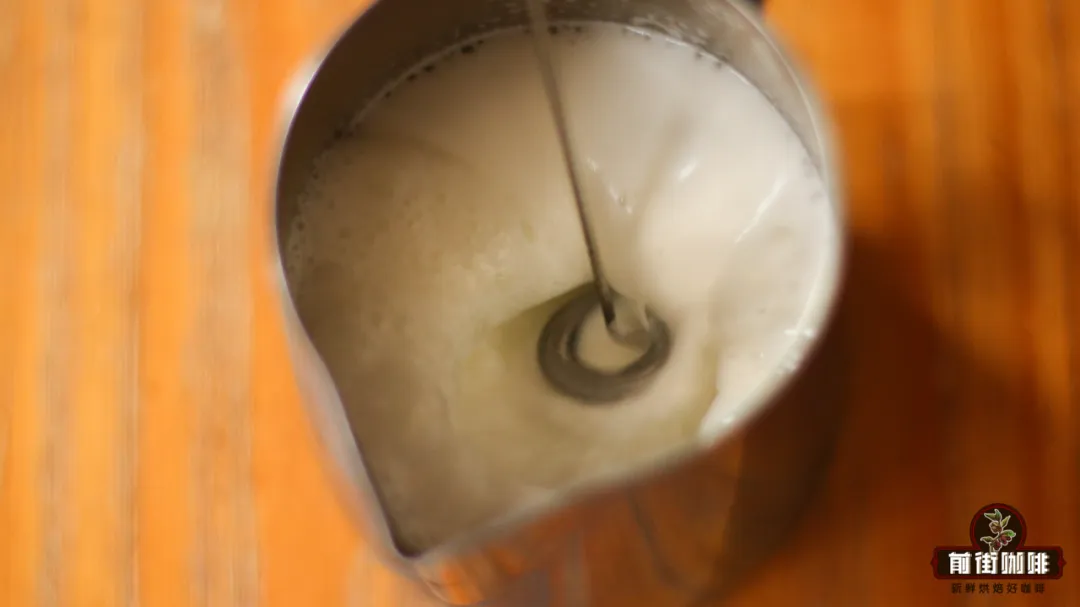
First, we need to aerate, that is, inject air into the milk to form large bubbles. The specific operation is: submerge half of the whisk head into the milk and leave the other half exposed above the surface of the milk, then start the machine, and the whisk head will roll air into the milk to form bubbles. If the frother has adjustable speed, Front Street recommends using a lower speed during the aeration stage, as this allows better control over the thickness of the milk foam.
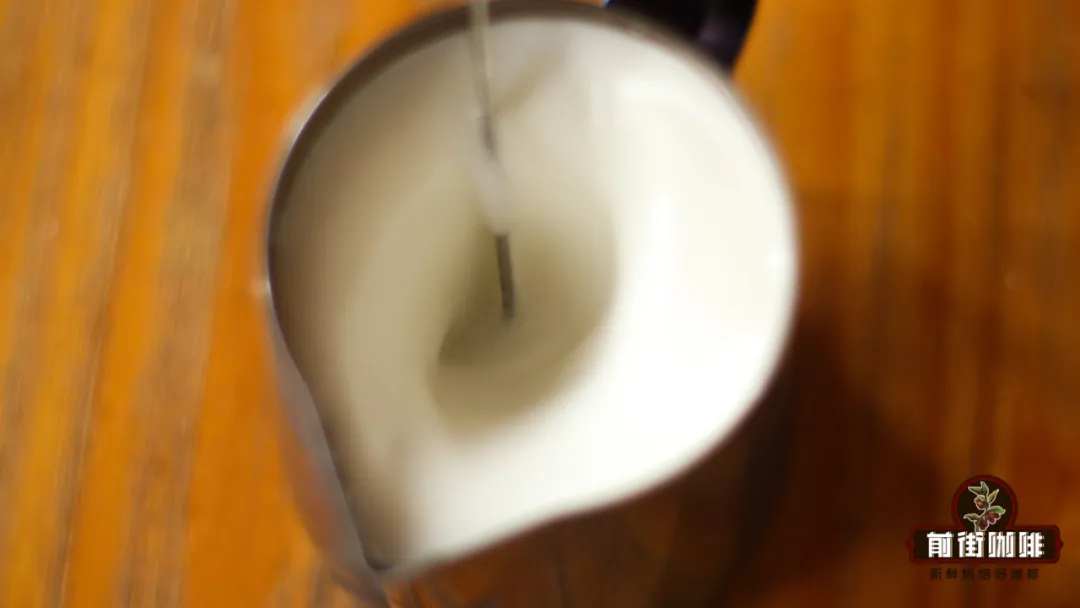
Next is texturing and incorporating, and this step is very important. It cuts the large bubbles produced during frothing into countless tiny bubbles, while also allowing the milk foam to blend more fully with the milk, making the texture smoother. So what we need to do is submerge the entire section of the whisk head that was exposed above the air surface into the milk, so that the milk can form a vortex in the pitcher, drawing large bubbles in and breaking them into small bubbles.
When there are no longer large bubbles on the surface of the milk, you can increase the mixing speed to help finish the milk foam. Until the liquid surface is very smooth, you can stop mixing and declare frothing complete. Finally, all you need to do is incorporate the milk foam with the coffee, and you will have a "latte"/"cappuccino" with a velvety texture!
Precautions
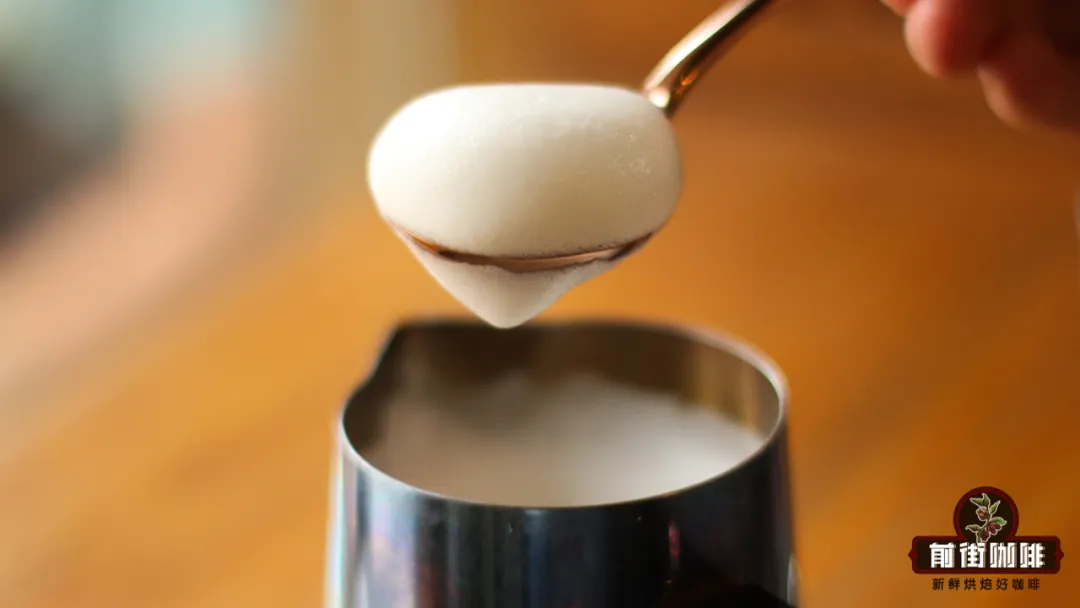
Many times, the thickness of the frothed milk foam does not meet expectations. When this happens, we can use a spoon to remove part of the milk foam to achieve the ideal thickness of milk foam!
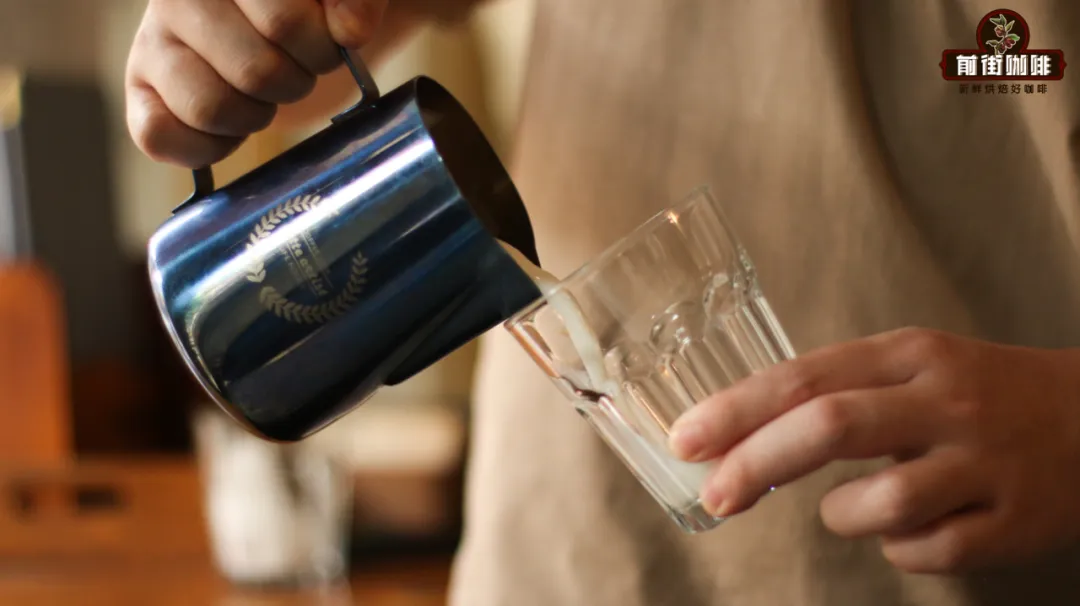
After frothing is completed, you may also encounter a situation where the milk foam is not smooth and is rather rough! At this time, the best way to deal with it is to prepare an extra cup. By pouring the milk foam back and forth, the rough large bubbles are eliminated, and the milk foam will gradually become smooth, giving it a better texture!
- END -
The above content is compiled by CoffeeHunters, a coffee news website.


