







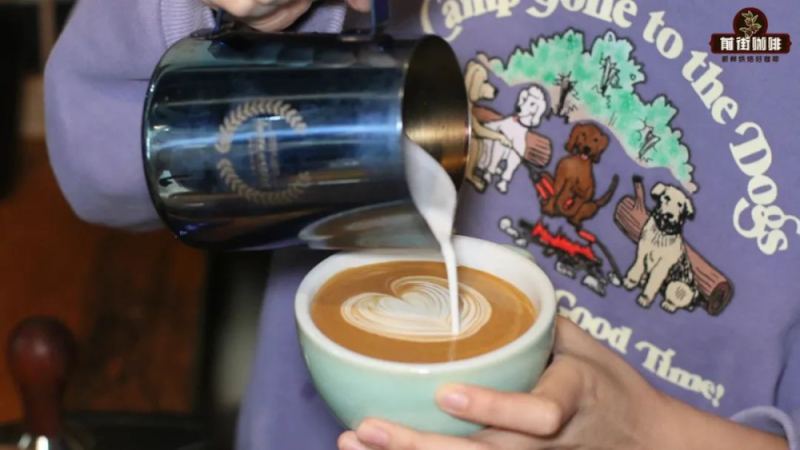
How Can a Coffee Enthusiast Master the Etching Pen?
An etching needle handles the fine lines and small details a latte art pitcher cannot. Most models have two heads: a pen tip for outlining narrow, small-area lines and a spoon end for larger patterns. Cheap versions cost a few yuan, while pricier ones reach around a hundred yuan, with the difference coming down to design and materials.
A coffee enthusiast must also prepare extra "paint" for the pen, control how much is picked up, and adjust speed to avoid lines that are too thick, too thin, or prone to fogging. The tool can be used alongside a pitcher, to draw patterns from scratch, or to fix a botched pour, which is why it is often called a latte art cheat code.
While a latte art pitcher can handle most patterns, it often falls short when it comes to fine lines and detailed touches. That's when a capable assistant comes in—the etching needle. Coffee enthusiasts have jokingly called it a latte art "cheat code," and its capabilities are indeed impressive, but actually getting the hang of it is far from simple: lines too thick or too thin, patterns bleeding or fogging up, and failing to draw at all are just some of the common problems. Drawing from Front Street's practical experience, this article will systematically explain the types and structure of etching needles, how to use them, and key points to keep in mind—including how to prepare extra "paint," how much to pick up, how to control line thickness, and how to speed up your drawing—to help you truly master this little tool and make your latte art more refined.
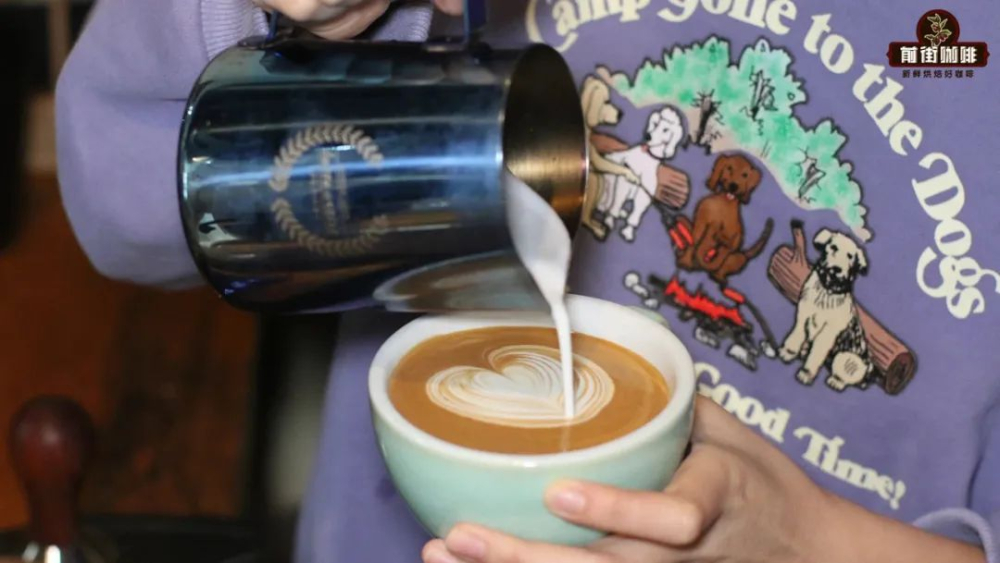
However, not all fine details can be handled with just a latte art pitcher. That's where an auxiliary latte art tool comes in—the "etching needle." Because it's so practical, it was once dubbed a "cheat code." But the etching needle, which looks easy to use, is actually not simple to operate. Being unable to draw, or drawing lines that are too thick, too thin, or prone to fogging—these are all common struggles. Today, Front Street will discuss how to properly use this latte art tool.
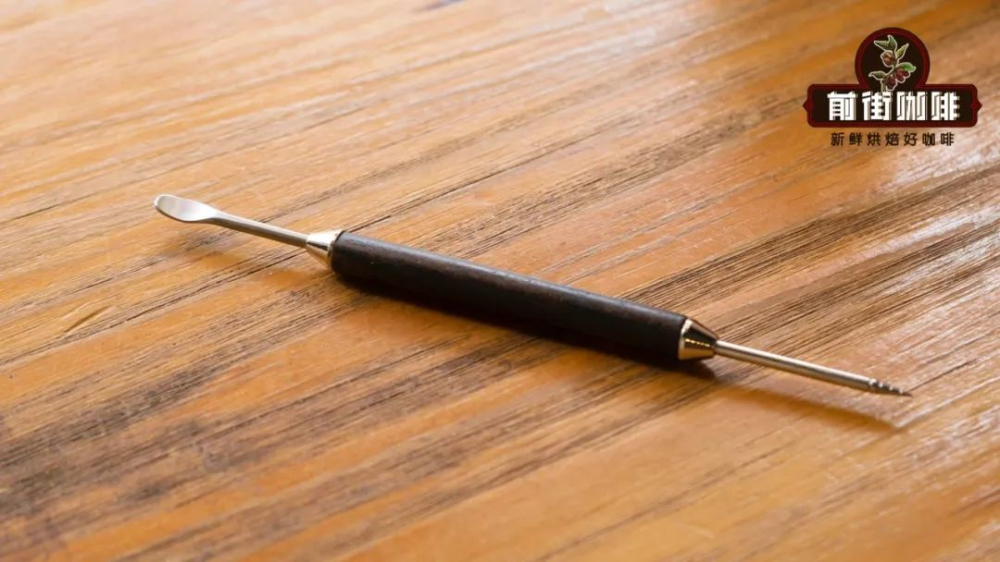
Etching Needle There are quite a few types of etching needles, and prices vary by type. Cheap ones may cost just a few yuan, while expensive ones can reach around a hundred yuan—still within an acceptable range overall. The differences between them mainly come down to overall design and the materials used. The one Front Street currently uses is a relatively common and traditional style of etching needle.
Regardless of price, etching needles typically have two completely different "heads." One end is pen-tip shaped, and the other is spoon-shaped. The pen tip is suitable for outlining fine, small-area lines, while the spoon end is suited for drawing larger patterns. Using the Etching Needle The etching needle is extremely versatile—it can be used alongside a latte art pitcher, or you can draw patterns entirely from scratch.
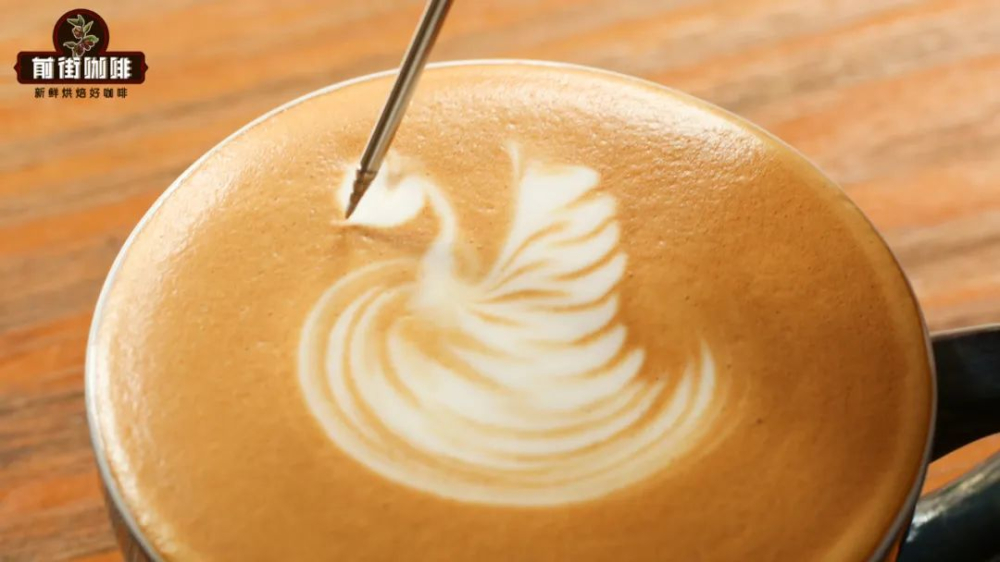
(This is a demonstration!) Beyond that, it can also be used to fix mistakes from a botched pour. For example, in yesterday's swan latte art article, Front Street mentioned a situation: during pouring, you might not have enough milk to finish the tail properly. When that happens, you can use the pen tip of the etching needle to fill in the missing part.
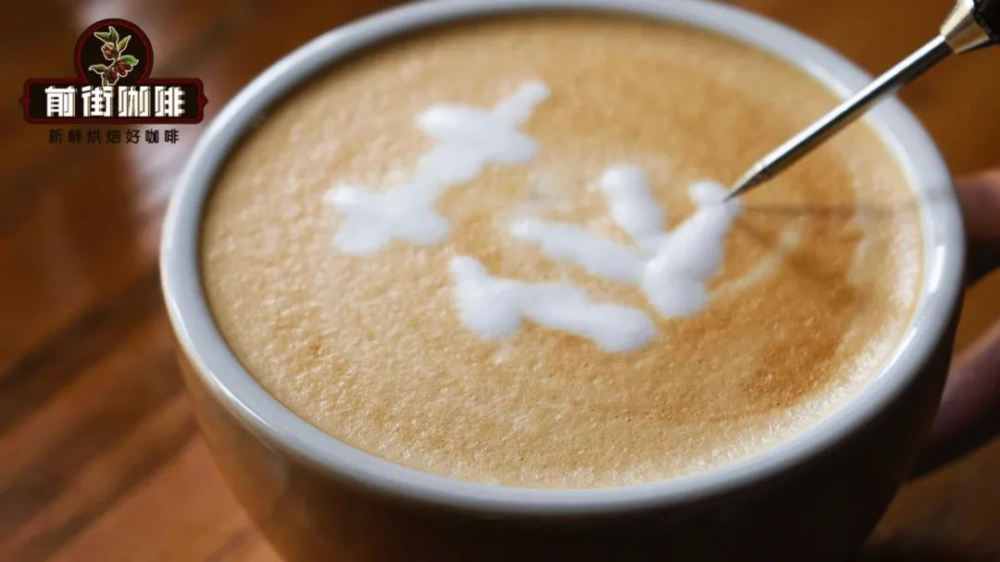
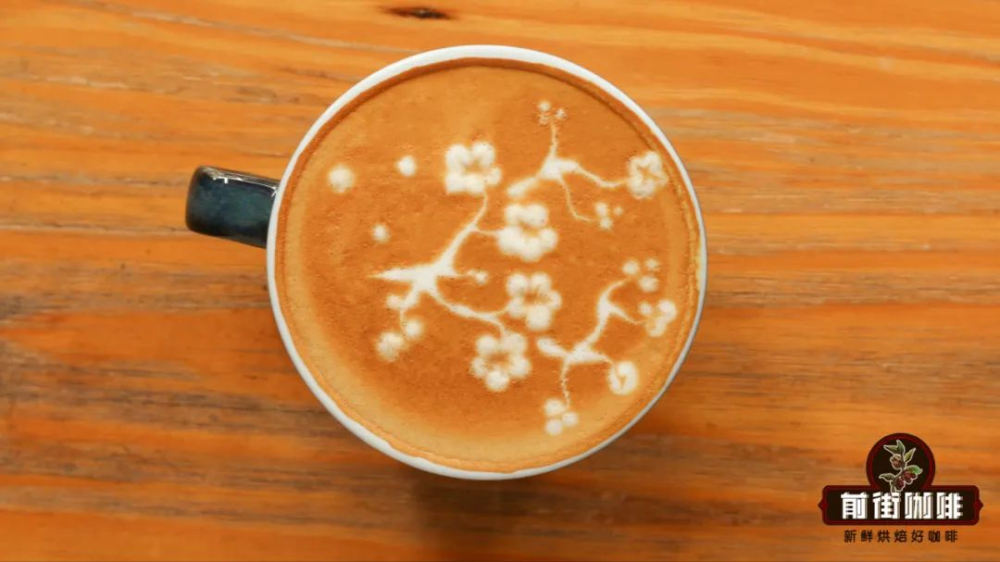
Next, Front Street will share a few details worth paying attention to when using an etching needle. Details to Note When Using an Etching Needle 1. Prepare Extra "Paint" If you think of the etching needle as a paintbrush, then the crema and milk foam are its paint. Many people are used to picking up color directly from the already-integrated surface of the coffee—which certainly works. But if you swipe too hard while picking up color, it will leave a mark on this "canvas" that's very hard to fix, and the final image will suffer overall. (Like this ↓)
To improve this, you can approach it from two angles. First, steam more milk and keep it on the side as backup. This is a common practice among many baristas when etching. However, this only works for the white paint—that is, milk. Crema still has to be taken from the surface; you can't exactly pull another shot just for that. So when you need to pick up crema, take it from the edge of the surface, which minimizes the impact on the design.
2. How Much "Paint" to Pick Up Many people who create with an etching needle have probably encountered this: you've clearly picked up milk or crema, but it won't draw; even if you manage to draw with force, it quickly fogs up and bleeds. The reason is that when picking up "paint," you only got the top layer of bubbles. These bubbles are too light and can't produce the desired effect. So what we need to pick up is not just the milk foam and crema, but also the liquid beneath the bubbles. That way, you can more smoothly draw the lines and patterns you want.
3. Controlling Line Thickness When you first start drawing lines with the tip, it's often hard to gauge thickness—sometimes too thick, sometimes too thin. There are two main reasons for this: first, picking up too much or too little "paint"; second, inserting the etching needle too deep or too shallow while drawing. Take a close look at the tip of the etching needle—most tips have four grooves. These grooves aren't just for holding milk foam; they also serve as a reference for line thickness. The very tip is the thinnest, and the further back you go, the thicker it gets. To draw thread-like lines, use the very tip; to draw larger patterns like eyes or outlines, use the part after the second groove. (Insert the tip deeper)
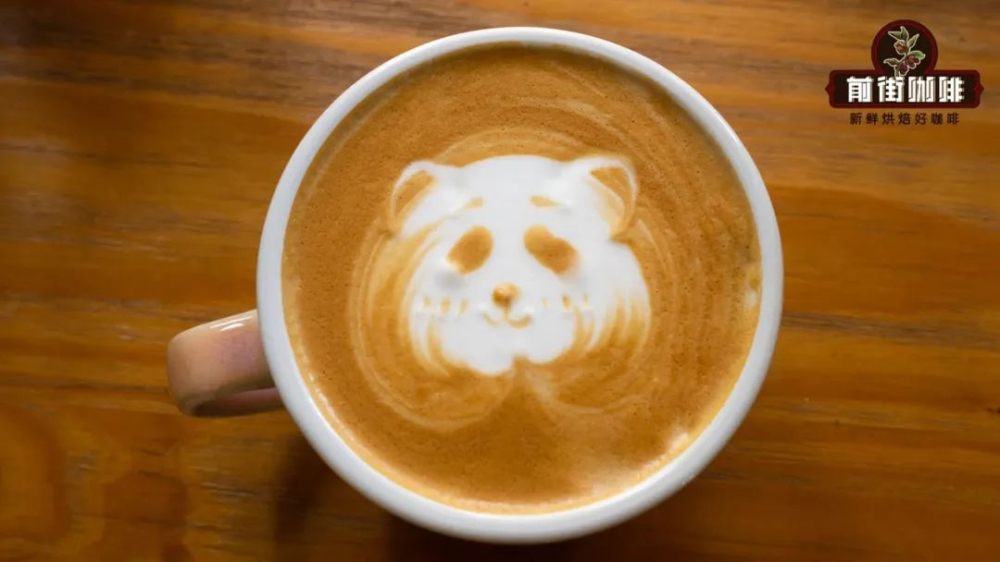
4. Speed Up Your Drawing Compared to using a latte art pitcher, drawing patterns with an etching needle takes several times longer. This easily cools the coffee and causes the milk foam to deflate, affecting both the mouthfeel and causing the flavors to dissipate. So we should try to minimize drawing time. Before making coffee, you can practice the steps with pen and paper first, and once you're proficient, then do it for real. This way, you can ensure the pattern looks good and still enjoy a delicious cup of coffee. (Surely no one noticed Front Street's cover is Photoshopped
)
- END - Front Street Coffee
No. 10, Baoqian Street, Yandun Road, Dongshankou, Yuexiu District, Guangzhou, Guangdong Province
The above content is compiled by CoffeeHunters, a coffee news website.


