







What Happens During the Coffee Roasting Process?
Learning to roast coffee starts with the equipment and the vocabulary. Home cooks already own tools that can roast beans, including cast iron pans, microwaves and popcorn machines, but these tend to heat beans unevenly and produce underdeveloped or burnt batches. Professional roasters exist mainly to spread heat evenly across every bean, which is why direct-fire, semi-direct-fire and hot-air machines are the usual starting point.
Once the gear is settled, the roasting process itself runs through recognizable markers: charge point, turning point, yellowing point, first crack and second crack, plus the dehydration, Maillard and development phases. Reading those stages is how a roaster judges rhythm and steers flavor. Coffee bean roasters differ in how they transfer heat, and that choice shapes how quickly each phase arrives and how much control the operator has.
To learn roasting, start by understanding the tools and terminology. Roasting coffee beans may seem as simple as stir-frying vegetables, but doing it well requires solid foundational knowledge. In this article, Front Street will walk you through several common coffee roasting devices—direct-fire, semi-direct-fire, and hot-air roasters—covering their respective heat transfer principles, advantages, and drawbacks. We will also systematically sort out the professional terms that appear during the roasting process, including charge point, turning point, yellowing point, first crack and second crack, as well as stage concepts like dehydration phase, Maillard phase, and development phase. Mastering this foundational knowledge is an important prerequisite for hands-on roasting, judging the roasting rhythm, and controlling flavor direction—it can also help you avoid detours and roast a good batch of beans faster.
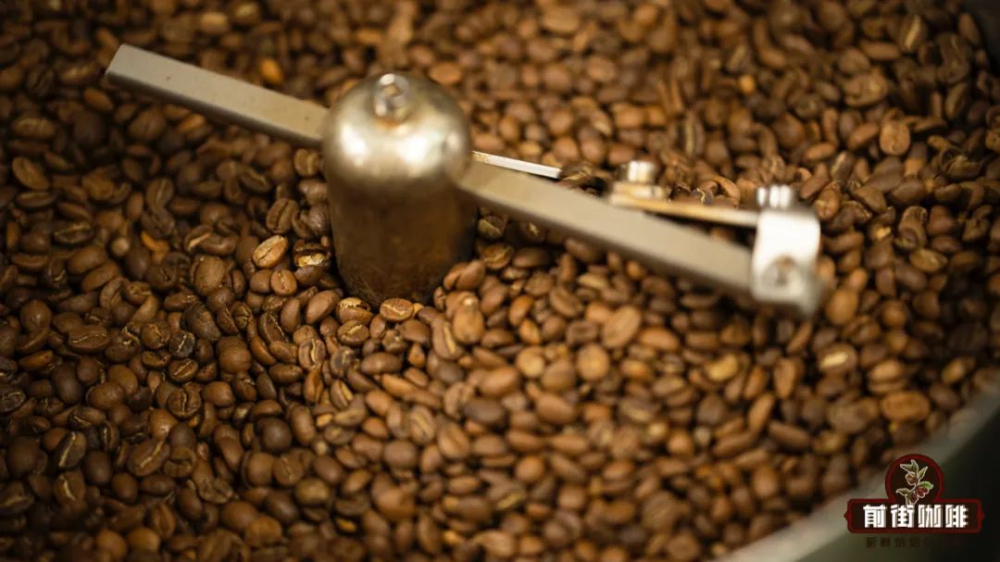
Learning to roast is actually something worth celebrating! Because it lets you understand coffee from a different perspective, giving you a deeper appreciation of it.
But you should understand that roasting coffee beans is the same principle as stir-frying: cooking the food through isn't hard, but making it taste good is another matter entirely.
So! Front Street will be sharing with you one after another how to "stir-fry" a good batch of beans! But before actually getting hands-on with roasting, we need to first understand the equipment used for roasting coffee beans, as well as some professional terminology in coffee roasting! Because these are all very important foundational knowledge in the roasting process!
Coffee Bean Roasting Equipment
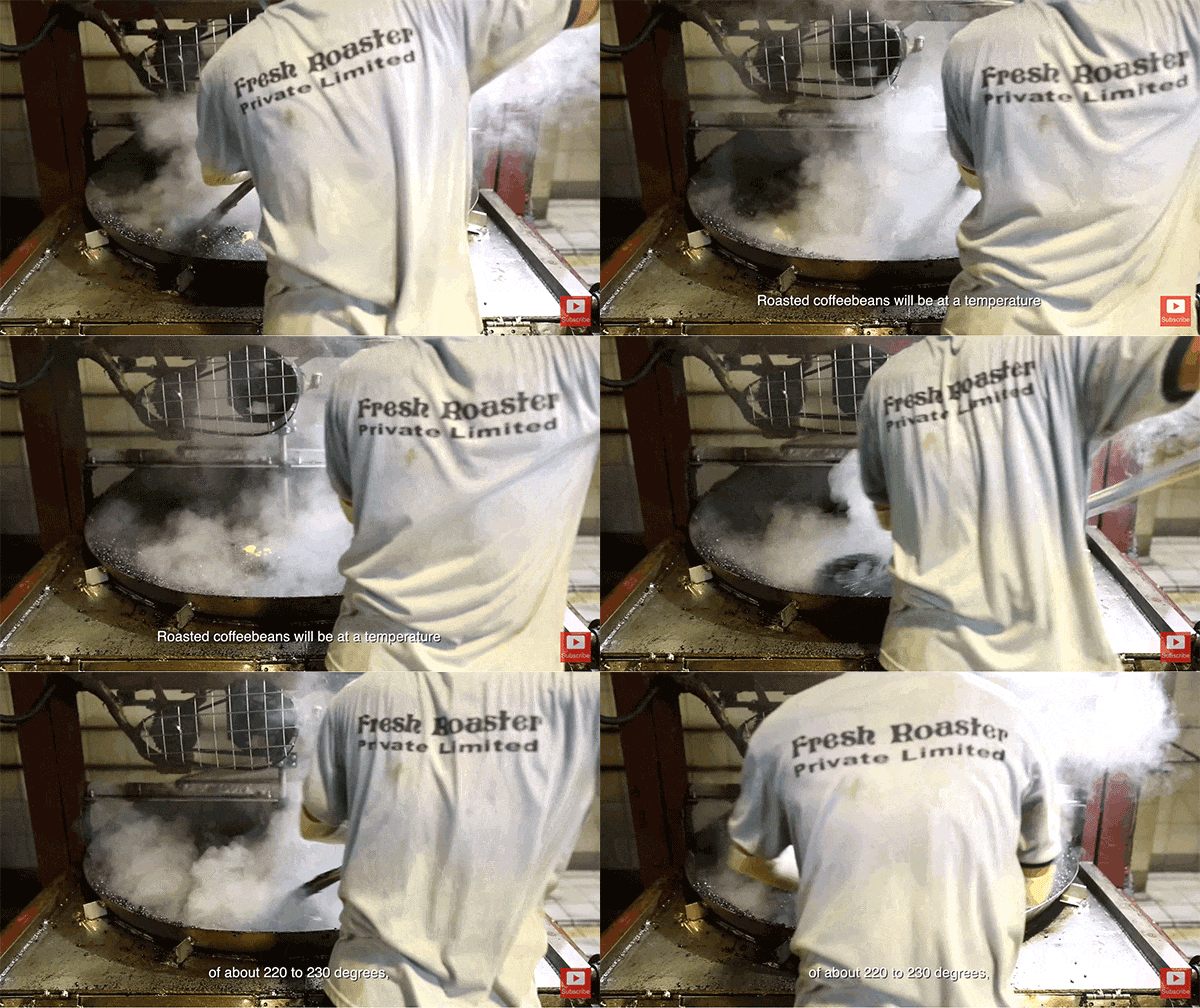
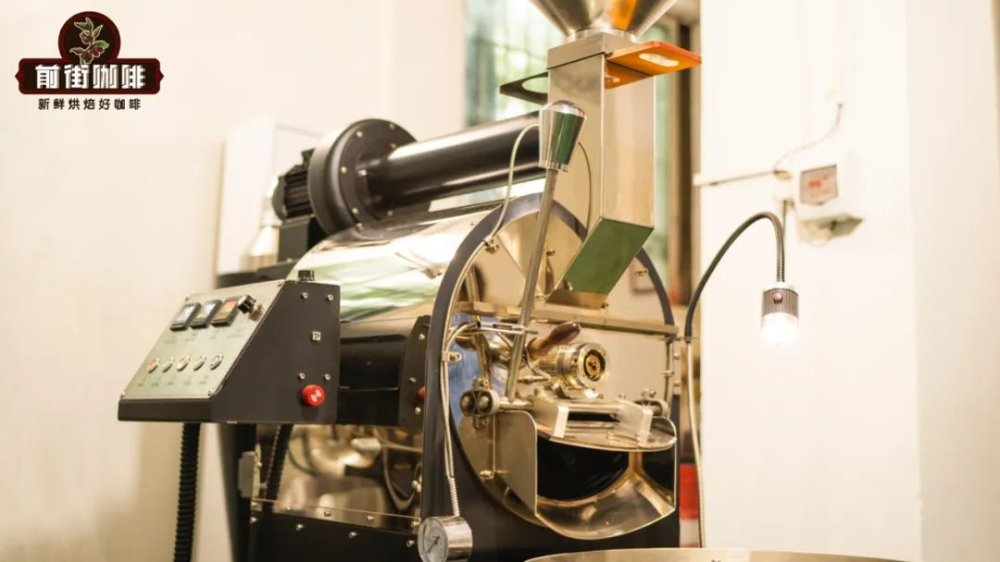
To be honest, coffee bean roasting equipment isn't as complicated as everyone thinks. As Front Street mentioned at the beginning, it's pretty similar to stir-frying. Taking coffee beans from raw to roasted is essentially achieved through chemical reactions and physical changes triggered by high heat! Therefore, most cooking tools commonly found in our daily lives—cast iron pans, microwaves, popcorn machines—can actually be used to roast coffee beans.
It's just that! They struggle to distribute heat energy evenly to every single coffee bean, so it's very easy to end up with underdeveloped or burnt beans! So, in order to make coffee beans heat more evenly, professional coffee roasting machines came into being! (Hand roasters are the exception)
Direct-fire roaster:
A direct-fire roaster, as the name suggests, lets the flame transfer heat directly to the coffee beans! The drum of a direct-fire roaster has a certain number of holes, and the flame can pass through these holes to make direct contact with the coffee beans. When roasted properly, it can bring out excellent flavor expression in the beans, with a richer aroma. The drawbacks are equally obvious—because the flame makes direct contact with the bean surface, it's very difficult to control! Scorching and underdevelopment are accidents that frequently happen with direct-fire roasters, so this heavily tests the roaster's skill level!
Semi-direct-fire roaster:
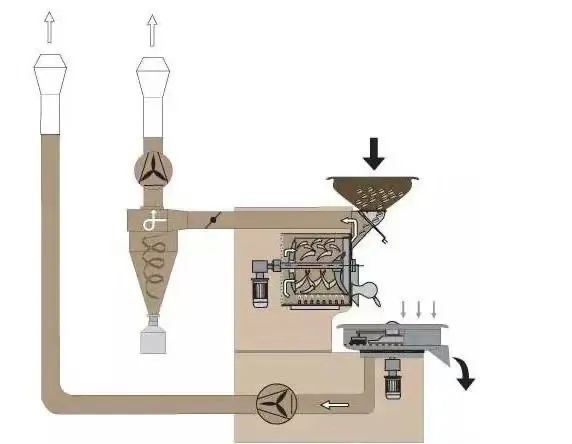
Semi-direct-fire roasters are also called semi-hot-air roasters. The biggest difference from direct-fire roasters is that there are no holes in the drum, so the flame cannot directly contact the bean surface, greatly reducing scorching. Heat transfer in a semi-direct-fire roaster mainly relies on a guide hole on the inner side of the drum—this guide hole channels heat energy into the drum's interior. At the same time, the continuously heated metal drum also provides heat energy, making roasting more stable and the beans heat more evenly. That's why most roasters currently use semi-direct-fire roasters.
Hot-air roaster:
Hot-air roasters use heated air to blow the coffee beans to completion! The specific principle is that a blower draws in air, then the air passes through a heating coil to add heat, which can then serve as a heat source to roast the coffee beans. The advantage of this type of roaster is that it gives better control over the coffee beans' color development, and the heating efficiency is fast, allowing the beans to heat more evenly. That's why it has become the top choice for many roasting studios when customizing roast profiles.
Professional Terminology That Appears During Roasting
Next, let Front Street introduce you to some common terms in coffee roasting! That is, professional terminology. These terms correspond to different nodes and stages that appear during the coffee bean roasting process, and each node brings different changes to the coffee beans. So, before learning to roast coffee beans, understanding these terms is very important! You can use them together with a roasting curve graph to understand~
Charge point:
This charge point refers to the moment when green coffee beans are put into the roaster. Just like baking a cake, you need to preheat the oven to a certain temperature before putting in the cake batter to bake—coffee beans work the same way! Different roasters, different batch sizes, and different bean densities and moisture contents all correspond to different charge points! And this charge point is also the starting point of measurement on the roasting curve graph.
Turning point:
After we put the coffee beans into the roaster, the beans will absorb heat energy from the drum, which causes the temperature to drop significantly. And after dropping to a certain point, the temperature inside the drum will start to rise again! This inflection point is what we call the: turning point.
Yellowing point:
After green coffee beans have been roasted in the drum to a certain degree, their color begins to turn yellow (initially mostly blue-green or pale yellow), and the bean surface develops wrinkles. This stage is what people call the: yellowing point.
First crack:
When coffee beans have absorbed a certain amount of heat energy, the bean body can no longer suppress the energy locked inside, so it releases that energy through cracking. When the beans crack, they emit a crisp sound: "pop"! This is the coffee beans' first crack, commonly known as first crack. Once first crack begins, it means the coffee beans have already been roasted through, so we can stop roasting at any point and let the beans come out. And the node for judging the start of first crack is determined by hearing three crisp sounds during the roasting process!
Second crack:
If you don't plan to release the beans after first crack begins, then wait until the coffee bean sounds gradually die down—within two minutes, they will sound again. At this time, it is the coffee beans' second crack, commonly known as second crack. Similarly, second crack is judged by sudden sporadic sounds! The difference is that second crack sounds are more muffled, not as crisp.
Between these nodes, there are also some special time period names!
Dehydration phase:
From the moment coffee beans enter the roaster, they continuously dehydrate—this is something that runs through the entire process. But there is one stage that is the period of highest dehydration rate for the beans, and that is the period from the charge point to the yellowing point. Therefore, this process is what people call the: "dehydration phase."
Maillard phase:
The beginning of the yellowing point means the coffee beans start entering the Maillard reaction. During this time, the coffee beans continuously deepen in color, give off an aroma similar to toasted bread, and prepare to release stored energy. Therefore, the period from the yellowing point to first crack is what we call the: Maillard phase.
Development phase:
As mentioned above, the start of first crack means the coffee beans are already physically "roasted through," so we can decide the remaining roasting time for the beans in the drum. This period is the development phase. The length of development time determines the flavor direction of the beans. If you want the beans darker and less acidic, then make the development phase longer; if you want the beans more acidic, then make the development time shorter! But you should know that there are countless beans in the drum, and these beans all reach "roasted through" at different times. If our development time is too short, then it's very easy for some beans to come out without being roasted through, resulting in underdeveloped beans and insufficient flavor! This is what people call: "underdevelopment."
Alright, that's enough for today! After all, learning to roast coffee is a long journey, and taking in too much information at once can actually have the opposite effect. So let's first solidify the foundational beginner knowledge, step by step! And once we've fully absorbed the foundational knowledge, roasting a good batch of beans will be something we can do with ease!
The above content is compiled by CoffeeHunters, a coffee news website.


