








How Does Milk to Coffee Ratio Latte Pour Build a Swan?
The swan pattern shares its fusion, its starting point and its steady backward swing with the leaf; only the finish differs. After the body is poured, raise the pitcher spout and move diagonally below center to press out the wings, then lower the pitcher and drag to draw the neck and head in one continuous motion.
Milk volume and foam condition set the limit here. A combined pattern needs enough milk to complete wings, neck and head without running short, so the milk to coffee ratio latte pour and the foam texture both matter. Practicing the leaf first builds the swing rhythm that the swan depends on, and the finishing stage is where most pours fail.
To master the swan latte art, you must first understand its connection to the leaf pattern—the two are completely identical in the fusion, the point where the pattern emerges, and the even backward swinging motion. The only difference lies in the finishing stage. The leaf finishes directly after the swinging ends, while the swan, after completing the body, still needs to shape the wings, neck, and head. This article breaks down the key techniques one by one in three parts: wings, neck, and head, and explains the strict requirements of the combined pattern on milk volume and milk foam condition, helping those who have already learned the leaf pattern to advance smoothly.
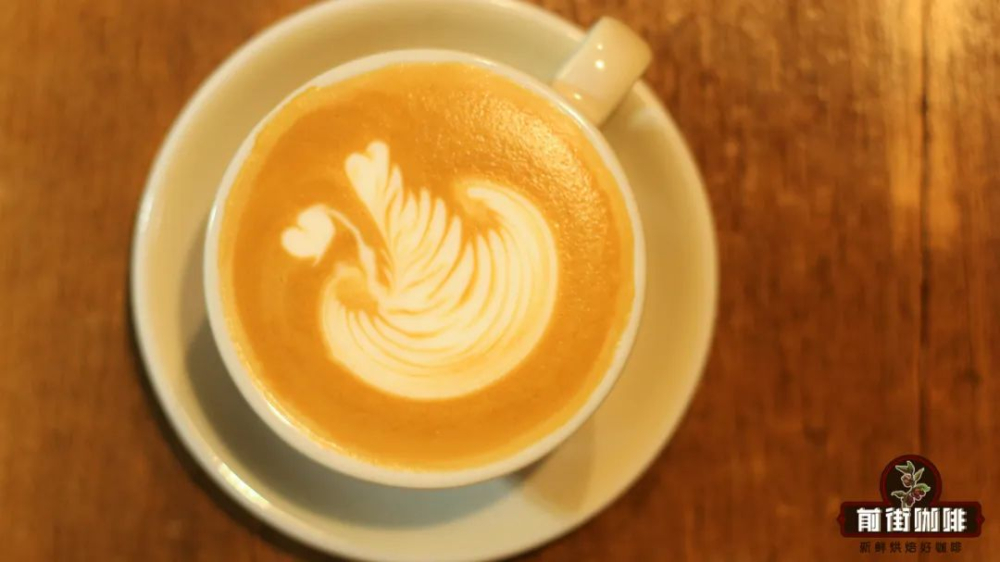
In fact, the swan pattern can be seen as a redesign of the finishing stage based on the leaf. The fusion technique, the starting position for the pattern, and the rhythm of the steady backward swing are exactly the same! The difference is: the leaf finishes right after the swinging ends, while the swan has only completed the torso at this point, and still needs to continue depicting the wings, neck, and head!
However, for those who have already mastered the leaf pattern, this step is not that difficult~ So let's take a look at how the swan pattern is made specifically~ (Friends who haven't learned the leaf pattern yet can first learn through this link: "Leaf Latte Art") Swan Latte Art From the animation below, you can observe that the swan's wing shaping, neck, and head are completed in one continuous motion! But each step has its own key operational points, so Front Street Coffee will break it down one by one and explain each separately!
1. Wings The moment the backward swing is about to touch the wall of the cup is the dividing line between the leaf and the swan latte art! The swan cannot pause in place to make a heart shape like the leaf! Instead, it must quickly raise the pitcher spout to turn, moving diagonally below the center point!

The purpose of raising the pitcher spout is to increase the impact force, so that the wings can be "pressed" out without leaving white lines on the pattern, making the overall look cleaner. 2. Neck After reaching the target position, immediately lower the height of the milk pitcher, because next we need to use a "drawing" method to outline the swan's neck.
Actually, "drawing" is not quite accurate. A more vivid way to put it is "dragging"! Lower the pitcher so that the spout is as close to the liquid surface as possible, then tilt it slightly so that a small amount of milk foam stays at the spout, and use this foam to draw the desired lines on the coffee surface! Generally speaking, curved lines are most suitable for the swan. This action is quite difficult for those who haven't practiced it, and it requires repeated practice. Two important details are worth noting: First, the milk foam cannot be left sitting too long! Many people can beautifully complete the swan's body, but when they are ready to draw the neck, they find that the foam has already atomized or clumped. This is caused by leaving it too long.

Another detail is the amount of milk! When making a combined pattern, there are very strict requirements for the amount of milk. Only by controlling the milk volume will there be enough foam left at the end to outline the lines. However, for most basic patterns, if the amount of milk is just right, then at the finishing stage there will instead be a lack of impact force due to no extra milk, and the foam cannot punch into the crema, so thick white lines will float on the surface! The result becomes an "ugly duckling." So these two points must be noted~ 3. Head Finally, the swan's head! Essentially, it is a small peach heart. After drawing the neck, do not raise the milk pitcher at all, but stay in place and pour more foam to form the peach heart. Once the amount of foam is sufficient, quickly lift the pitcher to finish. At this point, the swan is complete! Isn't it simple!!
Of course, making the swan's head also has its nuances. If too little foam is released and the heart cannot be supported before hastily finishing, the swan's head will be too small! It will look flat and unattractive. On the other hand, if you stay too long, or pour in atomized or clumped foam, the swan's head will be too big! It becomes the kind shown in the picture below: a "lion-head goose"!
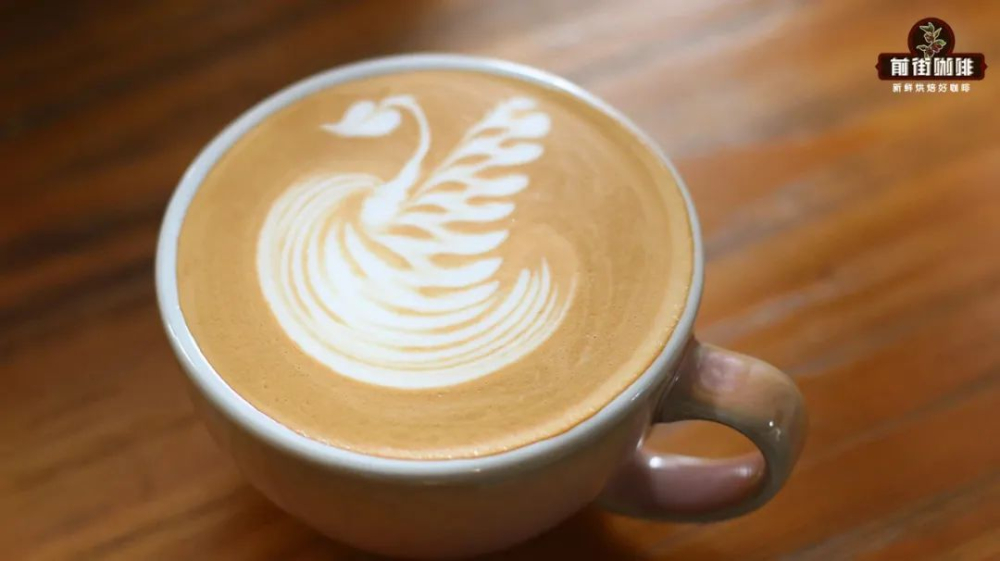
If this were in Chaoshan, you'd have to pay extra ! So to avoid these unnecessary troubles, let's go step by step. Steady and solid progress is the key~ - END - Front Street Coffee
No. 10, Baoqian Street, Yandun Road, Dongshankou, Yuexiu District, Guangzhou City, Guangdong Province
The above content is compiled by CoffeeHunters, a coffee news website.


