







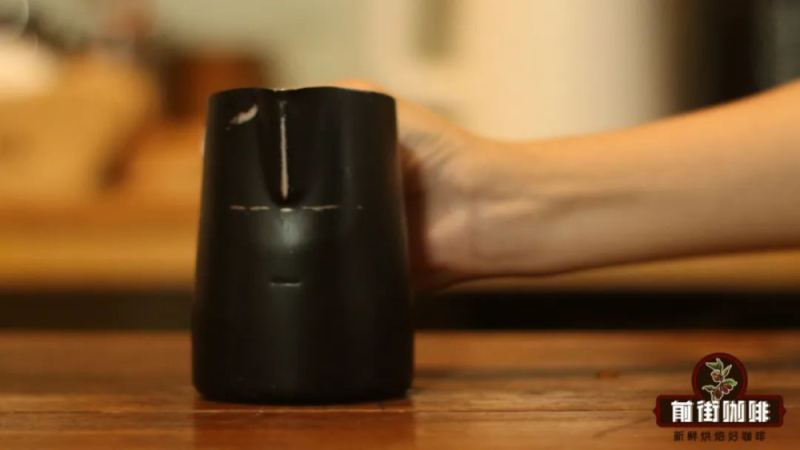
How Do You Froth Milk for a Latte Without Extra Bubbles?
Excess tiny bubbles usually come from the steaming process, not from bad luck. Frothing milk for a latte runs through three stages: aeration, texturing and incorporation. Aeration adds air, texturing uses a vortex to cut large bubbles into micro-bubbles, and incorporation mixes foam and milk into a dense, even texture.
Three mistakes cause most visible bubbles: insufficient texturing, adding air again during incorporation, and milk that starts too warm. Steam wand angle, pitcher choice and temperature control all matter. Keep the vortex pulling bubbles into the center, stop aeration early, and how you make froth for coffee becomes repeatable instead of a gamble.
Many coffee enthusiasts encounter the same frustration when practicing latte art: a large number of tiny bubbles floating on the surface of the milk foam that simply won't break up no matter how much you tap, seriously affecting the formation of latte art. The root of the problem often isn't luck — it's the details of the steaming process. From the perspective of Front Street, this article systematically breaks down the three core stages of milk frothing — aeration, texturing, and incorporation — and analyzes the three main causes of excessive bubbles one by one: insufficient texturing, re-aerating during the incorporation stage, and milk that starts at too high a temperature. It also shares practical tips on steam wand angle, pitcher selection, and temperature management to help you consistently create dense, smooth milk foam at home.
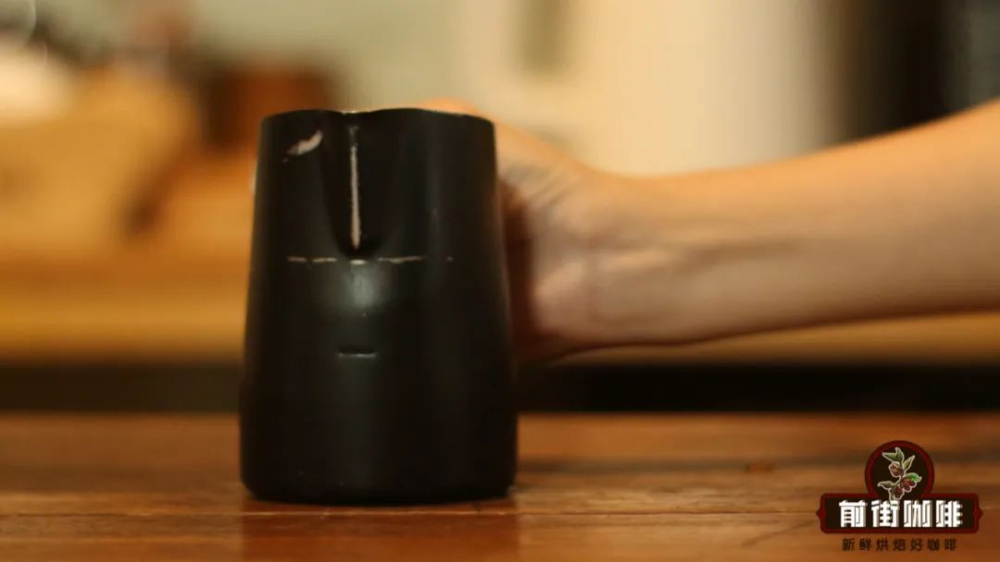
If you're struggling with the same problem, take a look at this Front Street article. You'll be able to put it into practice right after reading, with immediate results.
Why do bubbles keep appearing?
Milk foam formation can be broken down into three steps: aeration, texturing, and incorporation. Together, these three determine the final quality of the milk foam — just like the four essential elements of pour-over coffee, missing any one step affects the outcome.
The aeration step is easy to understand — it's essentially "creating something from nothing." Using steam, large bubbles are generated on the surface of the milk. But obviously, these large bubbles are too big to meet the demands of latte art, so the second step — "texturing" — is needed to repeatedly cut them apart. The vortex created during texturing tears the large bubbles into shreds, dispersing them into a multitude of tiny micro-bubbles. Then comes the incorporation stage, where the foam and milk are fully mixed together. At this point, a pitcher of dense, fine milk foam is complete.
The situation described at the beginning can largely be attributed to three causes:
One: The texturing step wasn't done properly
Texturing is an extremely critical step. During operation, you need to create a vortex inside the pitcher, pulling all the large bubbles produced during aeration into the center of the vortex and repeatedly cutting them apart. But if the vortex doesn't form properly, or the suction is insufficient, some bubbles will escape the cutting process and end up as tiny bubbles that no amount of tapping can disperse.
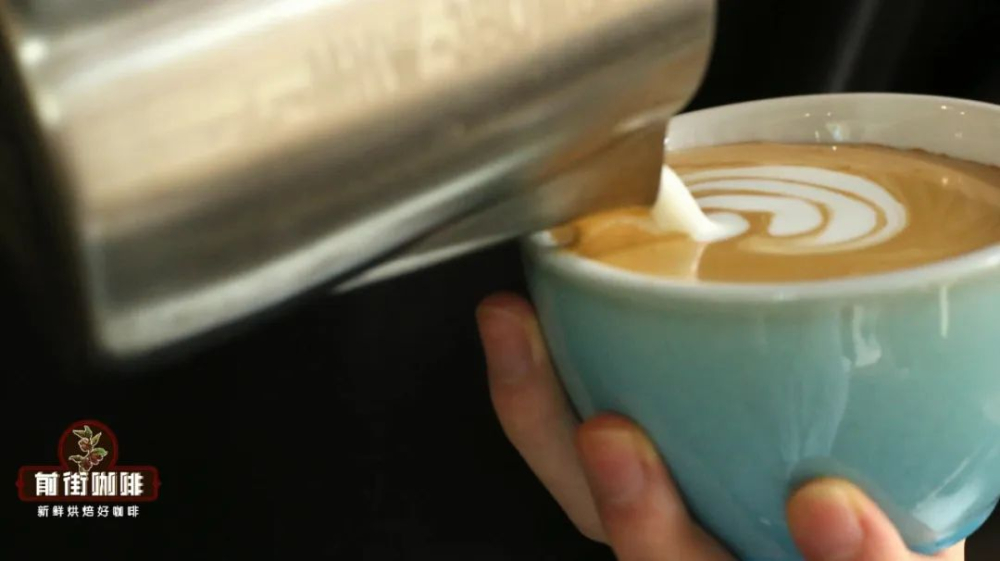
Therefore, the correct texturing technique is quite important. Front Street will briefly explain the key points of texturing here —
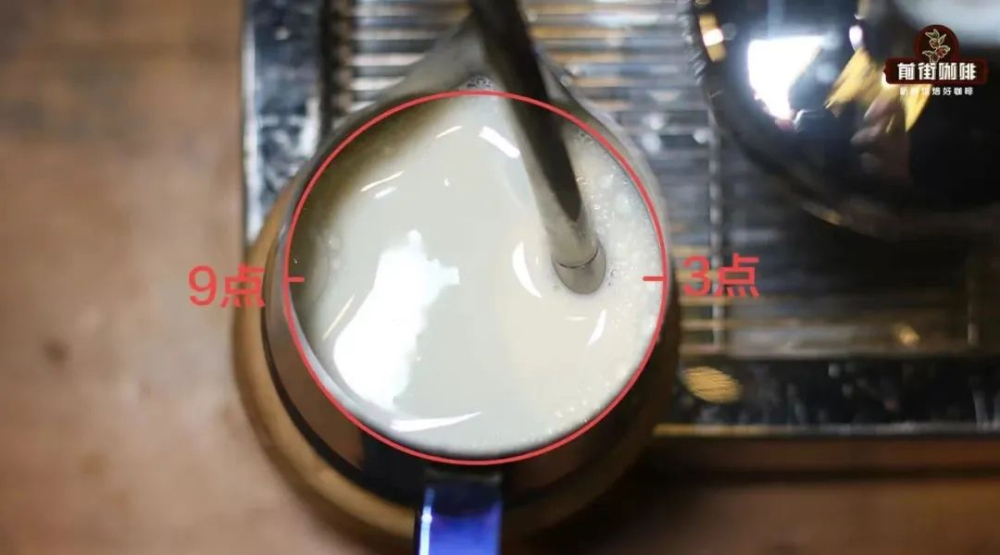
First, find the correct angle and insertion position for the steam wand so that the steam creates a parallel pushing force that drives the vortex to rotate. Front Street recommends placing the steam wand at a position between the 3 (9) o'clock direction and the center point of the pitcher, so the steam can push the milk and create a vortex.
Second, it's best to maintain an angle of about 60°C between the steam wand and the liquid surface. This way, the vortex suction during texturing becomes stronger, pulling bubbles in and cutting them apart thoroughly.

Additionally, we can tilt the pitcher to expand the surface area of the liquid, which also gives the vortex stronger suction.
Of course, the problem isn't necessarily always the operator's fault. Many home espresso machines have steam wands positioned and sized in a way that doesn't allow a larger pitcher to tilt to the liquid surface angle needed to form a large vortex. So Front Street suggests using a smaller pitcher during the aeration stage to expand the vortex's range and suction, then pouring into a larger latte art pitcher after steaming is complete.
Two: Re-aerating after texturing is finished
Some people may do a good job with texturing, but during the subsequent incorporation process, they accidentally let the steam holes surface above the milk multiple times, creating new bubbles as a result.
While you can use the remaining time to continue texturing and incorporating as a remedy, the final milk foam will struggle to reach a dense state. So be sure to remember: minimize aeration actions in the final stage.
Three: The milk temperature isn't low enough
The last point to discuss is milk temperature. When milk is close to room temperature, there's simply not enough time to complete the incorporation step — especially with a high-powered steam machine, the milk heats up instantly.
Therefore, before using milk for steaming, it's best to refrigerate it first. If you have a dedicated milk refrigerator like a coffee shop does, Front Street recommends setting the refrigeration temperature to close to freezing. This gives the milk more ample steaming time, and the margin for error increases significantly.
Front Street Coffee
No. 10, Bao'an Front Street, Yandun Road, Dongshankou, Yuexiu District, Guangzhou, Guangdong Province

The above content is compiled by CoffeeHunters, a coffee news website.


