







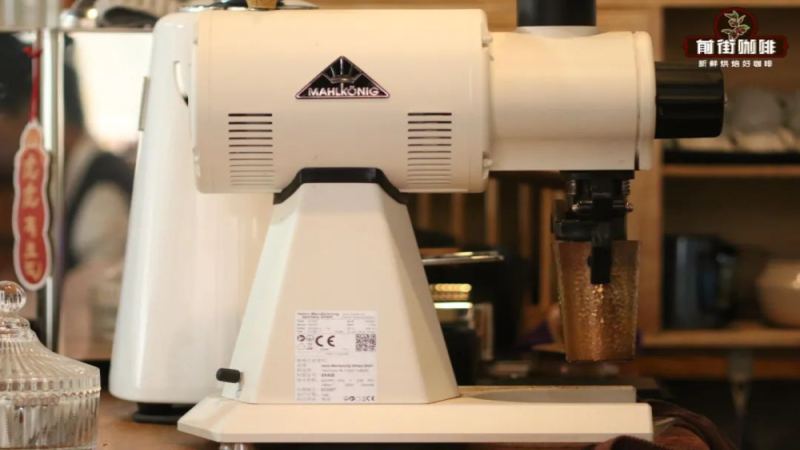
How to Make Coffee in a Coffee Machine Using Fresh Grounds?
Making coffee at home starts with a pour-over kettle, a small electric burr grinder, and freshly roasted beans. Getting the dose and grind size right matters more than the machine itself. Before grinding the beans to be brewed, run three or four beans of the same kind through the grinder to rinse the burrs and avoid flavor transfer between batches.
Start the grinder before adding beans so the burrs are already spinning, which protects them and gives a more even grind. For maintenance, brush out grounds daily and do a deeper clean on a regular schedule. These habits keep the grind consistent and extend the grinder's working life, whether the coffee is brewed as grounds or used to make coffee with powder in another method.
With the growing popularity of home coffee equipment, more and more people are choosing to use a pour-over kettle paired with a small electric grinder to make freshly ground coffee at home. However, using an electric grinder is not just about plugging it in, turning it on, and dumping in beans—some improper operating habits can not only affect the coffee's flavor but may also shorten the grinder's lifespan. Drawing on Front Street Coffee's practical experience, this article shares several key tips for using an electric burr grinder, including "rinsing the burrs" before grinding to avoid flavor transfer, starting the machine before adding beans to protect the burrs, and maintenance methods involving daily light cleaning and periodic deep cleaning. Whether you are a complete beginner or someone who has been using an electric grinder for a while, these details can help you get the most out of your grinder and keep every cup of coffee tasting consistently good.
Coffee has become increasingly accessible in everyday life. In the past, if you wanted a cup of freshly ground coffee, you usually had to make a special trip to a café. But with the emergence of various home coffee devices, making coffee at home has become effortless. A simple, affordable pour-over setup, a small electric grinder, and a bag of freshly roasted beans—and you can enjoy a full-flavored cup of coffee without leaving home.
Front Street Coffee has already discussed pour-over brewing methods and parameter choices quite a bit. This time, let's take a different angle and talk about how to operate an electric grinder day to day, and how to maintain and care for it.
Many people think there's nothing difficult about using an electric grinder—plug it in, find the switch, know where to put the beans and where the grounds come out, and that's it, right?
The basic grinding operation indeed only takes a few minutes of fiddling with the machine to get the hang of, but some bad (or outright wrong) habits can both drag down the coffee's flavor and damage the grinder's performance. Front Street Coffee is here to share a few key points on using an electric grinder.
- "Rinse the burrs" before grinding coffee beans
A few friends have been puzzled by something Front Street Coffee does when brewing coffee—before formally grinding the beans to be brewed, Front Street Coffee first grinds 3–4 beans of the same kind.
This action is essentially "cleaning the burrs." Because the internal structure of an electric grinder is relatively complex, it's hard to thoroughly clean inside the burr chamber. Every time you finish grinding beans, a small amount of coffee powder remains in the burr chamber (grinding chamber). If you ignore it, the next time you grind, these residual grounds may mix into the new coffee powder, causing "flavor transfer."
A very typical example: if you grind dark-roasted beans in the first round and light-roasted beans in the second round, the light-roasted coffee from the second round will most likely carry a bitter taste.
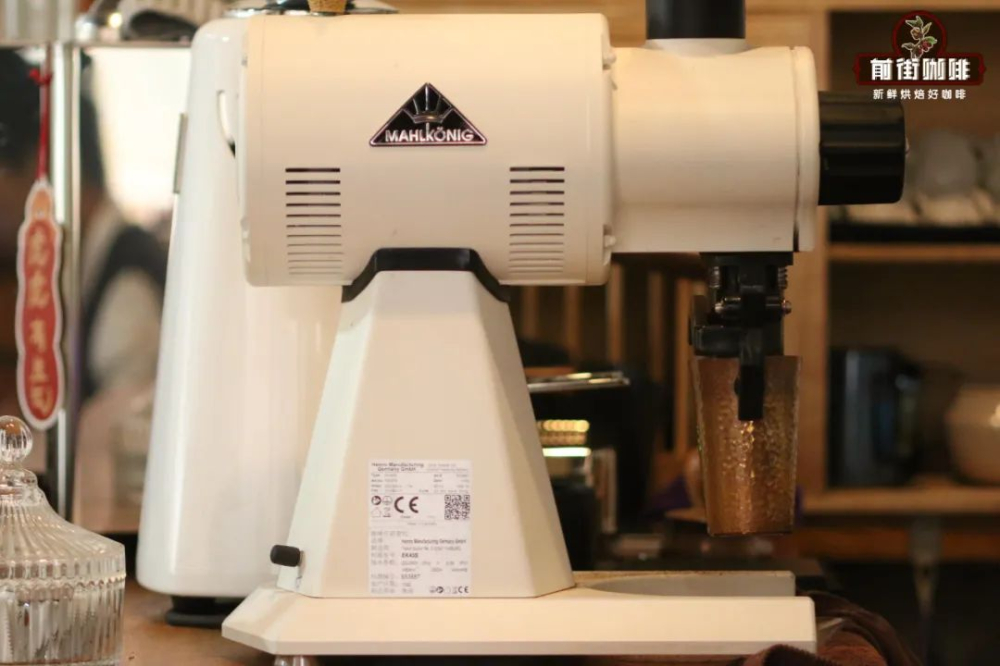
So, before each formal grind, first grind 3–4 beans of the same kind to clear out the residual grounds from the previous round on the burrs, preventing them from mixing into the coffee powder we're about to brew.
- Start the grinder first, then add beans
Many people don't pay attention to this, thinking that swapping the order makes little difference. But in fact, adding beans before starting the machine can very easily damage the burrs.
When the grinder starts, it takes about 0.5–1 second for the burrs to go from a standstill to a stable speed. If you put beans in first, the coffee beans will get stuck between the burrs. If you then start the machine, if you're lucky it just causes more burr wear; if you're unlucky and the beans are hard, it may jam completely—this is especially common with small home electric grinders (insufficient power, low speed). Starting the machine first and waiting for the speed to stabilize before adding beans greatly reduces the chance of problems.
- Daily light cleaning, periodic deep cleaning
Cleaning the grinder is key to extending its lifespan. Unlike hand grinders, electric grinders can't be easily disassembled for cleaning. So after daily use, you can use a blower to blow air into the bean inlet and grounds outlet to blow out some of the residual powder in the grinding chamber. However, be careful for safety—make sure the grinder is not running before doing this.
This method can only deal with residual grounds that aren't very sticky. Over time, quite a few "stubborn characters" will still accumulate on the burrs. At that point, you need to disassemble the grinder and take out the burrs to clean them. The burrs can be washed with clean water, but be sure to let them dry completely before reinstalling.
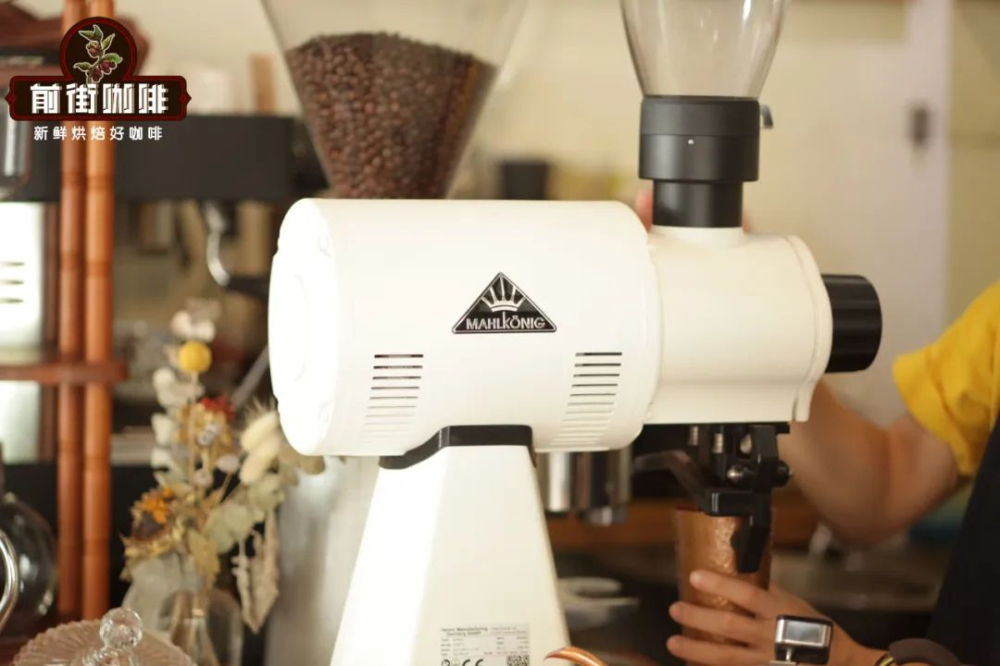
If you're not confident in your DIY skills, you can also buy dedicated grinder cleaning tablets. The specific method is to put the cleaning tablets into the bean hopper and grind them; as they are ground into powder, they carry out the residual coffee powder on the burrs. This type of cleaning doesn't need to be done too frequently—for home use, if you make 2–3 cups a day, cleaning about once every 2–3 months is sufficient.
The above content is compiled by CoffeeHunters, a coffee news website.


