








How long to froth milk for a latte without ruining the texture?
Milk foam quality decides whether a latte tastes smooth and velvety, and timing is the core of it. Whole fresh milk is preferred in coffee shops because its roughly 3% fat content stabilizes the foam and keeps it from separating. Beginners should fill the pitcher to five or six tenths and watch the aeration point rather than counting seconds blindly.
Before frothing, check that the steam wand is clean, confirm the steam intensity and purge condensed water from the pipe. Aeration introduces air and texturing folds it in; both stages need short, controlled bursts, since over-aerating creates dry, bubbly foam. Machines differ in steam power, so anyone asking how long to froth milk should test with water first and adjust to their own espresso machine.
Want to make a smooth, velvety latte? The quality of the milk foam is the key. This article breaks down each step—from choosing the milk and checking the steam wand to the specific techniques of aeration and texturing. We'll explain why whole fresh milk is favored by coffee shops, how to find the right aeration point to create a vortex, and how to control the timing and depth of aeration and texturing. We'll also analyze how foam texture actually affects coffee flavor. Front Street also offers milk volume recommendations and practical tips for beginners, hoping to help you avoid detours and achieve fine, dense foam more quickly.

Assuming we focus purely on taste, and both lattes use exactly the same ingredients, the one with finer foam will taste noticeably better than the other. Front Street has previously published several tutorials on milk frothing (search "milk foam" on our official account to find them)—reading them alongside this article will give you even better results.
Many people overlook the quality of the milk itself during the process. First, let's be clear: no matter what type of milk you use, you can produce fine foam—that's beyond doubt. But why do most coffee shops prefer whole fresh milk over shelf-stable or skim milk? There are two reasons. First, whole fresh milk tastes better, with a richer, creamier aroma. Second, whole milk has a higher fat content—around 3%—and this higher fat percentage helps stabilize the foam structure, making it less likely to dissipate or separate.

Now let's move on to aeration. The most convenient tool is the steam wand that comes with your espresso machine, but Front Street reminds you to always run a few checks before use. First, check whether the steam wand is clean—if there are milk or coffee residue stains, clean them off before operating. Second, confirm the steam intensity, which is especially important when you're new to a machine, because steam power varies from one espresso machine to another. If you're unsure about the steam strength, you can test it by filling the pitcher with some clean water first. Finally, before you start frothing, briefly open the steam valve to purge any condensed water that has built up in the pipe.
Once the preparation is done, it's time to start frothing the milk. The first issue to address is milk volume—Front Street recommends filling the pitcher to five or six-tenths of its capacity. Too little or too much is hard for beginners to handle. The second issue is finding the right aeration position. The essence of frothing milk is to create a vortex—clockwise or counterclockwise both work. As long as the milk keeps rotating in the same direction, no turbulence will occur, and large bubbles will be reduced accordingly. If you think of the pitcher as a clock face, the 3 o'clock and 9 o'clock positions are the ideal aeration spots. The third issue is how to gauge the balance between aeration and texturing. Aeration means injecting air into the milk to create foam; at this point the steam tip should be half exposed—half below the surface, half above it. When you hear a sharp "squeaking" sound, that means you're aerating. Aeration time should not be too long—after about 3 seconds, fully submerge the steam tip into the foam to begin texturing. Texturing uses the rotating motion of the liquid driven by the steam jet to continuously break down larger bubbles, ultimately achieving a fine, dense texture.
Video link: https://mp.weixin.qq.com/s/M5HUWxsulUROT3gjXbe-PQ
From this, it's clear that the key to producing fine foam lies in creating a stable "vortex," and the depth of the aeration point is also crucial. Many people bury the steam wand too deep after aeration, so the large bubbles on the surface aren't fully textured, resulting in thick, coarse foam. Therefore, during the texturing stage, the optimal position for the steam tip is just barely submerged below the surface—at the depth where you no longer hear the "squeaking" sound.
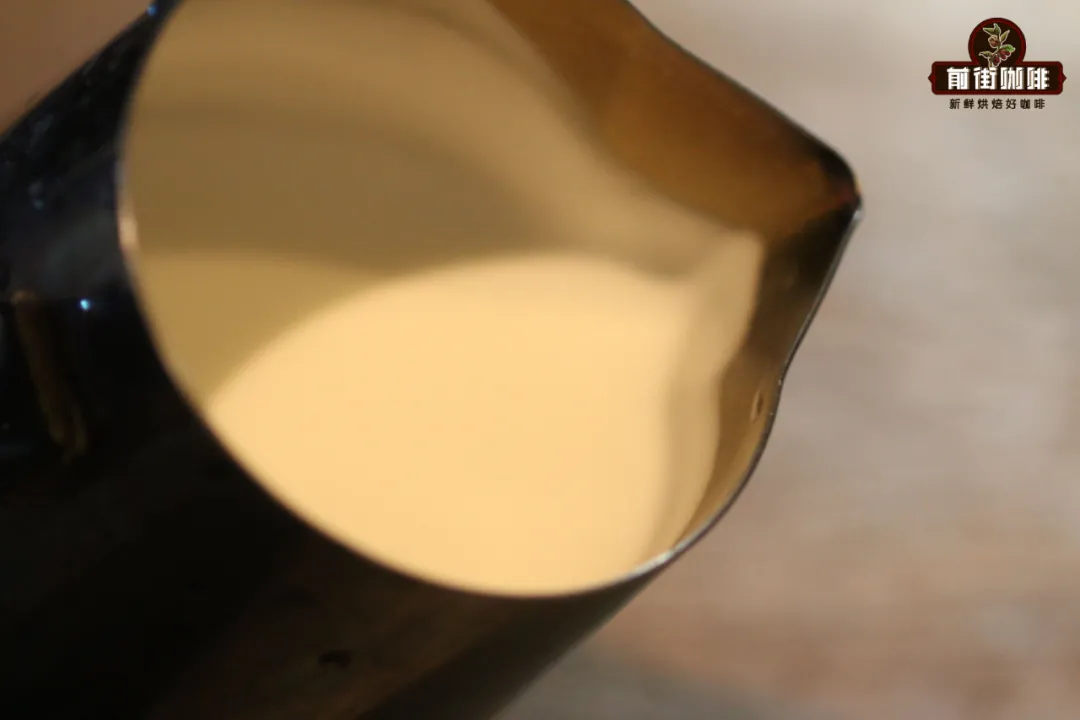
Finally, let's talk about how milk foam affects coffee flavor. In fact, the impact is quite significant. Fine foam gives a full, smooth mouthfeel; whereas coarse foam struggles to even blend evenly with the espresso—it not only tastes rough but also results in inconsistent flavor, sometimes weak and sometimes strong, blending very unevenly.
The above content is compiled by CoffeeHunters, a coffee news website.


