







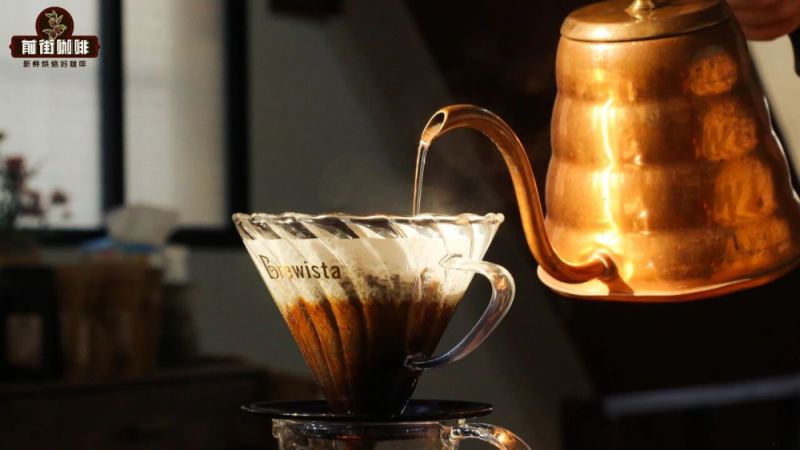
Why Does Coffee Handling Matter in Pour-Over Brewing?
Pour-over coffee often turns out weak or bitter not because of the brewing concept but because of overlooked details in grind size, timing, and handling. Five key points from Front Street Coffee cover grinder quality, grinding as the last preparation step, pre-pouring checks, extraction time control, and post-brewing handling. Beginners who check each of these areas tend to reach a satisfying cup faster.
Freshness is central to good coffee handling. Beans should be ground just before brewing, since aroma fades quickly once ground. Starting with freshly roasted, high-quality C.arabica varieties gives a better foundation for flavor. Brighter fruity options and medium-dark roasted beans with low acidity each suit different preferences, so the choice of bean shapes what ends up in the cup.
Pour-over coffee seems simple, but in reality it hides many details that are easily overlooked. Many beginners focus their attention on the big picture of brewing, yet often make oversights in areas like grinding, equipment, and timing, ultimately ending up with coffee that tastes weak as water or burnt and bitter. This article compiles five key points summarized by Front Street Coffee, covering grinder selection, grinding timing, pre-pouring checks, extraction time control, and post-brewing handling, along with Front Street Coffee bean recommendations suitable for beginners. If you're practicing pour-over, these details are worth checking one by one to help you avoid detours and brew a satisfying cup of coffee faster.
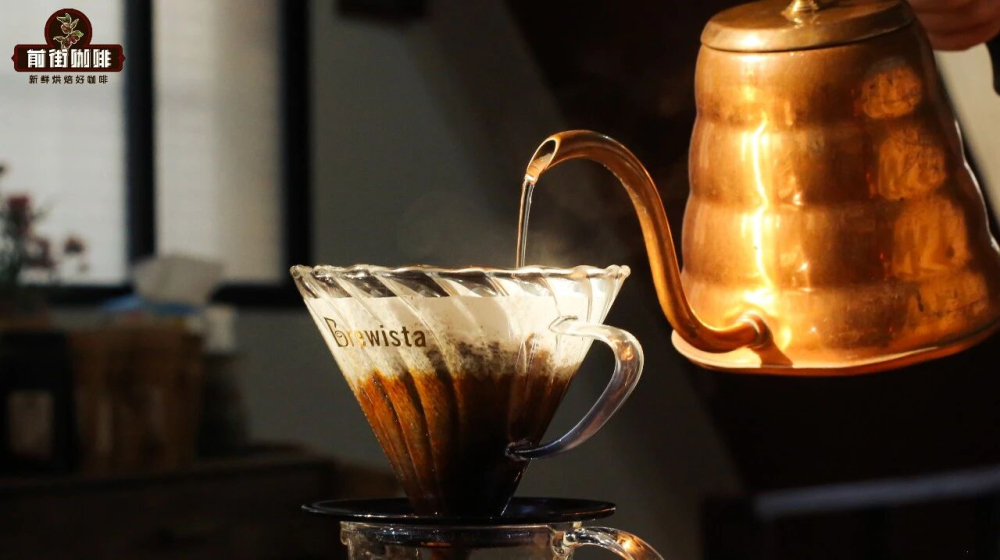
Pour-over coffee isn't actually as difficult as you might imagine—the problem usually lies in people focusing on the big picture of the brewing process while neglecting some seemingly inconspicuous steps. Yet it's precisely these subtle details that directly determine whether a cup of coffee ultimately tastes good. Next, Front Street Coffee will walk you through which details deserve special attention.
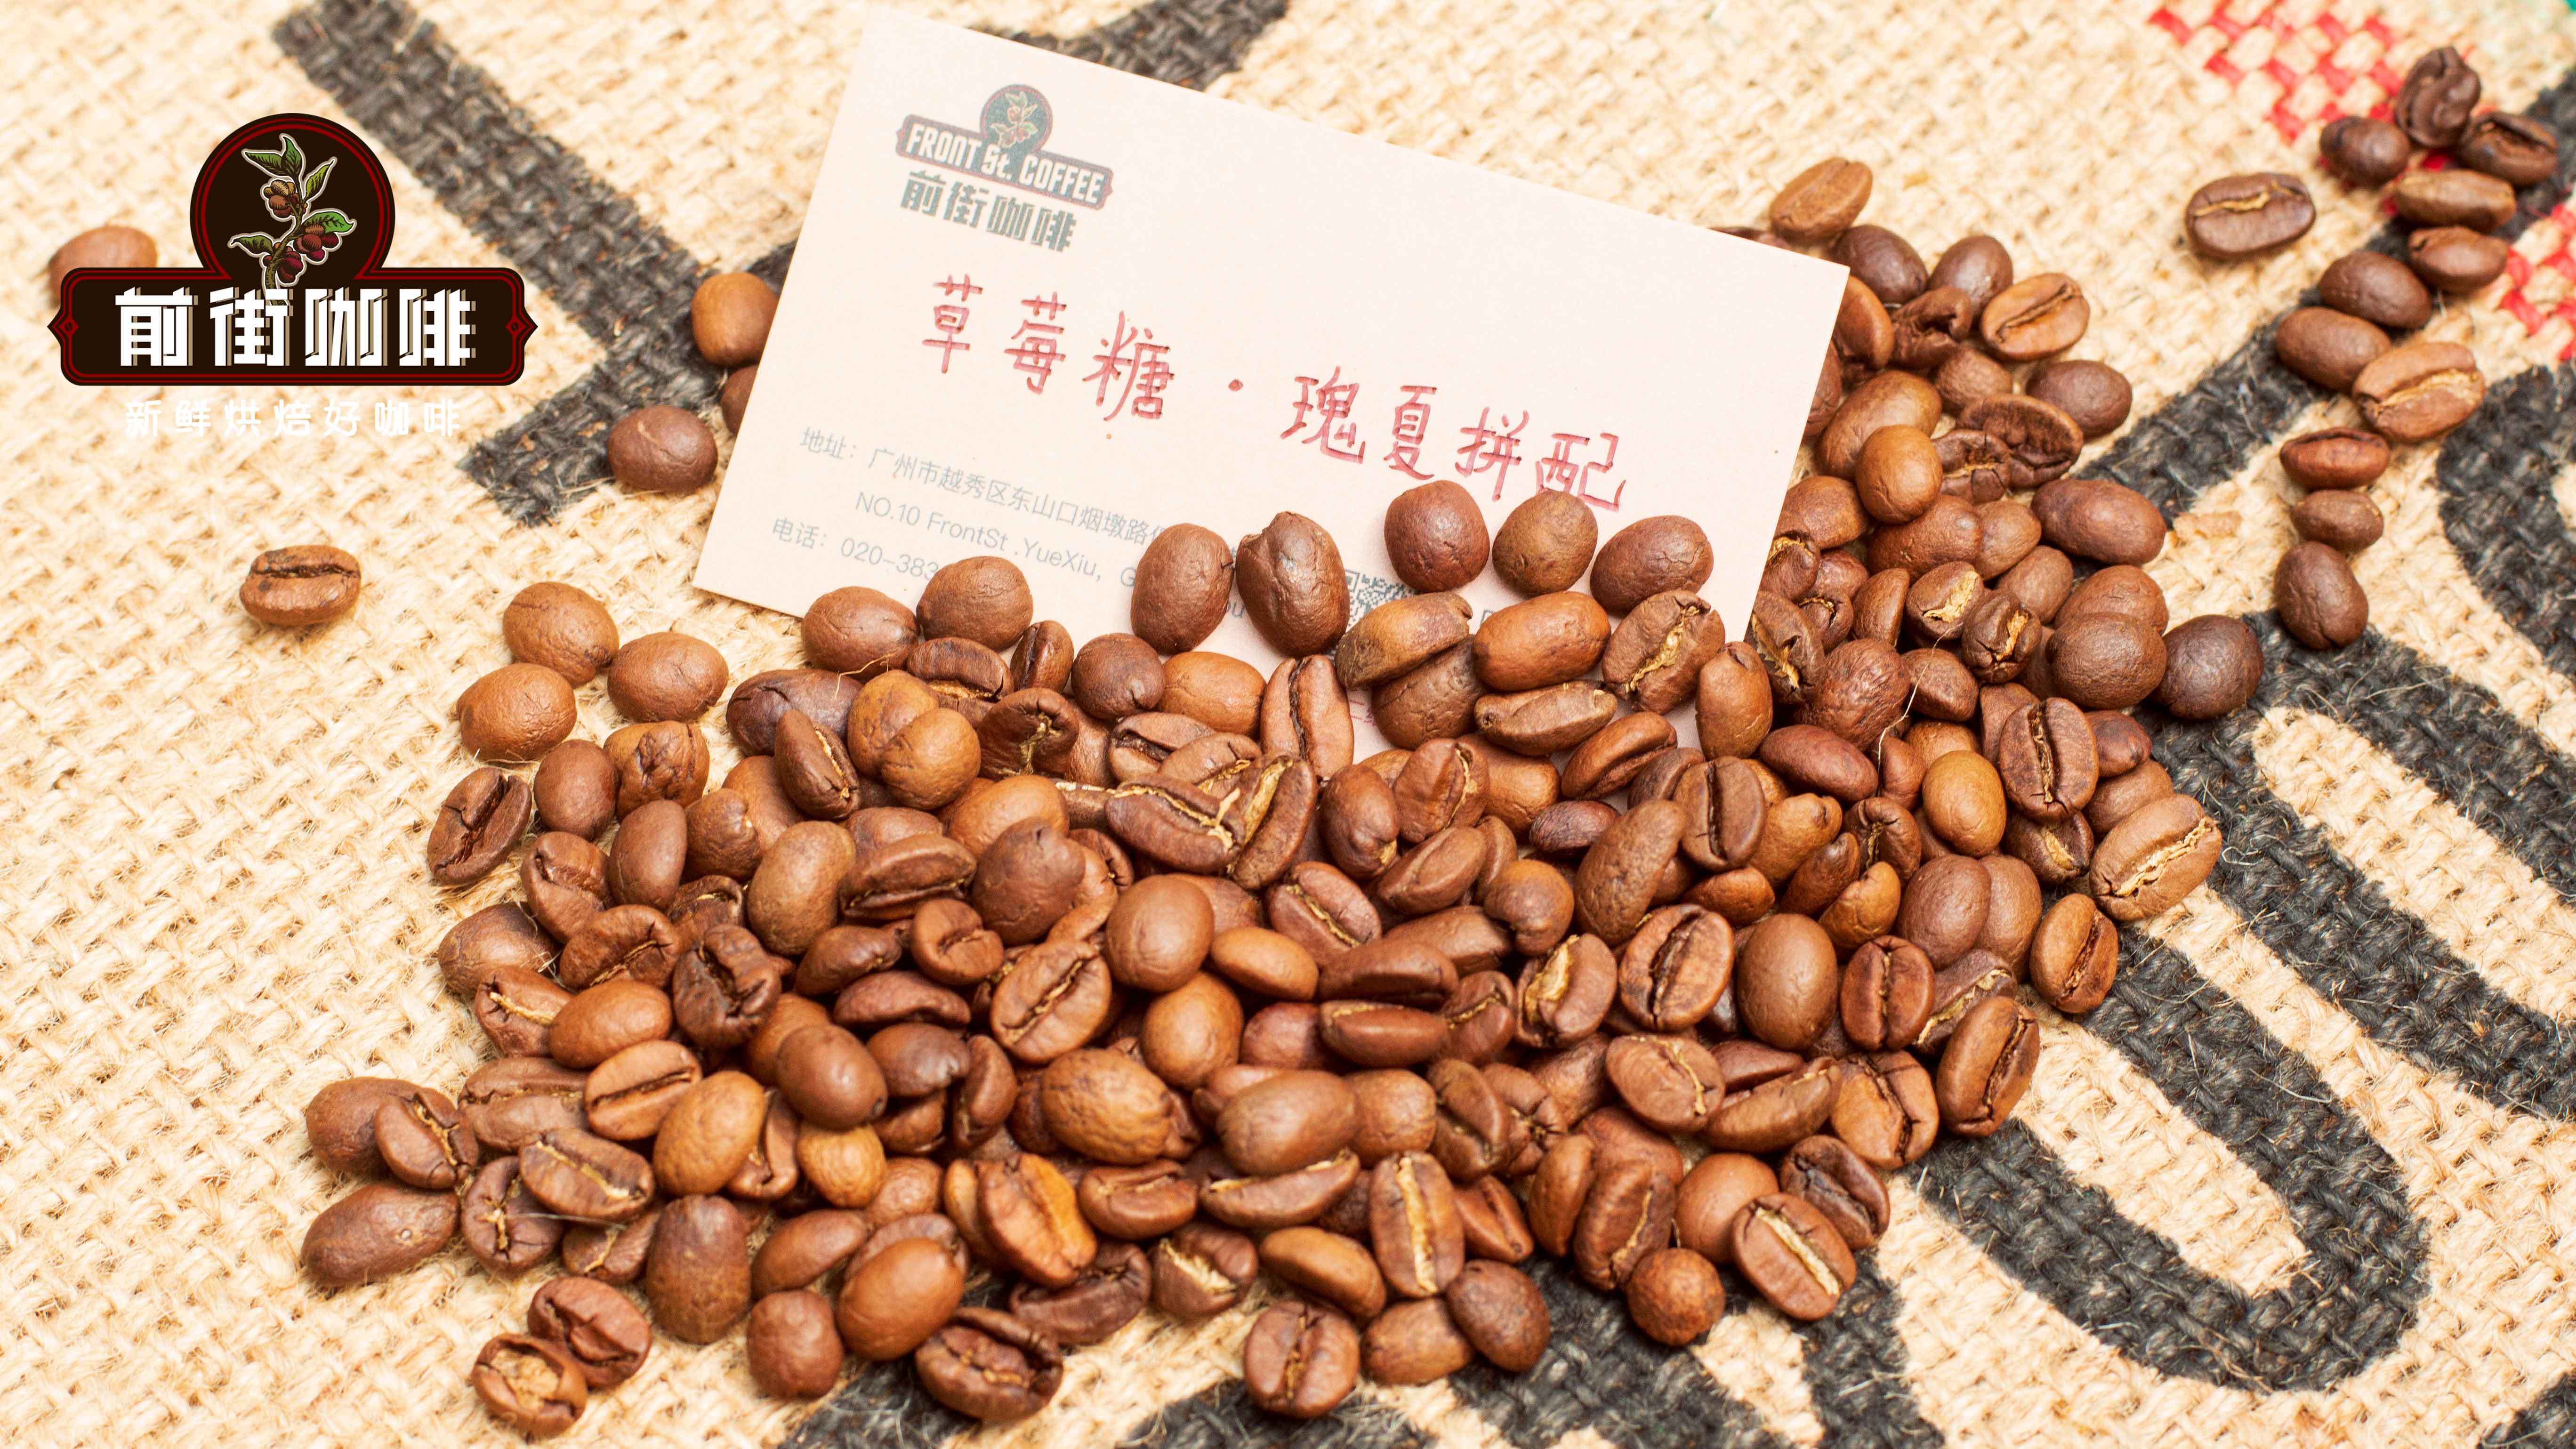
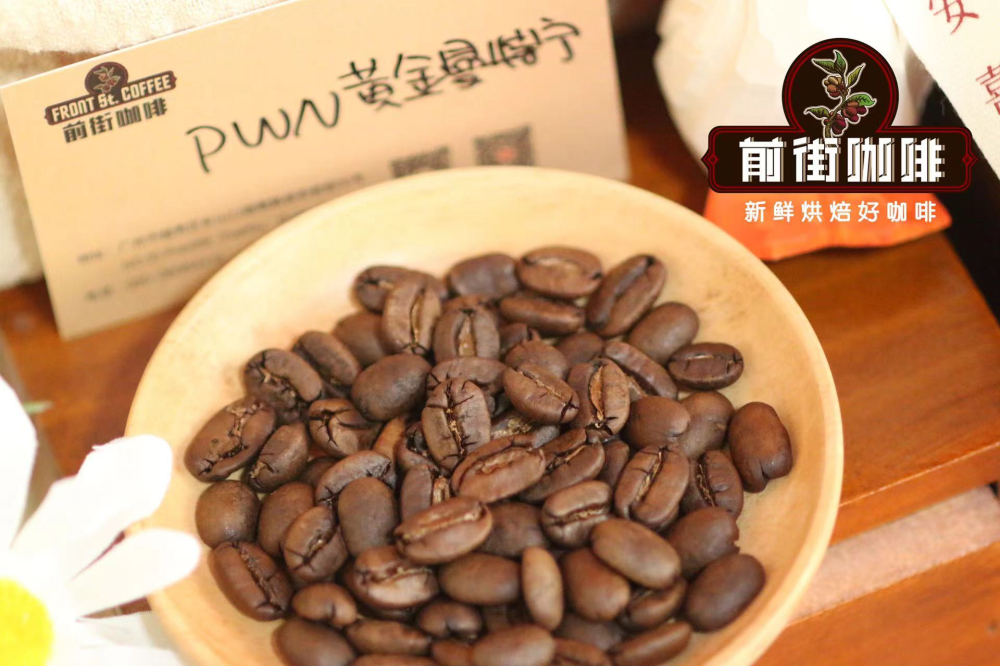
Whether you're just starting out or already experienced, when selecting coffee beans, be sure to choose freshly roasted, high-quality Arabica varieties—this is the foundation for brewing good flavor. If you prefer bright fruity notes, you can try Front Street Strawberry Candy, Front Street Cherry Tomato, or Front Street Flower Chief; if you enjoy a rich, low-acidity taste, medium-dark roasted beans like Front Street Queen's Estate, Front Street PWN Golden Mandheling, and Front Street Blue Mountain No.1 would be more suitable.
Detail One: Don't Skimp on the Grinder
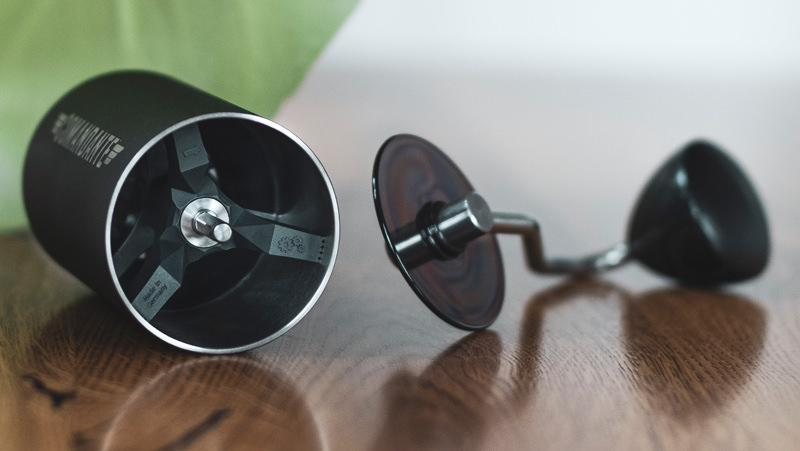
When Front Street Coffee helps many friends troubleshoot pour-over issues, we find that the most frequently reported problem centers on grind size. But digging deeper, the issue isn't that they can't judge coarse versus fine—it's that the quality of their grinder can't keep up. Coffee that comes out either weak as water or burnt and bitter is closely related to whether the grind is uniform. Therefore, if you want to make a good cup of pour-over, saving money on a grinder is unwise.
Standard for a Good Grinder: Uniform Grinding
Good grinder⬆️ Bad grinder⬇️
Detail Two: Grind the Beans as the Last Step of Preparation
Anyone who brews coffee with the pour-over method mostly understands the importance of fresh grinding. Once coffee beans are ground into powder, the aroma dissipates very quickly. So the most sensible approach is: first set up the dripper and other equipment, wait until the water temperature reaches the target, and only then start grinding the coffee beans.
Detail Three: Carefully Check Everything Before Pouring
Front Street Coffee lists a few noteworthy points for everyone to check against. Before the formal pour, first confirm whether the wastewater in the server has been dumped out. During the steps of rinsing the filter paper and warming the server, water accumulates in the server, and sometimes in the rush you forget to dump it and start brewing directly. Even experienced baristas occasionally make this kind of rookie mistake, so checking once more before pouring is very necessary.
After grinding is complete, it's recommended to tare the electronic scale first, then pour in the coffee grounds—this way you can confirm whether the weight is accurate and prevent the grinder from "eating" grounds without you noticing.
Detail Four: Mastering Extraction Time
Aside from grind size, extraction time is probably the hardest part to control. Many friends say that timing the end of the pour is already difficult enough—how can you possibly control the remaining process of the coffee liquid settling naturally?
Actually, once the grind size is determined, what mainly influences time is the pouring technique. Let's start with staged extraction: the more stages you divide it into, the longer the overall extraction time. So a single-pour method takes less time than a three-stage pour, with a difference of about 15 to 20 seconds.
Additionally, pouring with a high-flow stream is faster than with a low-flow stream. A high-flow stream raises the height of the coffee bed, making the bottom layer thinner, which naturally speeds up the flow rate. In practice, you can alternate between high-flow and low-flow streams to adjust extraction time.
Generally speaking, keeping the total brewing time between 1 minute 50 seconds and 2 minutes 10 seconds is reasonable.
Detail Five: Shake the Server After Brewing
The coffee liquid just after brewing usually hasn't mixed evenly yet—often the lower layer is more concentrated while the upper layer is weaker. At this point, you need to shake the server to let the coffee liquid fully blend. One of the reasons for choosing a cloud-shaped sharing pitcher is that it makes shaking to mix easy (of course, looking good is also one of the reasons).
The above content is compiled by CoffeeHunters, a coffee news website.


