








Why does milk float in clumps when you pour latte art?
To froth milk for a latte, the foam must be fluid, not thick. Treat the pitcher spout as 12 o'clock and place the steam wand at roughly 2 to 3 o'clock or 9 to 10 o'clock so the milk spins fast and forms a small vortex that folds coarse foam back into the liquid, leaving a dense, silky texture.
Steam wand depth matters as much as angle. Too deep and no air enters the milk; too shallow and it splashes without building texture. Once the foam is right, the pour, pitcher grip, and cup position decide whether a heart or tulip forms. Practicing the incorporation stage on its own, before attempting patterns, is the fastest way to fix clumpy results.
Many friends who are just getting into coffee are drawn in by latte art, thinking that a casual pour will produce a heart or a tulip, but when they actually try it, they find the milk always floats on the surface in clumps. In fact, latte art isn't as mysterious as it seems—the key lies in whether the milk foam is in the right state, the pouring technique, and whether the pitcher-holding posture is correct. Front Street Coffee today will start with milk frothing and break down the complete latte art process step by step, including the position and depth of the steam wand, the right frothing temperature, methods for practicing incorporation, details of holding the pitcher and the cup, and finally how to practice efficiently. Whether you're a complete beginner or someone who just can't pour a pattern, this article will help you find where the problem lies.
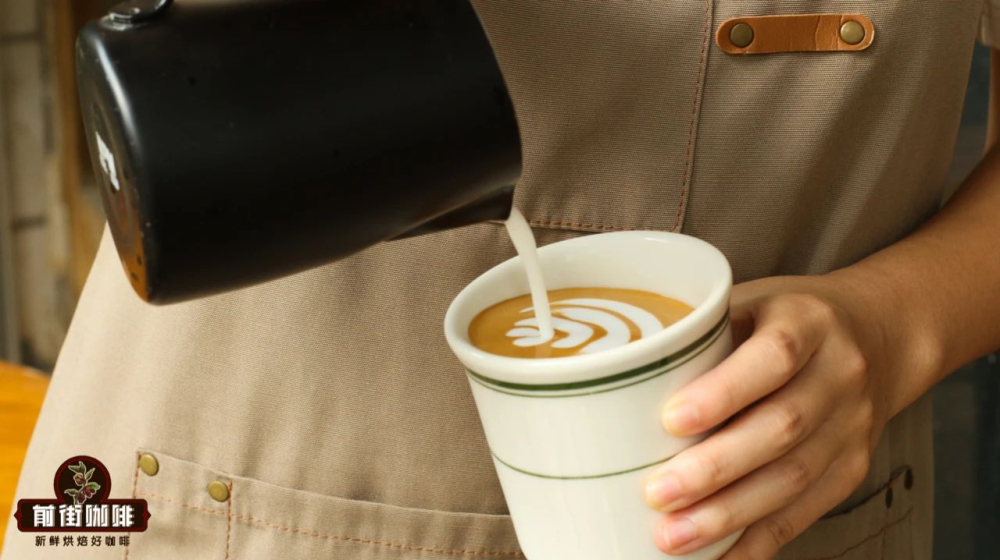
For many coffee lovers just getting into the hobby, latte art is indeed quite appealing. Watching others do it, it seems like a casual pour can produce a heart or tulip pattern—it doesn't look complicated at all.
But when you actually try it yourself, problems arise—why is the milk all clumpy when you pour it? Never mind rosettas or swans—you can't even make the most basic heart! Don't worry, Front Street Coffee is here to share some practical tips for the latte art process.
1. The milk foam needs to be fluid
Before starting latte art, you need a pitcher of milk foam in the right condition. The foam used for latte art should be just the right thickness—if it's too thick, it will float right on the surface of the coffee as soon as you pour. So how do you steam a proper pitcher of milk foam?
| Get the steam wand position right

Generally speaking, if you treat the pitcher's spout as the 12 o'clock direction, the steam wand is usually placed at the 2-3 o'clock or 9-10 o'clock angle. The reason for this is that when steaming milk, you need the steam to make the milk spin rapidly, forming a small vortex, which rolls the coarser foam into the milk. Only then will the milk have a dense, silky texture after steaming.
Once the position is set, you also need to control the depth. It's not that the deeper the better—after all, the essence of steaming milk is to inject air into it. If the steam wand is too deep, how can it contact the air? Of course, too shallow won't work either, because if the steam wand is too shallow, the milk may splash everywhere when you turn on the steam, or the steam may be too strong and create too much foam.
Generally, inserting the steam wand about 1cm below the surface can serve as a baseline. If your espresso machine has strong steam that creates too large a vortex or turbulence, then place the steam wand deeper, say 1.5cm; if the machine has weak steam, then place the steam wand shallower, say 0.5cm or even less. The goal is to get the milk to form a small vortex as quickly as possible, without spinning too violently or creating turbulence.
| The milk foam state needs to be right
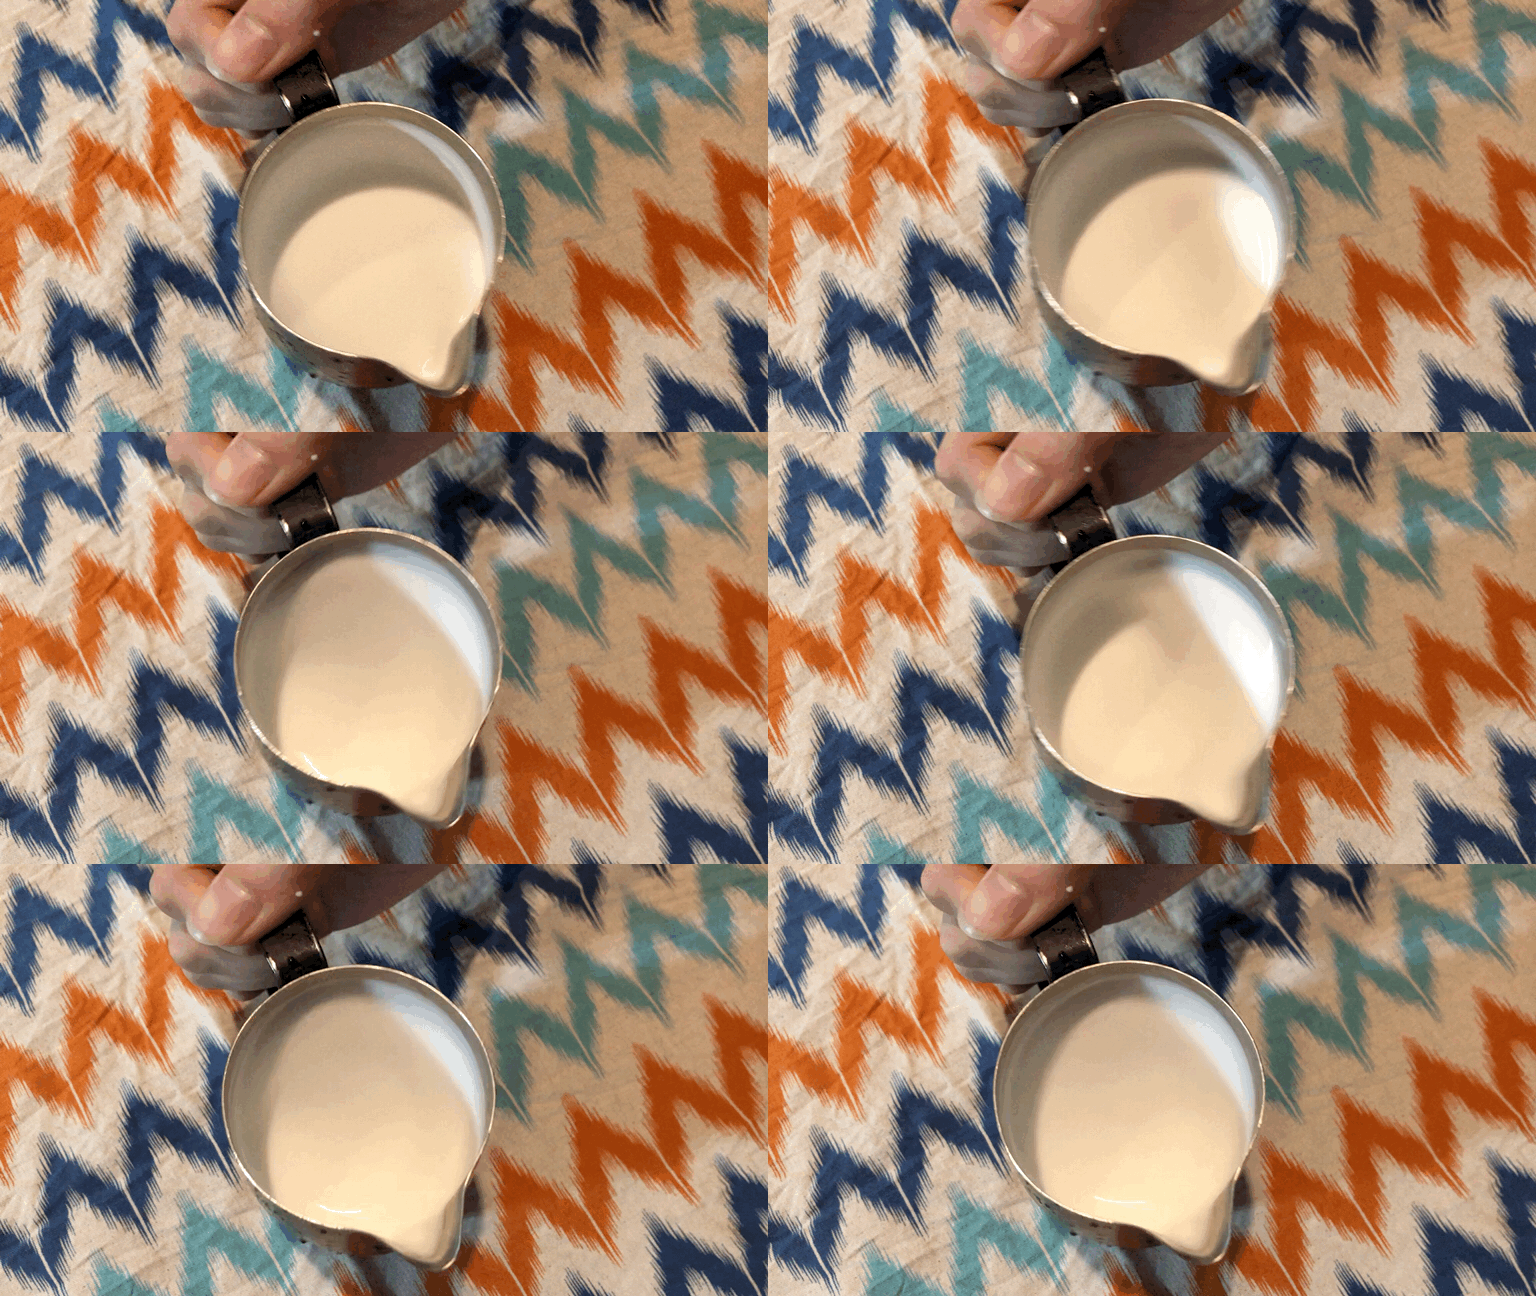
During the steaming process, you should hear a "zi zi" sound. If you don't hear it, the steam wand may be inserted too deep—try lowering the pitcher a bit. If there's no sound at all, it means you're not in the steaming phase. When the milk has expanded to about 80% full, move the steam wand diagonally to a position slightly right of the pitcher's center, near the edge, so the milk foam rolls in a vortex, mixing the foam and milk evenly and settling the foam at the same time.
| Temperature control
Also, the milk shouldn't be too hot, but it shouldn't be too cold either. It's recommended to keep it at 60-65°C. If the temperature is too high, on one hand it's easy to burn your hand, and on the other hand the milk foam becomes unstable; moreover, when milk gets too hot, the proteins in it change, and the taste suffers as a result.
2. Incorporation
Before latte art, there's another crucial step: incorporation. Many people may think incorporation isn't that important—isn't it just swirling the milk foam around a few times?
But incorporation is actually laying the foundation for latte art. How well you incorporate directly affects the final taste of the coffee. During incorporation, you generally use a relatively thin stream. After incorporation, the milk coffee needs to be fluid. Also, the extent of your incorporation is closely related to the thickness of the foam you've steamed—the thicker the foam, the less fluid it is, so you need a larger incorporation motion to ensure the surface of the milk coffee has fluidity.
Before practicing with milk, practice with water first. Try tilting the coffee cup at 45 degrees and pour into the cup with a consistent flow rate. Start by pouring at a fixed point, then try pouring at a steady pace with varying height and circular pouring, and finally combine the height variation with circular motion, slowly straightening the cup as you go. Remember, before you're ready to pour the latte art, the stream must never break.
3. Posture for holding the pitcher and cup
There's also technique involved in how you hold the cup during latte art. Do you hold it from the bottom, from the side, or by the handle? However you hold it, the most important thing is that you feel comfortable and flexible—otherwise you'll feel awkward when making the pattern. Usually we face the cup handle toward ourselves, so that when serving the customer, the pattern faces them directly.

During latte art, to keep the pitcher as close to the coffee as possible, the cup should be tilted appropriately. Otherwise, if the cup is too upright and the distance from the pitcher is too far, it becomes hard to control.
There are two common ways to hold the pitcher: one is gripping the pitcher's handle, and the other is pinching the pitcher's handle. Gripping the handle lets you use your wrist strength for large sweeping motions, making more elaborate patterns; pinching the handle lets you use subtle finger adjustments for finer patterns.
One more thing: the pitcher's spout and the cup should be perpendicular to each other, otherwise the pattern will easily lean to one side and lack symmetry.
4. Practice!
No matter how many techniques are described, it's useless without practice. As the saying goes, talk is cheap. If milk plus coffee is too expensive, you can practice with dish soap and dark soy sauce. After all, this is a skill that comes from familiarity—you can't learn it just by imagining it in your head.
Of course, that doesn't mean you should just practice blindly without thinking. After each practice session, it's best to review the problems from the previous cup, then start over. Only by being good at summarizing will you improve faster.
The above content is compiled by CoffeeHunters, a coffee news website.


