







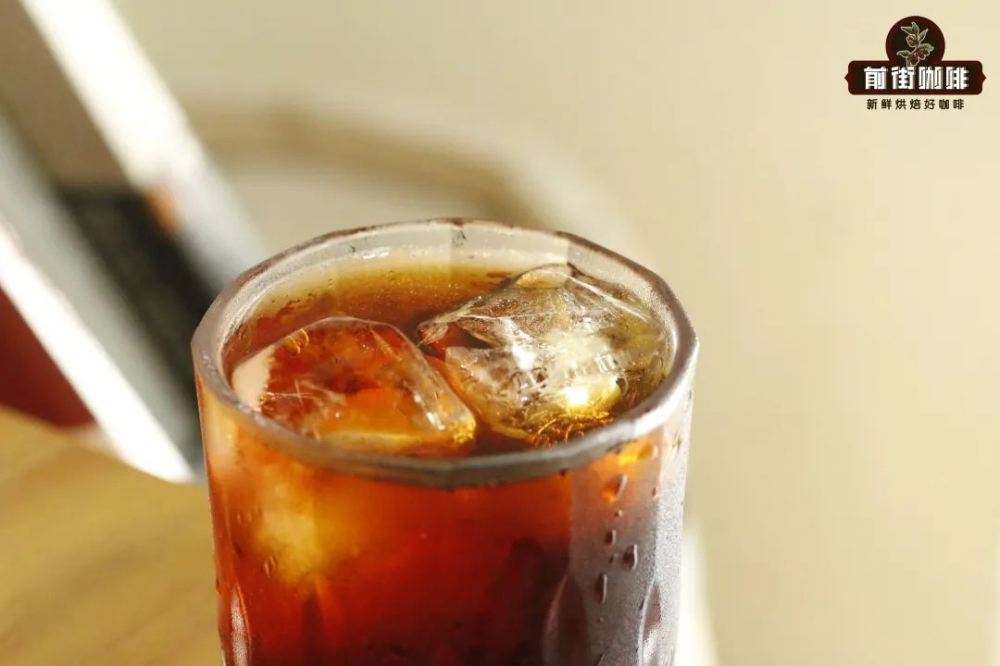
Yesterday I shared how to make cold brew coffee, so today let's try the challenge of making ice drip coffee! Compared to cold brew, ice drip is more complex to make and requires more effort and time. You can refer to the text and images in this article and adjust the production according to your own equipment and preferences~
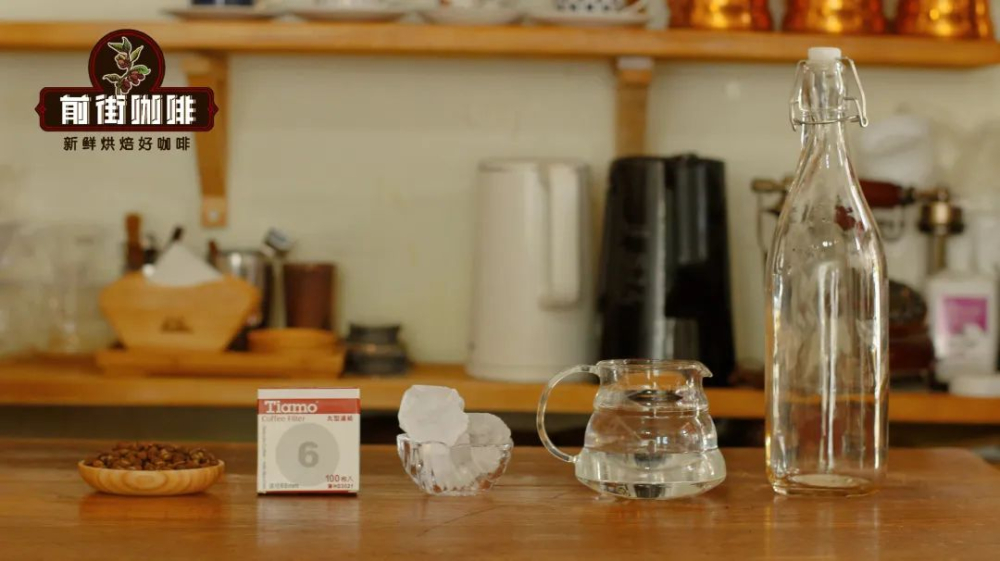
Preparation before making: ice drip pot, room-temperature direct drinking water, ice cubes, circular filter paper for ice drip, coffee beans, a sealed bottle. (In this tutorial, the ratio of coffee grounds to water to ice is 1:6:6, using 50g of coffee beans, 300g of water, and 300g of ice.)
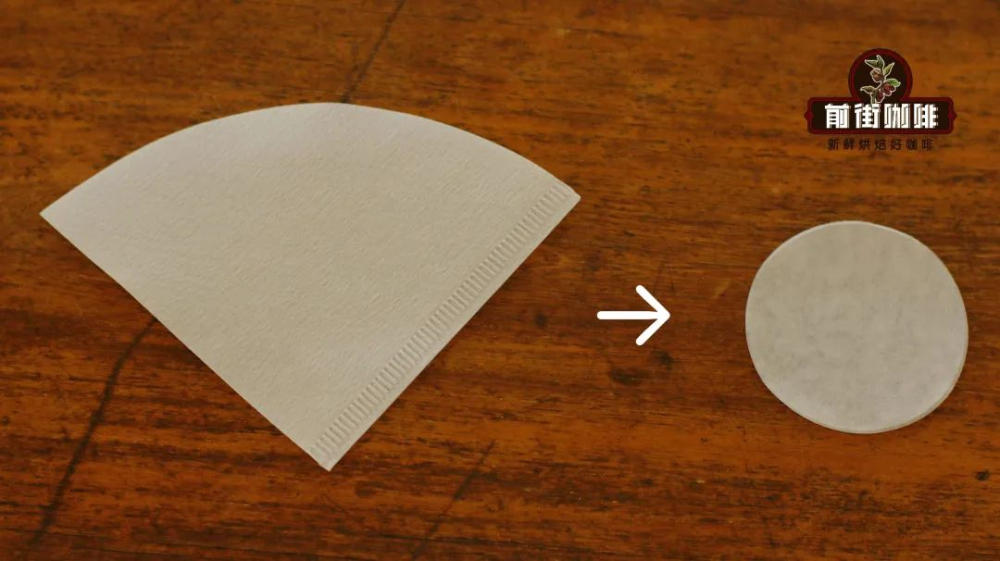
(Tip: If you don't have filter paper specifically for ice drip, you can cut ordinary pour-over coffee filter paper into circular pieces sized to fit the ice drip coffee grounds basket.)
For the coffee beans used in ice drip, it is best to choose types with fresh floral aromas or rich fruity flavors. Front Street Strawberry Candy Coffee, Front Street Kenya Coffee, and Front Street Yirgacheffe Coffee are recommended, because ice drip made from these beans generally has a fresh fragrance and tastes delicious whether or not you add ice.
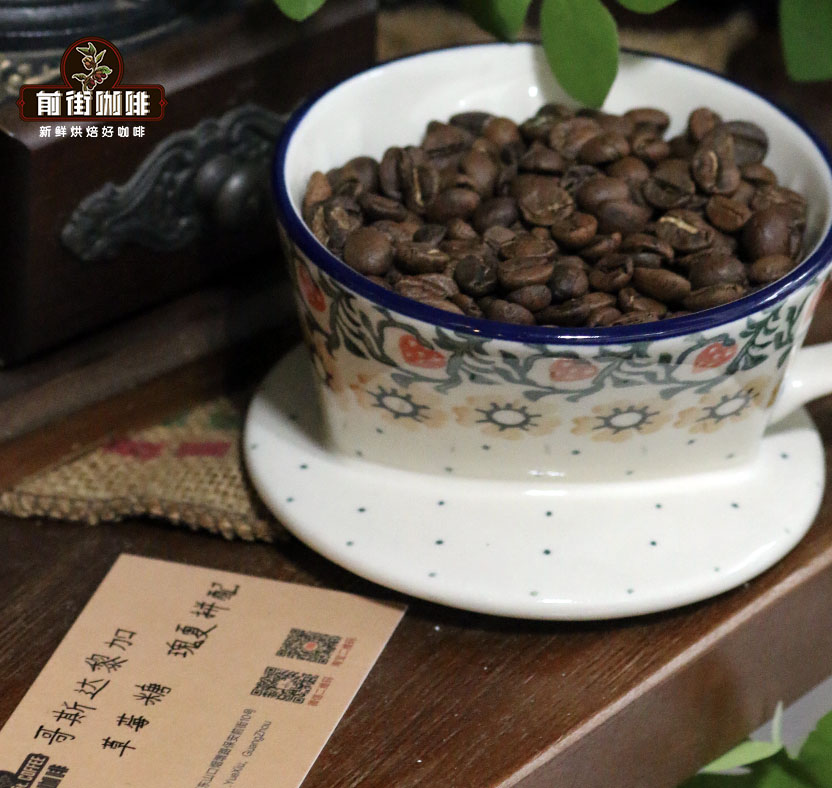
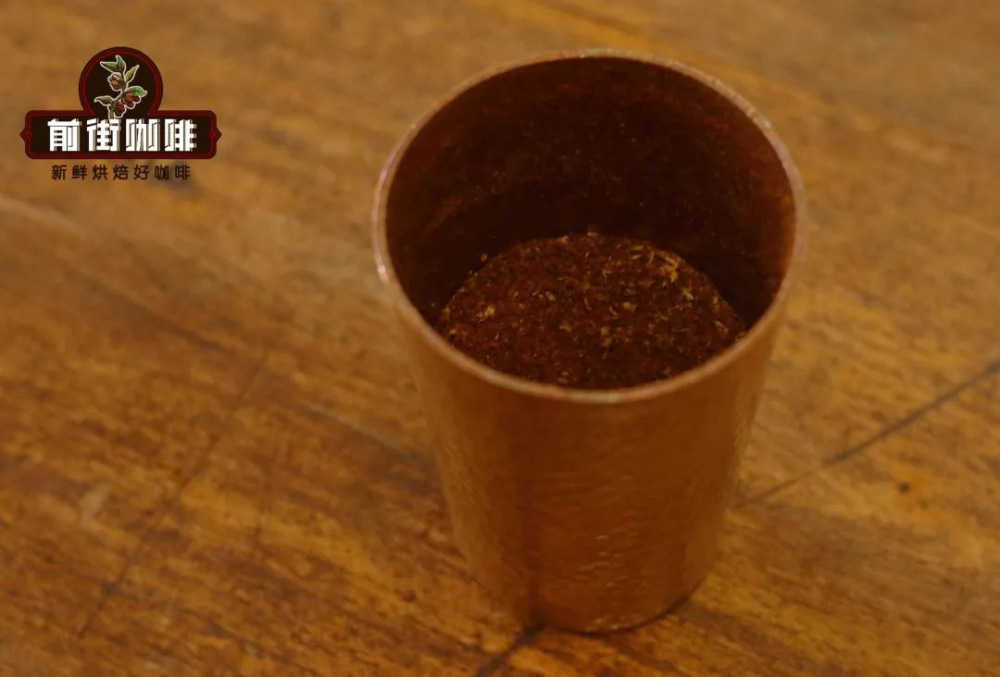
Step 1: Grind Front Street Strawberry Candy Coffee beans into coffee grounds.
(For reference only: The coffee beans used in this demonstration are Front Street Strawberry Candy. This is a blend of Costa Rican and Panamanian beans, with a rich coffee aroma and flavors of rose, raisin, cream, and berries when drunk. The grinder used is an EK43s, and the grind setting is 9, the same setting normally used for iced pour-over.)
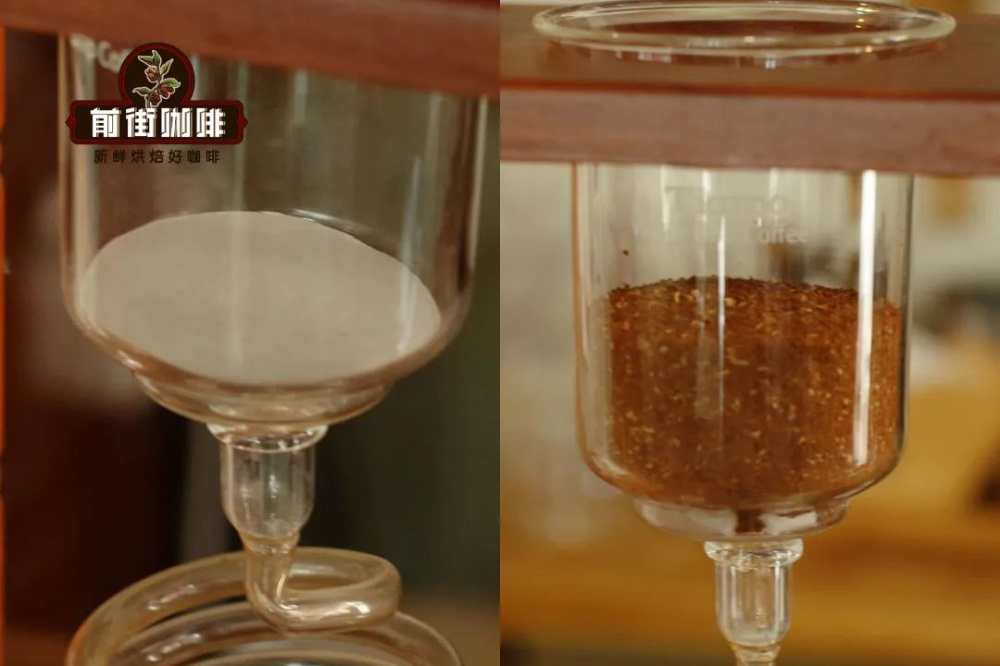
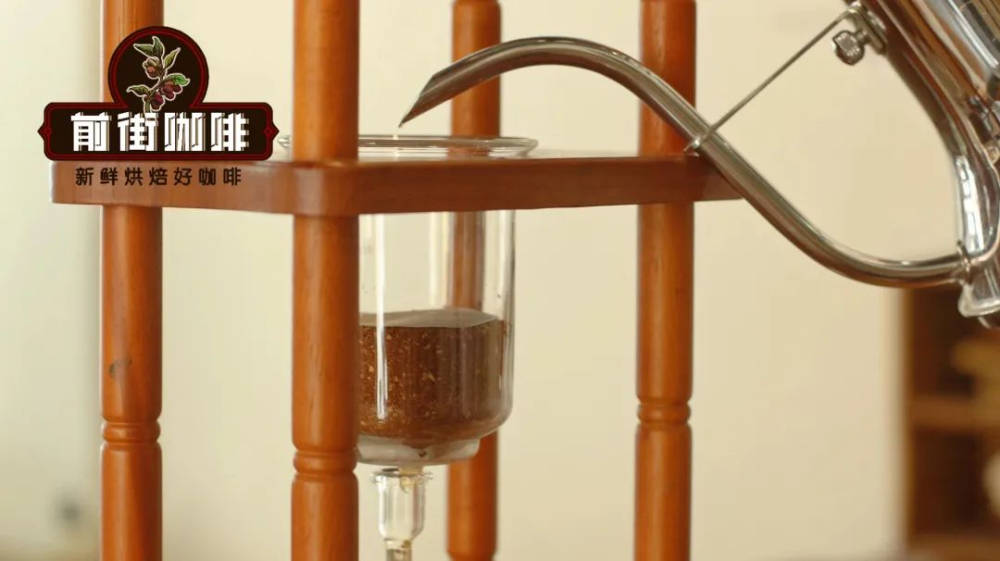
Step 2: Line the coffee grounds basket of the ice drip pot with a layer of circular filter paper for ice drip, moisten it with water, then pour in the coffee grounds and level them.
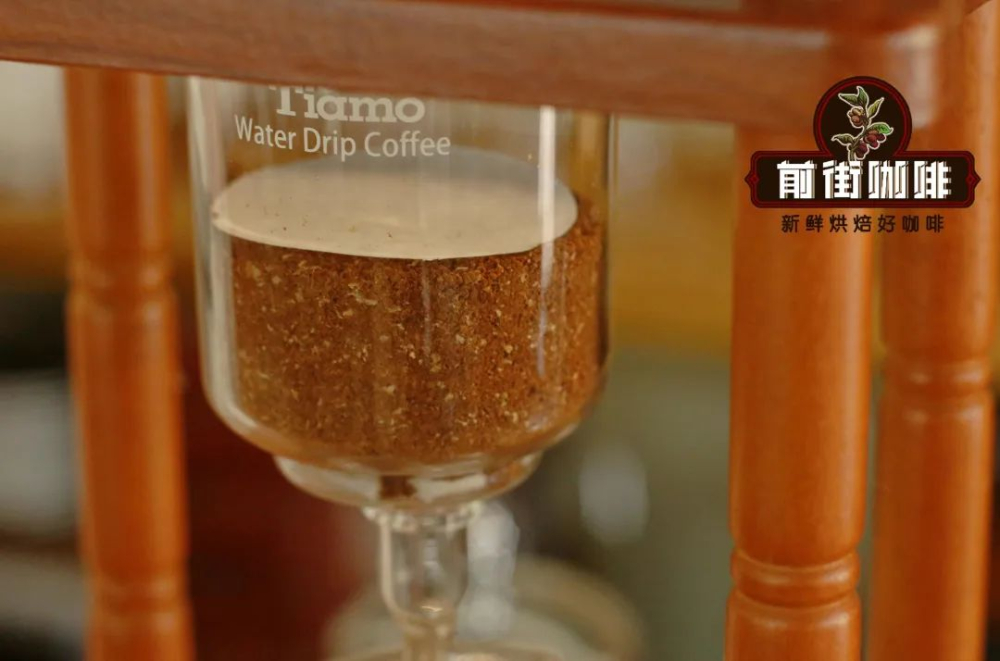
Step 3: Cover the leveled coffee grounds with another circular filter paper for ice drip, and use room-temperature water to moisten the coffee grounds. (Tip: You need to moisten all the grounds so that the dripping time can be shortened and the coffee bed can be evenly penetrated by water.)
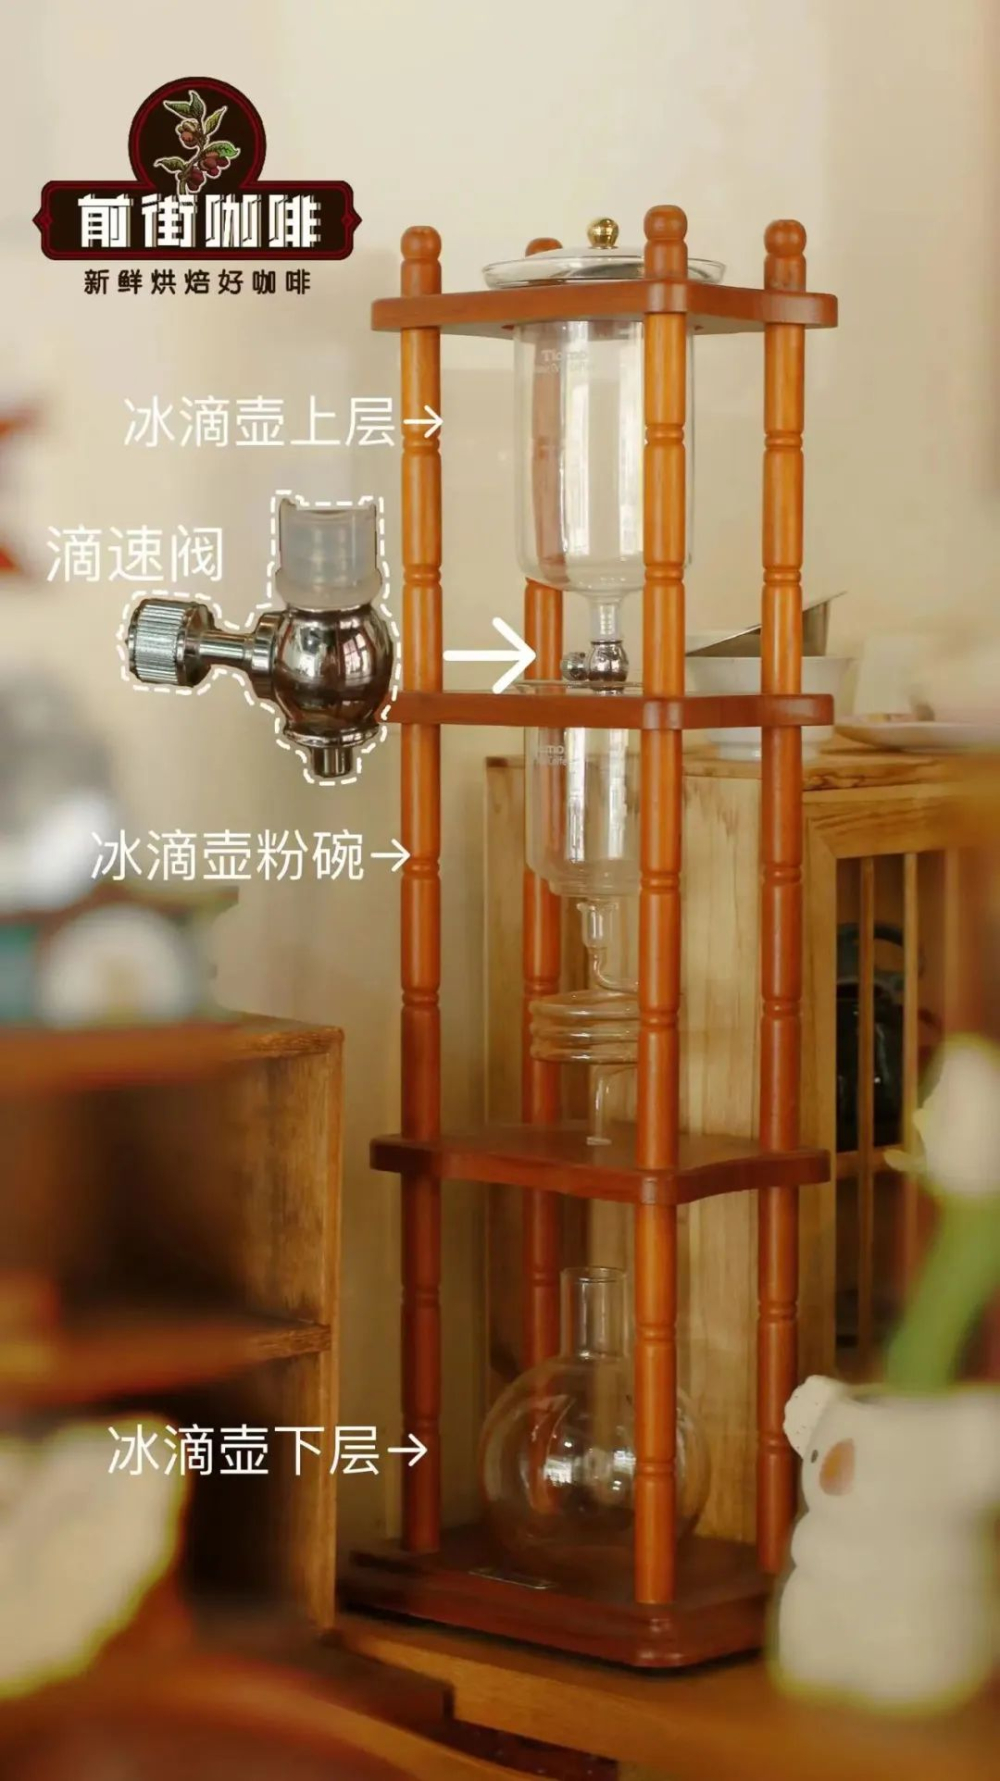
Step 4: Pour ice and water, in that order, into the top container of the ice drip pot that has the drip rate valve.
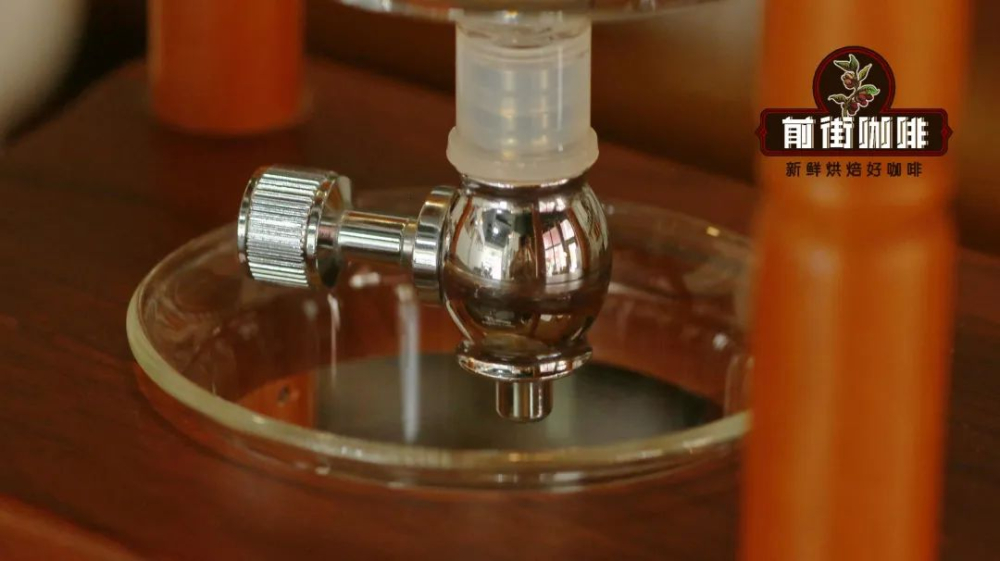
(Note: Before pouring in the water, the drip rate valve needs to be closed to prevent the poured ice water from rushing straight down in a large stream.)
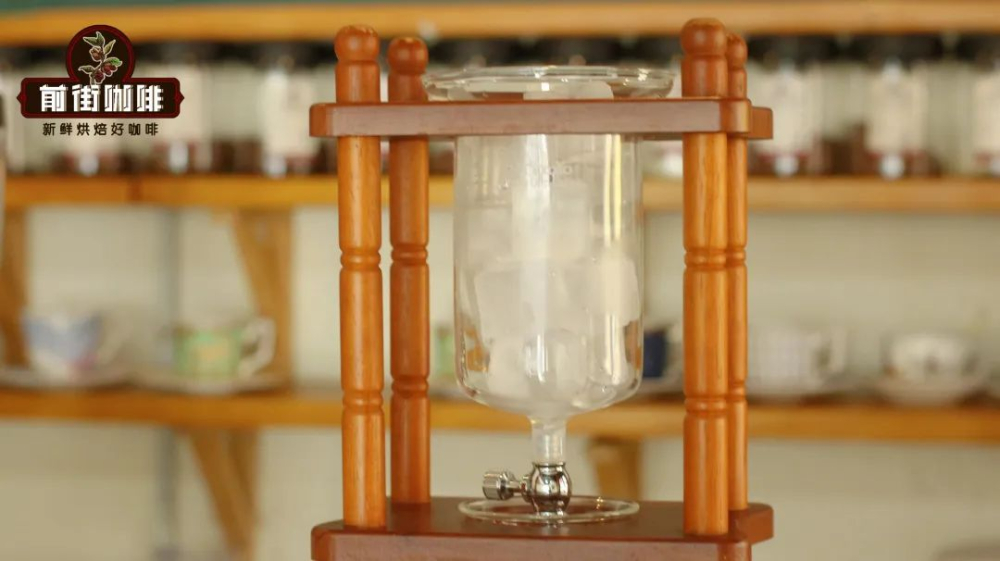
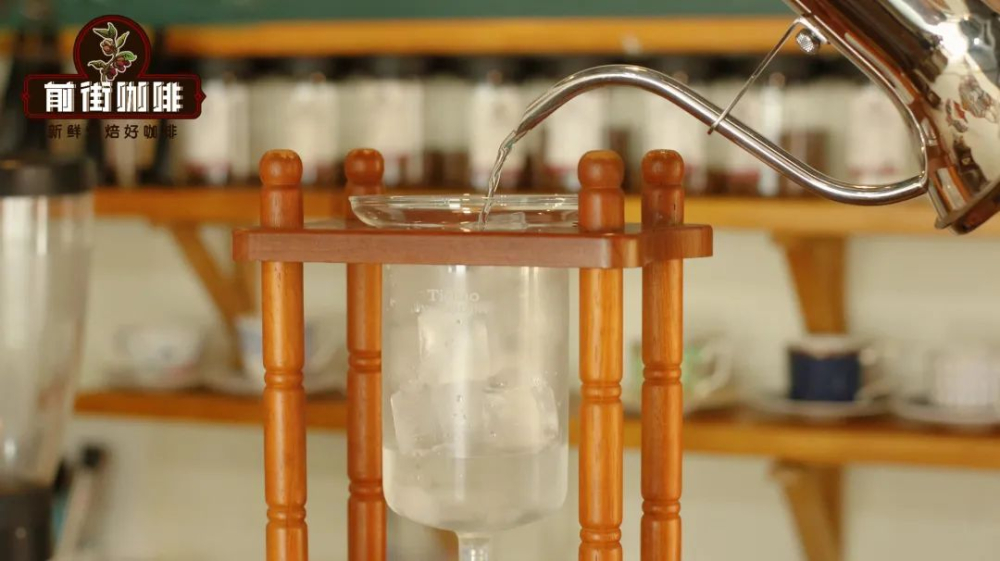
Step 5: Control the drip rate of the valve to 7 drops every 10 seconds, then wait until dripping is complete.
(The dripping process takes a long time, so you need to check the drip rate from time to time to prevent changes.)
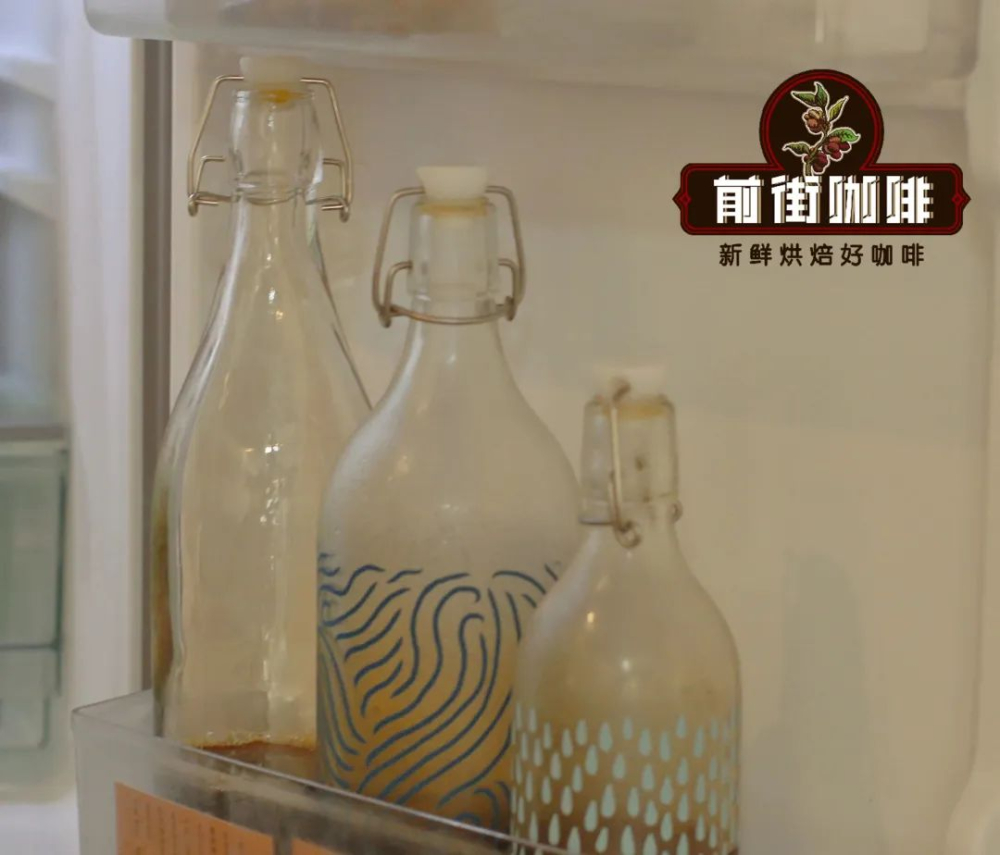
Step 6: After dripping is complete, pour the coffee into a sealed bottle and refrigerate it for 8 hours.
(Note: Refrigerate! Not freeze!)
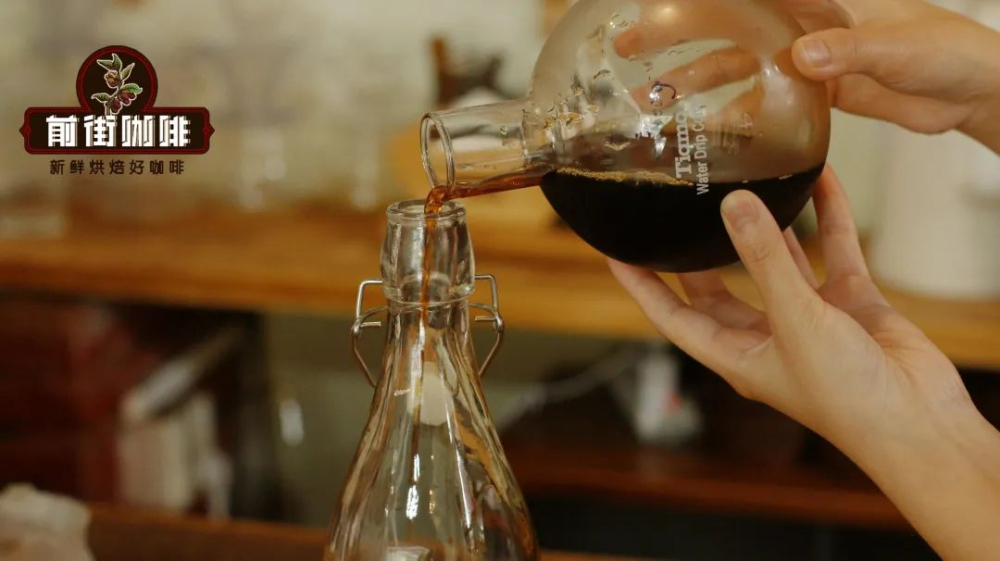
Step 7: Time to enjoy! The long production and waiting have finally paid off. Enjoy to the fullest the goodness brought by this long effort! (It tastes even better with ice cubes added!)
The above content is compiled by CoffeeHunters, a coffee news website.


