








What Temperature Works for Specialty Coffee Milk Frothing?
Milk foam defines a latte or cappuccino, and for specialty coffee it should be thin, glossy, and silky rather than thick. Steaming uses a steam jet to push air into the milk, and milk proteins form countless tiny bubbles through surface tension. Fat keeps those bubbles stable, so aromas release when they burst in the mouth.
Lactose dissolves as the milk warms and is sealed inside the foam. Above 70 degrees Celsius the foam collapses quickly, so heating milk to roughly 60 to 65 degrees keeps it sweet and stable. Foam that will not blend or floats during latte art usually signals overheated milk or too much air introduced early.
Milk foam is the soul of a latte and a cappuccino. In a proper latte, the milk foam should be thin and delicate, with a glossy surface and a smooth mouthfeel. Drawing on Front Street Coffee's hands-on experience, this article systematically explains the basic principles of milk steaming, answers the most common questions about frothing milk—why the foam doesn't blend, and why it floats on the surface during latte art—and sets out the criteria for judging the degree of incorporation. At the same time, through comparative experiments at different temperatures, the article explains what temperature is best for heating milk and why foam rapidly collapses above 70°C. Whether you're a complete beginner or an enthusiast hoping to refine your latte art skills, you'll find practical guidance here.

A guide to getting the best foam when steaming milk, and why does milk froth?
At Front Street Coffee, steaming milk is considered one of the most fundamental and critical skills for any barista; whether the milk can be steamed to an ideal state is often seen as the benchmark for judging whether a barista's skill is up to standard. Take a latte, for example—its foam should be on the thin side, with a silky, delicate mouthfeel. So when steaming milk for a latte, it shouldn't be frothed too thick; the finished surface should be glossy, with no obvious large or small bubbles, and only when it is fine and even throughout can it be considered acceptable.
The core principle of milk frothing is to use a steam jet to agitate the milk, allowing air to enter the liquid milk, and then use the surface tension of milk proteins to generate a large number of tiny bubbles, causing the originally liquid milk to expand in volume and turn into foam.
During frothing, lactose dissolves into the milk as the temperature rises and is sealed inside the milk thanks to the frothing action; milk fat is responsible for keeping these tiny bubbles stable. When drunk, these tiny bubbles burst in the mouth, allowing aromas and flavor compounds to be released and amplified more effectively, giving the milk a sweet, rich taste and mouthfeel. When the milk foam mixes with coffee, the intermolecular bonding is stronger, and the coffee and milk can fully combine, so that each one's characteristics are both highlighted and seamlessly united, achieving a mutually reinforcing effect.
Front Street Coffee is here to answer some of the questions you commonly run into when frothing milk!
Why doesn't the steamed milk foam blend?
First of all, the prerequisite for getting milk foam to blend perfectly with coffee is a bag of fresh coffee beans. Espresso made from beans that have been sitting too long may still have a layer of yellow crema on the surface, but it is firm in texture, lacking in aroma, and mediocre in flavor.
For beginners, it's a good idea to buy Front Street. Front Street Classic Blend, a medium-dark roast with the toasty aromas of spice, dark chocolate, maple syrup, and roasted hazelnut. It's low in acidity, suited to friends who like strong coffee, delivers rich crema, and gives the coffee greater body. Front Street Coffee ships everything within 5 days of roasting to ensure you have a longer optimal flavor period when it arrives.
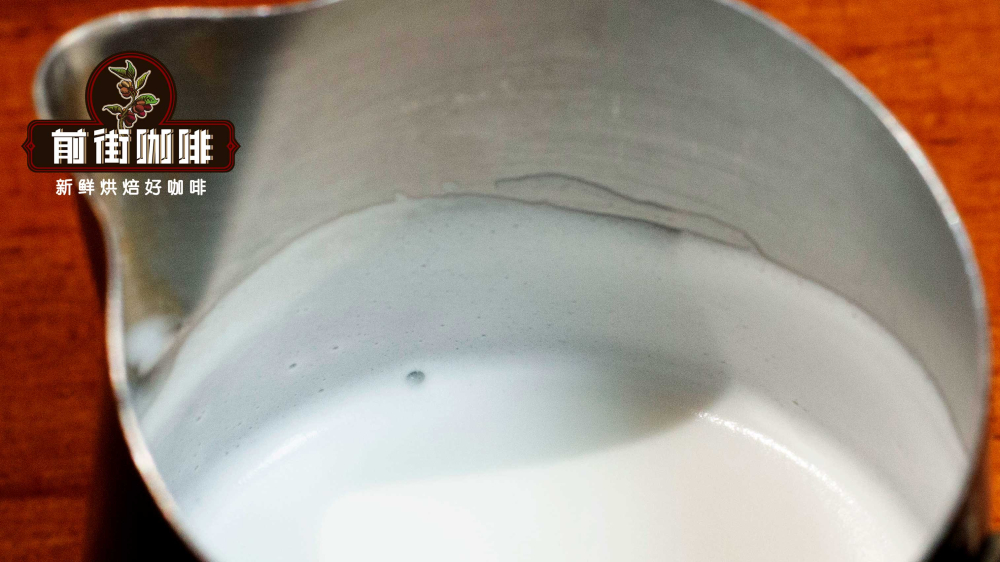
The moment the milk foam is poured into the espresso, it immediately mixes with the coffee—forget about drawing a pattern, it can't even leave a trace and just disperses. The other situation is that the earlier blending stage looks normal, but when it comes time to pour latte art, the foam clumps and floats on the surface. Front Street Coffee (FrontStreet Coffee) will explain the first situation: it comes from frothing too little, steaming the foam too thin, so the cup is mostly hot milk, and naturally it's hard to form a shape. When this happens, be a bit bolder and froth a little more!
So why is it that, even though the blending is clearly fine, the milk foam floats on top when you pour latte art?
This is mainly because the milk and the foam have poor incorporation, causing the two to separate, and in the end the foam floats on the surface of the coffee. This situation can only be adjusted during the stage of texturing the milk foam!
What determines the degree of incorporation between the milk foam and the milk? The degree of incorporation mainly depends on the following two points:
1. The steam wand's pressure. (The steam wand's pressure causes the milk foam to roll to different degrees during frothing; the greater the pressure, the higher the incorporation.)
2. The fineness of the milk foam. (The finer the foam produced, the less air each individual bubble contains, the higher the density, and the lower the buoyancy; the coarser the foam produced, the more air each individual bubble contains, the lower the density, and the greater the buoyancy. If the foam produced is relatively coarse, it will quickly float to the surface of the milk, and the incorporation will be low; if the foam produced is relatively fine, the foam will float to the surface of the milk more slowly, and the incorporation will be high.)
Why do we want the milk foam to have a high degree of incorporation? The higher the incorporation between the milk foam and the milk, the clearer and more delicate the lines of the latte art pattern will be; conversely, the lines of the latte art pattern will be blurrier and coarser.
How should the degree of incorporation of the steamed milk foam be judged?
Front Street Coffee will teach you how to judge the incorporation of steamed milk foam! Pour the steamed, incorporated milk foam into a glass and let it stand, observing the time it takes to separate. The length of the separation time indicates the degree of incorporation of the milk foam!
Separating within 30 seconds is poor; within 30-60 seconds is medium; after 60 seconds is excellent.
Also, whatever you do, don't set the steamed milk foam aside to use later—that will also cause it to separate!
Some may ask, why does the temperature to which the milk is steamed matter?
Generally, Front Street Coffee (FrontStreet Coffee) heats the milk to around 60°C, but it must not exceed 70°C, otherwise the protein structure in the milk will be destroyed.
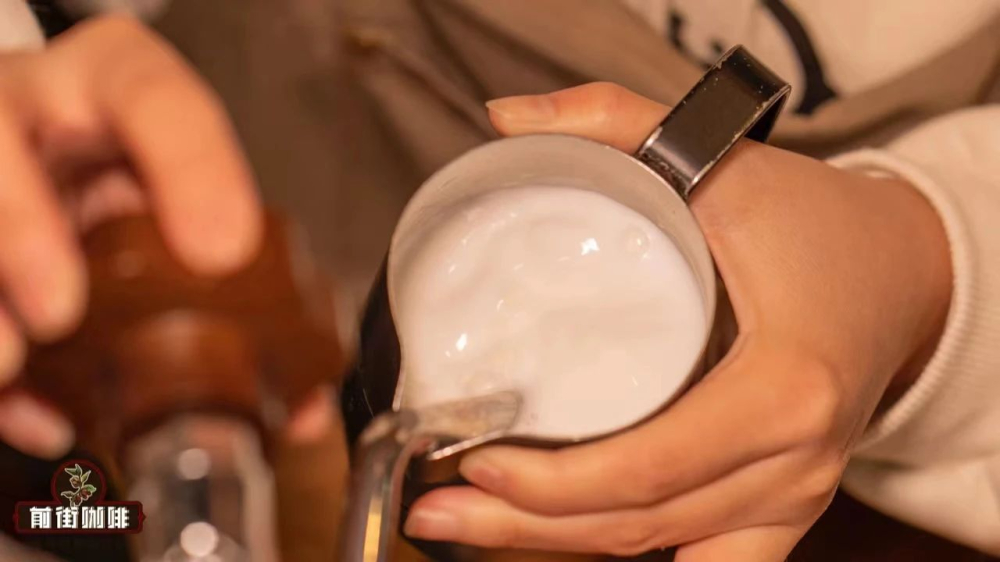
Front Street Coffee previously ran an experiment, steaming milk to different temperatures:
At 90°C: once the temperature goes above about 70°C, the foam will rapidly expand even without deliberately frothing it, and at high temperature it keeps rolling; by the time it neared 90°C, our milk had already overflowed the pitcher (as shown above), stopping at 94°C. After about 1 minute 30 seconds, obvious signs of foam collapse had already appeared.
At 60°C: this is the temperature we use more often. Steaming the foam with the usual technique, stopping when it feels hot to the touch, the temperature was 63°C. Obvious signs of foam collapse appeared after about 10 minutes 50 seconds.
At 30°C: frothing with the usual technique, the temperature felt warm by hand, and the stopping temperature was 33°C. Obvious signs of foam collapse appeared after about 4 minutes 20 seconds.
At 12°C: here we used milk straight from the refrigerator with a manual frother; the temperature when poured into the frother was 8°C, and after frothing it was 12°C. Obvious signs of foam collapse appeared after about 5 minutes 15 seconds.
Milk foam in the 50-70°C range has the best persistence, whether in pure milk or after being added to coffee, for two reasons: first, after frothing there is ample time to blend and texture the foam and the liquid milk together; second, this is during the period when the milk has begun to denature but has not yet reached irreversible denaturation, so stability is relatively high.
When the milk foam is steamed to around 80-90°C, the milk undergoes irreversible denaturation. There are two kinds of protein in milk: whey protein and casein; whey protein begins to denature above 60°C. So when we steam to around 90°C, the protein no longer has enough elasticity, and the foam collapses relatively quickly.
When the milk foam is steamed to around 30-40°C, the reason the foam collapses relatively quickly is insufficient time to blend and texture the foam and the liquid milk together after frothing.
The reason frozen milk foam collapses quickly is that we used a manual frother, and its degree of mixing cannot compare with the high-speed mixing and incorporation of a steam wand; the incorporation is not high, and on top of that, during the transition from low temperature to room temperature, the foam is going through a warming process—pressed by external heat, the gas inside expands with the heat, so the foam bursts relatively noticeably.
The above content is compiled by CoffeeHunters, a coffee news website.


