








Techniques for Frothing Milk and Pouring Latte Art
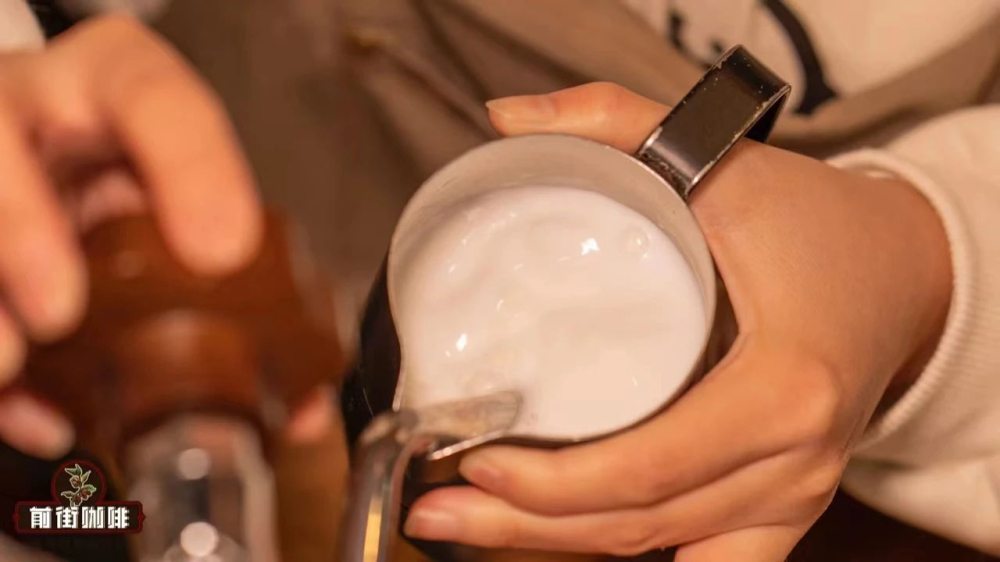
To create latte art, start with properly frothed milk. The milk should have a fine, glossy microfoam without large bubbles. The ratio of milk to espresso also matters: typically, a latte uses about 6 to 8 ounces of milk for a single or double shot. Pouring technique is crucial; begin by pouring from a height to integrate, then lower the pitcher to draw the pattern. Common patterns include the heart, tulip, and rosetta, each requiring specific pitcher movements.
Practice is essential to develop consistency. Many baristas find that adjusting milk foam thickness helps; slightly thicker foam can provide better control for etching patterns. Adding a small amount of milk before integration can create a cleaner surface. Start with simple patterns like the basic heart and repeat until you can reproduce it reliably. Over time, you can progress to more complex designs. Remember that the key is to maintain clear texture and distinct shapes, focusing on the quality of the pour rather than the complexity of the pattern.
Latte art may seem difficult, but by mastering key details, you can significantly improve your success rate. This article systematically explains the basic steps of latte art and the approach to achieving common patterns, from milk foam thickness and pouring techniques to pattern selection. Front Street will share how to judge the standards of a high-quality latte art, and how to gradually master patterns like tulips, rosettas, and multi-layered hearts through repeated practice of the basic heart, flexibly adjusting the pour point and finishing. Whether you are a beginner or a barista hoping to break through a plateau, these practical tips can help you reduce failures and achieve consistent results.

Many people think latte art is difficult. Some beginners accidentally pour a beautiful pattern during practice, but afterward, they can't reproduce the same effect no matter how hard they try.
Opinions vary on what makes a good latte art. Front Street shares its view: first, focus on the fineness of the surface; second, the uniformity of the integration—whether the boundary between the "golden ring" and the pattern is clear; and finally, the pattern itself. Front Street doesn't care how complex the pattern is, as long as the texture is clear and the shape is distinct.
Achieving these requirements is not easy; it requires continuous practice to develop a feel for it, which theory cannot replace. However, there are some tips that can reduce the probability of failure in latte art.
- The milk foam can be made slightly thicker
This is for those who want to create etched patterns. We know that etching requires thinner milk foam because better fluidity results in finer lines. But too much fluidity leads to the opposite extreme—difficulty in control, patterns easily spreading, and in severe cases, even failing to form.
For example, if milk is steamed to 5.5 to 6 parts full from 5 parts, it is very thin foam. If patterns occasionally become distorted or fail to form during pouring, try steaming the milk to 6.5 to 7 parts full.

- Add some milk before integration
Pour a small amount of milk first to let it mix with the espresso, which makes the crema and milk foam blend more evenly and stably. This also prevents "whitening" during the subsequent integration, keeping the surface "clean."
- Start with simple patterns and practice repeatedly
Front Street believes this is the hardest part, and many baristas struggle to persist. For example, the "basic heart" is one of the most fundamental patterns. Many baristas can pour a decent basic heart after about ten cups. But at this point, they often get the illusion that they've mastered it and move on to the next pattern.
In reality, this foundation is not solid. Pouring a "basic heart" might just be a lucky combination of perfect conditions. With slight deviations, the heart shape becomes unstable. Therefore, the safest approach is to calm down and keep practicing the same pattern until every cup you pour is almost identical, only then can you say you've truly mastered it.
- Use flexibly
For instance, if you pour at the wrong point when trying to make a heart and find it's too far forward, forcing a heart would shift the entire pattern forward. Instead, you should instinctively switch to a rosetta or push a tulip.
Another example: when finishing a heart and noticing the cup isn't full yet, don't rush to draw the tail. You can push 1 to 2 small hearts to form a 3-tier tulip.
The above content is compiled by CoffeeHunters, a coffee news website.


