







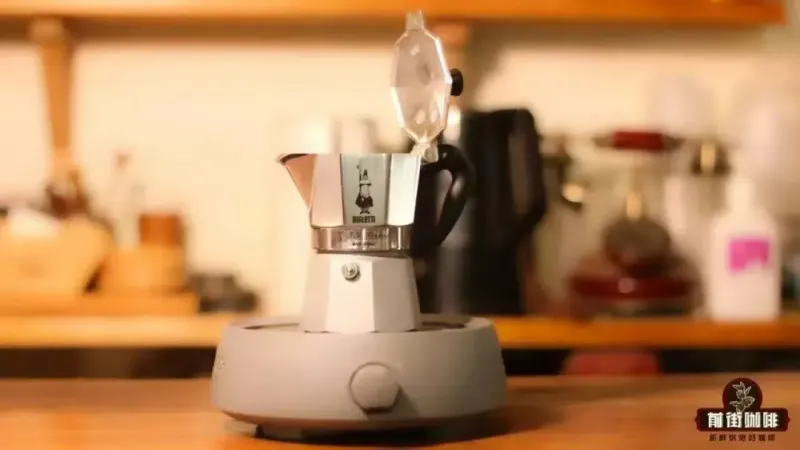
Can You Put Milk in a Moka Pot Instead of Water?
Putting milk in the moka pot's base instead of water is not the fix for a weak latte. The real problem is that a moka pot's extraction pressure is far below an espresso machine's, and standard recipes are designed for black coffee. The result, once milk is added, tastes thin rather than rich unless the brew itself is made more concentrated.
To build a stronger base, adjust the water amount, grind finer, and extend extraction time, then pair the coffee with milk at a workable ratio. A standard moka pot cannot reach true espresso concentration, so it only gets closer than other brewing methods. Treat the moka pot as its own device and tune parameters rather than copying espresso recipes.
Many coffee enthusiasts see the moka pot as a budget-friendly alternative to an espresso machine, hoping to use it to make a rich, fragrant latte. However, in practice, they often find that the result tastes weak and watery, far from the rich milk coffee served in cafés. The root of the problem lies in two things: the moka pot's extraction pressure is far lower than that of an espresso machine, and the standard parameters are only suited for making black coffee. This article will explain in detail how to increase the strength of moka pot coffee by adjusting the water amount, grind size, and extraction time, and provide specific ratios and steps for pairing it with milk, helping you easily make a rich, delicious moka pot latte at home.
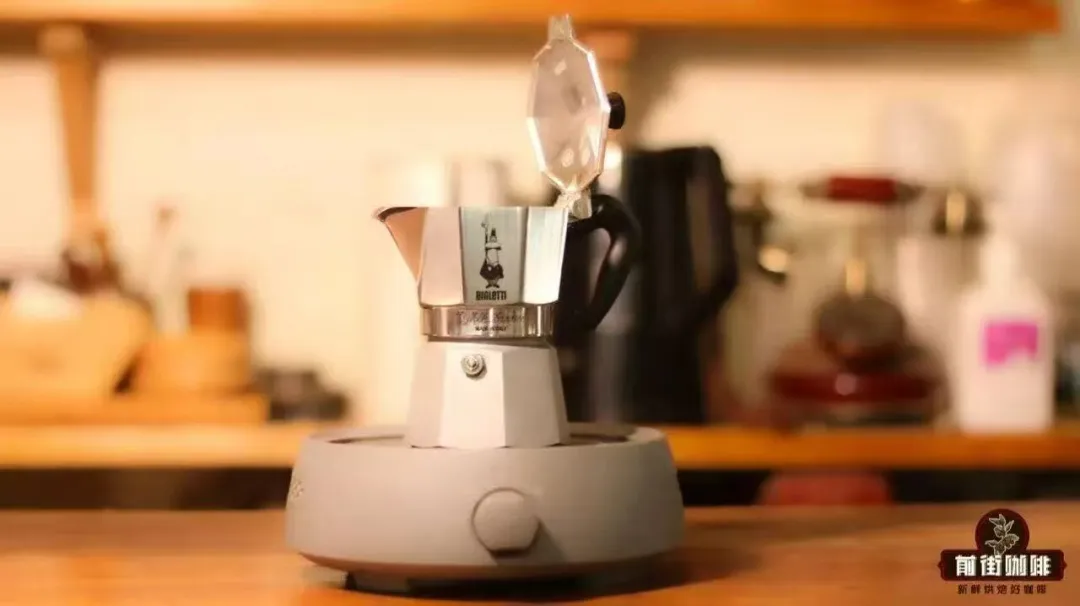
Many people decide to buy a moka pot because they've heard it can replace an espresso machine. Like espresso machines, moka pots use pressure extraction, so they can produce a more concentrated coffee liquid than atmospheric brewing methods. And the reason people seek out this concentrated coffee is often to mix it with milk and make a rich, smooth latte.
However, the reality disappoints many: when coffee brewed with a moka pot is mixed with milk, not only does it lack the richness found in cafés, but it also tastes watery, like a heavily diluted coffee-flavored milk. Front Street had anticipated this, and there are two main reasons. First, although both use pressure extraction, the moka pot's pressure falls far short of an espresso machine's, so it can't achieve the extremely high concentration of espresso—it can only get somewhat closer than other brewing methods;

Second, improper use of parameters. Many people, when making moka pot coffee, directly follow the official manual or recipes recommended by bloggers. These parameters themselves aren't wrong, but they're only suitable for black coffee, and the concentration isn't enough to support the addition of milk.
If you want to use moka pot coffee as a base to mix with milk, as Front Street has always emphasized, you must adjust the parameters and increase the concentration; otherwise, the coffee flavor will be completely masked by the milk, and the texture will seem thin due to excessive water.
The specific steps aren't actually complicated. Below, Front Street will share how to use a moka pot to make a rich, fragrant latte.
Super simple! Steps to make rich milk coffee with a moka pot
Coffee beans determine the flavor direction of the coffee, so the first step is to choose suitable beans according to your taste preferences.
If you prefer a rich, fragrant milk coffee without acidity, you can choose traditional medium-dark or dark roast espresso blends. Beginners can directly get Front Street Classic Blend; using it to make espresso yields abundant crema, a rich mouthfeel, and non-acidic flavors like chocolate, nuts, cream, and cookies;
If you like milk coffee with more distinct flavors, a less heavy body, and a fresher profile, then choose medium roast beans. Those who can't quite accept bitterness can buy Front Street Strawberry Candy Espresso; the espresso it makes has aromas of strawberry, rose, and berries, with a balanced taste and a smooth, round mouthfeel.
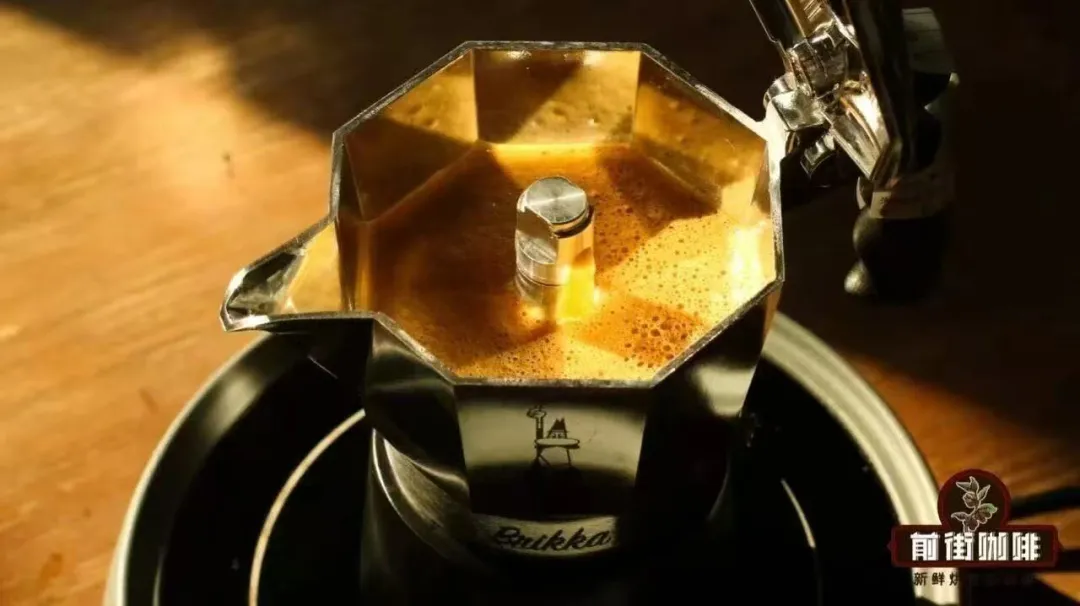
Once the beans are chosen, you can start extracting. Because what we want to make is a highly concentrated coffee that can stand up to milk, we should push the concentration as high as possible. The most effective way to increase concentration is to control the amount of water during extraction.
With the extraction yield unchanged, the less water there is, the higher the coffee concentration. But reducing water will lower the extraction efficiency, causing the extraction yield to drop. If you want to maintain the extraction yield while reducing water, grinding finer is a good countermeasure.
Grinding finer can increase the resistance of the coffee puck, extend the extraction time, and at the same time increase the contact area between the coffee grounds and hot water, making flavor compounds easier to dissolve out. This way, although the water amount is reduced, the extraction yield won't drop too much, and the coffee concentration can be greatly increased.
To summarize briefly: reduce the water amount, grind finer, and extend the extraction time, and you'll get a highly concentrated moka pot coffee that can make a rich milk coffee. Below, Front Street will demonstrate the specific parameters and steps. This time we're using the Front Street Classic Blend mentioned earlier, with the following parameters:
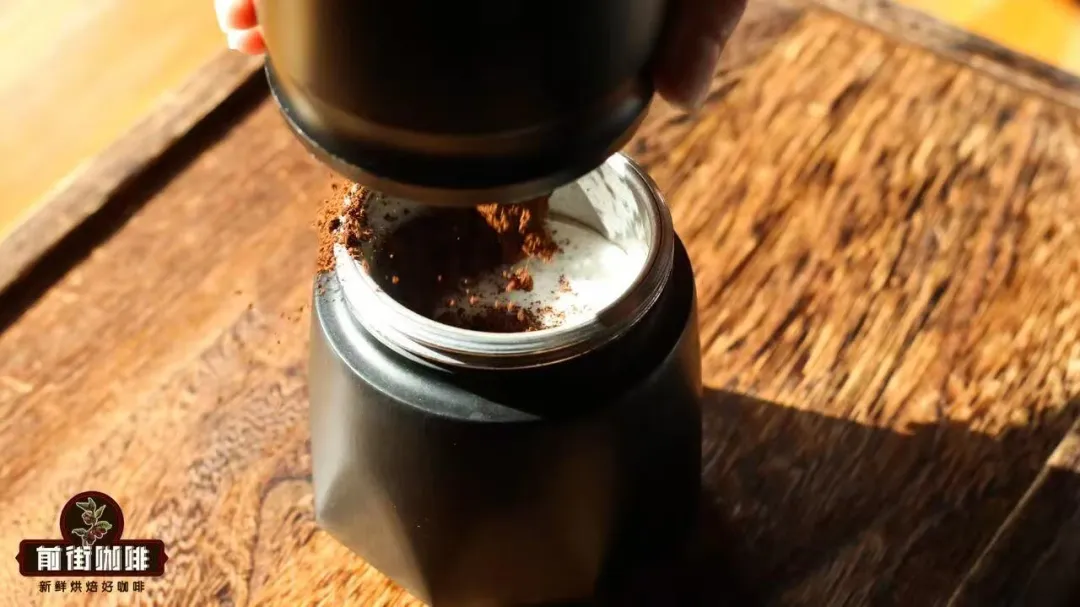
Grind size: flour-like grind used for espresso. If you have a merchant grind it for you, this is the coarseness you should receive (at least, this is the grind size Front Street uses, as shown in the image above).
Dose: 20g. If your moka pot is smaller, you can reduce it accordingly.
Coffee-to-water ratio: 1:4, so 20g of coffee corresponds to 80ml of water.
Initial water temperature: 100°C. Initial water temperature refers to the temperature of the water poured into the lower chamber of the moka pot. It doesn't have to be 100°C—just try to use hot water~
Once everything is ready, proceed in order:
①. Pour hot water into the lower chamber;
②. Fill the filter basket with coffee grounds, tamp briefly, then insert the basket into the lower chamber;
③. Assemble the moka pot and place it on the heat source;
④. Turn on high heat until liquid starts to come out;
After the liquid starts flowing, lower the heat or turn it off and let the residual heat complete the extraction.
At this point, a highly concentrated moka pot coffee is ready, totaling 45ml. The final step is to add an appropriate amount of milk to make milk coffee.
Since moka pot coffee is less concentrated than espresso, you can't simply copy espresso ratios; you need to reduce the amount of milk appropriately to avoid masking the coffee flavor.
To enhance the oily mouthfeel, Front Street Classic Blend is used here. The resulting coffee has enough roasted aroma to stand up to the milk, so a 1:4 ratio can be used, meaning 45ml of moka pot coffee with 180ml of milk.
If making a hot latte, you can first steam the milk to 65°C to activate the sweetness of the lactose, then combine it with the coffee—this makes the milk coffee sweeter and more fragrant; if making an iced latte and you want to add ice cubes, then reduce the milk accordingly and replace it with ice cubes, so the coffee won't become diluted as the ice melts.
The above content is compiled by CoffeeHunters, a coffee news website.


