








Latte art is one of the most important skills for a barista. A beautiful cup of latte art may look effortless, but behind it lies repeated practice and accumulated experience. This article, from the practical perspective of Front Street Coffee, systematically explains the foundational points of espresso latte art: how to choose suitable espresso beans, how to steam fine and smooth milk foam, and the five key details in the milk steaming process. It then further breaks down the five core principles of pouring latte art patterns, including the integration technique, high-and-low pouring, landing point trajectory, wobbling rhythm, and finishing techniques, with a heart pattern as an illustrated demonstration. Whether you are a complete beginner or an enthusiast hoping to improve consistency, you can find actionable practice directions here.
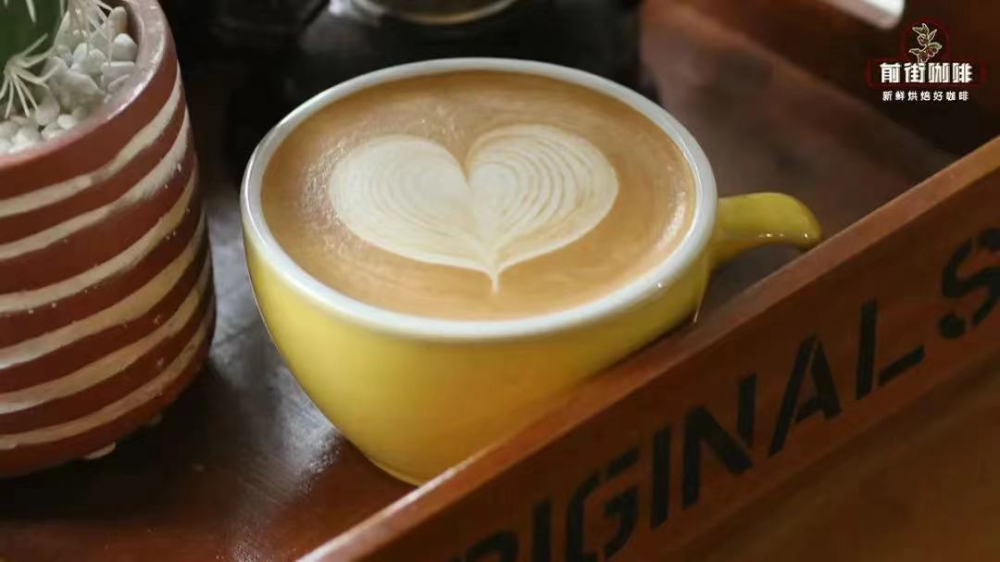
Latte art is one of the most representative skills of a barista, and its presentations are rich and varied. Why can some baristas effortlessly make a cup of latte art that is both beautiful and delicious? The answer cannot be separated from day-after-day refinement. For beginners just getting into latte art, continuous practice, timely review, and patiently communicating with others are all effective ways to speed up mastery of this skill.
This time, Front Street Coffee (FrontStreet Coffee) will share some practical tips from the latte art process and, using a combination of images and text, guide everyone step by step in making a simple heart-shaped latte art pattern.
Before formally pouring latte art, it is necessary to prepare milk foam with moderate thickness and a fine, smooth texture. The thickness of the milk foam directly affects the smoothness and evenness when the milk integrates with the coffee, as well as the resistance encountered when pouring the pattern; whether the milk foam is fine determines the mouthfeel of the latte when you drink it.
It must be acknowledged that a beautiful cup of latte art presupposes an ideal espresso. Therefore, the choice of coffee beans is especially critical. Front Street believes that an espresso with fine smoothness and rich crema is the better standard, and you can choose two popular products, Front Street Classic Blend and Front Street Commercial Blend: one combines the wild character of Brazil and Mandheling, while the other is rich in various nutty aromas and, on that basis, adds a small amount of Robusta to enhance the richness and golden color of the crema.
If you want to steam fine, smooth, and delicious milk foam, the following five tips are worth paying attention to!!!
1. Before steaming the milk, first open the steam wand to release condensed water, to avoid condensed water entering the milk and causing impact that produces large bubbles.
2. Insert the steam wand into the milk pitcher at a 45-degree angle, so that when the steam hits the milk it can form a small vortex and roll away the bubbles on the surface.
3. Control the insertion depth of the steam wand below the milk surface to between 0.8 cm and 1 cm. If inserted too deep, the steam holes cannot contact air, making it difficult to form a vortex; if inserted too shallow, the steam will directly hit the surface, producing coarse milk foam and easily causing milk to splash.

4. The aeration process only needs 4 to 5 "squeak" sounds. Place the steam tip at a depth of 0.3 cm and then turn on the steam switch, and you will hear a "squeak—squeak" sound; this is the aeration stage. The milk foam thickness needed for latte art is about 1 cm, so there is no need to over-aerate. After hearing 4 to 5 squeaks, return the steam wand depth to 0.8 to 1 cm, maintain a 45-degree angle to create a vortex, eliminate coarse bubbles, and heat to the appropriate temperature.
5. According to the experience of Front Street Coffee (FrontStreet Coffee), when making a latte or other milk coffee, the milk only needs to be heated to 55 to 65 degrees Celsius, and should not exceed 70 degrees Celsius at most.
Within this temperature range, lactose and other sugars are most active, and after mixing with espresso, you can perceive a natural milk sweetness that balances the bitterness of the espresso.
After steaming fine, silky milk foam, next understand the five principles of pouring latte art patterns.
1. Even integration of milk and coffee is very important! It determines not only whether the background of the pattern is clean, but also the mouthfeel of the entire latte.

The usual integration technique is to stir in one direction: hold the coffee cup in your left hand and the milk pitcher in your right hand, offset the two hands by half a circle to make relative circular motions, stirring with one higher and one lower, which easily allows the coffee and milk to mix fully. As for the amplitude of the circles, Front Street suggests making the circles as large as possible without touching the wall of the cup.
2. High integration, low pouring. The formation of the pattern is actually that after the milk and coffee are integrated, due to the difference in density, the white milk foam floats on the surface. When you wobble the milk pitcher, the flowing pattern forms different lines.
With the same milk foam, when you raise the pitcher spout, the milk foam is pushed into the coffee and no white lines appear; when you lower the pitcher spout, the milk foam floats on the surface and forms white lines.
3. The landing point and trajectory of the pour. Different patterns have different landing points; for example, a heart is at the 1/4 point. Still taking the heart as an example, if the landing point is in the center, the position of the entire heart will be too low.
This situation also needs to be judged in combination with the amount of integration and the thickness of the milk foam: more integration or thicker milk foam will weaken the convection effect, and the poured pattern will be smaller; less integration or thinner milk foam gives a better convection effect, and the pattern will also be larger.
4. Pour the pattern freely. Do not be too tense when holding the milk pitcher! Relax your hand, and after integration gently and evenly wobble the milk pitcher left and right, so that the milk foam flows more smoothly to the surface, while straightening the coffee cup to create convection.
When pouring the pattern, the coffee cup held in your left hand should slowly return to upright. Normal convection appears as follows: when pouring milk in the center, you see milk foam "rushing" out in the middle, while回流 occurs on both sides, making the pattern fuller. The thinner the milk foam, the more obvious this phenomenon is. For example, pouring a heart or a rippled tulip both require convection.
5. Finishing the latte art. When you have poured the ideal pattern, first restrain your joy, because a poor finish will ruin the entire pattern. Taking the heart as an example, the normal finish should be to gradually raise and push forward when the coffee cup is nine-tenths full, while gradually reducing the milk flow. Remember not to continue pouring milk after the heart's tail has formed, otherwise the entire heart will be pushed down and sink.
The above content is compiled by CoffeeHunters, a coffee news website.


