







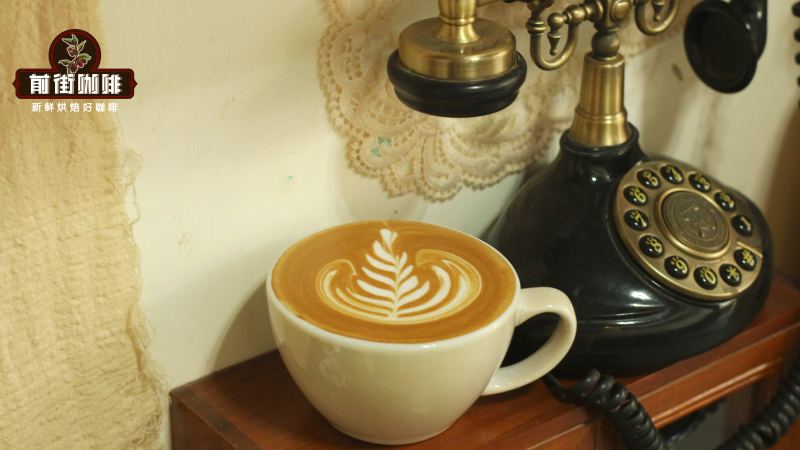
How Do You Steam Milk for Latte Art at Home?
Latte art depends on two things: milk foam texture and pouring technique. Steaming starts with purging the steam wand to clear condensed water, then placing the tip at the 2-3 o'clock or 9-10 o'clock position just under the surface to draw in air, before sinking it slightly to build a rolling vortex. Foam steamed to a glossy, smooth texture is what carries the patterns.
Bean choice matters too: a blend with strong crema performance and a deep roast makes the designs easier to pour, and the guide uses a three-origin blend of Brazil, Indonesia and Vietnam. For a 450 ml pitcher, use roughly 200-250 ml of milk, and for 500-650 ml pitchers, about 300-350 ml; that milk to coffee ratio latte balance keeps the drink sweet rather than thin. The heart, rosetta and tulip are then broken down step by step.
To make a latte with beautiful latte art at home, the key lies in the texture of the milk foam and the pouring technique. Based on the practical experience of Front Street Coffee, this article first introduces the selection of espresso blend beans suitable for latte art and the extraction parameters, then explains step by step the detailed process of steaming milk with the steam wand, including the core steps such as the angle of the milk pitcher, air intake for aeration, and vortex texturing. Finally, it breaks down in illustrated form the operating steps for three basic latte art patterns—heart, leaf, and tulip—to help beginners quickly master the essentials of latte art for espresso milk coffee.
For more specialty coffee knowledge, please follow: Frontsteet Coffee
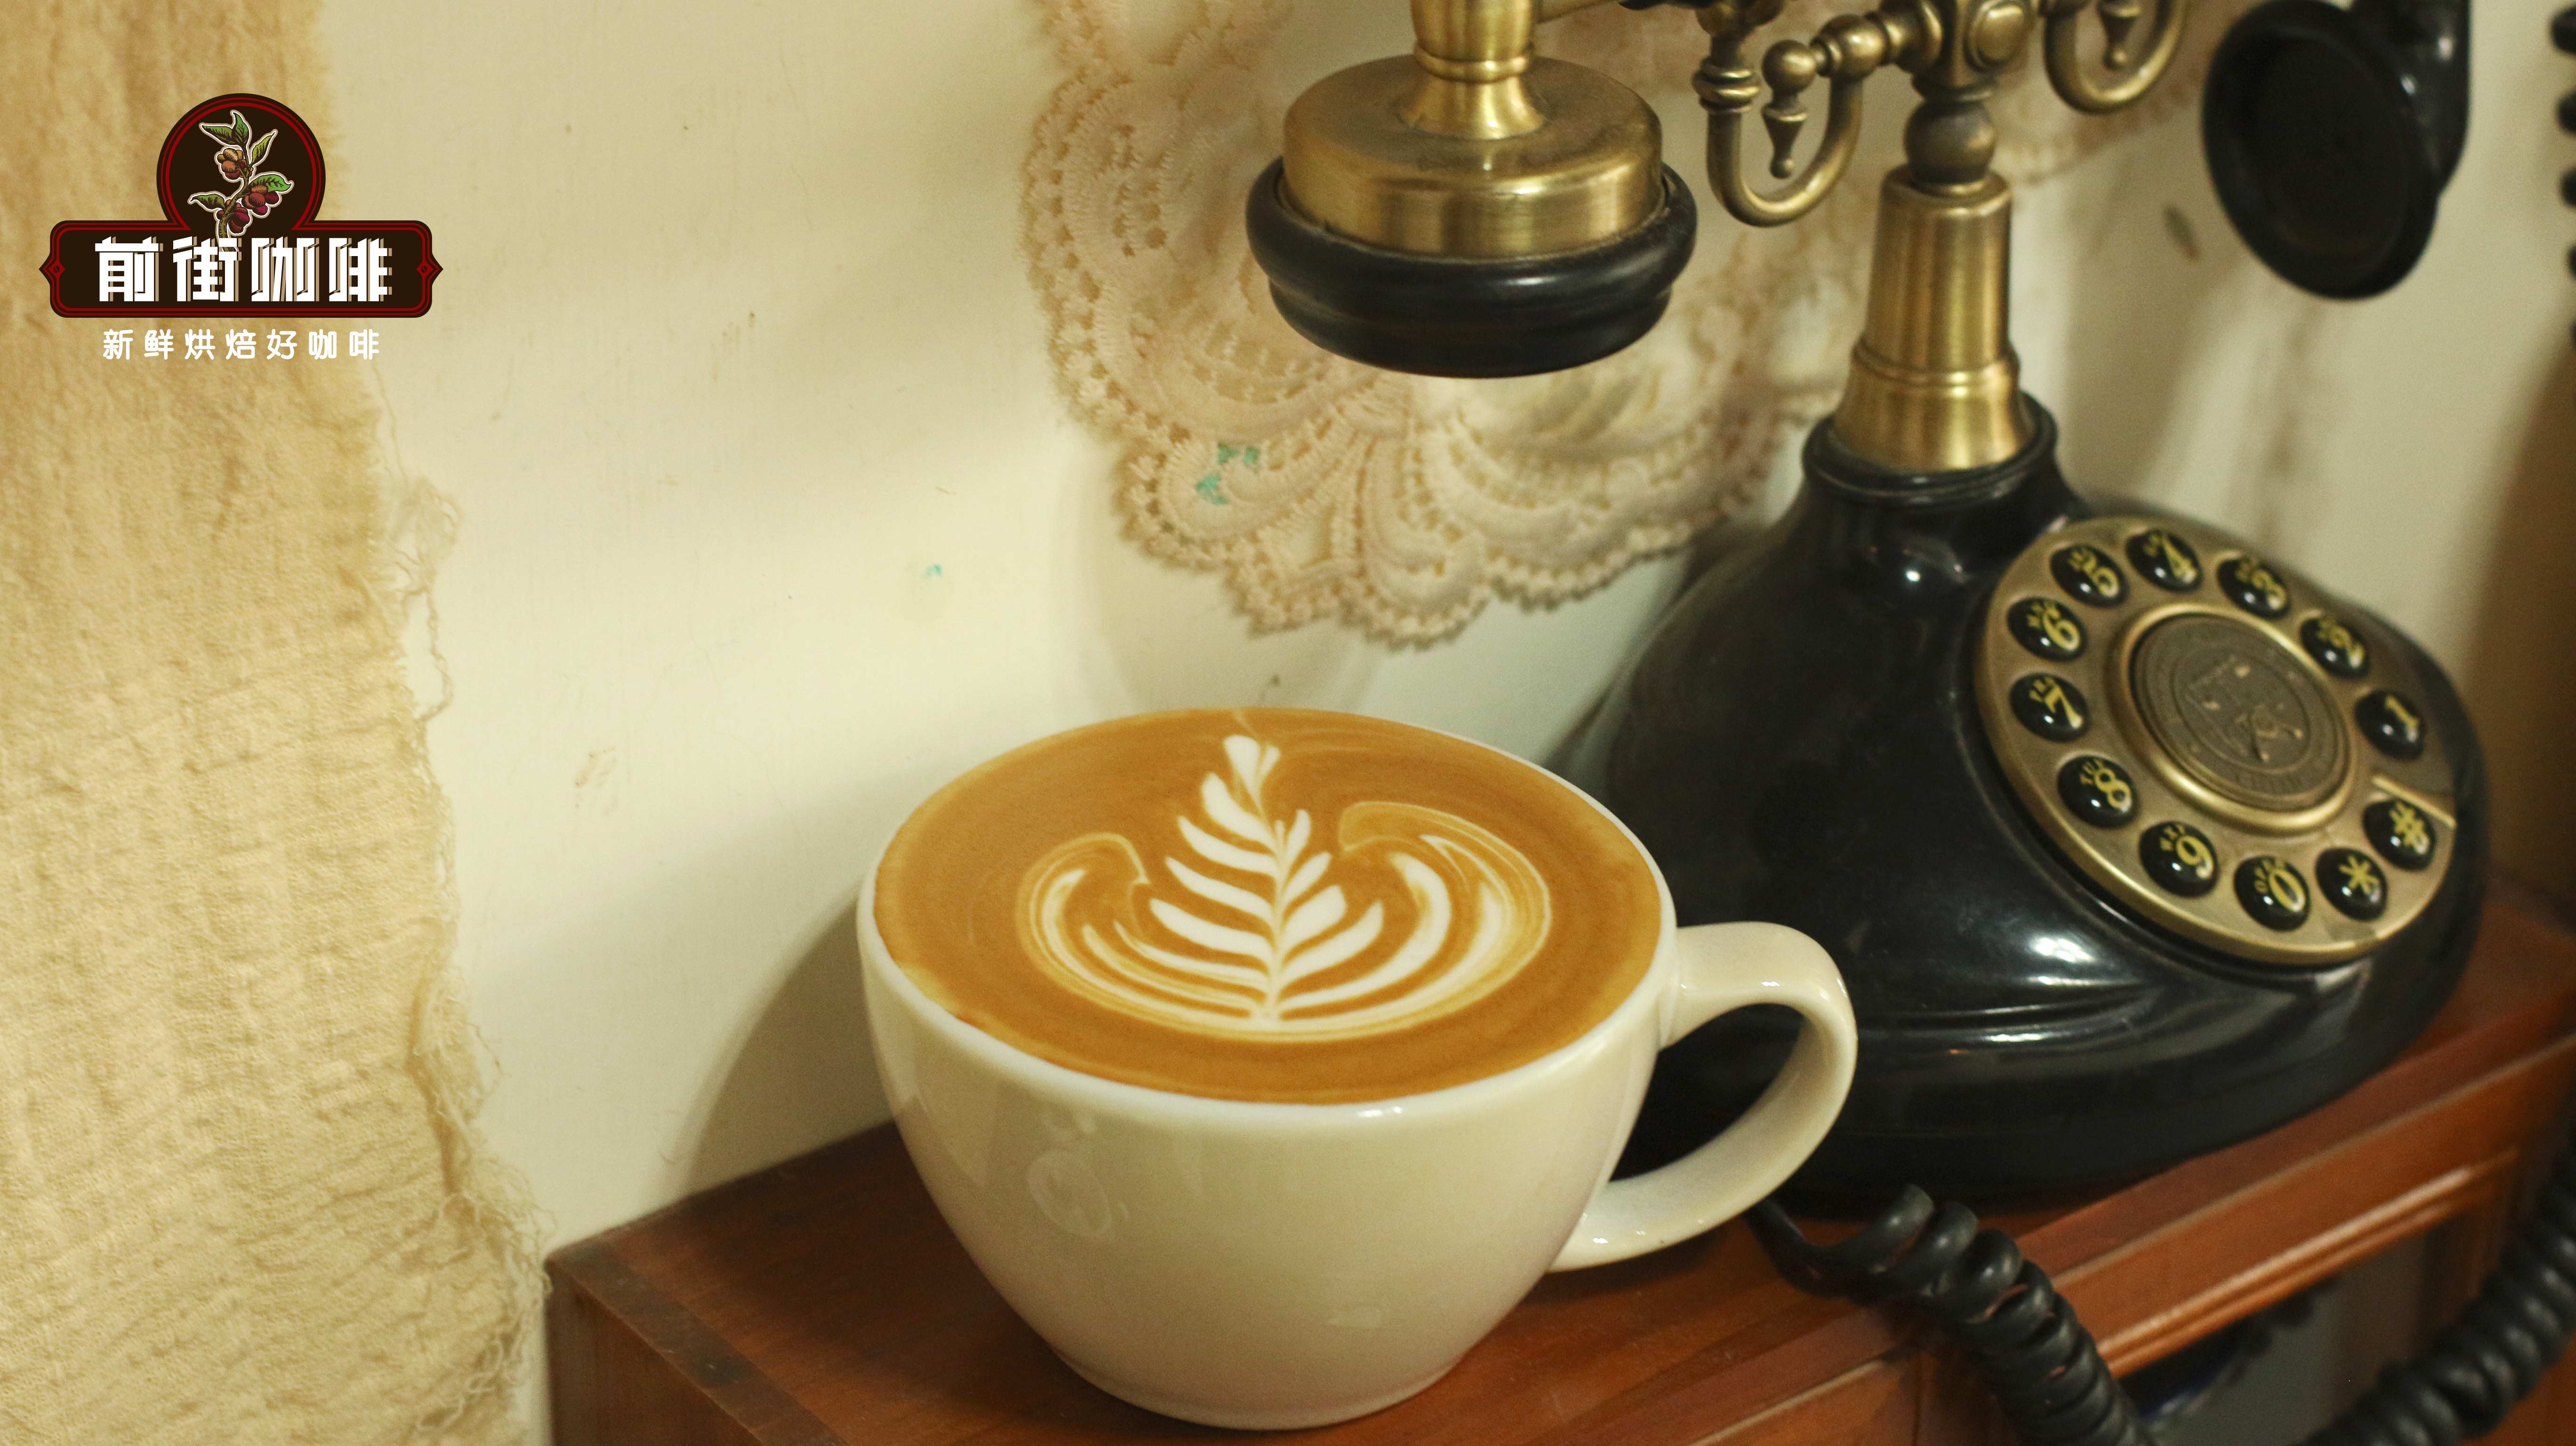
Espresso latte art is the most intuitive presentation of hot milk combined with espresso. At Front Street Coffee, when serving milk coffee, customers often request latte art. Throughout the entire latte art process, the quality of the milk foam plays a decisive role—only milk foam steamed to a delicate and smooth texture can better showcase the flavor layers of milk coffee. Today Front Street will guide you through how to steam milk foam, as well as several easy-to-learn latte art patterns.
How does Front Street Coffee choose?
What kind of coffee beans are most suitable for making latte art? Front Street's view is that you must choose espresso beans with good crema performance. Beginners might try Front Street. Front Street Classic Blend. This bean was formulated by Front Street Coffee's own recipe, covering three origins: Brazil, Indonesia, and Vietnam. It uses a deep roast, which can maximize the rich and mellow aroma of the coffee and easily extract abundant, dense crema. It is suitable for both home use and opening a shop, laying the foundation for making ideal latte art.
Extraction Parameters

How does FrontStreet Coffee steam milk foam
1. Milk pitcher and milk amount
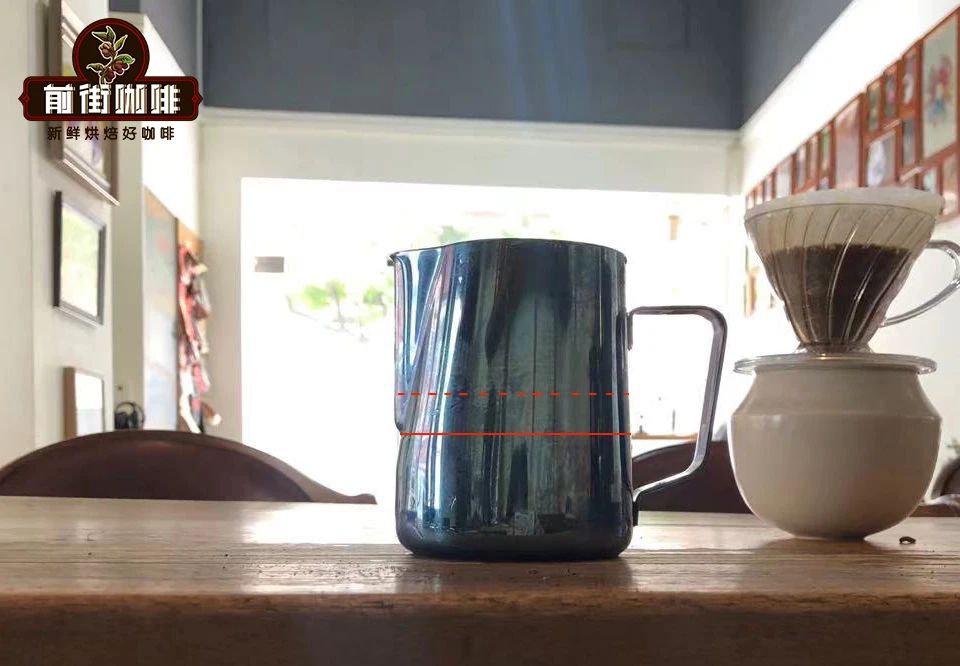
If using a 450ml milk pitcher, the milk amount is about 200-250ml; if the milk pitcher capacity is 500-650ml, then the milk amount is about 300-350ml.
2. Open the steam wand to purge
Before steaming, release some steam first, with the purpose of clearing condensed water inside the steam tube.

3. Milk pitcher placement angle
Place the steam wand's steam tip at the 2-3 o'clock or 9-10 o'clock direction, with the steam tip submerged about 2/3 deep into the milk. It should not be too deep, nor should it touch the pitcher wall or bottom; likewise, it should not be too shallow, otherwise large bubbles will continuously form on the surface.
4. Milk steaming
Let the milk surface draw in air, thereby forming foam. At this time you will hear a "hissing" air intake sound (if after opening you hear a piercing screech or no sound at all, it means it is not in the steaming state).
Coffee powder amount | 18 grams |
Espresso liquid amount | 36 grams |
Extraction time | 28 seconds |
5. Texturing
Use the vortex to eliminate coarse bubbles and separation. By adjusting the angle between the steam wand and the milk (note it is not the contact point), let the milk form a 【vortex】 inside the pitcher. With the help of the 【vortex】, the foam produced during steaming is pulled and torn apart; coarse bubbles are broken down into fine bubbles, and the upper foam fully merges with the lower milk. End the 【steaming】 process at the right time, and after the milk temperature reaches 55–65°C, turn off the steam, then remove the steam wand.

6. After steaming the milk foam, tap it.
The purpose is to burst the residual coarse bubbles on the surface of the milk foam, making the surface smoother and more delicate. How does FrontStreet Coffee do latte art 1. Heart
① Lower the milk pitcher to a position close to the cup rim, and begin pouring from the center of the liquid surface.
② With the left hand, keep the cup upright, while the right hand increases the flow rate with the milk pitcher and slowly straightens it back. At this time you can see the milk foam floating on the surface, gradually forming a circle and continuously expanding.
③ When the cup approaches a 180° angle, the circle of milk foam has already formed. At this point, raise the milk pitcher in place while reducing the stream (note: do not push forward while raising), using the downward impact force of the stream to press the upper layer of coffee liquid downward. At this time, a heart-shaped groove appears in the original circle, and the streams on both sides gather toward the center.
④ After the heart-shaped groove appears, push forward, and the pointed tail of the heart comes out.
⑤ A solid heart is thus completed.
2. Leaf
1. First fully integrate the milk with the coffee liquid, and sway the milk pitcher from the center of the cup backward to create an onion-heart pattern. Stop pouring milk when the cup is eight-tenths full.
2. Rotate the cup 180 degrees. At this time, tilt the cup slightly, place the milk pitcher behind the original pattern, and begin pouring again.
3. Begin pushing forward to create one circular arc, then a second, then a third, gradually increasing the angle to form a heart shape, pull through all the lines to finish, and the reverse-pushed pattern appears.
3. Tulip
1. First integrate the milk and coffee well, find the center point of the cup, bring the pitcher close to the cup and increase the flow to maximum, and stop pouring once a white ball appears on the coffee surface.
2. The second pouring point should be a bit further back. Use a large flow when pouring, and stop again once a white ball appears.
4. Repeat step 3 several times to make a tulip.

5. After the last heart appears, raise the angle and reduce the flow, and draw out in a straight line.
The above content is compiled by CoffeeHunters, a coffee news website.


