








How Do You Make Ice Drop Coffee Step by Step?
Ice drop coffee is made by stacking ice and water above a coffee bed and letting it drip slowly through, then refrigerating the result. A 1:6:6 ratio of coffee to water to ice, meaning 50g of grounds with 300g of water and 300g of ice, guides the whole brew, which takes hours rather than minutes.
Grind the beans to the setting used for iced hand brew, line the basket with a round filter paper, add the coffee powder, cover it with a second paper, and wet it with room-temperature water so all the grounds make contact. Pour ice and water in sequence and let the drip finish before chilling the concentrate.
Following yesterday's sharing of the cold brew method, today we turn our attention to the more challenging ice drip coffee. Compared to the simple immersion of cold brew, ice drip is more demanding in terms of equipment, steps, and time investment, requiring more patience and meticulous operation. This article will use a combination of pictures and text to fully demonstrate the entire process of ice drip coffee, from equipment preparation, filter paper placement, coffee bed wetting, ice-water ratio, to drip speed control, and refrigerated aging, and explain the 1:6:6 ratio of coffee to water to ice used this time and the Front Street recommended Honduras Shirley bean. Even without specialized ice drip filter paper, there is an alternative cutting solution. Follow the steps, and after a long wait, you can enjoy a cup of ice drip coffee with distinct layers.

We just finished talking about the cold brew method yesterday, and today let's try making a cup of ice drip coffee! Compared to cold brew, the ice drip process is more cumbersome, consuming more energy and time. You can refer to this illustrated content and adjust it according to your own equipment and personal taste preferences~
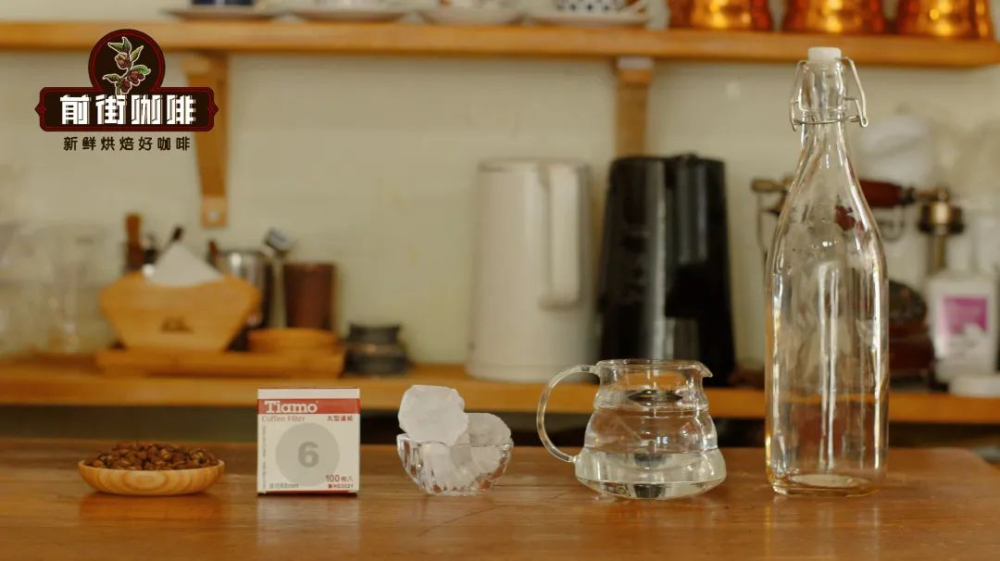
Preparation before starting: ice drip pot, room-temperature direct drinking water, ice cubes, special round filter paper for ice drip, your favorite coffee beans, and a sealed bottle. (The ratio of coffee to water to ice used in this demonstration is 1:6:6, i.e., 50g coffee beans, 300g water, 300g ice)
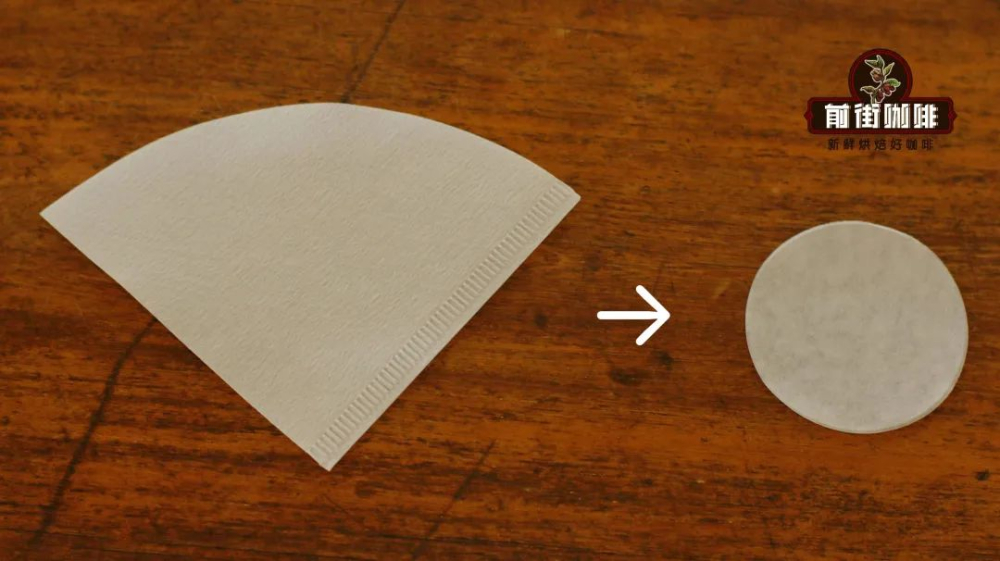
(Tip: If you don't have special ice drip filter paper on hand, you can cut ordinary hand-brewed filter paper into a circle that fits the size of the ice drip coffee basket)
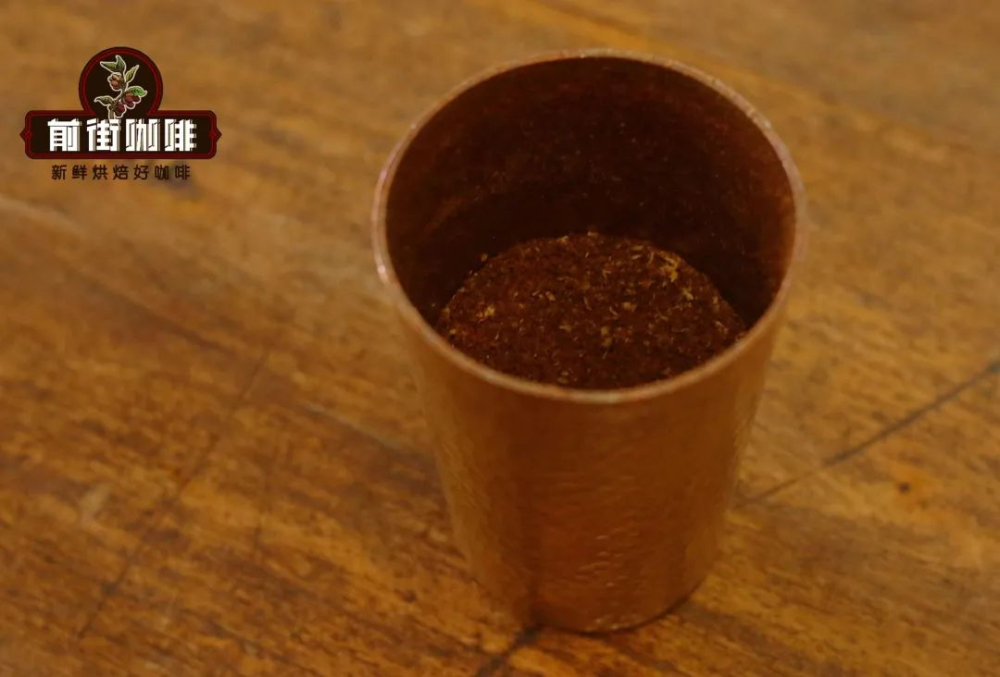
Step 1: Grind the coffee beans into powder
(For reference: The beans selected by Front Street this time are Honduras Shirley, the grinder is EK43s, and the grind size corresponds to the 9 setting usually used for iced hand brew)
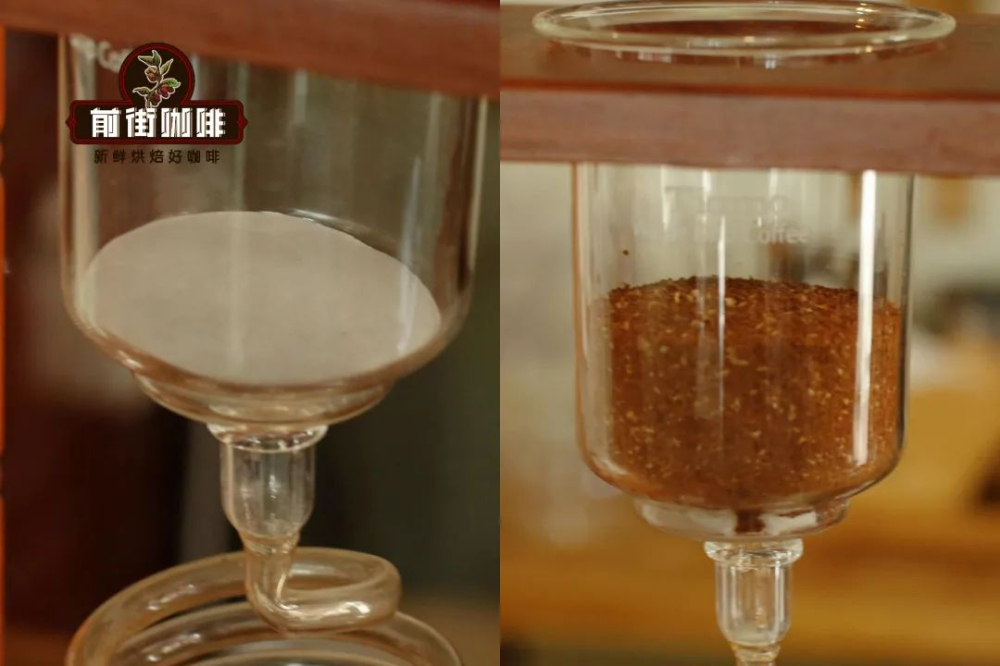
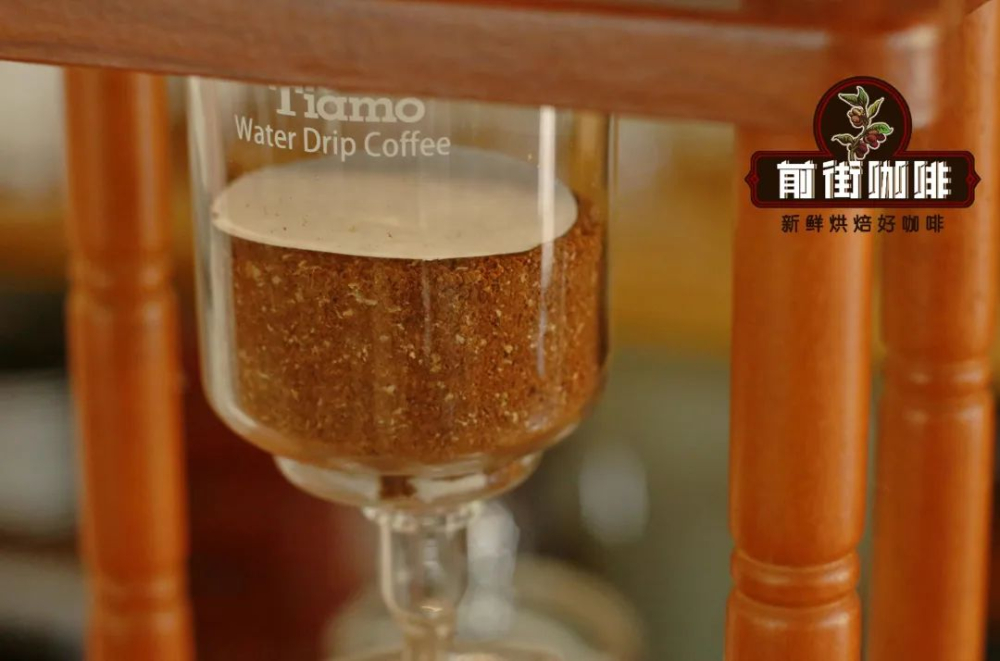
Step 2: Place a round ice drip filter paper in the coffee basket of the ice drip pot, wet it with water first, then pour in the coffee powder and spread it evenly.
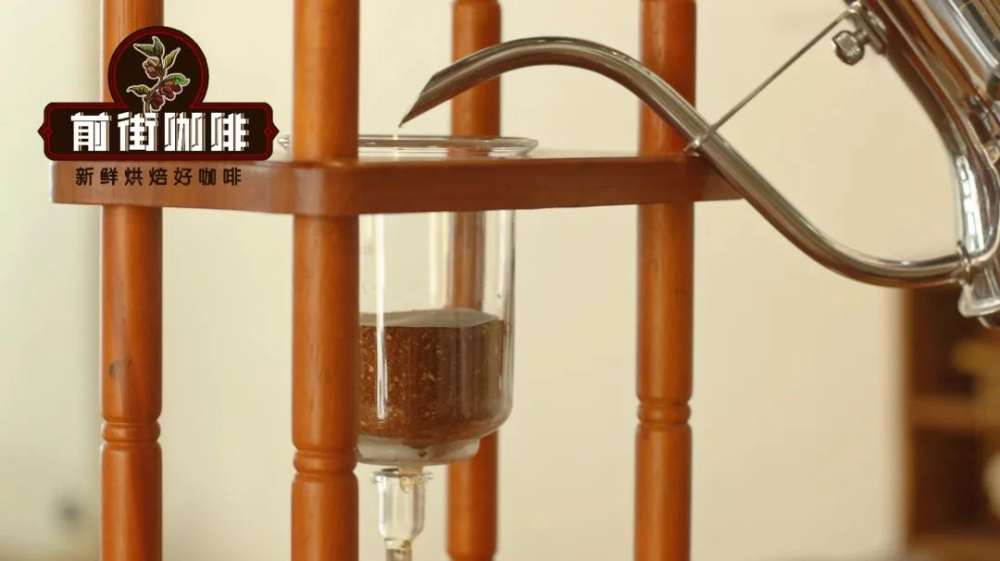
Step 3: Cover the leveled coffee bed with another round ice drip filter paper, then wet the coffee powder with room-temperature water. (Tip: Make sure all the powder comes into contact with water, which can shorten the drip time and ensure the coffee bed is evenly penetrated by water.)
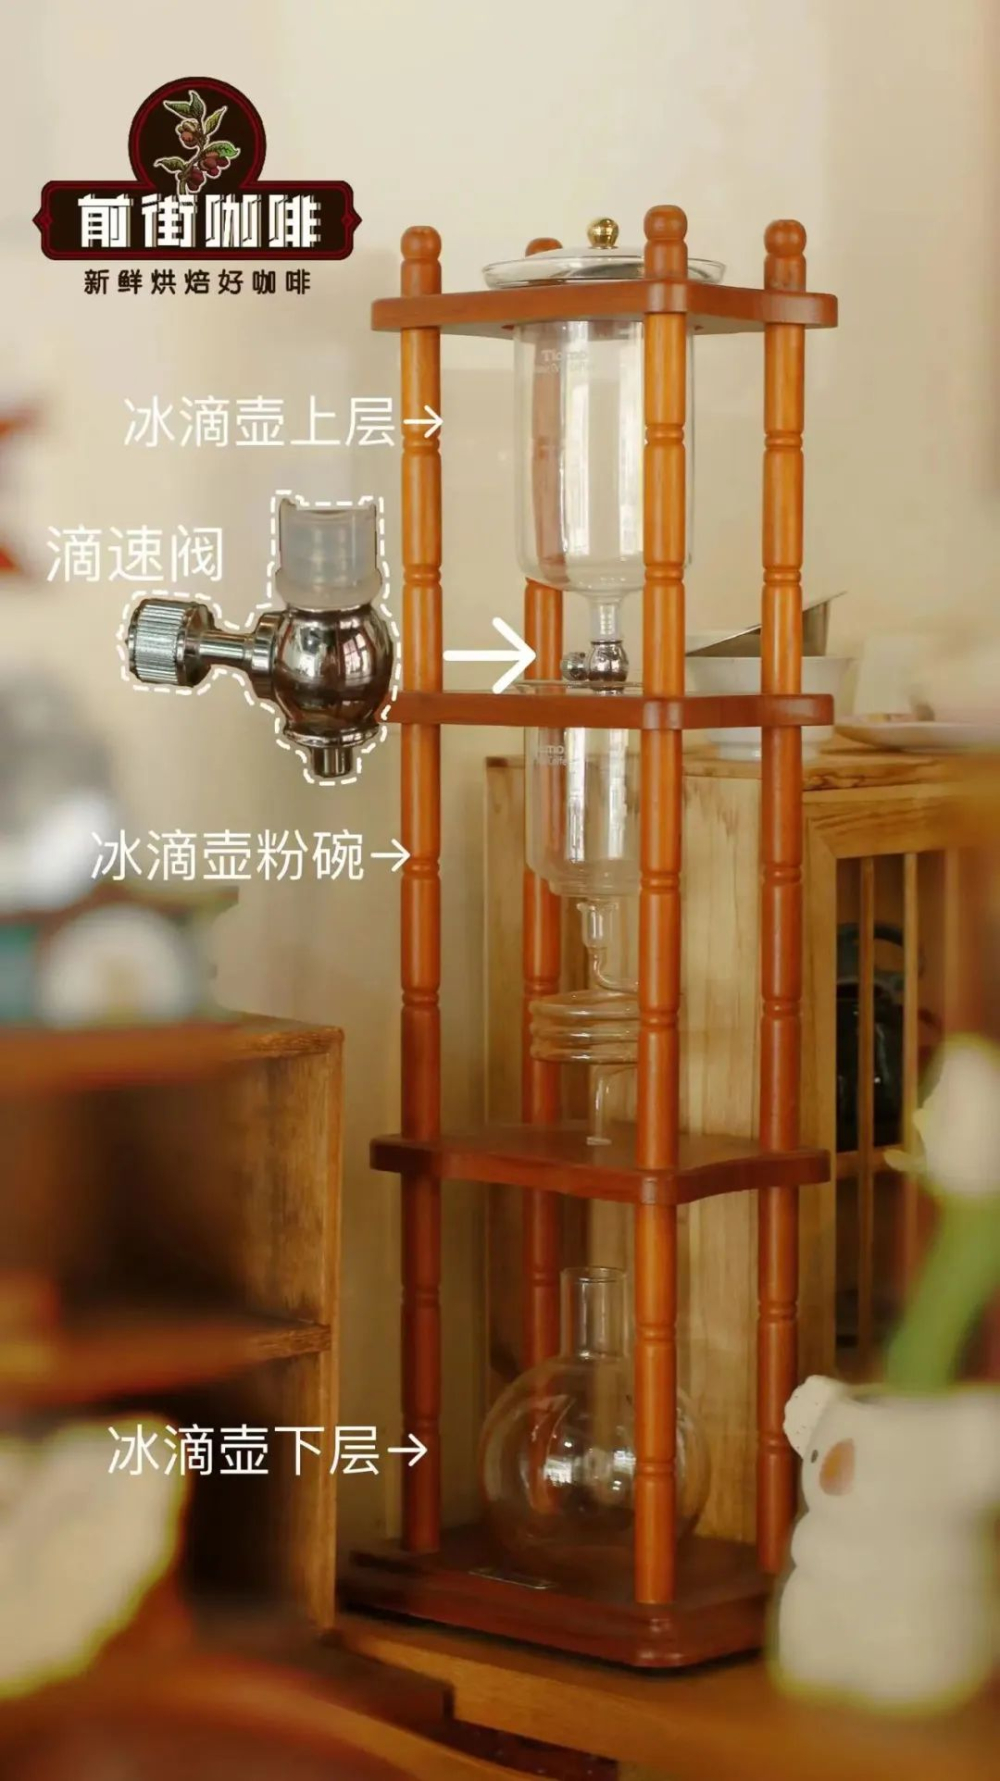
Step 4: Pour ice and water in sequence into the top container of the ice drip pot that has the drip speed valve.
(Note: Before pouring water, turn off the drip speed valve first to avoid the ice water rushing down in a large stream all at once)
Step 5: Adjust the drip speed valve to a rate of 7 drops every 10 seconds, then wait for it to finish dripping.
(The drip process takes quite a while, so check the drip speed from time to time to prevent changes during the process.)
Step 6: After the dripping is finished, pour the coffee into a sealed bottle and refrigerate for 8 hours.
(Note: It's refrigeration! Not freezing!)
Step 7: Time to enjoy! The long preparation and waiting have finally paid off. Enjoy this deliciousness earned through a long period of effort! (It tastes even better with ice cubes!)
The above content is compiled by CoffeeHunters, a coffee news website.


