







How do you brew pour-over with only 7g of coffee?
A 7-gram dose leaves a thinner coffee bed and faster water flow than a standard 15-gram brew, so the same recipe will not behave the same way. Two adjustment plans work: a finer grind with a thin stream and three pours, or a heavier stream that raises the water level in stages.
The small dose suits anyone left with a few grams at the end of a bag, or anyone limiting daily caffeine. It also helps to know the coffee specifications of the dripper: a Hario V60 01 holds less than the 02. Following the general 7 steps to make coffee still applies, but grind and pour rate need retuning.
In the practice of pour-over coffee, the coffee dose is one of the key variables determining the extraction result. Many coffee enthusiasts encounter this problem: at the end of a bag of beans there are always a few grams left, too little to brew a single cup on its own, yet a waste to throw away. Based on Front Street Coffee's hands-on testing experience, this article systematically explores the difference between brewing with a small dose of around 7 grams and a conventional 15-gram dose, analyzes the extraction difficulties caused by a thinner coffee bed and faster water flow, and provides two sets of adjustment plans for different levels of water-control skill—one relies on a finer grind setting combined with a thin stream and three-pour method, and the other uses a heavy stream to raise the water level in stages to lower the operating threshold. Whether you are a beginner just starting out or a pour-over player with some experience, you can find a small-dose strategy that suits you.
A couple of days ago, a friend contacted Front Street and asked a few questions about pour-over coffee. Front Street had previously published quite a lot of content explaining pour-over parameters, brewing steps, and solutions to common mistakes, so it picked a few articles and sent them to her for reference.
However, a day later, she came back to Front Street and said the coffee brewed according to these methods did not taste ideal. After talking with her, Front Street finally figured out the reason—this friend cannot consume too much caffeine each day, so she set her single-serving standard at 7 grams of coffee grounds and has always used this dose as her brewing baseline.
It is difficult to finish a daily bag of coffee beans with exactly whole-gram amounts every time; most of the time there will be a leftover amount that is not enough for a normal brew. Throwing it away feels wasteful, but forcing out a brew may not produce good flavor. Therefore, Front Street is here today specifically to talk about how to brew small-dose coffee.
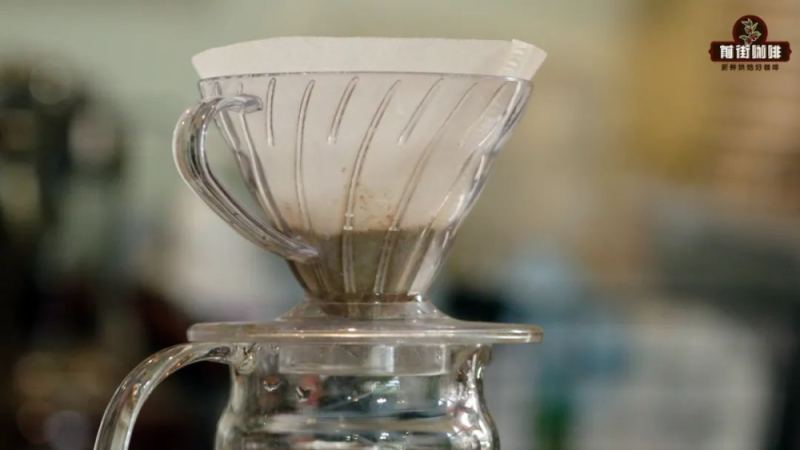
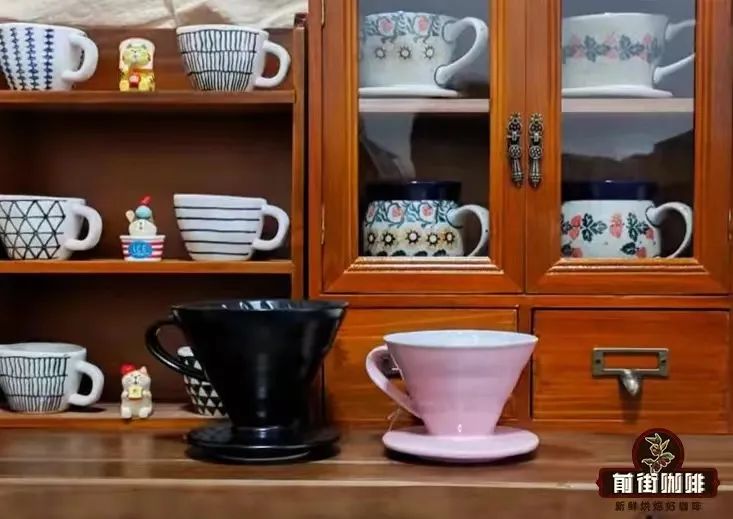
What exactly is the difference between a small dose and a regular dose? The so-called small dose is relative to the dripper being used. Taking the Hario V60 as an example, the 01 and 02 are two different specifications, and the difference lies in capacity; the 02 can hold more coffee grounds. Front Street usually uses 15 grams of grounds, which is just right for the 01 dripper and falls within the normal range; but placed in the 02 dripper, it is on the low side, and an insufficient dose makes brewing hard to control.
If you use the 01 dripper, putting in 15 grams, 13 grams, 18 grams, or even 20 grams of grounds is actually not much of a problem, because these all fall within the dripper's reasonable capacity range, and the changes in the coffee bed during brewing will not be particularly obvious. But once the dose is below 13 grams or above 20 grams, the performance during brewing will be completely different from usual.
A reduced dose directly leads to a lower total amount of water poured, which places higher demands on the brewer's water-control ability. Second, a small dose means the coffee bed is relatively thinner, and water passes through the coffee bed faster. Therefore, if you still apply the parameters for a regular dose when brewing a very small dose, it is easy to end up with a cup of coffee that is thin in body and lacking in flavor.
How should the small-dose pour-over method be adjusted? In the final analysis, there are two core conflicts in small-dose brewing: first, the water flow is too fast, and the extraction ends before the coffee flavors have been fully released; second, the pouring becomes more difficult. When the dose is larger, the total amount of water poured is also larger, and the impact of a single pouring mistake is relatively smaller after being diluted. For example, suppose you accidentally pour onto the filter paper. With the same mistake, the impact on the flavor of the cup with 10 grams of grounds will be much more obvious than on the cup with 20 grams of grounds.
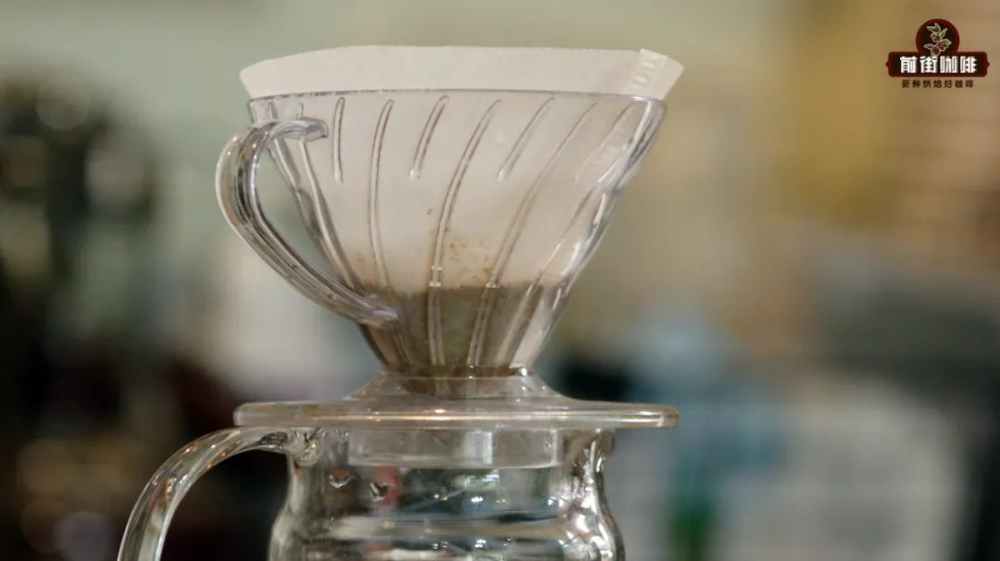
In addition, the structure of the conical dripper determines that the smaller the dose, the smaller the surface area of the coffee bed, and during pouring the water stream is more likely to touch the edge of the filter paper directly.
In response to these problems, Front Street offers two plans. The first is suitable for friends who are confident in their water-control technique, and only one parameter needs to be adjusted—the grind setting. Front Street tested with the V60 01 dripper and believes that 7 grams of grounds is already the limit for this dripper; with any less, it is very difficult to reproduce the original flavor performance. Therefore, 7 grams of grounds is used as an example for demonstration: the grind should be finer than for a regular 15-gram dose. For example, 15 grams of grounds uses setting 10 on the EK-43s, while 7 grams of grounds uses setting 9.5, which converts to a passing rate of about 85% on a No. 20 sieve. Other parameters remain unchanged: water temperature 91 degrees Celsius, grounds-to-water ratio 1:15.
The pouring still uses a three-stage method. In the first stage, pour 15 milliliters for the bloom and let it bloom for 25 seconds; the stream should be thin when pouring. In the second stage, pour 45 milliliters in a circular motion, with the pouring finished by the 40th second, then pour the remaining 45 milliliters at the 60th second, with pouring completed at 1 minute 15 seconds, and all the coffee liquid flowing into the server at about 1 minute 45 seconds.
If you are not confident in your water-control technique, then use the second pouring plan, with the same parameters as the first. When pouring, first use 20 milliliters of water to bloom for 30 seconds, then, in a small central circular motion, pour 30 milliliters with a heavy stream to raise the water level to half the height of the entire dripper;
the pouring should finish at about the 40th second. The remaining water amount is judged according to the water level: as soon as the water level drops slightly, pour from the center to raise the water level back to its original height (the specific number of stages depends on the actual situation; when brewing, Front Street generally adds 3 to 4 stages). The only requirement for center pouring is that the stream remains vertical. Stop when the total poured water reaches 105 milliliters. The final extraction time is roughly between 1 minute 30 seconds and 1 minute 50 seconds.
The above content is compiled by CoffeeHunters, a coffee news website.


