







How to make coffee with machine and steam milk foam
Milk foam comes from two stages: aeration, drawing air into cold milk, and texturing, spinning the milk into fine bubbles. Coarse big bubbles and runaway temperature are the usual failures. Control the steam wand angle, the air intake point and the final temperature, and the foam turns dense and smooth enough for latte art. Ice water is a cheap way to practice the motion.
Early lattes were simply heated milk mixed with coffee; foam only appeared around the mid-twentieth century, once espresso machines carried steam wands that could both pull shots and heat milk. Dense foam tastes better and holds heat longer, and latte art pushed the technique further. Knowing espresso machine how does it work helps, since a smooth shot with rich crema is the base for any pattern.
Want to make dense, smooth latte milk foam but always struggle with coarse big bubbles and uncontrollable temperature? This article starts from the historical origins of milk foam, systematically breaks down the thickness control principles of espresso milk foam, and guides you through the two key stages: "aeration" and "texturing." Front Street Coffee will demonstrate step by step the practical details of steam wand angle, air intake point selection, temperature control, and share money-saving tips for practicing with ice water. Whether you're a complete beginner or an enthusiast looking to refine your latte art skills, this tutorial will help you avoid common mistakes and consistently produce fine milk foam suitable for latte art.
For many milk coffee lovers, steaming milk foam has always been a difficult hurdle to overcome. This time, Front Street has simply brought out the blackboard, ready to guide everyone step by step in producing smooth and fine milk foam.
What is the purpose of milk foam?
Early lattes were made simply by heating milk and mixing it with coffee, with no foam on the surface. Milk foam truly made its debut around the mid-twentieth century, when espresso machines were already equipped with steam heating wands, allowing a single machine to both extract espresso and heat milk.
However, the working principle of the steam heating wand is to inject high-temperature steam into the milk to raise its temperature. As long as air gets drawn into the milk during this process, foam will inevitably form. Later, people discovered that lattes with dense milk foam tasted better and retained heat more effectively. As latte art subsequently emerged, milk foam steaming techniques were studied more and more deeply.

It must be acknowledged that the prerequisite for pouring beautiful patterns is a perfect cup of espresso, so the choice of coffee beans is especially critical. Front Street believes that a smooth, fine espresso with rich crema is the ideal standard, and you can choose two popular products: Front Street Classic Blend and Front Street Commercial Blend. The former combines the wild character of Brazilian and Mandheling beans, while the latter features rich nutty aromas, and both have a small amount of Robusta added to enhance crema richness and golden color.
How can beginners know they've mastered the skill of steaming milk foam?
Let's start with the principle. A coffee machine steams milk by using the steam wand to inject steam into the milk for heating. When the steam tip is in a half-submerged state (half in the milk, half exposed to air), air gets drawn into the milk, and the proteins in the milk wrap around this air to form foam. When the steam tip is fully submerged below the surface, no new foam will be produced.
From this we can derive a key point: the amount of foam (i.e., thickness) depends on how much air is drawn in — this stage is called "aeration." During the aeration process, a sharp "squeak~squeak~~squeak~~" sound is produced, so some people use the "squeaking" sound as a reference for judging air intake.
The foam produced during the aeration stage is very coarse, meaning lots of large bubbles. These large bubbles are unstable, burst quickly, and seriously affect the texture. So a step called "texturing" is also needed — the operation is actually not complicated: just bury the steam wand deeper so it no longer makes the "squeak squeak squeak" sound.
At this point, the force of the steam breaks up the large foam bubbles into many tiny ones. Tiny foam bubbles have a more stable and longer-lasting structure, and a better mouthfeel.
Both steps need to be performed in an organized manner — that is, we need to "command" them to move in the same direction, concentrating force to eliminate the enemy, rather than running around chaotically. So we use a milk steaming pitcher (latte art pitcher), positioning it at an angle with the steam tip that creates a vortex.
Without further ado, let's get right into the hands-on practice.
1. Optimal milk capacity for steaming: Steaming milk requires a reasonable volume. Front Street recommends using 40% to 60% of the pitcher's total capacity. Too little or too much milk will test your steaming technique. Of course, besides this factor, it also depends on how much milk you actually use per cup of coffee, to avoid excessive waste. Taking the pitcher Front Street uses as an example, with a capacity of 550 ml, pour in 250 ml of milk (just reaching the bottom of the pitcher spout).
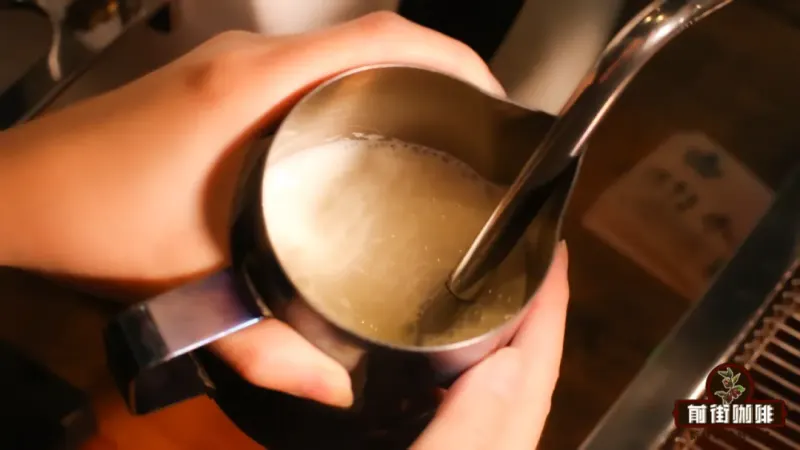
2. Steaming position: Before steaming, first open the steam wand valve to release condensed steam (close the valve after releasing). Then pull out the steam wand at a 45-degree angle, using the pitcher spout to stabilize the steam wand's position. This time the steam vortex is counterclockwise, with the steam wand positioned to the right of the cross center on the surface, and the steam wand in a half-submerged state.

3. Aeration stage: Open the steam valve, and you'll hear a "squeak—squeak" sound — this is the aeration stage. Depending on the desired foam thickness, the aeration time varies (the longer the aeration, the thicker the foam). Generally, steaming from 50% milk to 60% volume (latte foam thickness) takes about 3 seconds of aeration. The milk's rotation direction must be consistent to form a vortex.
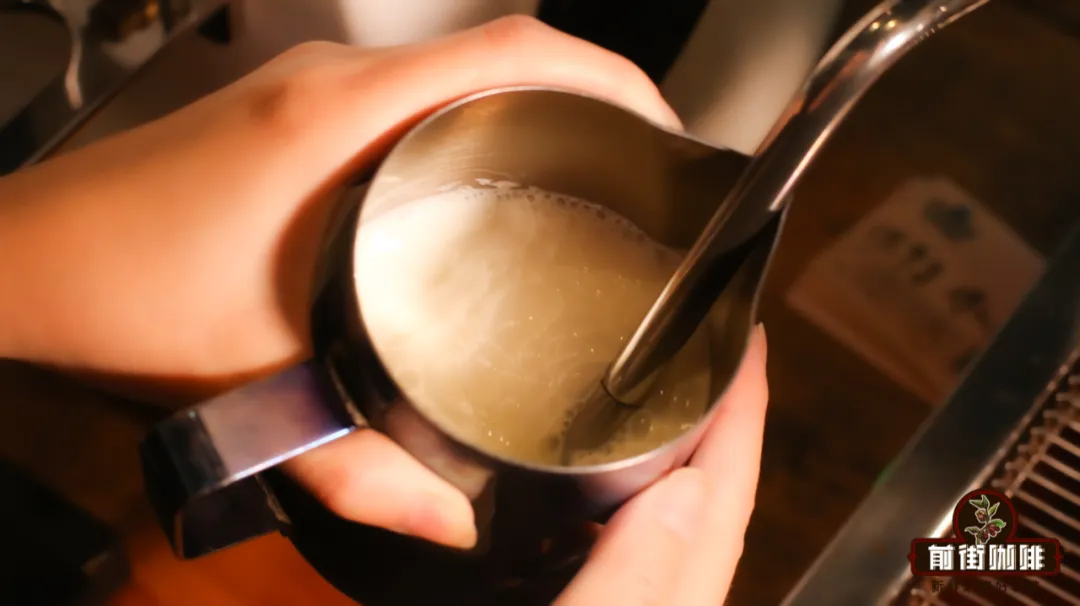
4. Texturing stage: At this point, fully submerge the steam holes, only heating without further aeration. Don't bury the steam holes at the very bottom — it's recommended to place them in the foam layer, which helps with texturing (turning coarse foam into fine foam). When to stop? This depends on your milk temperature, generally controlled between 55 and 65°C. Too high a temperature will denature the proteins (generally speaking, heat-induced protein denaturation in food occurs at about 60°C).
5. Swirling and tapping the pitcher: After steaming, the foam will gradually separate from the milk. At this point you can swirl the pitcher to fully blend the foam and milk; if there are still two or three large bubbles after steaming, you can tap the pitcher on the table to burst the large bubbles. Of course, this action accelerates foam separation, so doing it 1 to 2 times is enough.

In the above process, Front Street has summarized some practice methods for beginners.
When you first start practicing, use ice water for practice. This is of course not just to save milk — uh, actually it seems it really is just to save milk... Overall, practicing with water requires mastering two points: First, finding a vortex point that suits you. The air intake point mentioned by Front Street is just one of countless methods — in fact, each of Front Street's baristas has a different air intake point, but that doesn't stop them from producing dense, fine milk foam. So what suits you is the best.
Second, familiarize yourself with the relationship between heating temperature and time. Steaming milk foam is divided into two stages: the aeration stage and the texturing stage. The total duration is the time it takes to heat milk from 7 to 11°C to 55 to 65°C, and this time is basically fixed. What remains is the time allocation between the aeration stage and the texturing stage. Many beginners spend too much time on aeration, resulting in insufficient texturing time, which makes the foam very coarse and prone to breaking down.
Of course, many beginners have mastered the aeration time well but still can't produce dense foam. One of the main reasons is that the steam wand is buried too deep. This causes the vortex to form at the bottom, while the surface foam isn't textured, yet heating continues. So during the texturing stage, the optimal position for the steam tip is just deep enough that it no longer makes a "squeaking" sound.
The above content is compiled by CoffeeHunters, a coffee news website.


