







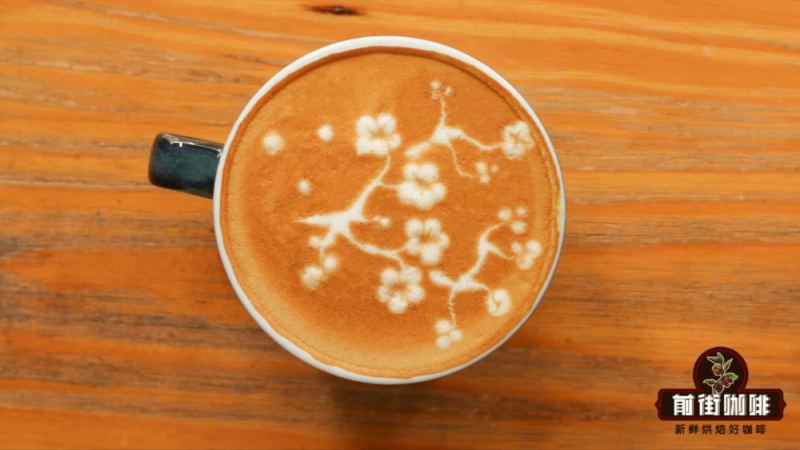
How Can a Coffee Enthusiast Learn Latte Art Step by Step?
Latte art splits into three groups: poured latte art, etching, and stenciling. Poured latte art draws patterns directly as hot milk meets espresso, while etching uses chocolate sauce, toothpicks, and bar spoons. Learning poured milk patterns moves through five stages, and two basics, the tulip and the leaf, are broken down into practical pouring steps.
Stage one needs a pointed-spout pitcher, a wide-mouthed cup, well-extracted espresso with rich crema, and fine steamed milk. Stage two drills flow rate and stream direction, first with water, then dish soap and soy sauce, since a coffee-ground paste mimics milk texture. From there, practice moves to pattern building and refinement.
Latte art is one of the most visually captivating skills in Italian coffee culture, elevating an ordinary milk coffee into a work of art that pleases both the eye and the palate. This article begins with the three major categories of fancy coffee art, then systematically outlines the five stages of learning milk latte art, and breaks down in detail the practical steps for two basic patterns: the tulip and the leaf. Whether you are a coffee enthusiast just starting out or a barista hoping to refine your technique, you will find a clear direction for practice in this step-by-step guide. The article also specifically introduces how Front Street Coffee's specialty blend performs in latte art, helping you master the essentials from bean selection to technique.
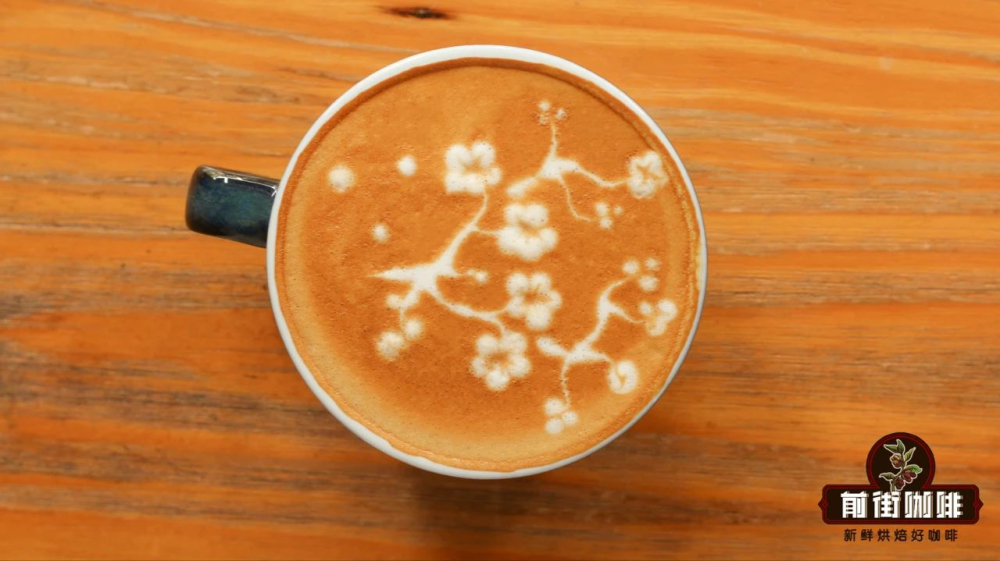
Fancy coffee art can be roughly grouped into three categories: latte art, etching, and stenciling.
Stenciling relies on molds to sprinkle cocoa powder, chocolate powder, or cinnamon powder onto the coffee surface to form patterns. Latte art and etching are together called milk latte art (Latte Art). Latte art involves pouring hot milk into espresso and directly "drawing" patterns through wrist movements and other motions; etching uses auxiliary ingredients like chocolate sauce, along with tools such as toothpicks and bar spoons, for embellishment and carving. Latte art is the foundation, while etching plays a supporting role—latte art tests technical skill, while etching expresses more creativity.
Learning milk latte art can be divided into five stages
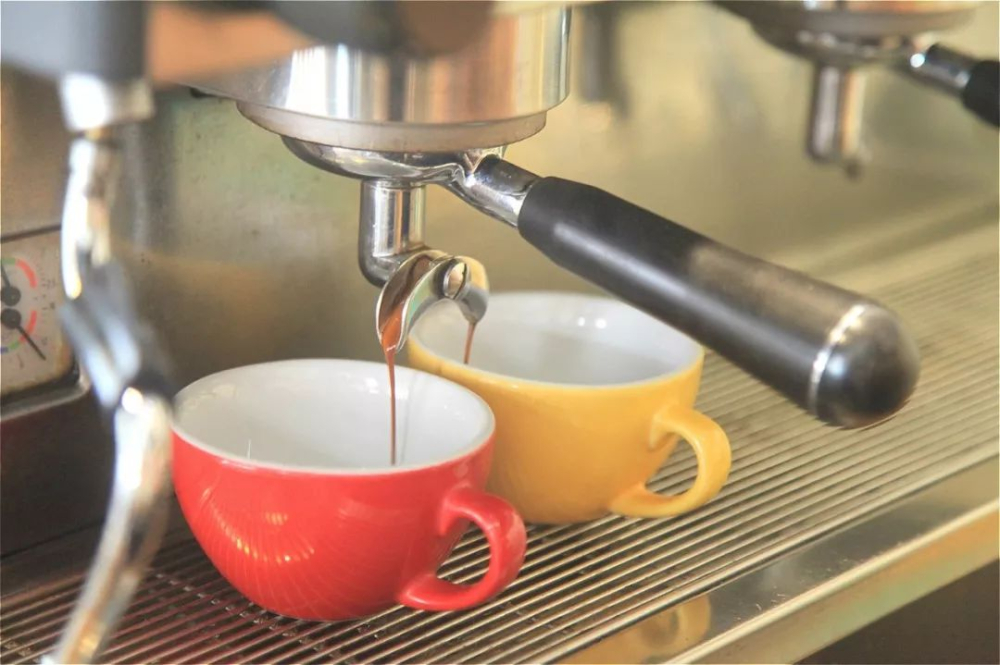
In the first stage, prepare a latte art pitcher with a pointed spout and a wide-mouthed coffee cup, while also ensuring you can extract a high-quality Espresso (preferably using an espresso machine, because the richness of the crema directly affects the latte art result), and can steam fine, thick milk foam.
We chose Front Street Coffee's specialty blend, with Colombia and Brazil in a 3:7 ratio. The espresso has a soft, mild acidity on the palate, nutty aromas, and a caramel-like sweetness in the finish. After adding milk, the sweetness is further enhanced, and once cooled, it even shows a hint of cookie-like flavor.
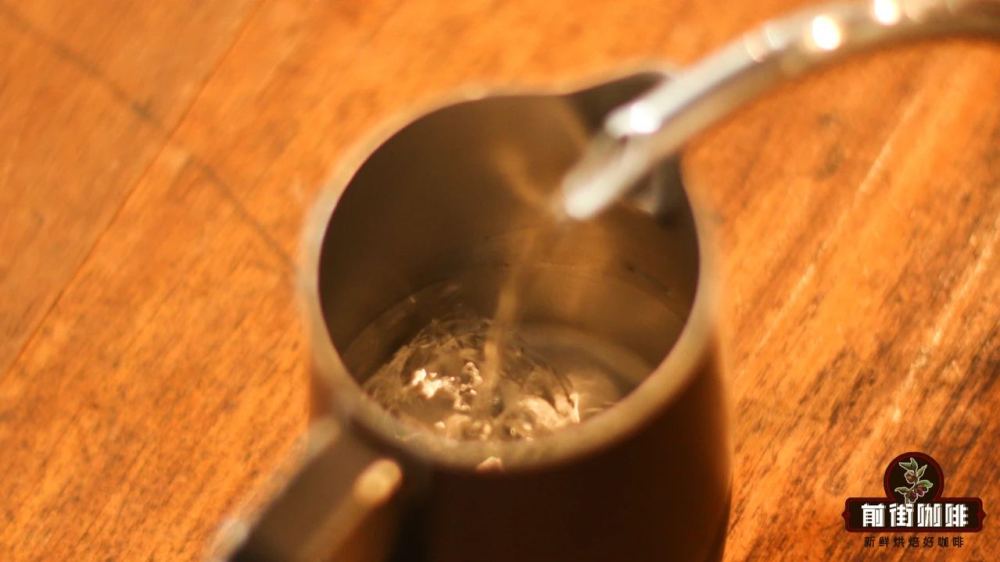
In the second stage, focus on practicing control of the flow rate and direction of the stream. At the beginning, you can practice with water, then switch to dish soap plus soy sauce, while a paste made from coffee grounds can better reproduce the texture of espresso.
In the third stage, repeatedly practice the presentation process of basic patterns, striving to master them through familiarity. The tulip and the leaf are two relatively beginner-friendly milk latte art patterns.
In the fourth stage, use real milk and coffee to put the basic patterns into actual practice.
In the fifth stage, with the foundation from the previous stage, you are already a qualified milk latte art practitioner, and next you need to further polish and improve your technique.
First extract a cup of Espresso, then hold the coffee cup with one hand, tilting the rim slightly inward, and hold the pitcher steady with the other hand. The pitcher should be about 10cm above the coffee cup, filled with steamed milk foam, the body slightly tilted, with the pointed spout facing the coffee cup. At this point, you can begin pouring latte art.
[Tulip Latte Art Steps]
1. First, incorporate the milk and coffee evenly;
2. Find the center point of the cup, bring the pitcher close to the rim, open the flow to maximum, and stop pouring once a white ball appears on the coffee surface;
3. For the second pour, position the injection point slightly farther back, still pouring at a high flow rate, and stop once a white ball appears;
4. Repeat step 3 several times, and the tulip shape emerges;
5. As soon as the last ball appears, immediately reduce the flow and draw a straight line to finish.

The tulip is not very difficult and is quite suitable for practice. Practice it several times to experience the process of the pattern forming and changing, and grasp the key points. When practicing, pay attention to the range of the sway, there is no need to go too fast, and there is no need to worry about insufficient ripples—you can even just push forward twice. Once proficient, you can appropriately add more ripples and push forward a few more times to make the pattern more appealing. When making tulip latte art, the key is to clearly know when to stop and when to continue pouring milk foam; this rhythm of pauses needs to be mastered carefully.
[Basic Steps for the Leaf Latte Art Pattern]
1. Pour the steamed milk into the cup containing Espresso, taking care not to let the milk foam float to the coffee surface at the beginning. Tilt the cup toward the pitcher, and choose the injection point slightly behind the center point.
2. When the coffee surface begins to turn white, increase the amount of milk being poured, and at the same time gently sway the pitcher, and the texture will appear. At this point, do not panic; maintain the swaying and a relatively high flow rate, and slowly move backward.
3. When the number of leaves reaches the effect you want and you are ready to finish, lift the pitcher to about 5 centimeters above the coffee, narrow the milk flow, and push forward to draw a stem, completing the leaf pattern.
Quite a few baristas or coffee enthusiasts got into coffee precisely because of latte art. Latte art is not only visually pleasing, but the skill of combining the dense, creamy texture of milk foam with coffee is also constantly being refined, ultimately presenting an artistic effect that combines "color, aroma, taste, shape, and artistry." Latte art looks difficult, but as long as you practice more and grasp the key points, it will gradually become much easier.
The above content is compiled by CoffeeHunters, a coffee news website.


